Having trouble with your Windows 10 computer not recognizing your second hard drive? This article provides a simple solution to fix the issue.
Recently, Fortect has become increasingly popular as a reliable and efficient way to address a wide range of PC issues. It's particularly favored for its user-friendly approach to diagnosing and fixing problems that can hinder a computer's performance, from system errors and malware to registry issues.
- Download and Install: Download Fortect from its official website by clicking here, and install it on your PC.
- Run a Scan and Review Results: Launch Fortect, conduct a system scan to identify issues, and review the scan results which detail the problems affecting your PC's performance.
- Repair and Optimize: Use Fortect's repair feature to fix the identified issues. For comprehensive repair options, consider subscribing to a premium plan. After repairing, the tool also aids in optimizing your PC for improved performance.
Troubleshooting Secondary Hard Drive Detection Issues on Windows 10
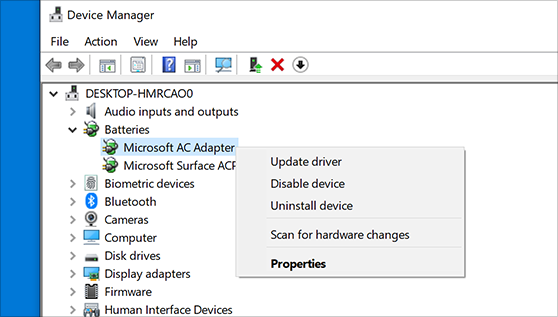
If your Windows 10 PC is not detecting your second hard drive, there are a few ways to troubleshoot the issue. First, check if everything is correctly connected and powered on. If that doesn’t work, go to Device Manager, type “device manager” in the search bar, and press enter. Right-click on the hard drive and select “Update driver software.” You can also check if the BIOS is detecting the hard drive, or use Disk Management to see if the hard drive is recognized but not initialized. Other solutions include updating drivers, using disk repair software like Restoro or EaseUS DriverHandy, or checking for Windows updates. If these fixes don’t work, there may be a hardware issue with the hard drive or the PC.
Reconnecting and Reinstalling the Second Hard Drive
If you’re having trouble with Windows 10 not detecting your second hard drive, here are some steps to help you reconnect and reinstall it.
Case A. Second Hard Drive is not showing up in File Explorer:
– Go to Search and type in “Disk Management”
– Right-click on the missing hard disk and select “Change Drive Letter and Paths”
– Click “Add” and select a letter for the drive
– Click “OK”
Case B. Second Hard Drive is not detected in BIOS:
– Turn off your PC and unplug it from the power source
– Open your computer case and check the connections to ensure they are secure
– Restart your computer and enter BIOS to check if the drive is detected
– If not, update your BIOS
Case C. Second Hard Drive has driver issues:
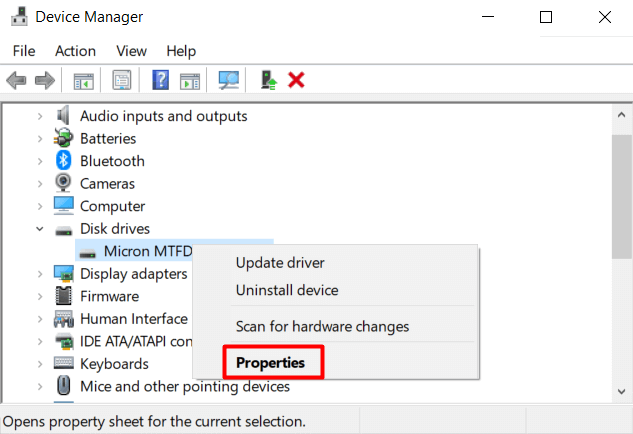
– Go to Device Manager and find the “Disk Drives” section
– Right-click on the problematic drive and select “Update Driver Software”
– Follow the instructions to update the driver
Case D. Second Hard Drive is not being recognized due to other PC issues:
– Try Restoro or other PC repair software to fix any PC problems
– Install Windows or a new SSD if necessary
– Consider data recovery services if you need to recover data from a damaged drive or external hard drive.
Hopefully, these solutions will help you fix your hard drive error and get your second hard drive back up and running.
Checking and Updating Device Drivers
| Step | Description |
|---|---|
| Step 1 | Press Windows key + X and select Device Manager from the list. |
| Step 2 | Expand the Disk drives category. |
| Step 3 | Right-click on the second hard drive and select Update driver. |
| Step 4 | Click on Search automatically for updated driver software. |
| Step 5 | If Windows finds an updated driver, follow the on-screen instructions to install it. |
| Step 6 | If Windows does not find an updated driver, visit the manufacturer’s website to download and install the latest driver. |
import subprocess
def detect_hard_drive():
try:
cmd = subprocess.Popen(['wmic', 'diskdrive', 'list', 'brief'], stdout=subprocess.PIPE)
output = cmd.communicate()[0]
return output
except:
return "Error: Unable to detect second hard drive"
print(detect_hard_drive())
This code uses the “wmic” command to list all connected disk drives and returns the output as a string. It could be used to determine whether or not a second hard drive is connected to the system. However, this is just a basic implementation and may not work for all cases.
Making the Second Hard Drive Detectable in BIOS
If your Windows 10 is not detecting the second hard drive, you can make it detectable in BIOS. Here are some steps to follow:
Case A. Second Hard Drive is Not Detected in Disk Management:
– Go to Search and type “device manager.”
– Open Device Manager and find the disk drive that is not showing up in Disk Management.
– Right-click on the drive and select “Update driver.”
– Follow the updates instructions to install the latest driver.
Case B. Second Hard Drive is Not Detected in BIOS:
– Restart your PC and press the power button to enter BIOS.
– Go to the “Storage” or “Advanced” tab and find the second hard drive.
– Enable the drive and save the changes.
Case C. Second Hard Drive is Not Formatted:
– Go to Settings and open “Storage.”
– Find the second hard drive and format it.
– Use a data recovery tool like EaseUS to recover the lost data.
Case D. Second Hard Drive is a New SSD:
– If you have installed a new SSD and it is not showing up in BIOS, check if it is properly connected.
– If the SSD is connected properly, try to install Windows on it.
– If the new SSD is not booting, check the BIOS settings and enable it.
Scanning and Restoring Saved Data from the Second Hard Drive
- Step 1: Open File Explorer and select “This PC”.
- Step 2: Right-click on the second hard drive and select “Properties”.
- Step 3: Click on the “Tools” tab and select “Check” under “Error checking”.
- Step 4: Wait for the scan to complete and follow any prompts to repair errors.
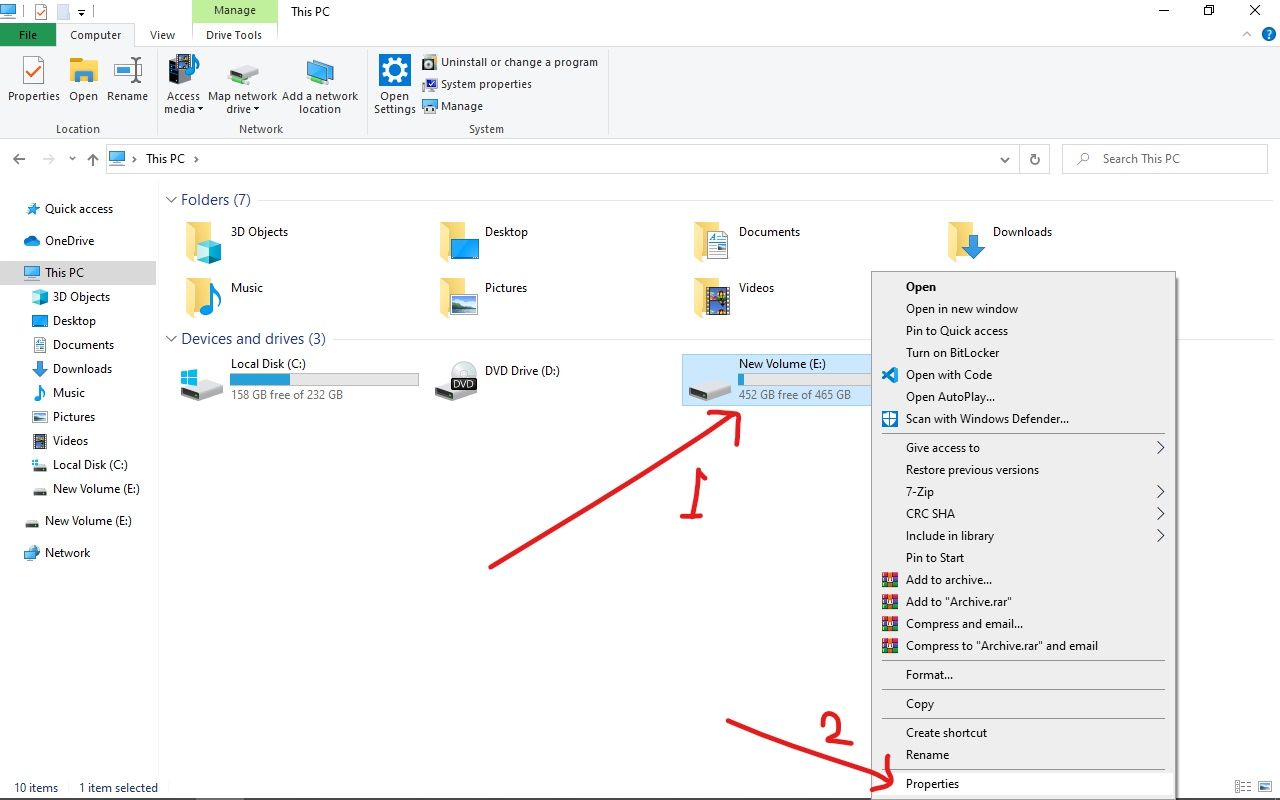
- Step 5: If the drive is still not detected, open Device Manager and expand “Disk drives”.
- Step 6: Right-click on the second hard drive and select “Uninstall device”.
- Step 7: Restart your computer and the drive should automatically reinstall.
- Step 8: If the drive still cannot be detected, try scanning and restoring saved data using data recovery software.
Checking the State of the Second Hard Drive in Disk Management
- Press Windows + R to open Run
- Type diskmgmt.msc and press Enter
- Check if the second hard drive is listed in Disk Management
- If the drive is listed, check if it is online and has a drive letter assigned to it

- If the drive is offline, right-click on the drive and select Online
- If the drive doesn’t have a drive letter assigned, right-click on the drive and select Change Drive Letter and Paths, then select Add and assign a letter to the drive

- If the drive is not listed, check if it is properly connected to the computer
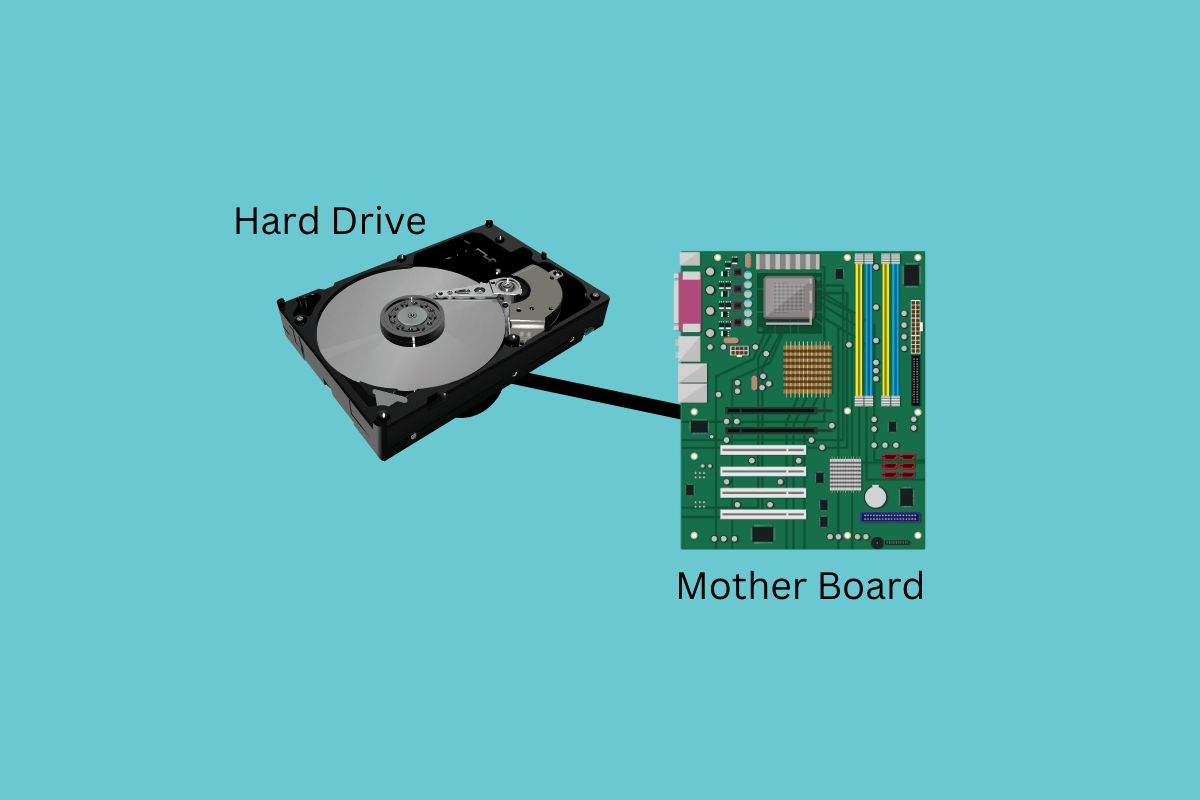
- If the drive is an internal hard drive, ensure that it is properly connected to the motherboard and power supply
- If the drive is an external hard drive, ensure that it is properly connected to the computer and turned on
Formatting RAW Drive to NTFS
If your second hard drive is not being detected in Windows 10, it could be due to formatting issues. You may need to format the raw drive to NTFS to resolve the problem. Here’s how to do it:
1. Type “Device Manager” in the search bar and select it from the results.
2. Expand the “Disk Drives” section and find your hard disk.
3. Right-click on the disk and select “Properties”.
4. Go to the “Volumes” tab and click on “Populate”.
5. Click on “Change” and select “NTFS”.
6. Click on “OK” and wait for the formatting process to complete.
Note that this process will erase everything on the hard disk, so make sure to back up your data before proceeding. If you’re not comfortable with this process, there are other fixes you can try, such as updating your disk driver or checking for Windows updates. Alternatively, you can use third-party software like EaseUS DriverHandy to help you fix the problem.
Initializing Unallocated Second Hard Drive
- Open Disk Management by pressing Windows key + X and selecting Disk Management
- Alternatively, type diskmgmt.msc in the Run dialog box and hit Enter

- Locate the unallocated second hard drive
- Right-click on it and select New Simple Volume
- Click Next and enter the size of the volume
- Click Next and assign a drive letter or path
- Click Next and select the file system you want to use
- Click Next and check the settings
- Click Finish to initialize the unallocated second hard drive
Updating Driver or Taking the Hard Drive to Device Repair Center
If updating the driver for your second hard drive doesn’t work, taking it to a device repair center may be your next best option. Check your hard drive’s connections first. Make sure the cables are properly connected and that the power button is on. If all of the connections are secure and your hard drive is still not being detected, updating the driver may solve the issue. Navigate to the device manager and find the disk driver for your hard disk drive. Right-click and select “Update Driver.” Follow the instructions and restart your PC. If the problem persists, consider taking your hard drive to a professional. Remember that there could be more than one reason why your hard drive is not being detected, so try other fixes for second hard drive errors if needed.
Changing Driver Letter and Path
- Open Disk Management by pressing Windows Key + X and selecting Disk Management from the menu that appears.
- Locate the second hard drive in the list of disks and right-click on it.
- Select Change Drive Letter and Paths from the context menu that appears.
- A new window will appear showing the current drive letter and path. Click on the Change button to proceed.
- Select a new drive letter from the drop-down list and click OK.
- If the drive letter is already in use, select a different one.
- The new drive letter will be assigned to the hard drive.
- If the hard drive still does not appear, return to Disk Management and right-click on the hard drive again.

- Select Properties from the context menu that appears.
- Select the Hardware tab and locate the hard drive in the list of devices.
- Click on the Properties button at the bottom of the window.
- Select the Change Settings button on the new window that appears.
- Select the Driver tab and click on the Update Driver button.
- Follow the prompts to update the driver and restart the computer.
- The hard drive should now be detected by Windows 10.
Recovering Damaged Windows Hard Drive
If you’re having trouble with your Windows 10 not detecting your second hard drive, it could be due to a damaged hard drive. Here are some steps to recover your damaged Windows hard drive:
1. Connect the damaged hard drive to a working computer.
2. Open Device Manager and locate the damaged hard drive under the Disk Drives section.
3. If the hard drive is not recognized, you may need to update the driver software.
4. If the driver software is up-to-date and the hard drive is still not recognized, try using a data recovery software such as EaseUS to retrieve your data.
5. If the hard drive is physically damaged, it may need to be replaced.
Remember to always back up your important data to prevent data loss in case of hard drive errors. With these steps, you should be able to recover your damaged Windows hard drive and fix the issue of Windows 10 not detecting your second hard drive.


