Having trouble with your laptop speakers not working on Windows 10? This article provides troubleshooting tips to help you fix the issue.
Recently, Fortect has become increasingly popular as a reliable and efficient way to address a wide range of PC issues. It's particularly favored for its user-friendly approach to diagnosing and fixing problems that can hinder a computer's performance, from system errors and malware to registry issues.
- Download and Install: Download Fortect from its official website by clicking here, and install it on your PC.
- Run a Scan and Review Results: Launch Fortect, conduct a system scan to identify issues, and review the scan results which detail the problems affecting your PC's performance.
- Repair and Optimize: Use Fortect's repair feature to fix the identified issues. For comprehensive repair options, consider subscribing to a premium plan. After repairing, the tool also aids in optimizing your PC for improved performance.
Preliminary Steps Before Troubleshooting
Before diving into troubleshooting your laptop speakers, it’s important to take some preliminary steps to ensure a smooth process.
First, check if the sound is muted or the volume is turned down. Click on the speaker icon on the taskbar and adjust the volume level.
Next, ensure that the speakers are properly connected to your laptop. If you’re using external speakers, make sure they are plugged in and turned on.
If you’re using headphones, try plugging them in to see if you can hear sound through them.
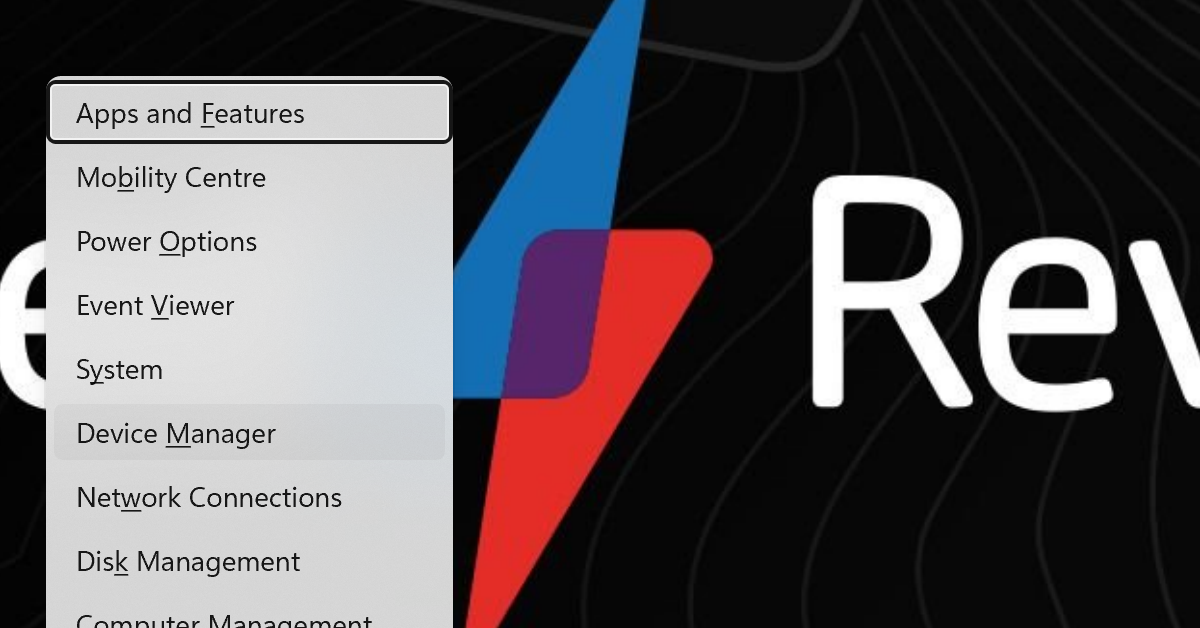
It’s also a good idea to check for any updates or driver issues in the Device Manager.
By taking these preliminary steps, you can eliminate simple issues before delving into more complex troubleshooting methods.
Identifying Common Causes of Audio Issues
– Check the volume on your laptop to ensure it is not muted or turned down too low.
– Make sure the audio output device is set to your laptop speakers and not to another device like headphones or external speakers.
– Update your audio driver through the Device Manager in Windows 10 to ensure it is not a driver issue causing the problem.
– Run the Windows Troubleshooter to automatically identify and fix any audio issues on your laptop.
– Check for any loose or damaged connections between your laptop and the speakers, and ensure the audio jack is securely plugged in.
– Restart your Windows audio service to see if that resolves the issue.
–
Proven Fixes for Non-Functioning Speakers
- Ensure that the volume is not muted or set to a very low level.
- Right-click on the volume icon in the taskbar and select Open Volume Mixer to adjust individual volume levels for different apps.
- Go to Settings > System > Sound to check the master volume and app sound settings.
Update Audio Drivers
- Open Device Manager by pressing Windows key + X and selecting it from the menu.
- Expand the Sound, video and game controllers category and right-click on your audio device to select Update driver.
- Choose Search automatically for updated driver software and follow the on-screen instructions.
Run the Windows Troubleshooter
- Go to Settings > Update & Security > Troubleshoot.
- Click on Playing Audio and then Run the troubleshooter to identify and fix any audio issues.
- Follow the prompts provided by the troubleshooter to complete the process.
Exploring Professional Repair Services
When troubleshooting laptop speakers not working on Windows 10, it’s important to first ensure that the issue is not with the hardware. Check the physical connections and ensure that the volume is turned up and not muted. If the issue persists, it may be a software-related problem.
Navigate to the Control Panel in Windows and locate the “Sound” or “Audio” settings. Check to see if the correct output device is selected and if the volume levels are adjusted appropriately. You can also try updating the device driver for the audio component to see if that resolves the issue.
If the problem still persists, consider running the built-in troubleshooter in Windows 10. Simply right-click on the sound icon in the taskbar and select “Troubleshoot sound problems” from the context menu. This may help identify and resolve any software-related issues causing the speakers to not work.
In some cases, a third-party software or app may be causing conflicts with the audio settings. Consider uninstalling any recently installed programs to see if that resolves the issue. Additionally, check for any pending Windows updates that may include fixes for audio-related issues.
Recognizing Symptoms of Speaker Problems

– One common symptom is no sound coming from the speakers when audio is playing.
– Another symptom is crackling or distorted sound coming from the speakers.
– If you notice that the speakers are producing sound at very low volume, this could also be a symptom of a speaker problem.
– To recognize speaker problems, pay attention to the sound quality and volume when using your laptop.
– If you notice any of these symptoms, it’s important to troubleshoot the issue to determine the cause of the problem.
– First, check the volume level and ensure that it is not muted or set too low.
– If the volume and settings appear to be correct, you may need to check the device driver for the speakers to ensure it is functioning properly.
– In some cases, the issue may be related to a hardware problem, such as a loose connection or damaged speaker.
– If you suspect a hardware issue, you may need to physically inspect the speakers and wiring to look for any visible damage.
– It’s also a good idea to try using headphones or external speakers to see if the issue is specific to the built-in laptop speakers.
– By recognizing the symptoms of speaker problems and following these troubleshooting steps, you can work towards fixing laptop speakers not working on Windows 10.
Troubleshooting with Windows Sound Tools
If your laptop speakers are not working, you can troubleshoot the issue using Windows sound tools. First, check the volume level by clicking on the sound icon in the taskbar and adjusting the volume slider.
If the volume is up but you still can’t hear anything, right-click on the sound icon and select “Open Sound settings.” Under the “Output” section, make sure the correct playback device is selected.
If the correct device is selected but there’s still no sound, you can try running the Windows troubleshooter for audio. To do this, go to the Control Panel, then select “Troubleshooting” and “Hardware and Sound.” Click on “Playing Audio” and follow the prompts to see if any issues are detected.
If the troubleshooter doesn’t find a solution, you can update your audio drivers. Go to Device Manager, find the “Sound, video and game controllers” section, right-click on your audio device, and select “Update driver.”
Addressing Standard and Bluetooth Audio Devices
When troubleshooting laptop speakers that are not working on Windows 10, it’s important to address both standard and Bluetooth audio devices.
First, check the standard audio devices connected to your laptop. Ensure that the speakers are properly plugged into the correct audio jack on your laptop. If using external speakers, make sure they are powered on and the volume is turned up.
If the standard audio devices are functioning properly, it’s time to address Bluetooth audio devices. Go to the Control Panel on your Windows 10 laptop. Look for the Bluetooth icon and open the settings to see if the Bluetooth audio device is connected and recognized by your laptop.
If the Bluetooth audio device is connected but not working, try disconnecting and reconnecting it. If that doesn’t work, try removing the device from your laptop’s Bluetooth settings and pairing it again.
If neither the standard nor Bluetooth audio devices are working, it may be a problem with your laptop’s audio drivers. Open the Device Manager on your Windows 10 laptop and look for the audio device. Check for any yellow exclamation marks, which indicate a problem with the driver.
If there is an issue with the audio driver, try updating it or reinstalling it. You can do this by right-clicking on the audio device in Device Manager and selecting “Update driver” or “Uninstall device.” Then restart your laptop to see if the speakers are working.
In some cases, a simple restart of your laptop can resolve the issue with the speakers not working.
Updating System BIOS for Improved Performance
To update the System BIOS for improved performance, follow these steps:
– First, check your laptop manufacturer’s website for the latest BIOS update for your specific model.
– Once you have downloaded the BIOS update file, double-check that it is compatible with your laptop’s model number and Windows version.
– Connect your laptop to a power source to ensure that it does not shut down during the update process.
– Now, run the BIOS update file and follow the on-screen instructions to complete the update.
– After the update is complete, restart your laptop to apply the changes.
Updating the System BIOS can often resolve hardware-related issues and improve overall system performance.
Utilizing Forced ePSA for Diagnosis
Forced ePSA will run a series of tests on your laptop’s hardware components, including the speakers. If any issues are detected, it will provide an error code or message that can help pinpoint the problem. This can be valuable information to share with technical support if your laptop is still under warranty.
In addition to using Forced ePSA, it’s also important to check the software settings and drivers for the speakers. Ensure that the speakers are set as the default playback device in the Control Panel and that the audio drivers are up to date. You can also try using headphones or an external speaker to determine if the issue is specific to the laptop’s built-in speakers.
If the problem persists after running Forced ePSA and checking the software settings, it may be necessary to seek professional assistance. Consider contacting technical support or a computer repair specialist to further diagnose and resolve the issue. By utilizing Forced ePSA and thoroughly checking both hardware and software components, you can effectively troubleshoot and fix laptop speakers not working on Windows 10.
Conducting a Hardware Scan
| Step | Description |
|---|---|
| 1 | Open the Start menu and type “Device Manager”. |
| 2 | Click on “Device Manager” to open the application. |
| 3 | In the Device Manager, expand the “Sound, video and game controllers” category. |
| 4 | Right-click on the audio device and select “Scan for hardware changes”. |
| 5 | Wait for the scan to complete and check for any changes in the device status. |
Installing Critical Windows Updates
To ensure that your laptop speakers are working properly, it’s important to install critical Windows updates. These updates often contain fixes for various issues, including audio-related problems. To install critical Windows updates, follow these steps:
1. First, open the Control Panel by clicking on the Start button and typing “Control Panel” in the search bar. Then, click on the Control Panel icon to open it.
2. In the Control Panel, navigate to the “System and Security” section and click on “Windows Update.”
3. In the Windows Update window, click on “Check for updates” to see if there are any critical updates available for your computer. If there are updates available, click on “Install updates” to begin the installation process.
4. Once the updates have been installed, restart your computer to ensure that the changes take effect.
By installing critical Windows updates, you can help resolve any underlying issues that may be causing your laptop speakers to not work properly. It’s an essential step in troubleshooting audio problems on Windows 10.
Resetting Windows to Resolve Audio Glitches
If you are experiencing audio glitches on your Windows 10 laptop, resetting the Windows audio service may help resolve the issue. First, open the Control Panel by searching for it in the Windows search bar. Click on “Hardware and Sound” and then “Sound.”
Next, navigate to the “Playback” tab and right-click on your default audio device. Select “Properties” from the context menu and then click on the “Advanced” tab. Here, you can reset the audio service by clicking the “Restore Defaults” button.
Once you have reset the audio service, test your laptop speakers to see if the issue has been resolved. If you are still experiencing glitches, you may need to explore other troubleshooting methods.


