Having trouble installing Windows 7 because it’s not detecting your internal or external hard drive? Let’s troubleshoot that.
Recently, Fortect has become increasingly popular as a reliable and efficient way to address a wide range of PC issues. It's particularly favored for its user-friendly approach to diagnosing and fixing problems that can hinder a computer's performance, from system errors and malware to registry issues.
- Download and Install: Download Fortect from its official website by clicking here, and install it on your PC.
- Run a Scan and Review Results: Launch Fortect, conduct a system scan to identify issues, and review the scan results which detail the problems affecting your PC's performance.
- Repair and Optimize: Use Fortect's repair feature to fix the identified issues. For comprehensive repair options, consider subscribing to a premium plan. After repairing, the tool also aids in optimizing your PC for improved performance.
Check BIOS Settings and Controller Mode
Here, you will want to ensure that the SATA controller mode is set to AHCI for Windows 7 installation to detect the hard drive. If it is set to IDE or RAID, change it to AHCI and save the settings before exiting the BIOS.
If you are trying to install Windows 7 on an external hard drive via USB, you may also need to enable USB support in the BIOS to ensure it is detected during installation.
After making these changes, restart the computer and attempt the Windows 7 installation again. If the internal or external hard drive is still not detected, you may want to consider checking the hard drive’s connections, trying a different USB port or cable, or testing the hard drive on another computer to rule out any hardware issues.
By ensuring the correct BIOS settings and controller mode, you can increase the chances of Windows 7 detecting the internal or external hard drive during installation.
Update or Load Storage Controller Drivers
1. First, determine the make and model of your storage controller. You can usually find this information in the device manager under “Storage controllers.”
2. Once you have identified your storage controller, visit the manufacturer’s website to download the latest drivers for your specific model.
3. After downloading the drivers, you can update them using the Device Manager in Windows. Right-click on the storage controller in the Device Manager, select “Update Driver Software,” and then choose the option to manually select the driver location.
4. Alternatively, you can load the drivers during the Windows 7 installation process. When prompted to select a drive for installation, click “Load Driver” and then navigate to the location where you saved the downloaded storage controller drivers.
By updating or loading the appropriate storage controller drivers, you should be able to resolve the issue of Windows 7 not detecting your internal or external hard drive during installation.
Change Disk Connection or SATA Port
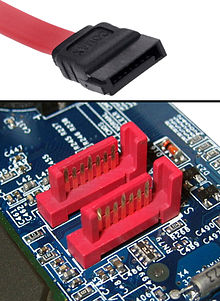
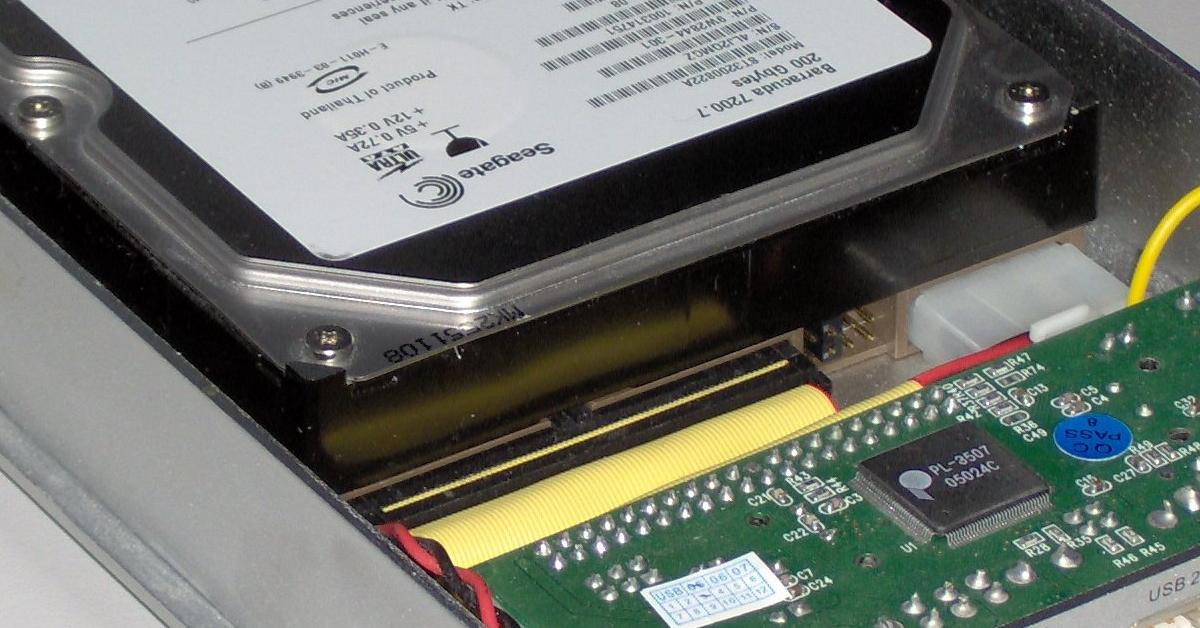
If Windows 7 installation is not detecting your internal or external hard drive, you may need to change the disk connection or SATA port. First, try connecting the hard drive to a different SATA port on your motherboard to see if the issue is with the port itself.
If changing the SATA port doesn’t solve the problem, you can also try using a different disk connection. For example, if you were using an external hard drive connected via USB 3.0, try connecting it using a different USB port to rule out any issues with the specific port you were using.
If you’re still experiencing issues after trying different disk connections and SATA ports, it’s possible that there may be an issue with the hard drive itself. You may want to try connecting the hard drive to a different computer to see if it’s detected there, or consider seeking professional help to diagnose and repair the issue.
If you suspect that the hard drive may be failing, it’s important to back up any important data as soon as possible to prevent data loss.
python

import win32api
def check_hard_drive():
drives = win32api.GetLogicalDriveStrings()
drives = drives.split('\000')[:-1]
for drive in drives:
try:
win32api.GetVolumeInformation(drive)
except:
print(f"The hard drive {drive} is not detected.")
if __name__ == "__main__":
check_hard_drive()
This sample code uses the pywin32 library to retrieve the list of logical drives in the system and then checks if each drive is detected by trying to retrieve its volume information. If the volume information cannot be retrieved, it prints a message indicating that the hard drive is not detected.
Format or Initialize the Hard Drive
First, boot your computer from the Windows 7 installation disc or USB drive.
When you reach the screen that prompts you to select a disk to install Windows on, press Shift + F10 to open a command prompt.
In the command prompt, type diskpart and press Enter to open the DiskPart tool.
Next, type list disk and press Enter to display a list of all the hard drives connected to your computer.
Identify the hard drive that is not being detected by the Windows 7 installation and note its disk number.
Then, type select disk X (replace X with the disk number of the hard drive) and press Enter to select the hard drive.
After selecting the hard drive, type clean and press Enter to remove all partitions and data from the hard drive.
Finally, type exit and press Enter to close the DiskPart tool, and then continue with the Windows 7 installation process.
Assign or Change Drive Letter
- Open Disk Management by right-clicking on Computer and selecting Manage.
- Locate the hard drive that is not being detected in the list of drives.
- Right-click on the drive and select Change Drive Letter and Paths.
- Click Add and select a new drive letter for the drive.
- Click OK to save the changes and close Disk Management.


