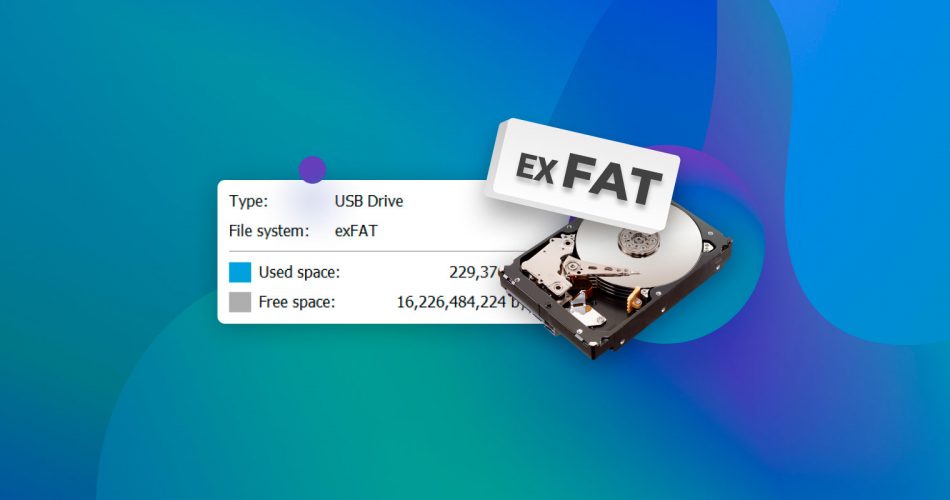
In today’s digital age, data loss can be a frustrating and costly experience. In this article, we will explore the process of repairing and recovering data from exFAT file systems, providing helpful tips and tricks along the way.
Recently, Fortect has become increasingly popular as a reliable and efficient way to address a wide range of PC issues. It's particularly favored for its user-friendly approach to diagnosing and fixing problems that can hinder a computer's performance, from system errors and malware to registry issues.
- Download and Install: Download Fortect from its official website by clicking here, and install it on your PC.
- Run a Scan and Review Results: Launch Fortect, conduct a system scan to identify issues, and review the scan results which detail the problems affecting your PC's performance.
- Repair and Optimize: Use Fortect's repair feature to fix the identified issues. For comprehensive repair options, consider subscribing to a premium plan. After repairing, the tool also aids in optimizing your PC for improved performance.
Recovering lost data from an exFAT partition
To recover lost data from an exFAT partition, try using TestDisk. Download the latest version from their website and follow these simple steps:
1. Connect the drive to your computer and open TestDisk.
2. Select the disk that contains the exFAT partition and choose “Analyse.”
3. TestDisk should detect the partition and its folder structure.
4. If the partition is “RAW,” select “Quick Search” to recover the partition.
5. If the partition is not detected, select “Deeper Search” to search for lost files.
6. Use the arrow keys to select the folders you want to recover and press “C” to copy them to a safe location.
Remember, there’s no guarantee that you’ll be able to recover all of your lost data, but TestDisk gives you a good chance of success. In some situations, you may need to switch to an ext2 or NTFS file system to avoid future partition data loss.
Fixing write protection on exFAT drives
Fixing write protection on exFAT drives can be frustrating, but there are solutions. The first step is to check if the physical write protection switch on the drive is on. If it’s not, the problem may be with the file system. To fix this, use the diskpart command in Windows to remove the write protection. If that doesn’t work, it could signify a deeper problem with the drive’s partition data or file system. In these situations, Partition Recovery software like TestDisk can help recover lost or deleted files. If all else fails, formatting the drive to FAT32 or NTFS may be the only option. Be aware that this process will erase all data on the drive, so back up any important files before proceeding.
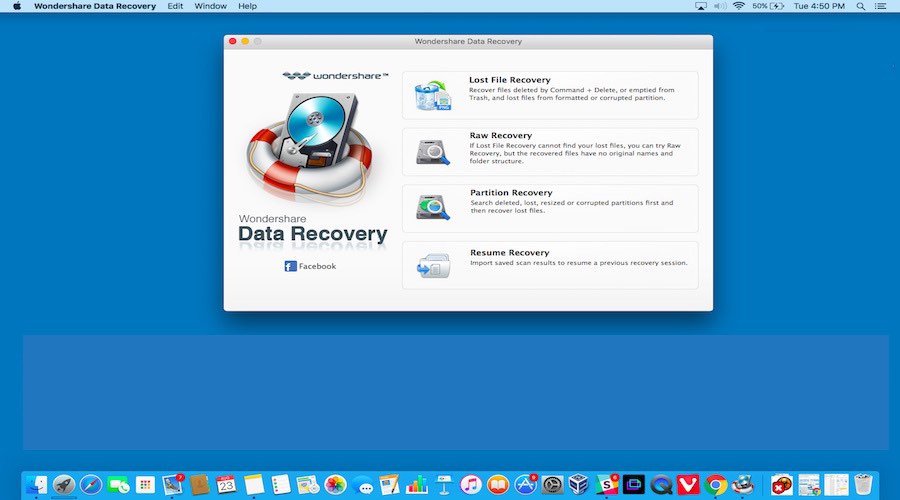
Repairing exFAT partitions using third party tools
- Download and install a reputable third party data recovery tool for exFAT partitions
- Research and choose a reliable data recovery tool for exFAT partitions
- Download the installation file from the tool’s official website
- Install the tool on your computer following the installation wizard
- Launch the data recovery tool and select the exFAT partition to repair
- Open the data recovery tool by double-clicking its icon on your desktop or from the Start menu
- Select the exFAT partition that needs to be repaired from the list of available partitions displayed within the tool
- Start the repair process
- Click on the “Repair” or “Fix” button to start the repair process
- Follow the on-screen instructions provided by the tool to complete the repair process
- Preview and recover the repaired files
- Once the repair process is complete, preview the repaired files within the tool to ensure that they are recoverable
- Select the files you want to recover and click on the “Recover” button
- Choose a location to save the recovered files, preferably on a different partition or external storage device
Repairing exFAT file system using fsck
To repair an exFAT file system, use fsck. First, connect the disk to your machine and open a terminal window. Type sudo fsck.exfat -y /dev/sdXY, replacing “XY” with the partition’s address. Fsck will locate and repair errors in the file system. If you’re having trouble finding the partition, use lsblk to list all connected drives. If the partition is write-protected, remove the lock switch on the SD card or USB flash drive. Once completed, reboot the device to check for success. If the repair fails, try using a third-party program such as TestDisk. Remember to back up your data before attempting any solutions.