
In my experience, troubleshooting a new PC build with no display can be frustrating.
Recently, Fortect has become increasingly popular as a reliable and efficient way to address a wide range of PC issues. It's particularly favored for its user-friendly approach to diagnosing and fixing problems that can hinder a computer's performance, from system errors and malware to registry issues.
- Download and Install: Download Fortect from its official website by clicking here, and install it on your PC.
- Run a Scan and Review Results: Launch Fortect, conduct a system scan to identify issues, and review the scan results which detail the problems affecting your PC's performance.
- Repair and Optimize: Use Fortect's repair feature to fix the identified issues. For comprehensive repair options, consider subscribing to a premium plan. After repairing, the tool also aids in optimizing your PC for improved performance.
Check and Reseat RAM Modules
- Power Off the PC
- Disconnect the power cord from the back of the computer
- Remove the side panel of the PC case to access the internal components
- Locate the RAM modules installed on the motherboard
- Press down on the tabs on each side of the RAM module to release it from the slot
- Remove the RAM module from the slot
- Inspect the gold pins on the RAM module for any signs of damage or corrosion
- Reinsert the RAM module back into the slot
- Push down firmly on the module until the tabs click into place
- Repeat the process for all RAM modules installed
- Close the side panel of the PC case
- Reconnect the power cord to the back of the computer
- Power on the PC and check if the display issue is resolved
Verify Monitor and Display Connections
Make sure the monitor is securely connected to the graphics card or motherboard via the correct cable (HDMI, DisplayPort, VGA, etc).
Check if the monitor is powered on and set to the correct input source.
Inspect the graphics card or motherboard for any loose connections or signs of damage.
If using a dedicated graphics card, ensure it is properly seated in the PCIe slot.
Monitor and Display Testing:
Try connecting the monitor to a different computer or device to rule out any issues with the monitor itself.
Test different display cables to eliminate the possibility of a faulty cable causing the no display issue.
If using multiple monitors, test each monitor individually to identify if a specific monitor is causing the problem.
BIOS and Graphics Settings:
Access the BIOS settings by pressing the designated key during startup (common keys include F2, Del, or Esc).
Check the BIOS settings for any display-related options that may be affecting the output.
If using a dedicated graphics card, ensure that it is set as the primary display adapter in the BIOS.
Restart the PC after making any changes to the BIOS settings to see if the display issue has been resolved.
Update or Reset BIOS Settings
First, turn off your PC and unplug it from the power source. This is important to prevent any damage while making changes to the BIOS settings.
Next, locate the BIOS reset jumper on your motherboard. This is usually a set of pins labeled as “CLR_CMOS” or something similar. Consult your motherboard manual for the exact location.
Use a jumper cap or a small piece of metal to short the two pins on the BIOS reset jumper. This will reset the BIOS settings back to default.
If you simply want to update the BIOS settings, you can access the BIOS menu by pressing a specific key during the boot process. This key is usually displayed on the screen during boot, such as “Press DEL to enter BIOS.”
Once in the BIOS menu, navigate to the settings you want to update or reset. Make the necessary changes and save the settings before exiting the BIOS menu.
After updating or resetting the BIOS settings, plug in your PC and power it on. Check if the display issue has been resolved.
Ensure Proper Seating of the Graphics Card
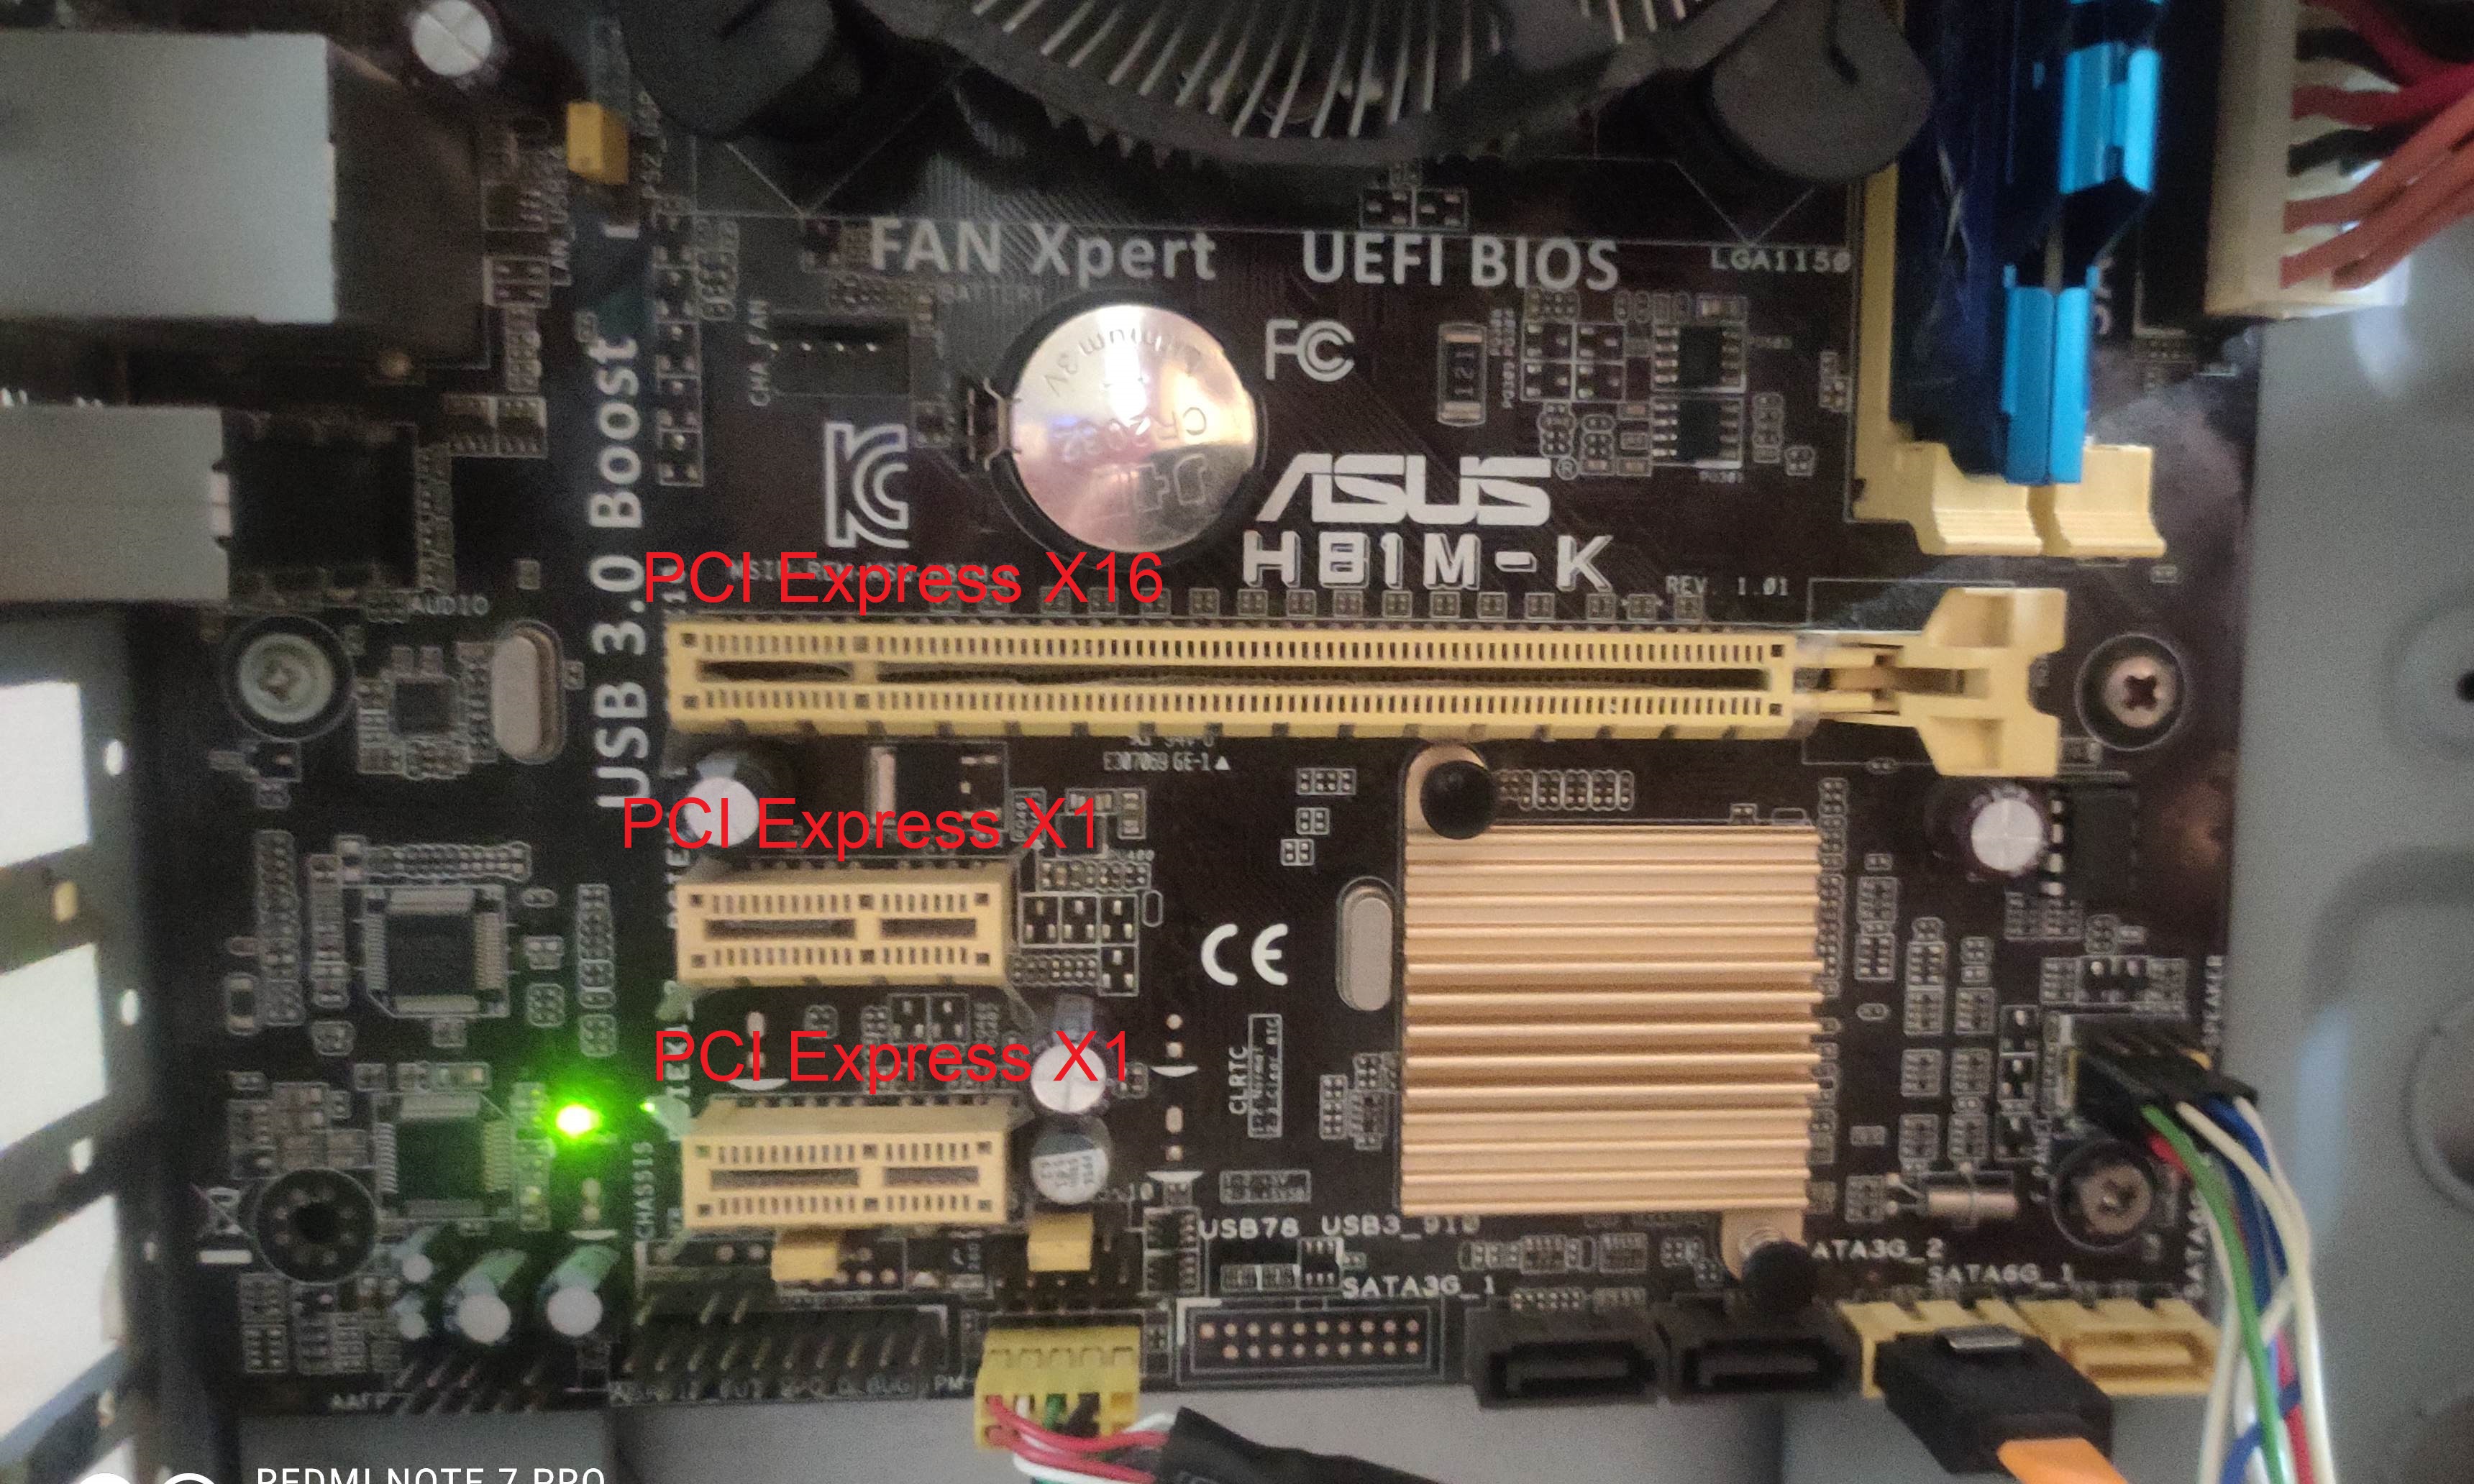
When facing a no display issue on a new PC build, one of the first things to check is the seating of the graphics card. Make sure the graphics card is securely and properly inserted into the PCIe slot on the motherboard.
If the graphics card seems loose, carefully remove it and reseat it back into the slot. Ensure that the locking mechanism is engaged to keep the card in place.
After reseating the graphics card, double-check all power connections to the card. Make sure the PCIe power cables are properly connected and secure.
If the issue persists, try testing the graphics card in another PCIe slot on the motherboard if available. This can help determine if the slot may be faulty.
If none of these steps resolve the no display problem, consider testing the graphics card in another system to see if it functions properly. This can help identify if the issue lies with the graphics card itself.
Ensuring the proper seating of the graphics card is crucial in troubleshooting a new PC build with no display. Follow these steps carefully to potentially resolve the issue and get your system up and running smoothly.
Disconnect Non-Essential Peripherals

When troubleshooting a new PC build with no display, try disconnecting non-essential peripherals to isolate the issue. Start by removing any USB devices, external hard drives, and unnecessary cables.
Next, unplug any unnecessary power cables from your power supply. Make sure all connections are secure and properly seated.
Power off your PC completely, then disconnect the power strip or wall outlet and wait for a few minutes before reconnecting everything.
Try booting up your computer again and check if the display appears. If the issue persists, consider testing your RAM modules and graphics card by reseating them in their respective slots.
If you still encounter a no display problem, it may be due to a faulty GPU, CPU, or motherboard. Consult your manufacturer’s support or seek assistance from a professional technician for further troubleshooting.
Perform a Hard Reset or Power Cycle
First, make sure the power supply is turned off and unplugged from the power strip or outlet.
Next, press and hold the power button on your PC for at least 30 seconds to drain any remaining electricity.
After that, reconnect the power cable and turn on the power supply.
Press the power button on your PC to turn it on and check if the display is now working.
If the display is still not showing, try using a different power cable or connecting the display to a different port on your graphics processing unit.
If you are still experiencing issues, consider checking the connections of your components such as the RAM, CPU, and GPU.
If the problem persists, consult the manufacturer’s website for any firmware updates or patches that may address the issue.
Test with Alternative Display or Monitor
If you’re experiencing no display on your new PC build, try testing it with an alternative display or monitor. This will help determine if the issue lies with the hardware or the original display.
Start by connecting your PC to a different monitor using a different cable. This will rule out any potential issues with the original display or connection.
If you’re still not getting any display, try connecting your PC to a TV or another device with a display input. This will help determine if the issue is with the monitor or the PC itself.
Make sure to check all connections and ensure that everything is securely plugged in. Loose connections can often cause display issues.
If you’re still not getting any display after trying different monitors and connections, it’s possible that there may be an issue with the graphics processing unit, firmware, or other hardware components. In this case, you may need to consult a professional or the manufacturer for further assistance.
By testing your new PC build with an alternative display or monitor, you can troubleshoot the issue and potentially identify the root cause of the no display problem.
Examine Power Supply and Component Compatibility
| Component | Power Supply Compatibility |
|---|---|
| CPU | Make sure the power supply provides enough wattage to support the CPU’s power requirements. |
| GPU | Check that the power supply has the necessary connectors and wattage to support the GPU. |
| RAM | RAM typically does not have specific power supply requirements, but ensure the power supply has enough overall wattage for all components. |
| Storage | Hard drives and SSDs do not have specific power supply requirements, but consider the overall power needs of the system. |
| Motherboard | Ensure the power supply has the necessary connectors for the motherboard, such as the 24-pin ATX connector and any additional CPU power connectors. |
Frequently Asked Questions
Why is my built computer not displaying anything?
Your built computer may not be displaying anything due to issues with the CPU, motherboard, RAM, power supply, or graphics card not being properly connected. Try reseating all components and testing them in another computer to ensure they are working correctly.
Why will my computer turn on but no display?
Your computer may turn on but display nothing if something is not plugged in properly or at all. Check all cables, reseat your RAM, and try again. If the issue persists, test it with one stick of RAM at a time.
Why is my computer connected but no display?
Your computer may be connected but not displaying anything due to damaged or loosely connected cables, incorrect display configuration, faulty GPU or RAM, incorrect BIOS configuration, faulty peripheral devices, or a damaged PSU.
Why isn’t my computer turning on after I built it?
Your computer may not be turning on after you built it because the motherboard lights are not turning on. It could indicate a problem with the power supply. Before replacing it, try swapping out the power cable and using a different wall socket to troubleshoot. If a new power supply is needed, consider purchasing one of the best PSUs available.


