Having a bad memory configuration can lead to various issues and hinder the optimal performance of our devices. In this article, we will explore effective strategies and solutions to fix and improve memory configuration, ensuring seamless functioning and enhanced productivity.
Recently, Fortect has become increasingly popular as a reliable and efficient way to address a wide range of PC issues. It's particularly favored for its user-friendly approach to diagnosing and fixing problems that can hinder a computer's performance, from system errors and malware to registry issues.
- Download and Install: Download Fortect from its official website by clicking here, and install it on your PC.
- Run a Scan and Review Results: Launch Fortect, conduct a system scan to identify issues, and review the scan results which detail the problems affecting your PC's performance.
- Repair and Optimize: Use Fortect's repair feature to fix the identified issues. For comprehensive repair options, consider subscribing to a premium plan. After repairing, the tool also aids in optimizing your PC for improved performance.
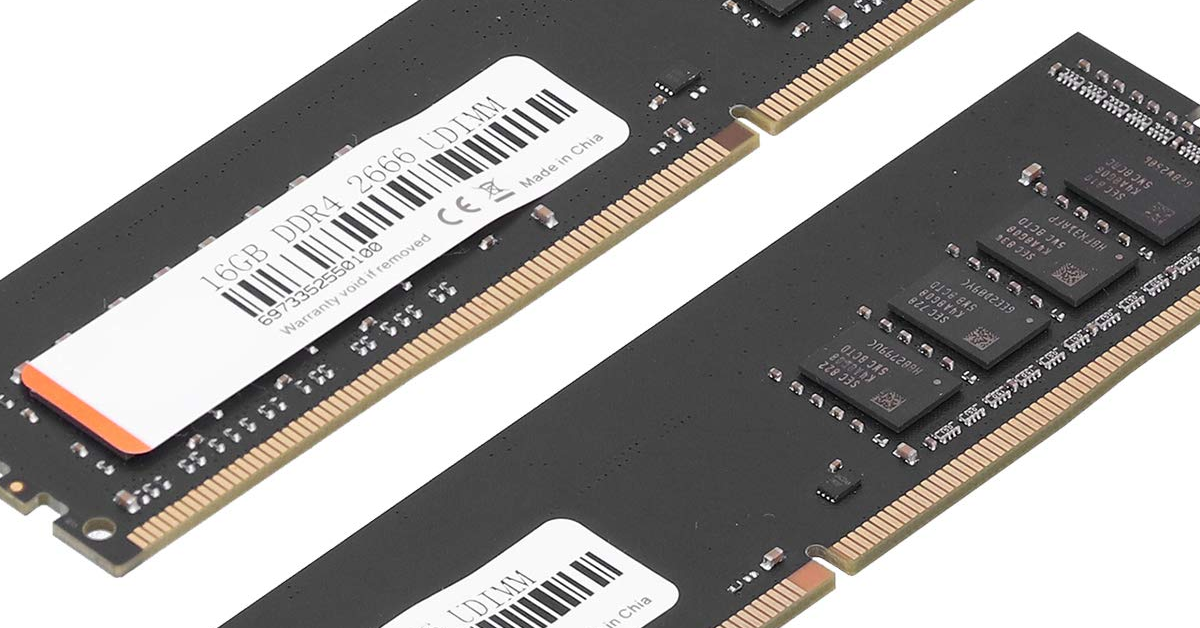
Troubleshooting RAM failures
If you are experiencing issues with your computer’s RAM, it may be due to a bad memory configuration. Here are a few troubleshooting steps you can take to fix this problem.
First, ensure that your RAM sticks are properly seated in their slots on the motherboard. Sometimes, a loose connection can cause performance issues. If the problem persists, try reseating the RAM sticks.
Next, check your computer’s BIOS settings. Access the BIOS by pressing the designated key during booting (usually displayed on the startup screen). In the BIOS, navigate to the memory settings and make sure they are configured correctly. Consult your computer’s manual or the manufacturer’s website for specific instructions.
If the issue still persists, try removing one RAM stick at a time and testing your computer’s performance. This will help identify if a particular stick is causing the problem. Remember to power off your computer before removing or inserting RAM sticks.
If none of the above steps work, it may be worth testing your RAM sticks in a different computer or using a diagnostic tool. This can help determine if the issue lies with the RAM sticks themselves.
Resolving memory errors
If you’re experiencing memory errors on your computer, it’s likely due to a bad memory configuration. To resolve this issue, follow these steps:
1. First, ensure that your computer is powered off and disconnected from the power supply. This will prevent any damage to the components.
2. Open your computer case and locate the memory modules. These are small rectangular cards that are inserted into slots on the motherboard.
3. Check that the memory modules are properly seated in their slots. Remove them and reinsert them firmly to make sure they are securely connected.
4. If you have multiple memory modules, try removing one at a time and testing your computer’s performance. This will help identify if a specific module is causing the issue.
5. Additionally, check if the memory modules are compatible with your motherboard. Consult your computer’s documentation or visit the manufacturer’s website for compatibility information.
6. Ensure that the memory modules are of the same type and speed. Mismatched memory can cause errors and instability.
7. If you’re still experiencing memory errors, consider running a memory diagnostic tool. Many computer manufacturers, such as Dell and Fujitsu, provide their own diagnostic tools that can help identify and resolve memory issues.
Optimizing memory configuration
- Check the current memory configuration settings
- Identify any potential issues or bottlenecks
- Adjust virtual memory settings
- Update device drivers
- Remove unnecessary startup programs
Check the current memory configuration settings:
- Open Task Manager by pressing Ctrl+Shift+Esc
- Navigate to the Performance tab
- Under the Memory section, review the current memory usage and available memory
Identify any potential issues or bottlenecks:
- Analyze the memory usage patterns and identify any excessive memory consumption
- Look for any specific processes or applications that are consuming a large amount of memory
- Check for any memory leaks or high memory usage by certain software
Adjust virtual memory settings:
- Open the Control Panel
- Click on System and Security
- Select System and then click on Advanced system settings
- Under the Advanced tab, click on Settings in the Performance section
- Navigate to the Advanced tab in the Performance Options window
- Click on Change in the Virtual memory section
- Uncheck the option for “Automatically manage paging file size for all drives”
- Select the “Custom size” option
- Enter an appropriate value for the Initial size and Maximum size of the virtual memory
- Click OK to save the changes
Update device drivers:
- Open the Device Manager
- Expand the categories and locate the devices that require driver updates
- Right-click on the device and select Update driver
- Choose the option to Search automatically for updated driver software
- Follow the on-screen instructions to install the latest drivers
Remove unnecessary startup programs:
- Open the Task Manager by pressing Ctrl+Shift+Esc
- Navigate to the Startup tab
- Disable any unnecessary programs from starting up with the system
- Right-click on the program and select Disable
- Repeat this process for all unnecessary startup programs
Steps to fix faulty RAM
– First, ensure that your computer is powered off and disconnected from any power source.
– Open the case of your computer to access the RAM slots. This process may vary depending on the make and model of your machine.
– Carefully remove the faulty RAM module from its slot. Be cautious not to touch the gold connectors on the bottom of the module.
– Inspect the RAM slot for any debris or dust. Use compressed air or a clean, dry cloth to gently clean the slot if necessary.
– Insert the new RAM module into the slot, ensuring that it is properly aligned. Apply gentle pressure until it clicks into place.
– Close the case of your computer and reconnect any cables or power sources.
– Power on your computer and check if the RAM issue has been resolved. If not, you may need to repeat the steps or seek further assistance.


