Experiencing CPU over temperature error? Here’s a step-by-step solution to fix it.
Recently, Fortect has become increasingly popular as a reliable and efficient way to address a wide range of PC issues. It's particularly favored for its user-friendly approach to diagnosing and fixing problems that can hinder a computer's performance, from system errors and malware to registry issues.
- Download and Install: Download Fortect from its official website by clicking here, and install it on your PC.
- Run a Scan and Review Results: Launch Fortect, conduct a system scan to identify issues, and review the scan results which detail the problems affecting your PC's performance.
- Repair and Optimize: Use Fortect's repair feature to fix the identified issues. For comprehensive repair options, consider subscribing to a premium plan. After repairing, the tool also aids in optimizing your PC for improved performance.
Understanding the CPU Over Temperature Error
If you encounter a CPU Over Temperature Error, there are a few steps you can take to fix the issue.
First, ensure that your computer’s cooling system is functioning properly. Check the computer fan and heat sink to make sure they are clean and free from any dust or debris. You may need to clean them using compressed air or a microfiber cloth.
Next, check the cable management inside your computer. Make sure that cables are not blocking airflow and that they are neatly organized to promote proper ventilation.
If you have recently overclocked your CPU, it may be running at a higher temperature than normal. Consider reverting back to the default settings to see if the error message disappears.
In some cases, the issue may be related to the thermal paste between the CPU and heat sink. If you are comfortable with computer hardware, you can remove the heat sink, clean off the old thermal paste, and apply a fresh layer.
It’s also important to check for any malware or viruses on your computer. Malicious software can cause your CPU to overheat. Run a thorough scan using a reliable antivirus program to eliminate any potential threats.
If you have tried all of these steps and are still encountering the CPU Over Temperature Error, it may be time to consult an expert. They can diagnose the issue and provide a solution tailored to your specific hardware and software setup.
Solutions for Fixing CPU Over Temperature Error
- Step 1: Shut down the computer and unplug it from the power source.
- Step 2: Open the computer case by removing the screws or latches.
- Step 3: Locate the CPU and cooler.
- Step 4: Carefully remove the cooler from the CPU by unscrewing or unlatching it.
- Step 5: Use compressed air or a soft brush to remove dust and debris from the CPU and cooler.
- Step 6: Clean the cooler’s fan blades using a cotton swab or compressed air.
- Step 7: Apply a small amount of thermal paste to the CPU.
- Step 8: Reattach the cooler to the CPU and make sure it is securely fastened.
- Step 9: Close the computer case and plug it back into the power source.
Method 2: Checking the CPU Fan
- Step 1: Start the computer and enter the BIOS or UEFI settings by pressing the designated key (e.g., Del, F2, F10) during startup.
- Step 2: Navigate to the “Hardware Monitor” or “PC Health” section in the BIOS/UEFI settings.
- Step 3: Check the RPM (revolutions per minute) value of the CPU fan. It should be within the specified range (usually 1000-3000 RPM).
- Step 4: If the RPM is too low or not spinning at all, ensure the fan is properly connected to the motherboard.
- Step 5: If the fan is connected correctly but still not spinning, it may be faulty and require replacement.
- Step 6: Save the changes in the BIOS/UEFI settings and exit.
Method 3: Adjusting Power and Performance Settings
- Step 1: Right-click on the desktop and select “Power Options” or “Power & Sleep Settings.”
- Step 2: Choose the “High Performance” power plan or create a custom power plan with higher CPU performance settings.
- Step 3: Click on “Change plan settings” next to the selected power plan.
- Step 4: Set the “Processor power management” option to “100%” for both minimum and maximum processor state.
- Step 5: Save the changes and close the power options.
Method 4: Updating BIOS and Drivers
- Step 1: Visit the manufacturer’s website and locate the support or downloads section.
- Step 2: Enter the model number of your motherboard or computer to find the latest BIOS updates and drivers.
- Step 3: Download and install the latest BIOS update according to the provided instructions.
- Step 4: Update other drivers such as chipset, graphics, and network drivers if available.
- Step 5: Restart the computer after installing the updates.
Troubleshooting and Prevention Tips for CPU Over Temperature Error
If you are experiencing a CPU Over Temperature Error, there are a few troubleshooting and prevention tips you can try to resolve the issue.
First, check your computer cooling system. Make sure all fans are functioning properly and that there is no dust or debris blocking the airflow. Clean the fans and vents using a microfiber cloth to remove any dirt or grime. Proper ventilation is crucial for keeping your CPU cool.
Next, check if your CPU is overclocked. Overclocking can cause the CPU to generate more heat than it can handle. If you have overclocked your CPU, consider reverting it back to the default settings.
Make sure your computer chassis is properly set up. Ensure that cables are neatly organized and not obstructing airflow. Good cable management can help improve airflow and prevent heat buildup.
Check for any signs of malware or viruses on your system. Malware can cause excessive CPU usage, leading to overheating. Run a thorough scan using reliable antivirus software to remove any potential threats.
If the CPU Over Temperature Error persists, consider checking the thermal paste on your CPU. Over time, the thermal paste can dry out and become less effective in transferring heat. Apply a new layer of thermal paste to ensure proper heat dissipation.
If you are not comfortable performing these troubleshooting steps yourself, consider seeking the help of a knowledgeable expert. They can provide guidance and assistance in resolving the CPU Over Temperature Error.
Taking proactive measures to prevent CPU overheating is also important. Keep your computer hardware clean and free from dust. Regularly check and clean your cooling system to maintain efficient heat dissipation. Avoid running demanding tasks, such as 3D modeling or graphic-intensive applications, for extended periods without giving your CPU a break.
python

import psutil
def check_cpu_temperature():
temperature = psutil.sensors_temperatures().get('coretemp', [])
if not temperature:
print("Unable to retrieve CPU temperature.")
return
for entry in temperature:
for sensor in entry:
if sensor.current > 80: # Example threshold, adjust as needed
print("High CPU temperature detected! Temperature:", sensor.current)
# Perform necessary actions here, such as logging, alerts, or system shutdown.
# Note: Be cautious when performing actions directly impacting system behavior.
return
print("CPU temperature is within normal range.")
check_cpu_temperature()
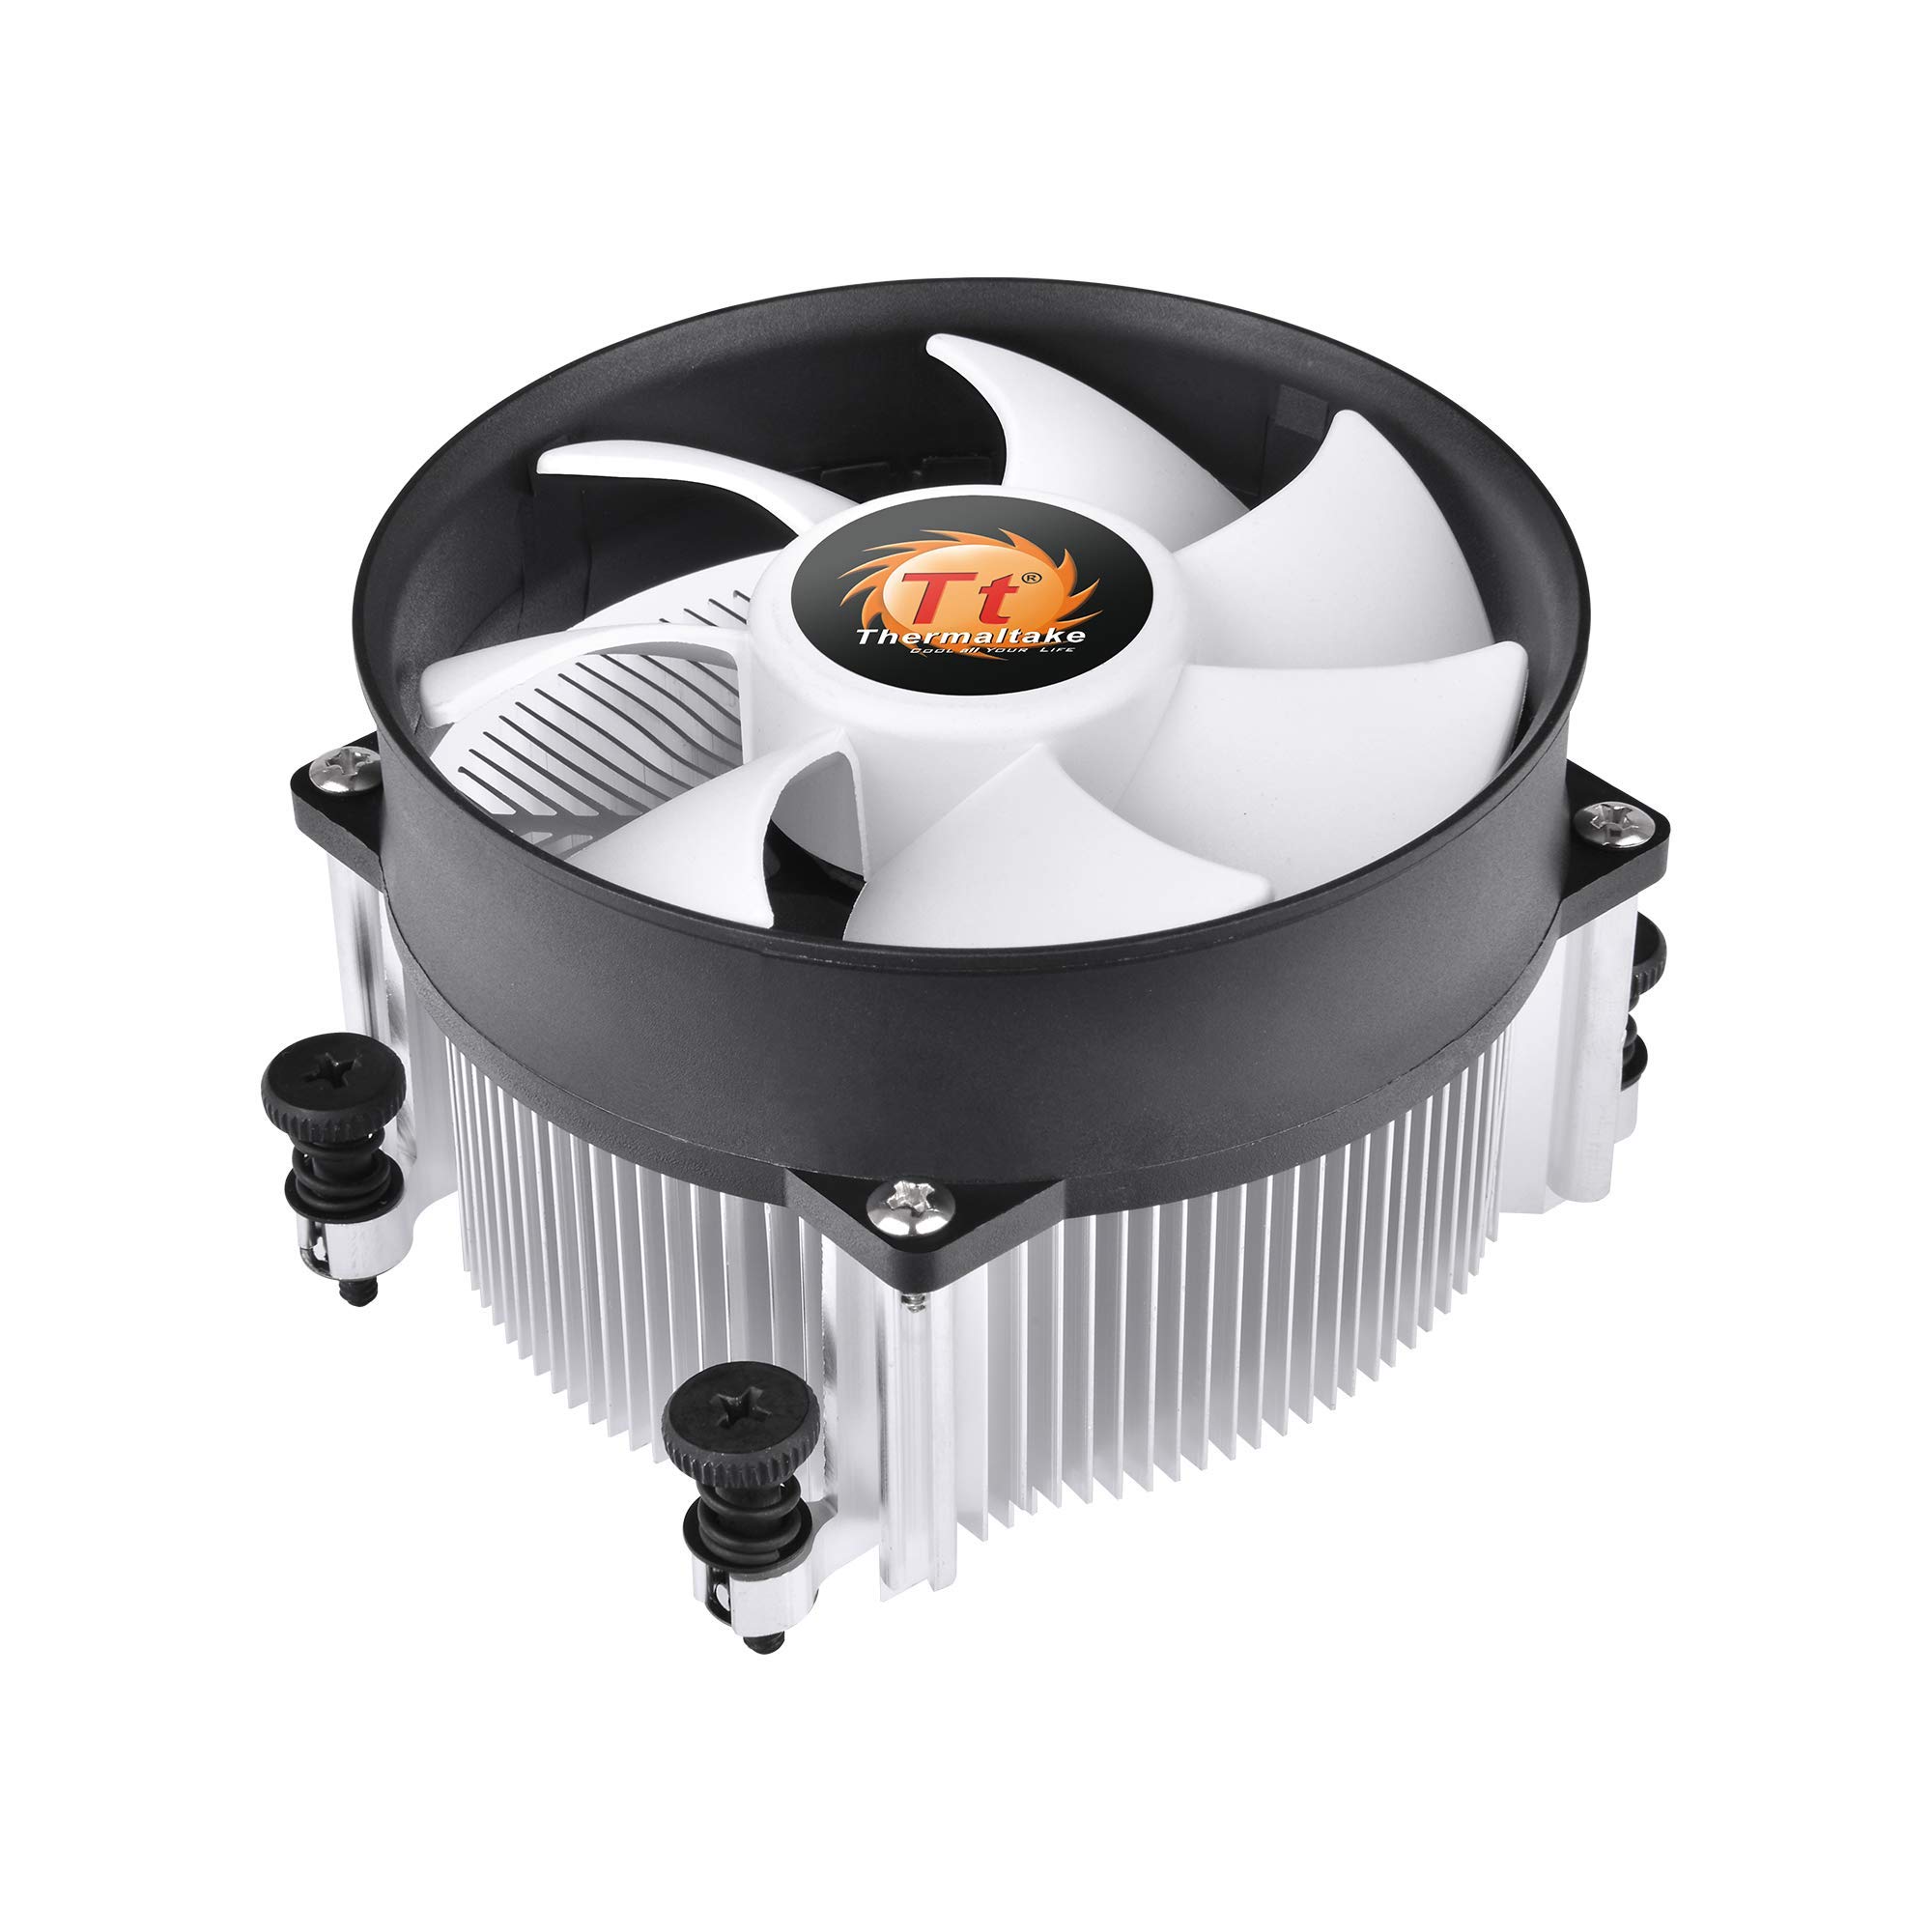
Checking and Cleaning CPU Cooler and Heat Sink
| Step | Description |
|---|---|
| 1 | Power off the computer and unplug it from the power source. |
| 2 | Open the computer case to access the CPU cooler and heat sink. Refer to your computer’s manual for specific instructions. |
| 3 | Identify the CPU cooler and heat sink assembly. |
| 4 | Remove any fans or shrouds covering the heat sink. |
| 5 | Disconnect the CPU cooler from the motherboard by removing the mounting screws or clips. |
| 6 | Gently lift the CPU cooler off the CPU socket, taking care not to damage the CPU or socket pins. |
| 7 | Carefully clean the old thermal paste from both the CPU and the heat sink using isopropyl alcohol and a lint-free cloth. |
| 8 | Inspect the heat sink and fan for any dust or debris buildup. Use compressed air or a soft brush to remove any dirt. |
| 9 | Apply a small amount of fresh thermal paste to the center of the CPU. |
| 10 | Place the CPU cooler back onto the CPU socket, aligning the mounting holes or clips. |
| 11 | Tighten the mounting screws or clips to secure the CPU cooler in place. |
| 12 | Reattach any fans or shrouds that were removed earlier. |
| 13 | Close the computer case and reconnect it to the power source. |
| 14 | Power on the computer and check if the CPU over temperature error still persists. |
Reapplying Thermal Paste for CPU Cooling
- Step 1: Gather necessary tools and materials
- Thermal paste
- Isopropyl alcohol
- Cotton swabs or lint-free cloth
- Plastic scraper or credit card
- Lint-free cloth or coffee filter
- Step 2: Prepare the workspace
- Turn off the computer and unplug all cables
- Place the computer on a stable surface with good lighting
- Step 3: Remove the CPU cooler
- Open the computer case
- Disconnect the CPU cooler fan cables
- Remove any screws or clips securing the CPU cooler
- Gently twist and lift the cooler to detach it from the CPU
- Step 4: Clean the CPU and cooler
- Apply a small amount of isopropyl alcohol to a cotton swab or lint-free cloth
- Gently wipe the CPU and cooler surface to remove old thermal paste
- Use a plastic scraper or credit card to scrape off any stubborn residue
- Wipe away any remaining traces of thermal paste with a lint-free cloth or coffee filter
- Step 5: Apply new thermal paste
- Squeeze a small, pea-sized amount of thermal paste onto the center of the CPU
- Use a plastic scraper or credit card to spread the thermal paste evenly over the entire CPU surface
- Ensure the thermal paste covers the entire surface without any gaps
- Step 6: Reattach the CPU cooler
- Align the cooler with the mounting holes on the motherboard
- Press the cooler down gently to ensure proper contact with the CPU
- Secure the cooler with screws or clips
- Reconnect the CPU cooler fan cables
- Step 7: Close the computer case
- Ensure all cables are properly connected
- Secure the case panels with screws or latches
- Step 8: Power on the computer
- Plug in all cables
- Turn on the computer and check for any temperature errors
- Monitor the CPU temperature to ensure it stays within safe limits
Lowering Overclock Settings to Prevent CPU Overheating
If you are experiencing a CPU Over Temperature Error, one possible solution is to lower your overclock settings. This can help prevent your CPU from overheating and potentially causing damage. Here’s a step-by-step guide to help you fix this issue:
1. Start by accessing your computer’s BIOS or UEFI settings. This can usually be done by pressing a specific key (such as Delete or F2) during the boot process. Check your computer’s manual or manufacturer’s website for the exact key.
2. Once you’re in the BIOS/UEFI settings, look for the section related to overclocking. It may be labeled as “CPU settings” or something similar.
3. Within the overclocking settings, locate the option to adjust the CPU frequency or multiplier. This is the setting that determines how fast your CPU runs. Lowering this value will reduce the CPU’s speed and generate less heat.
4. Decrease the CPU frequency or multiplier by a small amount, such as 100 MHz, and save the changes.
5. Exit the BIOS/UEFI settings and restart your computer. Monitor the CPU temperature during the boot process and while running demanding tasks, such as 3D modeling or gaming.
6. If the CPU temperature remains within safe limits and you no longer receive the over temperature error message, you can continue using your computer with the lower overclock settings.
7. If the error message persists or the CPU temperature is still too high, you may need to repeat steps 4 and 5, further lowering the overclock settings. Alternatively, you can remove the overclock entirely to ensure stable and safe operation.
8. Remember to regularly clean your computer’s cooling system, including the fans and heat sinks, to prevent dust and grime buildup that can impede proper heat dissipation. This can help maintain optimal cooling performance and reduce the risk of overheating.
By lowering your overclock settings, you can effectively address the CPU Over Temperature Error and prevent your CPU from overheating. It’s important to find the right balance between performance and temperature to ensure stable operation. If you require more assistance, consider seeking help from online forums like Reddit or consulting with a knowledgeable technician.
BIOS Fan Check for CPU Temperature Control
The BIOS fan check is a crucial step in controlling CPU temperature and preventing overheating issues. To fix the CPU over temperature error, follow these steps:
1. Restart your computer and enter the BIOS settings by pressing the designated key during booting (usually DEL or F2).
2. Navigate to the “Hardware Monitor” or “PC Health” section in the BIOS menu.
3. Look for the CPU temperature readings and check if they are within the normal range. Normal temperatures vary depending on the CPU model, but generally, anything below 80°C is considered safe.
4. Ensure that the “CPU Fan” or “System Fan” setting is enabled and set to its recommended speed.
5. If the CPU fan is not spinning or running at a low speed, it may be malfunctioning or clogged with dust. Inspect the fan physically and clean it if necessary to improve airflow and cooling.
6. Consider installing additional case fans or upgrading your current cooling system if the CPU temperature remains high despite proper fan functioning.
7. Save the changes made in the BIOS settings and exit.
Remember, maintaining proper ventilation and avoiding excessive dust buildup in your computer chassis is essential for optimal cooling. Regularly clean your computer’s fans and vents to prevent overheating problems.
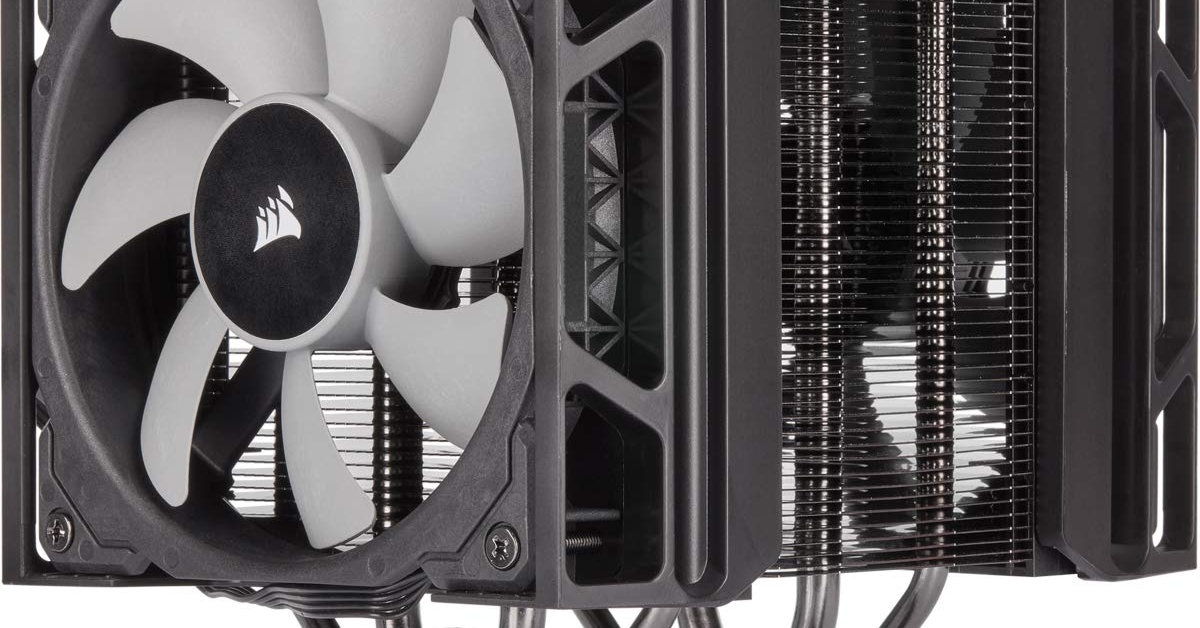
Upgrading CPU Cooler for Better Heat Dissipation
| Upgrading CPU Cooler for Better Heat Dissipation | |
|---|---|
| Article Title | Fixing CPU Over Temperature Error – Step by Step Solution |
| Step | Solution |
| Step 1 | Identify the current CPU cooler and its limitations. |
| Step 2 | Research and select a compatible and efficient CPU cooler. |
| Step 3 | Remove the old CPU cooler carefully, following proper precautions. |
| Step 4 | Clean the CPU surface using isopropyl alcohol and a lint-free cloth. |
| Step 5 | Apply a small amount of thermal paste evenly on the CPU surface. |
| Step 6 | Install the new CPU cooler according to the manufacturer’s instructions. |
| Step 7 | Connect the fan cables and ensure everything is securely attached. |
| Step 8 | Power on the system and monitor the CPU temperature. |
| Step 9 | If the error persists, consider additional cooling solutions or seek professional help. |


