Having trouble with installing software on your Windows computer? Let’s address those installation problems and get your software up and running smoothly.
Recently, Fortect has become increasingly popular as a reliable and efficient way to address a wide range of PC issues. It's particularly favored for its user-friendly approach to diagnosing and fixing problems that can hinder a computer's performance, from system errors and malware to registry issues.
- Download and Install: Download Fortect from its official website by clicking here, and install it on your PC.
- Run a Scan and Review Results: Launch Fortect, conduct a system scan to identify issues, and review the scan results which detail the problems affecting your PC's performance.
- Repair and Optimize: Use Fortect's repair feature to fix the identified issues. For comprehensive repair options, consider subscribing to a premium plan. After repairing, the tool also aids in optimizing your PC for improved performance.
Upgrade Complications from Previous Versions
When upgrading from previous versions of Windows, you may encounter compatibility issues with certain software installations. This can be due to changes in the operating system, hardware requirements, or software release life cycle.
If you are experiencing upgrade complications from previous versions, start by checking for any malware on your system. Malicious software can interfere with the installation process and cause issues with your software.
Next, ensure that your BIOS is updated to the latest version. This can resolve compatibility issues with newer hardware and improve overall system performance.
Check your antivirus software for any potential conflicts with the installation process. Some antivirus programs may block installations or flag certain files as malicious, causing installation problems.
If you are using Windows 8 or Windows 7, consider running the Windows Installer Troubleshooter. This tool can help identify and resolve issues with the Windows Installer service.
Keep in mind that certain software may require updates or patches to be compatible with newer versions of Windows. Check for updates from the software manufacturer and install any available patches.
By addressing these potential upgrade complications, you can improve the overall stability and performance of your Windows software installations.
Insufficient Storage Post-Upgrade
- Check available storage space
- Open File Explorer
- Select This PC
- Check the available storage space on the C: drive
- Clean up disk space
- Open Settings
- Go to System
- Select Storage
- Click on Free up space now
- Select the files to delete and click Remove files
- Use external storage
- Connect an external hard drive or USB flash drive
- Move files and applications to the external storage to free up space on the internal drive
Resolving Update Malfunctions
If you’re experiencing issues with Windows software installation, particularly update malfunctions, there are a few steps you can take to resolve the problem. First, try running the Windows Update Troubleshooter. This tool can help identify and resolve any issues with the update process.
If that doesn’t work, you can try resetting the Windows Update components. To do this, you’ll need to open a Command Prompt with administrative privileges and run a series of commands to stop the Windows Update service, rename the SoftwareDistribution folder, and restart the Windows Update service.
Another option is to manually download and install the updates that are causing issues. You can visit the Microsoft Update Catalog website and search for the specific updates by their KB numbers. Once you’ve downloaded the updates, you can install them manually.
If you’re still experiencing issues, you may need to consider running a malware scan on your system. Malware can sometimes interfere with the update process, so it’s important to ensure that your system is clean.
In some cases, issues with updates can also be caused by antivirus software. Try temporarily disabling your antivirus software and then attempt to install the updates again. If the updates install successfully with the antivirus software disabled, you may need to adjust the settings of your antivirus software to allow the updates to proceed.
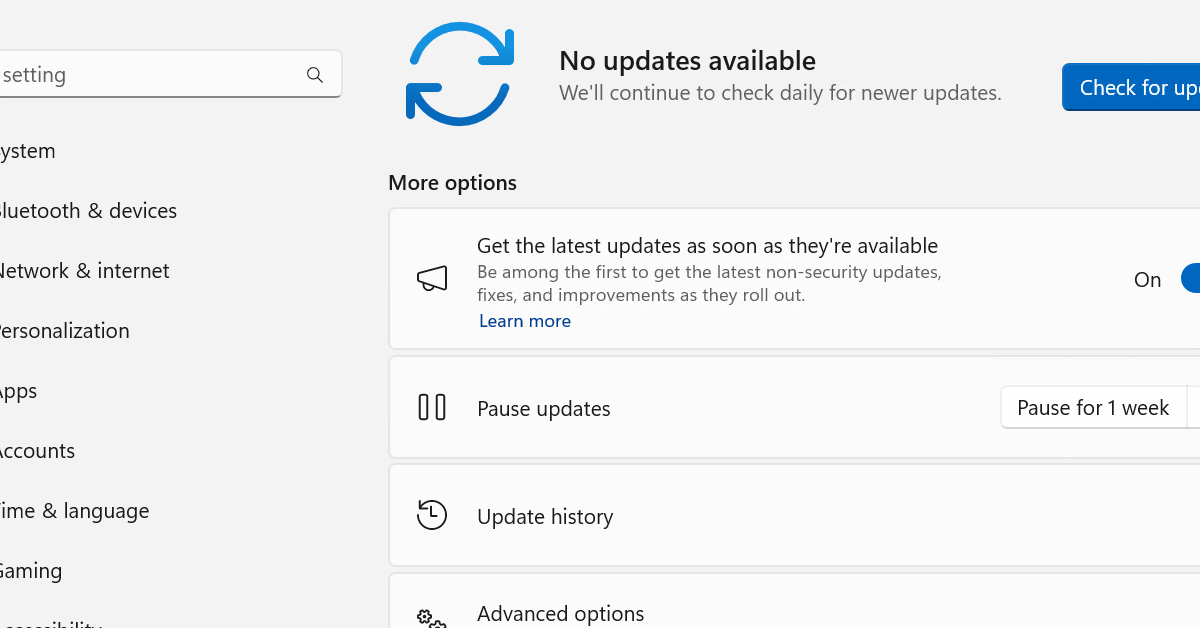
Controlling Update Timing
To control update timing on Windows, you can change the active hours in the Windows Update settings. This allows you to set a time frame during which your computer won’t install updates or restart. Simply go to Settings > Update & Security > Windows Update > Change active hours to customize this setting.
Another option is to defer updates for a certain period of time. This can be done in the Windows Update settings by selecting Advanced options and choosing to defer updates for a specific number of days.
If you’re using Windows 10 Pro or Enterprise, you can pause updates altogether for up to 35 days. This can be done in the Group Policy Editor by navigating to Computer Configuration > Administrative Templates > Windows Components > Windows Update > Configure Automatic Updates.
In some cases, you may also want to disable automatic updates completely. This can be done by stopping the Windows Update service in the Services app. Simply type services.msc into the Start menu, find the Windows Update service, and stop it.
Keep in mind that while controlling update timing can be useful for avoiding disruptions, it’s important to stay on top of updates to ensure your system is secure and up to date.
Managing Overabundant Notifications
If you’re experiencing an overabundance of notifications while trying to fix Windows software installation problems, there are a few steps you can take to manage them. First, check your notification settings by going to the Control Panel and selecting “System and Security,” then “Security and Maintenance.” From there, you can adjust your notification settings to minimize interruptions.
Another option is to disable notifications for specific apps or programs. To do this, go to the Start menu and select “Settings,” then “System,” and finally “Notifications & actions.” From there, you can toggle off notifications for individual apps or programs that may be causing excessive interruptions.
If you’re still receiving an overwhelming number of notifications, consider updating your operating system and software to the latest versions. Outdated software can sometimes trigger unnecessary notifications. Additionally, running a disk cleanup and uninstalling unnecessary programs can help streamline your system and reduce the number of notifications you receive.
By managing your notification settings, disabling notifications for specific apps, and keeping your software up to date, you can effectively control the overabundance of notifications while addressing Windows software installation problems.
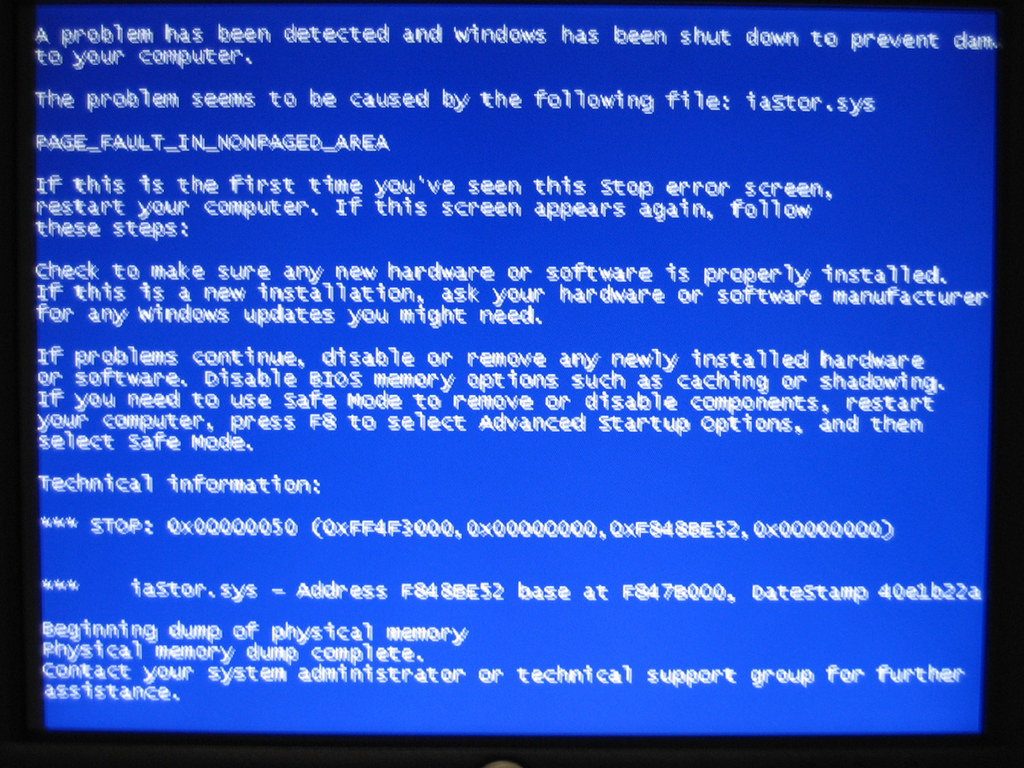
Accessing Safe Mode Options
To access Safe Mode options in Windows, you can follow these simple steps. First, restart your computer and as it’s booting up, press the F8 key repeatedly until the Advanced Boot Options menu appears. From there, you can select the Safe Mode option to boot into a simplified version of Windows that can help troubleshoot software installation problems.
Once in Safe Mode, you can attempt to reinstall the problematic software or perform a system restore to a point before the installation issue occurred. Safe Mode also allows you to uninstall any recently installed software that may be causing the problem.
If you’re using Windows 8 or Windows 8.1, accessing Safe Mode is a bit different. You can do so by holding down the Shift key while clicking the Restart option in the Power menu, then navigating to Troubleshoot > Advanced options > Startup Settings and selecting Safe Mode from there.
In Safe Mode, you can also run disk cleanup to remove temporary files and free up disk space, as well as perform a malware scan using Windows Defender or the Malicious Software Removal Tool.
By accessing Safe Mode options, you can effectively troubleshoot and resolve software installation problems in Microsoft Windows.
Ensuring System Restore Availability
To ensure that System Restore is available as a troubleshooting tool for Windows software installation problems, you must first verify that it is enabled on your system. To do this, right-click on “Computer” or “This PC” and select “Properties.” From there, click on “System Protection” and make sure that the protection is turned on for the drive where Windows is installed.
If System Restore is not enabled, you can turn it on by clicking on the “Configure” button and then selecting “Turn on system protection.” It’s important to allocate enough disk space for System Restore to function properly, so make sure to adjust the settings accordingly.
In some cases, System Restore may be disabled due to group policy settings or registry changes. You can check and modify these settings by going into the Control Panel and searching for “System Restore.” From there, you can ensure that System Restore is enabled and functioning properly.
Correcting Default App Settings
To correct default app settings on Windows, follow these steps:
1. Open the Control Panel by pressing the Windows key and typing “Control Panel” in the search bar. Select “Control Panel” from the search results.
2. In the Control Panel, click on “Programs” and then “Default Programs.”
3. From here, you can set default programs for specific file types or protocols. Click on “Set your default programs” to choose which programs open by default for certain file types.
4. You can also change default app settings for individual apps by clicking on “Set associations” and selecting the app you want to change the default settings for.
5. If you’re still experiencing issues with default app settings, you can reset the default apps to Windows defaults by clicking on “Reset” in the Default Programs section.
Optimizing for 4G Data Usage
| Tip | Description |
|---|---|
| Use Wi-Fi whenever possible | Connect to Wi-Fi networks to avoid using 4G data |
| Limit background data usage | Disable background data for apps that don’t require it |
| Monitor data usage | Use data tracking tools to keep an eye on your usage |
| Optimize streaming quality | Lower the quality of streaming services to reduce data usage |
Overcoming Localization and Cortana Issues
If you are experiencing localization and Cortana issues while trying to install Windows software, there are a few steps you can take to resolve these issues.
First, check your language and region settings in the Control Panel. Make sure that the correct language and region are selected for your location. If you need to make changes, go to Control Panel > Clock, Language, and Region > Region and Language.
If Cortana is not functioning properly, try resetting it by going to Settings > Cortana > Reset. This can often resolve any issues with Cortana not working as expected.
In some cases, the localization and Cortana issues may be related to a corrupted installation of Windows. In this case, you may need to perform a repair installation of Windows. To do this, insert your Windows installation disc or USB drive and restart your computer. Then, follow the on-screen instructions to repair your installation of Windows.
If you are still experiencing issues after trying these steps, it may be helpful to seek further assistance from Microsoft support or a professional technician.
Addressing Slow Boot Times
If you are experiencing slow boot times on your Windows computer, there are a few steps you can take to address the issue. First, try checking your BIOS settings to ensure they are optimized for booting up quickly. You can also check for any patches or updates for your operating system that may improve boot times.
Another potential solution is to clean up your computer’s startup programs by accessing the “Startup” tab in the Task Manager and disabling any unnecessary programs from launching at boot. Additionally, performing a disk cleanup and defragmentation can help improve boot times by optimizing your computer’s file storage.
If you’re still experiencing slow boot times, you may want to check for software installation problems that could be causing the issue. Use the Control Panel to uninstall any unnecessary or problematic software, and consider using a registry cleaner to remove any invalid entries that could be slowing down your system.
It’s also important to regularly backup your important files in case of any system issues, and run regular malware scans using tools like the Malicious Software Removal Tool to ensure that your computer is free from any malicious software that could be impacting boot times.
Resolving Multimedia Playback Issues
If you are experiencing multimedia playback issues on your Windows system, there are a few steps you can take to troubleshoot and resolve the problem.
First, check that your audio and video drivers are up to date. Outdated drivers can cause playback issues, so it’s important to ensure that you have the latest versions installed.
Next, check for any software conflicts that may be causing the problem. Sometimes, other applications or programs running on your system can interfere with multimedia playback. Try closing any unnecessary programs and see if that improves the situation.
If you are still experiencing issues, you may want to try running a system file check to scan for and repair any corrupted files that could be causing the problem. To do this, open a command prompt with administrative privileges and type “sfc /scannow” to initiate the scan.
In some cases, the issue may be related to the settings on your media player. Check the audio and video settings to ensure that they are configured correctly for your system.
If all else fails, consider using a different media player to see if the issue persists. Sometimes, certain players may have compatibility issues with your system, and using an alternative player can help resolve the problem.
FAQ
How do I check for software problems on Windows 10?
To check for software problems on Windows 10, you can use a fix-it tool provided by Microsoft Support.
How do I fix Windows OS problems?
To fix Windows OS problems, you can troubleshoot the most common issues by following online guides and tutorials, using built-in troubleshooting tools, updating drivers and software, and performing system restore or reset if necessary.
How do I fix Windows software problems?
To fix Windows software problems, you can use the repair options in the Control Panel. Simply search for Control Panel in the taskbar, select Programs > Programs and Features, then right-click on the program you want to fix and select Repair or Change. Follow the on-screen instructions to complete the process.


