Welcome to our troubleshooting guide for Windows Live Mail sending errors. In this article, we will address common issues that users encounter while trying to send emails through Windows Live Mail. Whether you’re facing error messages or experiencing difficulties in delivering your messages, we’ve got you covered with practical solutions. So, let’s dive in and get your emails flowing smoothly again!
Recently, Fortect has become increasingly popular as a reliable and efficient way to address a wide range of PC issues. It's particularly favored for its user-friendly approach to diagnosing and fixing problems that can hinder a computer's performance, from system errors and malware to registry issues.
- Download and Install: Download Fortect from its official website by clicking here, and install it on your PC.
- Run a Scan and Review Results: Launch Fortect, conduct a system scan to identify issues, and review the scan results which detail the problems affecting your PC's performance.
- Repair and Optimize: Use Fortect's repair feature to fix the identified issues. For comprehensive repair options, consider subscribing to a premium plan. After repairing, the tool also aids in optimizing your PC for improved performance.
Troubleshooting Windows Live Mail sending issues
If you are experiencing issues with sending emails in Windows Live Mail, there are a few troubleshooting steps you can follow. First, check your Outbox folder to see if any emails are stuck there. If so, try deleting or resending them. Next, make sure your email account settings are correct, including the server information and authentication settings.
You can also try checking your internet connection or contacting your email provider for assistance. If you are seeing error messages, search for the specific error code online to find possible solutions.
Disabling antivirus software to resolve sending problems
If you’re experiencing sending problems with Windows Live Mail, one possible solution is to temporarily disable your antivirus software. Sometimes, antivirus programs can interfere with the sending process and cause errors. To disable your antivirus software, follow these steps:
1. Open the antivirus program on your computer.
2. Look for the settings or preferences section.
3. Find the option to temporarily disable the antivirus.
4. Click on the option to disable the antivirus.
5. Once disabled, try sending your email again in Windows Live Mail.
Remember to re-enable your antivirus software after sending your email to ensure your computer’s protection.
Note: Disabling your antivirus software should only be done temporarily and with caution. Make sure to re-enable it as soon as possible to keep your computer secure.
If disabling your antivirus doesn’t resolve the sending problems, there may be other factors at play. Consider checking your email account settings, internet connection, and any error messages you receive for further troubleshooting.
Testing spam filtering to fix Windows Live Mail sending errors
Testing spam filtering can help fix Windows Live Mail sending errors. If you’re experiencing issues with sending emails, follow these steps:
1. Check your Outbox: Make sure the email is not stuck in the Outbox. If it is, delete or resend it.
2. Verify email settings: Ensure your email settings are correct. Double-check the server and port settings for both incoming and outgoing mail.
3. Test with a different email account: Try sending an email from a different email account to see if the problem persists.
4. Check spam filters: Some email providers may have strict spam filters. Make sure your email is not being marked as spam.
5. Contact your email provider: If the problem continues, reach out to your email provider’s customer support for further assistance.
Attaching pictures instead of embedding them in emails
When troubleshooting Windows Live Mail sending errors, you may encounter issues with attaching pictures instead of embedding them in emails. To resolve this, follow these steps:
1. Open Windows Live Mail and click on the “New Email” button to compose a new message.
2. Instead of pasting the picture directly into the body of the email, click on the “Attach File” button.
3. Locate and select the picture file you want to attach from your computer.
4. The picture will now be attached to your email as a separate file. You can add a description or message if needed.
5. Complete the rest of the email and add the recipient’s email address.
6. Click on the “Send” button to send the email with the attached picture.
By attaching pictures instead of embedding them, you can avoid potential issues with email servers and ensure that the recipient receives the picture as a separate file.
Ensuring outgoing mail server settings match incoming server settings
To ensure that your outgoing mail server settings match your incoming server settings in Windows Live Mail, follow these steps:
1. Open Windows Live Mail.
2. Go to the “Accounts” tab.
3. Select the email account you want to check.
4. Click on “Properties” and go to the “Servers” tab.
5. Verify that the incoming mail server (IMAP or POP) and outgoing mail server (SMTP) settings are correct.
6. If the settings are incorrect, update them with the correct information provided by your email service provider.
7. Click “Apply” and then “OK” to save the changes.
By making sure the server settings match, you can avoid sending errors and ensure a smooth email communication experience.
For more troubleshooting tips and fixes, check out our comprehensive guide on troubleshooting Windows Live Mail.
Deleting potentially corrupted emails from the Outbox
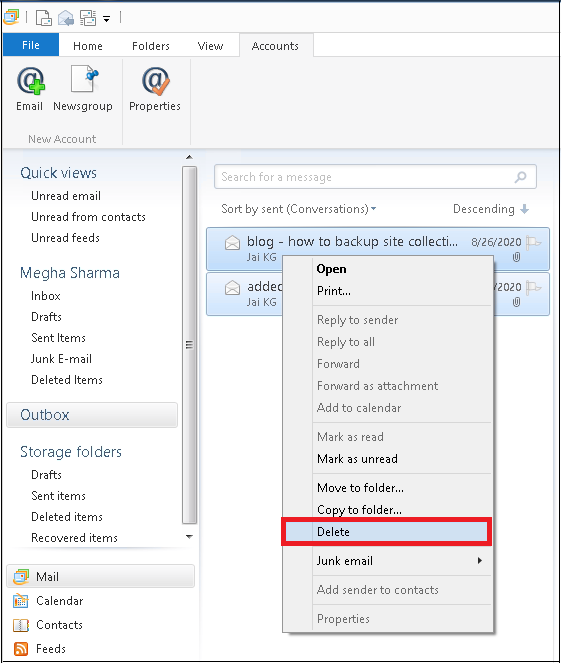
To delete potentially corrupted emails from the Outbox in Windows Live Mail, follow these steps:
1. Open Windows Live Mail and go to the Outbox folder.
2. Look for any email messages that may be causing the sending errors.
3. Select the email(s) you want to delete. You can use Ctrl+Click to select multiple emails.
4. Right-click on the selected email(s) and choose “Delete” from the context menu.
5. Confirm the deletion when prompted.
Deleting these potentially corrupted emails can help resolve sending errors you may be experiencing. By removing them from the Outbox, you can ensure that only valid emails are sent.
Note: If you’re using an IMAP email account, deleting emails from the Outbox in Windows Live Mail will only remove them from the client. They will still be available on the email server.
If you continue to experience issues with sending emails, consider checking your mail settings, ensuring your internet connection is stable, and contacting your email service provider for further assistance.
Resolving common error codes in Windows Live Mail
- Check your internet connection
- Make sure you are connected to the internet
- Restart your modem or router
- Verify email account settings
- Open Windows Live Mail
- Click on Accounts
- Double-click on the email account causing the error
- Verify the incoming and outgoing server settings are correct
- Update the email account password if necessary
- Disable antivirus or firewall temporarily
- Open the antivirus or firewall software
- Temporarily disable the program or create an exception for Windows Live Mail
- Clear the Outbox folder
- Open Windows Live Mail
- Click on the Outbox folder
- Delete any stuck or unsent messages
- Close and reopen Windows Live Mail
- Repair Windows Live Mail
- Close Windows Live Mail
- Go to the Control Panel
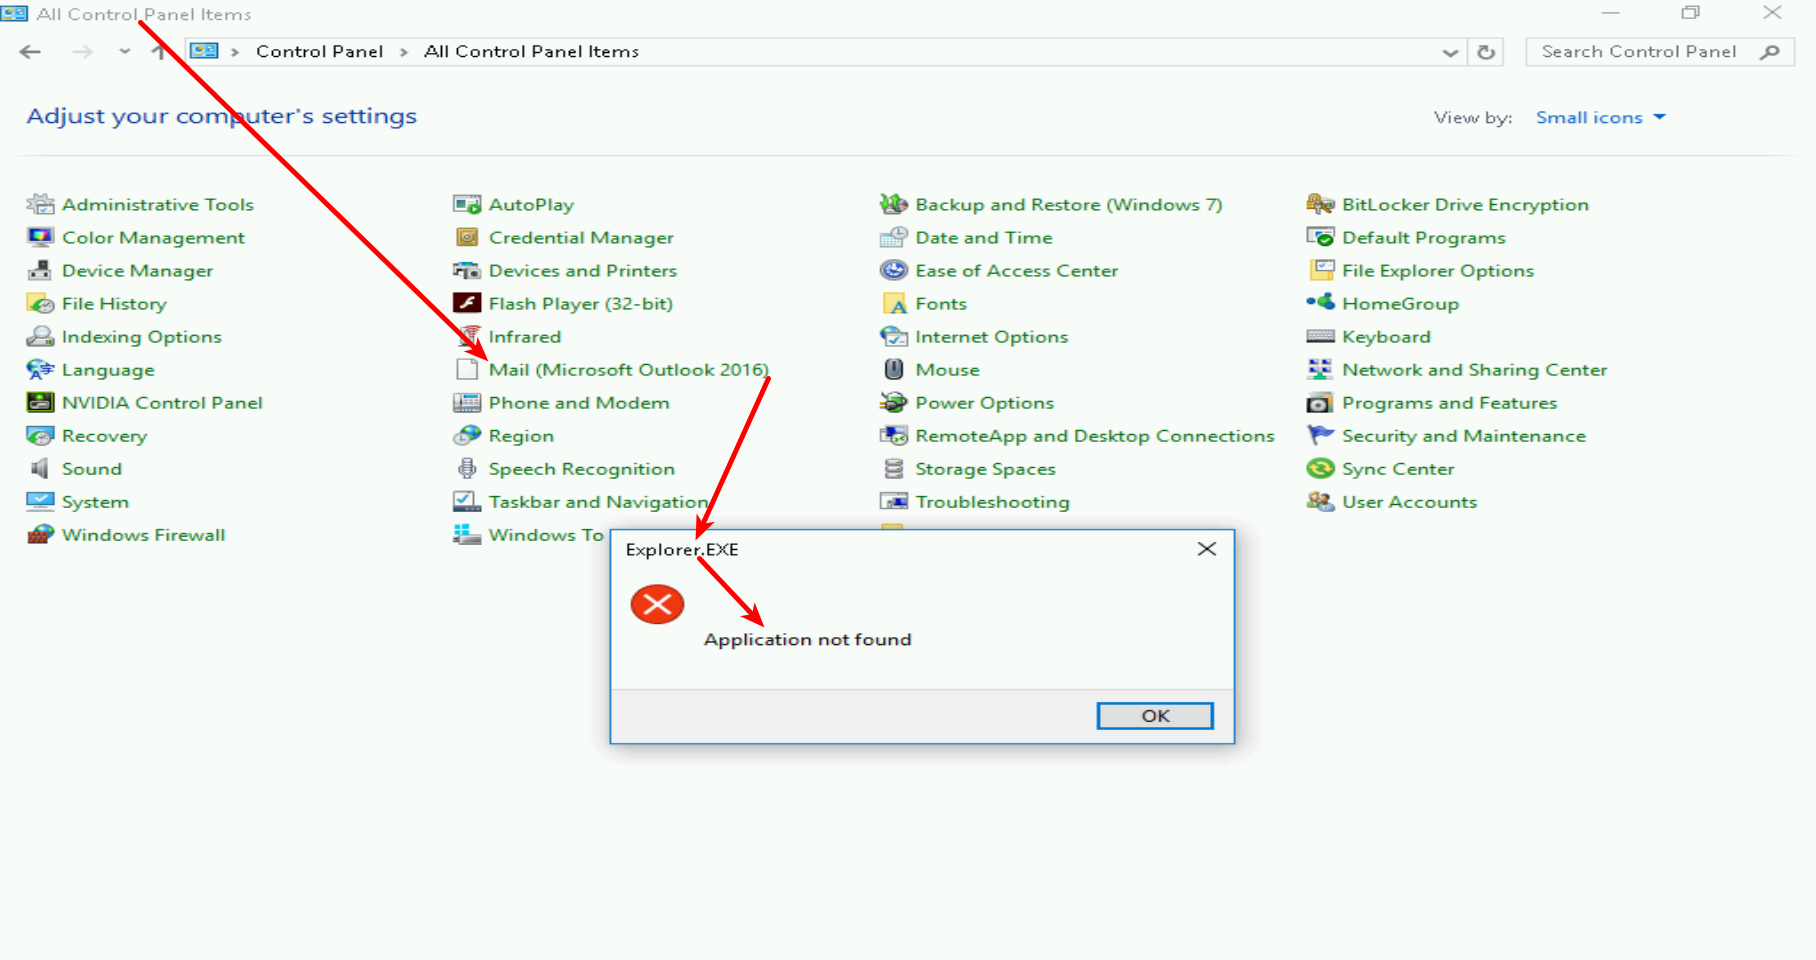
- Click on Programs or Programs and Features
- Find and select Windows Live Essentials
- Click on Repair or Change
- Follow the on-screen instructions to repair Windows Live Mail

- Restart your computer
- Check for Windows updates
- Click on the Start button
- Type Windows Update in the search bar
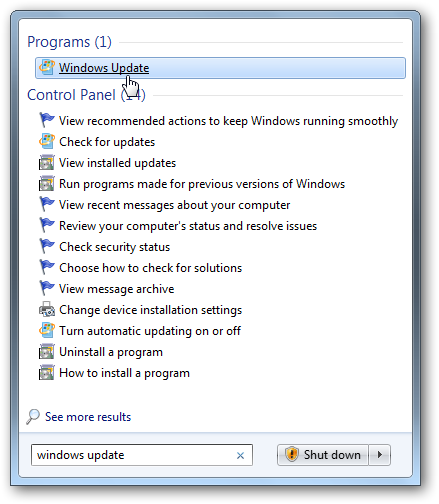
- Select Windows Update Settings
- Click on Check for updates
- Install any available updates
- Restart your computer

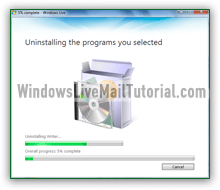
- Reinstall Windows Live Mail
- Uninstall Windows Live Mail from the Control Panel
- Download the latest version of Windows Live Mail from the official Microsoft website
- Install Windows Live Mail using the downloaded setup file
- Follow the on-screen instructions to complete the installation
- Restart your computer
Windows Live Mail not working in Windows 10
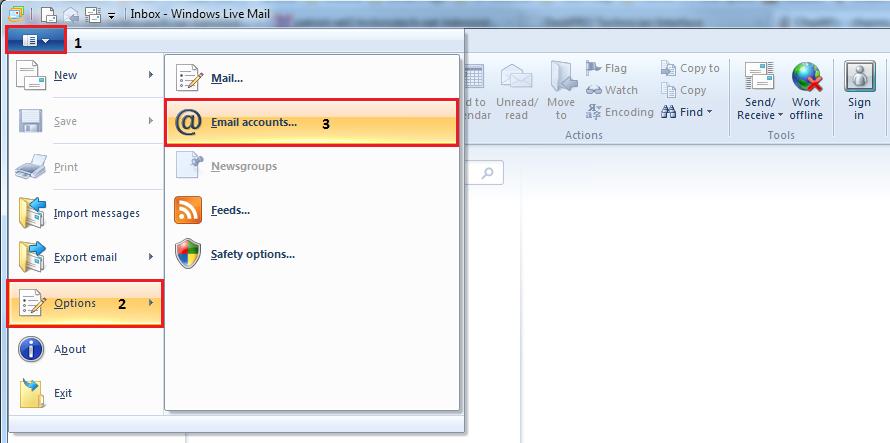
If you’re experiencing issues with Windows Live Mail not working in Windows 10, there are a few troubleshooting steps you can try. First, make sure you have the latest updates installed for both Windows 10 and Windows Live Mail. If that doesn’t solve the problem, you can try reconfiguring your email accounts in Windows Live Mail. To do this, go to Accounts in the Windows Live Mail menu and choose Properties.
Check the settings for your email accounts, including the SMTP server and port numbers. If you’re still having issues, you may need to contact your email provider for further assistance.
End of support for Windows Live Mail and its implications
End of support for Windows Live Mail has implications for troubleshooting sending errors. If you encounter issues sending emails, there are a few steps you can take to resolve them. Firstly, ensure that your account settings are correct. Double-check the SMTP server settings and port numbers. If the problem persists, try changing your default account settings to use Outlook.
com or another email client. Additionally, consider moving your email communication to a more modern platform like Outlook or OneDrive. This will provide better support and security for your messages.


