Experiencing a “Start Error” in Windows 10/11 can be frustrating and disruptive.
Recently, Fortect has become increasingly popular as a reliable and efficient way to address a wide range of PC issues. It's particularly favored for its user-friendly approach to diagnosing and fixing problems that can hinder a computer's performance, from system errors and malware to registry issues.
- Download and Install: Download Fortect from its official website by clicking here, and install it on your PC.
- Run a Scan and Review Results: Launch Fortect, conduct a system scan to identify issues, and review the scan results which detail the problems affecting your PC's performance.
- Repair and Optimize: Use Fortect's repair feature to fix the identified issues. For comprehensive repair options, consider subscribing to a premium plan. After repairing, the tool also aids in optimizing your PC for improved performance.
Identifying the Issue with Windows Defender
If you are experiencing start error in Windows 10/11 due to issues with Windows Defender, follow these steps to identify and resolve the problem.
First, check if there are any conflicting antivirus programs installed on your computer, such as AVG AntiVirus or Kaspersky Lab.
Next, open Task Manager and look for any suspicious processes or malware that may be interfering with Windows Defender.
Run a scan with Microsoft Defender Antivirus to check for any viruses or malware that may be causing the start error.
If the issue persists, use System File Checker to scan and repair any corrupted system files that may be impacting Windows Defender’s functionality.
If all else fails, consider reinstalling or repairing Windows Defender through the Control Panel or using the command-line interface.
Disabling Third-Party Antivirus Software
To resolve the start error in Windows 10/11, you may need to disable third-party antivirus software. First, try to disable the antivirus program using its own settings or by right-clicking on its icon in the taskbar and selecting “Disable” or “Turn off.” If that doesn’t work, you can use Task Manager to end the antivirus process. Press Ctrl + Shift + Esc to open Task Manager, then locate the antivirus program under the “Processes” tab and select “End Task.”
If the start error persists, you can try using the System File Checker tool to scan for and repair corrupt system files. Open an elevated Command Prompt by searching for “cmd” in the Windows search bar, right-clicking on “Command Prompt,” and selecting “Run as administrator.” Then, type “sfc /scannow” and press Enter to initiate the scan.
If you are still experiencing issues, consider temporarily disabling your antivirus software using the Windows Registry. Open the Registry Editor by typing “regedit” in the Windows search bar and pressing Enter. Navigate to “HKEY_LOCAL_MACHINE\SOFTWARE\Microsoft\Windows\CurrentVersion\Policies\System” and create a new DWORD value called “DisableAntivirus” with a value of 1.
Restarting the Security Center Service
To restart the Security Center Service in Windows 10/11, you can follow these steps:
1. Press the Windows key + R to open the Run dialog box.
2. Type services.msc and press Enter to open the Services window.
3. Scroll down and locate the Security Center service in the list.
4. Right-click on the Security Center service and select Restart from the context menu.
5. After restarting the service, close the Services window and check if the issue has been resolved.
If you encounter any error messages or issues while restarting the Security Center Service, you may need to check for any conflicting third-party security software, such as AVG AntiVirus or McAfee, and consider using the Task Manager to end any processes related to these programs. Additionally, you can also run a scan for any potential spyware or viruses using Microsoft Defender Antivirus or other security programs like Kaspersky Lab or Bitdefender.
Repairing Corrupted System Files and Images
To repair corrupted system files and images in Windows 10/11, you can use the built-in System File Checker tool. First, open Command Prompt as an administrator. Then, type “sfc /scannow” and press Enter. This will initiate a scan of your system files and automatically repair any corrupted files it finds.
If the System File Checker tool doesn’t fix the issue, you can use the Deployment Image Servicing and Management tool. Open an elevated Command Prompt and type “DISM /Online /Cleanup-Image /RestoreHealth” and press Enter. This will scan and repair any corrupted system images.
In some cases, using third-party software such as McAfee or Bitdefender can help repair corrupted files and images. Make sure to use reputable software and keep it updated to ensure the best results.
Regularly backing up your system files and images can also help prevent and recover from corruption. Consider using built-in Windows backup tools or third-party backup software for added protection.
Updating Windows to the Latest Version
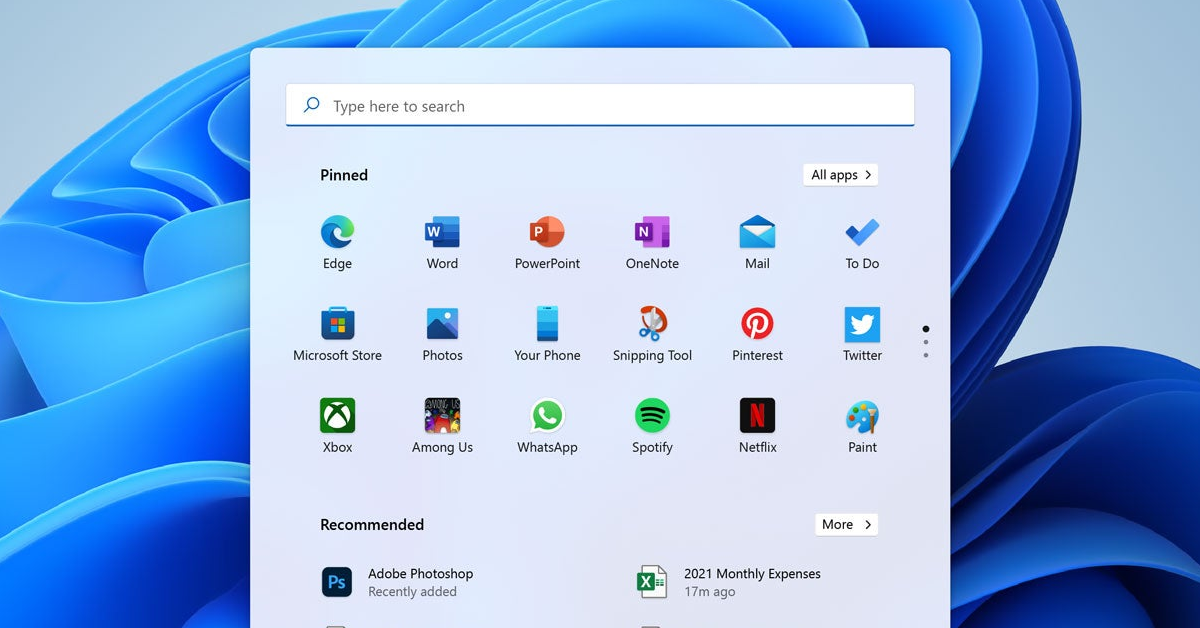
To update Windows to the latest version, click on the “Start” button and select “Settings.” Next, choose “Update & Security” and click on “Windows Update.” From there, click on “Check for updates” and if updates are available, click “Install now.”
If you encounter any errors during the update process, try running the Windows Update Troubleshooter. To do this, press the Windows key + I to open Settings, then go to “Update & Security” and select “Troubleshoot.” Click on “Windows Update” and then “Run the troubleshooter.”
Another option is to use the Media Creation Tool to perform the update. Simply download the tool from the Microsoft website, run it, and select “Upgrade this PC now.” Follow the on-screen instructions to complete the update process.
By keeping your Windows operating system up to date, you can ensure that your computer is equipped with the latest security patches and performance improvements.
Modifying Group Policy and Registry Settings
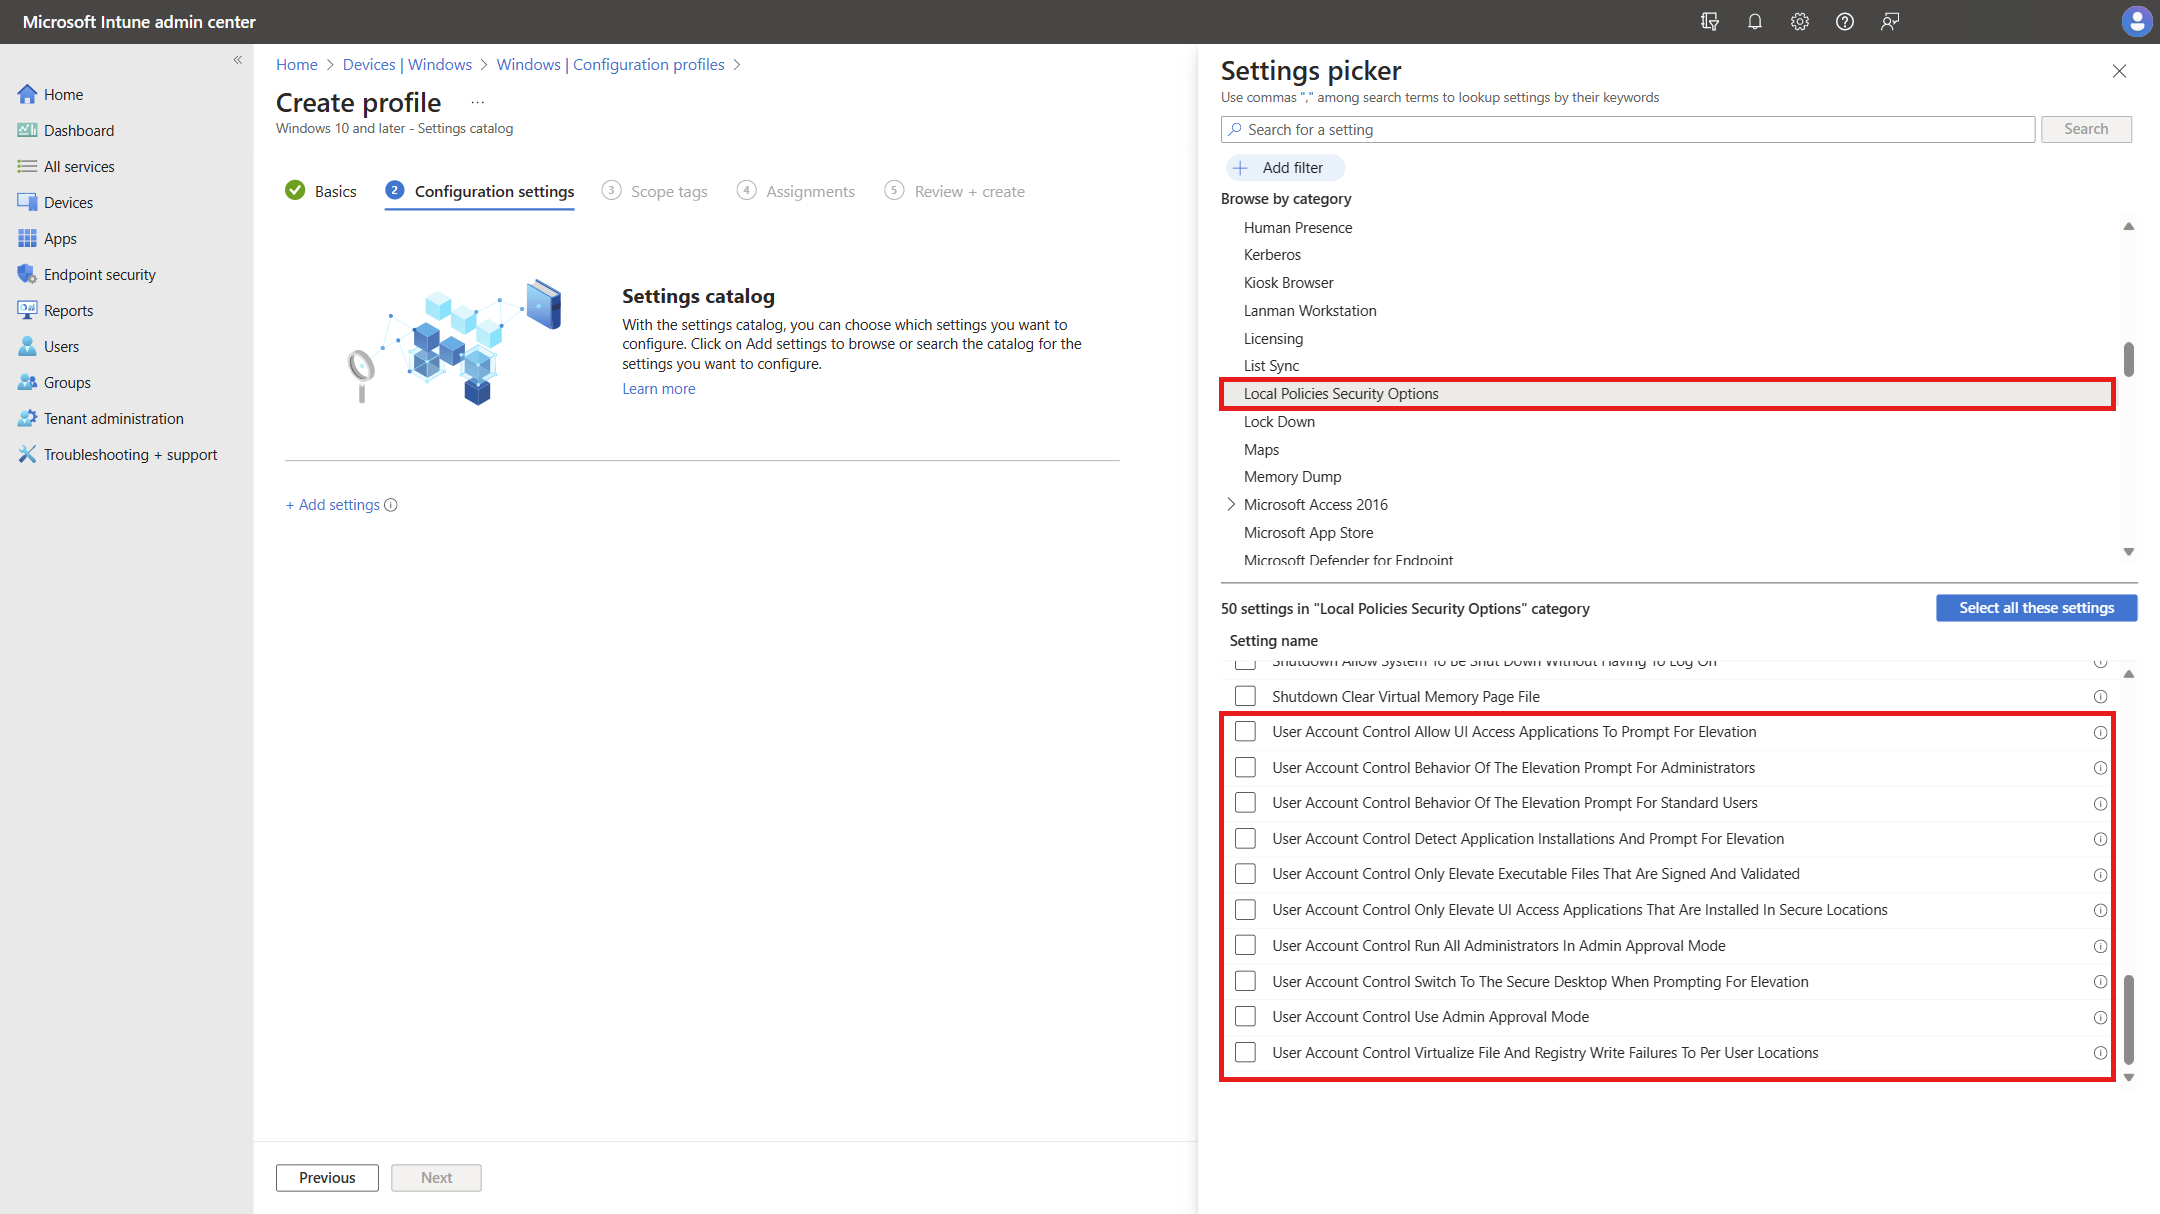
To modify Group Policy and Registry settings in Windows 10/11, you can make changes to the computer’s configuration and behavior. First, open the Group Policy Editor by pressing Windows key + R to open the Run dialog, then type gpedit.msc and press Enter. This will allow you to modify various policy settings that affect the computer’s behavior.
To modify registry settings, open the Registry Editor by pressing Windows key + R to open the Run dialog, then type regedit and press Enter. Be cautious when making changes to the registry, as it can have a significant impact on the operating system.
In both the Group Policy Editor and Registry Editor, make sure to only make changes if you are familiar with the settings and their potential impact. It’s also a good idea to create a backup of your system before making any changes, in case something goes wrong.
After making changes to Group Policy or Registry settings, it’s often necessary to restart the computer for the changes to take effect. Keep in mind that modifying these settings can have unintended consequences, so proceed with caution and only make changes if you are confident in what you are doing.
Ensuring Correct System Date and Time Settings
| Step | Description |
|---|---|
| 1 | Click on the Start menu and select “Settings.” |
| 2 | Click on “Time & Language.” |
| 3 | Ensure that the “Set time automatically” option is turned on. |
| 4 | Check the time zone and make sure it is set correctly. |
| 5 | If the date and time are still incorrect, click on “Additional date, time, & regional settings” and then click on “Date and Time.” |
| 6 | Click on the “Internet Time” tab and then click “Change settings.” |
| 7 | Ensure that the “Synchronize with an Internet time server” option is checked and then click “Update now.” |
FAQs
How do I fix Windows Defender turned off?
To fix Windows Defender turned off, navigate to Control Panel, double click on “Windows Defender”, and click on the link entitled “Turn on and open Windows Defender”. Close all windows and restart the computer.
How do I get my Windows Defender to work again?
To get your Windows Defender to work again, you can start by uninstalling any third-party antivirus software, restarting the Security Center Service, running an SFC scan, installing the latest update, changing your group policy, modifying the Windows Registry, and performing a clean boot.
How do I force Windows Defender to turn on?
To force Windows Defender to turn on, open the Windows Security app and select Virus & threat protection. Then, under Virus & threat protection settings, select Manage settings and flip the switches under Real-time protection and Cloud-delivered protection to turn them on.
Why is my Windows Defender not turning on?
Your Windows Defender may not be turning on due to recent Windows 10 updates, existing malware infections, or interference from third-party antivirus software like Kaspersky or McAfee.