
Struggling with a Windows 10 Wi-Fi connection that says “Connected, No Internet”? Here’s how to fix it.
Recently, Fortect has become increasingly popular as a reliable and efficient way to address a wide range of PC issues. It's particularly favored for its user-friendly approach to diagnosing and fixing problems that can hinder a computer's performance, from system errors and malware to registry issues.
- Download and Install: Download Fortect from its official website by clicking here, and install it on your PC.
- Run a Scan and Review Results: Launch Fortect, conduct a system scan to identify issues, and review the scan results which detail the problems affecting your PC's performance.
- Repair and Optimize: Use Fortect's repair feature to fix the identified issues. For comprehensive repair options, consider subscribing to a premium plan. After repairing, the tool also aids in optimizing your PC for improved performance.
Initial Steps to Diagnose Network Issues
– The first step to diagnose network issues on Windows 10 is to check the Wi-Fi icon in the taskbar. Click on the Wi-Fi icon to see if your computer is connected to the network and whether there is internet access.
– If the Wi-Fi is connected but there is no internet access, the issue may lie with the wireless router. Check if other devices are able to connect to the internet through the same router to determine if the problem is with the router or your Windows 10 device.
– Another initial step is to run the Windows 10 Network troubleshooter. To do this, right-click on the Wi-Fi icon in the taskbar and select “Troubleshoot problems.” This will run a diagnostic on your network connection and may offer potential fixes for the issue.
– It’s also important to check for any software bugs or malware that may be affecting your network connection. Run a scan with your antivirus software to check for any malicious programs that could be causing the problem.
– In some cases, a software update or patch may be needed to resolve the network issue. Check for Windows 10 updates by going to Settings > Update & Security > Windows Update and install any available updates.
–
Restart Your Devices for a Quick Fix
If you are experiencing a Wi-Fi connection issue on your Windows 10 device where it shows as connected but with no internet access, the first thing you should try is restarting your devices. This can often resolve temporary glitches or conflicts that may be causing the problem.
To do this, start by restarting your computer. Simply click on the Start menu, select the power icon, and choose to restart your device. Once your computer has rebooted, check to see if the issue has been resolved.
If you are still experiencing the Wi-Fi connection problem, the next step is to restart your wireless router. Locate the power button or unplug the power cable from your router, wait a few seconds, and then plug it back in or press the power button to turn it back on. Allow the router to fully restart and establish a connection before checking if the issue has been resolved.
After restarting both your computer and wireless router, you should now have a better chance of resolving the Wi-Fi connected, no internet access issue on your Windows 10 device. If the issue persists, you may need to further troubleshoot or seek additional help from a professional.
Utilize Windows’ Built-In Network Troubleshooter
Once the troubleshooter opens, follow the on-screen prompts to diagnose and fix any issues with your Wi-Fi connection. This will involve checking for problems with your network adapter, modem, and router.
If the troubleshooter is able to identify and fix the issue, you should be able to reconnect to the internet. If not, it may provide further guidance on potential solutions to try.
Remember that the troubleshooter can only fix certain types of issues, so if you continue to experience problems, you may need to explore other troubleshooting options or seek further assistance.
In some cases, the troubleshooter may recommend resetting your network adapter or performing other workarounds to resolve the issue. Be sure to follow any additional instructions provided to fully address the problem.
After running the troubleshooter and attempting any recommended fixes, test your internet connection to see if the issue has been resolved. If not, you may need to consider other potential causes for the problem, such as malware or software bugs.
Enable or Disable Network Adapters Appropriately
To disable a network adapter, right-click on the adapter and select Disable device. This will temporarily disable the network adapter, which can help troubleshoot connectivity issues. To re-enable the adapter, right-click on it again and select Enable device.
If you’re experiencing Wi-Fi connectivity issues, you can also try disabling and re-enabling the Wi-Fi network adapter. This can be done by right-clicking on the Wi-Fi adapter in Device Manager and selecting Disable device. After a few seconds, right-click on it again and select Enable device to re-enable the Wi-Fi adapter.
Another method to enable or disable network adapters is through the Network Connections window. To access this, right-click on the network icon in the system tray and select Open Network & Internet settings. In the settings window, click on Change adapter options to open the Network Connections window. Here, you can right-click on a network adapter and select Disable or Enable to control its status.
By appropriately enabling or disabling network adapters in Windows 10, you can troubleshoot and fix Wi-Fi connectivity issues. These methods can help resolve issues where your computer is connected to Wi-Fi but unable to access the internet, allowing you to stay connected and productive.
Turn Off Airplane Mode to Restore Connectivity
If you are experiencing connectivity issues on your Windows 10 device, one quick fix to try is turning off Airplane Mode. When Airplane Mode is enabled, all wireless connections are disabled, including Wi-Fi and Bluetooth.
To turn off Airplane Mode, simply click on the network icon in the taskbar at the bottom right of your screen. This will open up a menu where you can see the Airplane Mode toggle. If it is blue, that means it is enabled. Click on the Airplane Mode toggle to turn it off.
Once Airplane Mode is turned off, your device should automatically reconnect to any available Wi-Fi networks. If you were previously connected to a network, it should restore the connection and you should be able to access the internet again.
If turning off Airplane Mode does not restore connectivity, you may need to troubleshoot further by checking your network settings, restarting your modem or router, or contacting your internet service provider for assistance.
Manage WiFi Settings and Profiles Effectively
- Forget the WiFi Network
- Click on the WiFi icon in the system tray
- Select the network you are having trouble with
- Click “Forget” to remove the network from your list of known networks
- Reconnect to the WiFi Network
- Click on the WiFi icon in the system tray
- Select the network you want to connect to
- Enter the password if prompted
- Check Network Properties
- Open Network and Sharing Center by right-clicking on the network icon in the system tray and selecting “Open Network and Sharing Center”
- Click on the connected network and then click “Properties”
- Ensure that the settings are correct, such as obtaining an IP address automatically
Update or Reinstall Network Adapter Drivers
Once you have identified the network adapter, right-click on it and select “Update driver” from the dropdown menu. Choose the option to search automatically for updated driver software. Windows will then search for the latest driver software for your network adapter and install it if found.
If Windows is unable to find an updated driver for your network adapter, you can also visit the manufacturer’s website to download the latest driver software manually. Look for the support or downloads section of the manufacturer’s website and search for the specific driver for your network adapter model. Download and install the driver according to the manufacturer’s instructions.
In some cases, you may need to reinstall the network adapter driver to resolve connectivity issues. To do this, start by accessing the Device Manager as previously described. Right-click on the network adapter and select “Uninstall device” from the dropdown menu. Follow the on-screen instructions to uninstall the driver software.
After uninstalling the driver, restart your computer to allow Windows to reinstall the network adapter driver automatically. If the driver is not automatically reinstalled, you can use the “Update driver” option in the Device Manager to install the driver software again.
Updating or reinstalling network adapter drivers can often resolve Wi-Fi connectivity issues in Windows 10. If you continue to experience problems after updating or reinstalling the driver, consider troubleshooting other aspects of your network setup or seeking further assistance from a professional.
Reset Internet Protocols Using Command Prompt
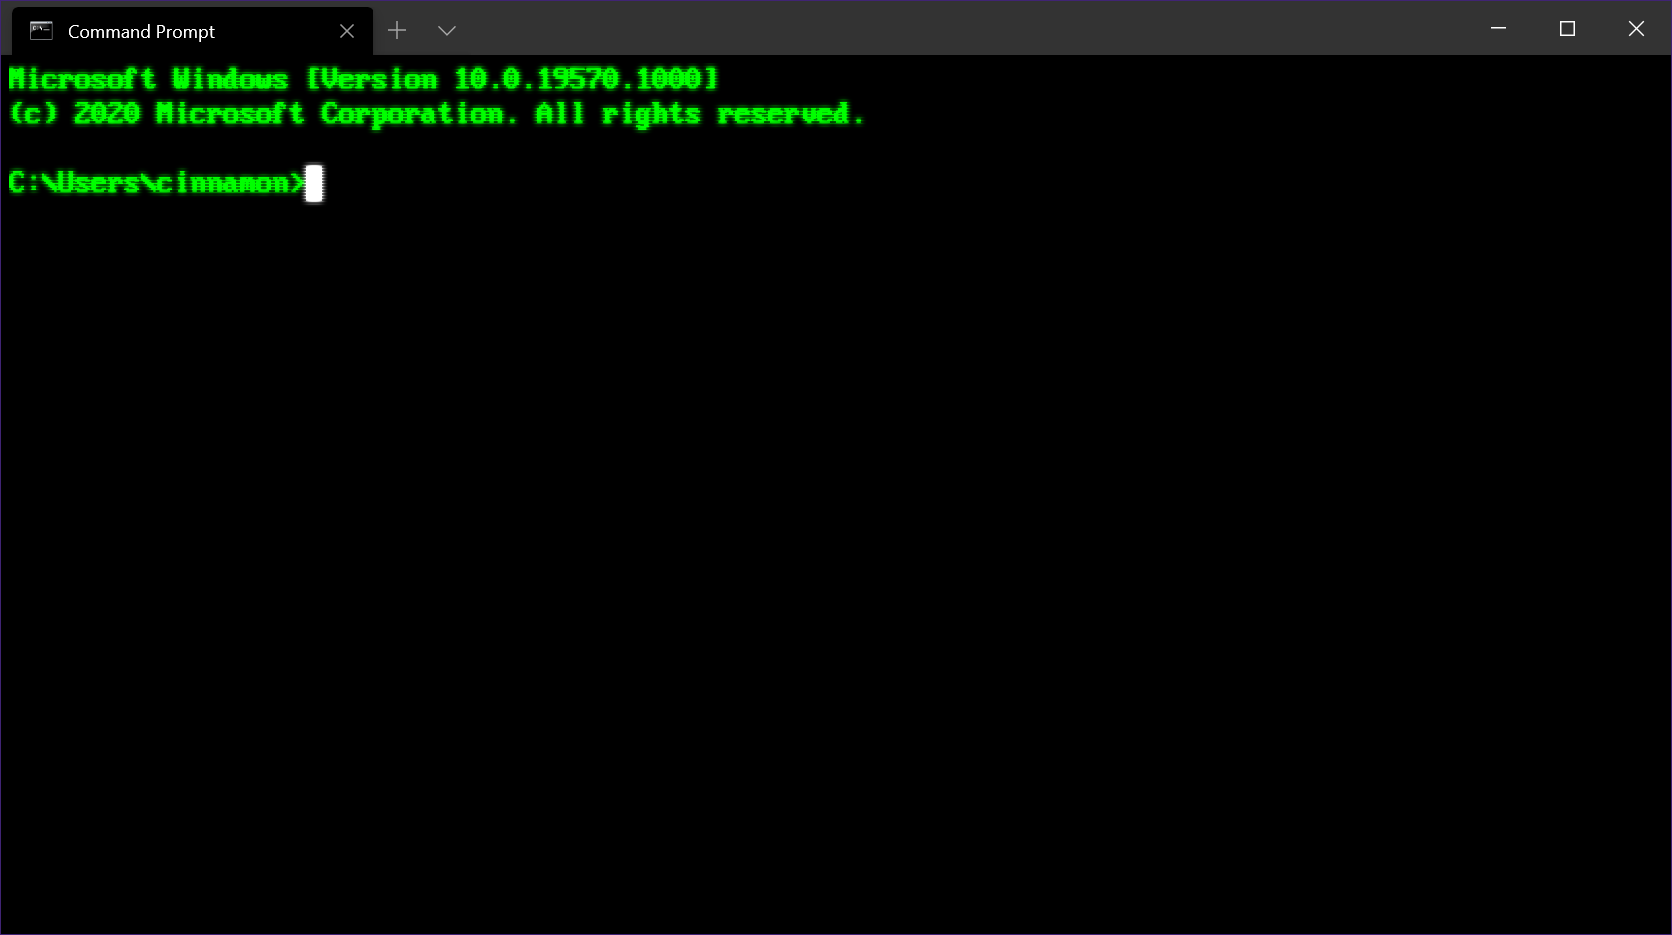
1. Press the Windows key + X to open the Power User menu.
2. Select Command Prompt (Admin) from the list of options.
3. In the Command Prompt window, type the following commands and press Enter after each one:
netsh winsock reset
netsh int ip reset
4. After running these commands, restart your computer to apply the changes.
If you’re still experiencing connectivity issues after resetting the internet protocols, you may need to troubleshoot your network further or seek additional assistance from a professional.
Tweak Registry or DNS Settings for Advanced Solutions
To troubleshoot the “Windows 10 Wi-Fi Connected No Internet” issue, you may need to tweak registry or DNS settings for advanced solutions. First, try resetting the TCP/IP stack by opening the Command Prompt as an administrator and typing “netsh int ip reset” and then “netsh winsock reset.” Restart your computer after these commands have been executed.
If the issue persists, you can attempt to modify the registry settings. To do this, press the Windows key + R to open the Run dialog, type “regedit” and press Enter. Navigate to “HKEY_LOCAL_MACHINE\SYSTEM\CurrentControlSet\Services\Tcpip\Parameters” and look for the “DhcpConnEnableBcastFlagToggle” entry. If it does not exist, right-click on “Parameters” and select New > DWORD (32-bit) Value to create it. Set the value to 1, then restart your computer.
Another potential solution involves modifying the DNS settings. Open the Control Panel, go to Network and Sharing Center, and click on Change adapter settings. Right-click on your Wi-Fi connection, select Properties, then double-click on Internet Protocol Version 4 (TCP/IPv4). Choose to use the following DNS server addresses and input “8.8.8.8” for the preferred DNS server and “8.8.4.4” for the alternate DNS server. Click OK and restart your computer.
In some cases, you may need to flush the DNS cache. Open the Command Prompt as an administrator and type “ipconfig /flushdns” followed by “ipconfig /registerdns” and press Enter. Restart your computer after executing these commands.
If you continue to experience the “Wi-Fi Connected No Internet” issue after trying these advanced solutions, consider seeking further assistance from a professional or Microsoft support.
Final Resort: Perform a Network Reset or Contact Support
If you have tried all the previous troubleshooting steps and are still facing the “Windows 10 Wi-Fi Connected No Internet” issue, you can perform a network reset or contact support for further assistance.
Perform a Network Reset:
1. Press the Windows key + I to open the Settings app.
2. Click on “Network & Internet.”
3. Scroll down and click on “Network reset.”
4. Click on “Reset now” to confirm and reset your network settings.
If performing a network reset does not resolve the issue, you may need to contact support for further assistance.
Remember to back up any important data before performing a network reset, as it will remove all network adapters and set other networking components back to their default settings.
If you are still experiencing the “Windows 10 Wi-Fi Connected No Internet” issue after performing a network reset, it may be necessary to contact support for additional troubleshooting and assistance.
F.A.Qs
Why does my computer say I not connected to the internet when I am?
Your computer may report a lack of network connectivity despite being connected due to a technical glitch. A simple restart of your computer is recommended to restore normal network status.
Why is Wi-Fi connected but no internet?
Wi-Fi is connected but there is no internet access may be due to technical issues with the router. Bugs or problems with the router can affect the connection of Android devices to the Wi-Fi.
How do I fix Windows 10 connected but no Internet access?
To fix Windows 10 connected but no Internet access, you can try restarting your computer and router, using the Network troubleshooter, enabling your network adapter, disabling Airplane mode, recreating the WiFi profile, performing a Network reset, and resetting the network stack with Command Prompt.
Why does my PC say connected but no internet?
Your PC may say “connected but no internet” due to a problem with your router or modem, a loose cable, or a more technical issue.


