In this guide, I will provide an overview of Windows 10 sleep settings and how to customize them to suit your preferences.
Recently, Fortect has become increasingly popular as a reliable and efficient way to address a wide range of PC issues. It's particularly favored for its user-friendly approach to diagnosing and fixing problems that can hinder a computer's performance, from system errors and malware to registry issues.
- Download and Install: Download Fortect from its official website by clicking here, and install it on your PC.
- Run a Scan and Review Results: Launch Fortect, conduct a system scan to identify issues, and review the scan results which detail the problems affecting your PC's performance.
- Repair and Optimize: Use Fortect's repair feature to fix the identified issues. For comprehensive repair options, consider subscribing to a premium plan. After repairing, the tool also aids in optimizing your PC for improved performance.
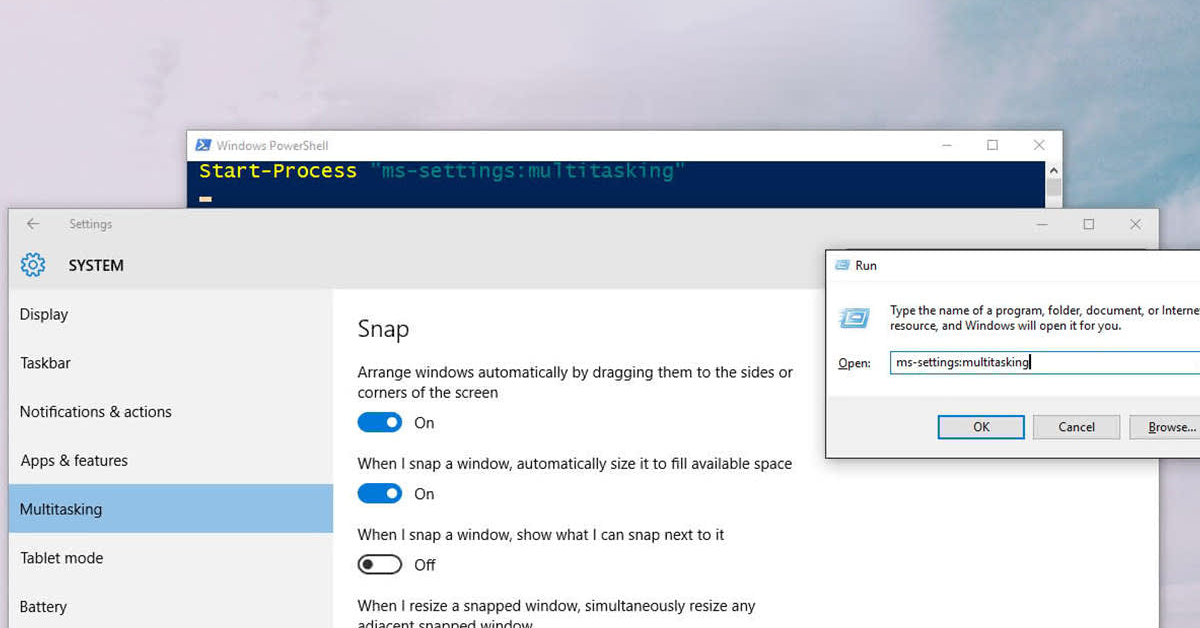
Adjusting Power and Sleep Timers
To adjust the power and sleep timers on Windows 10, you can easily customize the settings to suit your preferences. To do this, go to the Start menu and click on Settings. From there, select System and then Power & Sleep. Here, you can adjust the power and sleep settings for both when your computer is plugged in and when it’s running on battery.
If you want to adjust the sleep timer, you can do so by clicking on the dropdown menu under On battery power, turn off after and When plugged in, turn off after. You can choose the amount of time you want your computer to wait before going to sleep.
To customize the power settings, click on Additional power settings on the same page. This will take you to the Control Panel where you can select a power plan and click on Change plan settings to further customize the power timers.
By adjusting these settings, you can help conserve energy and optimize your computer’s performance. This is especially useful for laptops and other devices running on battery power. Making these adjustments can also help prolong the life of your battery and ensure that your computer is ready to go when you need it.
Troubleshooting Sleep and Hibernation Issues
If you are experiencing sleep and hibernation issues on your Windows 10 device, there are a few troubleshooting steps you can take to resolve the problem.
First, check your power settings by going to the Control Panel and selecting Power Options. Here, you can customize your sleep and hibernation settings to ensure they are configured correctly.
Next, make sure your device’s drivers are up to date. You can do this by going to the Device Manager and checking for any driver updates.
If your device still has issues with sleep and hibernation, you can try running the Power Troubleshooter. To do this, go to Settings, then Update & Security, and select Troubleshoot.
In some cases, a third-party application may be causing sleep and hibernation issues. Try disabling any recently installed applications to see if that resolves the problem.
If none of these steps work, you may need to reset your power settings to the default. You can do this by going to Control Panel, selecting Power Options, and then choosing Restore default settings for this plan.
Optimizing Performance through Power Plans

| Power Plan | Performance Level | Advantages |
|---|---|---|
| High Performance | Maximum | Optimal performance for demanding tasks |
| Balanced | Moderate | Good balance between performance and energy consumption |
| Power Saver | Low | Conserves energy by sacrificing performance |
Preventing Unwanted Wake-ups from Sleep Mode
To prevent unwanted wake-ups from sleep mode on Windows 10, you can adjust the settings to better suit your needs. First, go to the Start menu and open the Control Panel. From there, navigate to the Power Options and select “Choose when the computer sleeps” from the left-hand menu.
Here, you can customize the sleep settings for both when the computer is plugged in and when it’s running on battery power. To prevent wake-ups, you can adjust the time for the computer to go to sleep and the time before the computer enters sleep mode.
Additionally, you can prevent wake-ups from sleep mode by adjusting the advanced power settings. Go back to the Power Options in the Control Panel and select “Change plan settings” next to your preferred power plan. Then, click on “Change advanced power settings” to access a range of additional settings.
Look for the “Sleep” category and expand it to find options such as “Allow wake timers” and “Hibernate after.” Adjust these settings to prevent unwanted wake-ups from sleep mode.
By customizing these settings, you can ensure that your computer stays in sleep mode when you want it to, preventing any unnecessary wake-ups. These adjustments can also help conserve energy and improve overall computer performance.