Looking to restore your computer to an earlier date using System Restore in Windows 10? This article will guide you through the process.
Recently, Fortect has become increasingly popular as a reliable and efficient way to address a wide range of PC issues. It's particularly favored for its user-friendly approach to diagnosing and fixing problems that can hinder a computer's performance, from system errors and malware to registry issues.
- Download and Install: Download Fortect from its official website by clicking here, and install it on your PC.
- Run a Scan and Review Results: Launch Fortect, conduct a system scan to identify issues, and review the scan results which detail the problems affecting your PC's performance.
- Repair and Optimize: Use Fortect's repair feature to fix the identified issues. For comprehensive repair options, consider subscribing to a premium plan. After repairing, the tool also aids in optimizing your PC for improved performance.
Enable System Protection
First, access the Start menu and type “Control Panel” in the search bar. Open the Control Panel from the search results.
In the Control Panel, navigate to “System and Security” and then click on “System.”
In the System window, select “System Protection” from the left-hand menu.
Under the System Protection tab, you will see a list of available drives. Select the drive you want to enable system protection for and click on “Configure.”
In the System Protection for [Drive] window, select “Turn on system protection” and adjust the maximum disk space usage according to your preferences. Click “OK” to save the changes.
Once system protection is enabled, you can proceed with using System Restore to restore your computer to an earlier date if needed.
Creating a Restore Point
To create a restore point in Windows 10 using System Restore, follow these simple steps:
1. First, click on the “Start” button and type “Create a restore point” in the search bar. Then, select the matching result to open the System Properties window.
2. In the System Properties window, click on the “System Protection” tab. Here, you will see a list of available drives on your computer.
3. Select the drive for which you want to create a restore point and click on the “Create” button.
4. A new window will pop up, prompting you to enter a description for the restore point. This will help you identify the restore point in the future, so make sure to enter a descriptive name.
5. Once you’ve entered the description, click “Create” to initiate the creation of the restore point. This process may take a few minutes to complete, depending on the size of the drive and the speed of your computer.
6. After the restore point has been successfully created, you will receive a confirmation message. Click “Close” to exit the window.
By following these steps, you have now created a restore point in Windows 10 using System Restore. This can be extremely useful in the event that your computer encounters a problem, allowing you to revert back to a previous state without losing any important data or settings.
Utilizing a Restore Point
To utilize a restore point in Windows 10, follow these steps:
– First, click on the Start button and type “restore” in the search bar. Select “Create a restore point” from the results.
– In the System Properties window, click on the “System Restore” button.
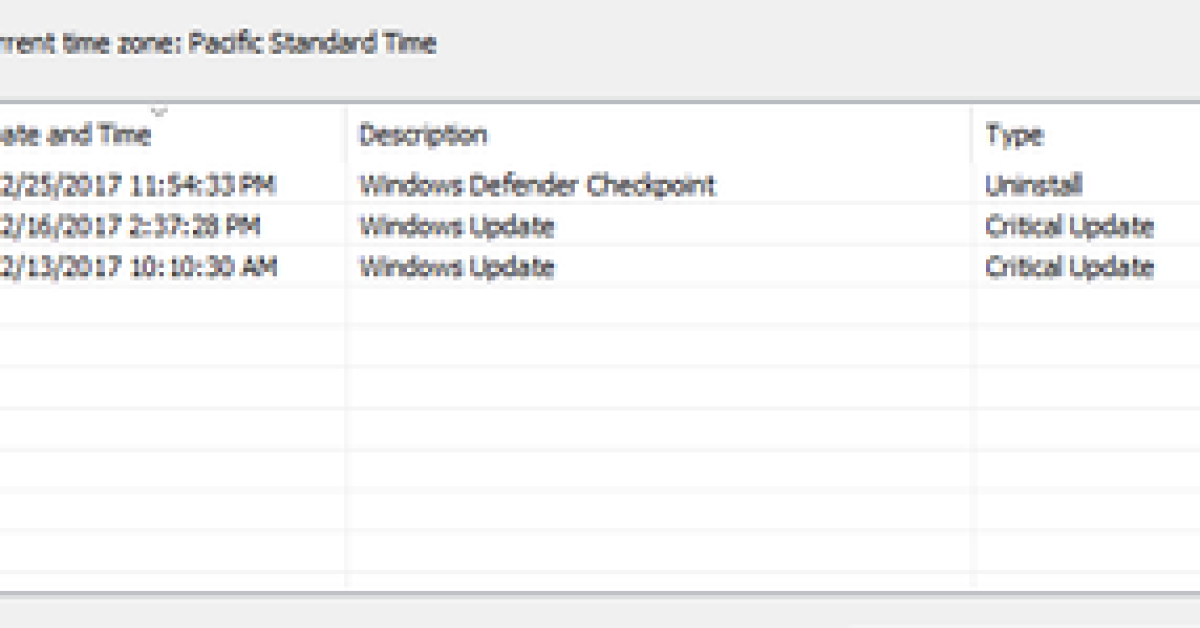
– Select the restore point you want to use from the list of available options. If you don’t see a specific restore point, click on “Show more restore points” to view additional options.
– Once you’ve selected the restore point, click “Next” and then “Finish” to begin the restoration process.
It’s important to note that using System Restore will not affect your personal files, but it will uninstall any apps and drivers that were installed after the restore point was created. After the restoration process is complete, your computer will restart and the selected restore point will be applied.
In the event that you encounter any issues after using System Restore, you can always undo the restoration by following the same steps and selecting the option to undo the restore point.
By utilizing restore points in Windows 10, you can easily revert your computer to an earlier date and resolve any issues that may have arisen since that time. This can be especially helpful if you’ve recently installed new software or made system changes that have resulted in unexpected problems.
Alternative Restoration Methods
- Check for Recent Software Installations or Updates
- Open Control Panel and click on Programs
- Click on Programs and Features
- Look for any recently installed programs or updates
- Uninstall any suspicious software or updates
- Run a Full System Scan for Malware
- Open Windows Security by searching for it in the Start menu
- Click on Virus & threat protection
- Select Scan options and choose Full scan
- Follow the prompts to complete the scan
- Perform a Disk Cleanup
- Open File Explorer
- Right-click on C: drive and select Properties
- Click on Disk Cleanup
- Select the types of files you want to delete and click OK