In this article, I will discuss how to scan and repair Windows 10 disk errors using CHKDSK.
Recently, Fortect has become increasingly popular as a reliable and efficient way to address a wide range of PC issues. It's particularly favored for its user-friendly approach to diagnosing and fixing problems that can hinder a computer's performance, from system errors and malware to registry issues.
- Download and Install: Download Fortect from its official website by clicking here, and install it on your PC.
- Run a Scan and Review Results: Launch Fortect, conduct a system scan to identify issues, and review the scan results which detail the problems affecting your PC's performance.
- Repair and Optimize: Use Fortect's repair feature to fix the identified issues. For comprehensive repair options, consider subscribing to a premium plan. After repairing, the tool also aids in optimizing your PC for improved performance.
Understanding CHKDSK Utility
CHKDSK (Check Disk) is a command-line utility in Windows 10 used to scan and repair disk errors. To use CHKDSK, open a command prompt with administrative privileges and type “chkdsk /f” followed by the drive letter you want to scan and repair.
Once the command is entered, CHKDSK will begin scanning the selected drive for errors and fix any it finds. It can also locate and mark bad sectors on the disk, preventing further use of them.
In some cases, you may need to schedule the disk check to be performed during the next system reboot by using the “chkdsk /f /r” command.
After the scan is complete, CHKDSK will display a summary of the scan results, including any repaired errors. It’s important to note that CHKDSK can take a long time to run, especially on larger drives.
Regularly running CHKDSK can help maintain the health and speed of your disk, preventing potential data loss and system instability.
Indications of Disk Problems
- Slow performance or freezing of the system
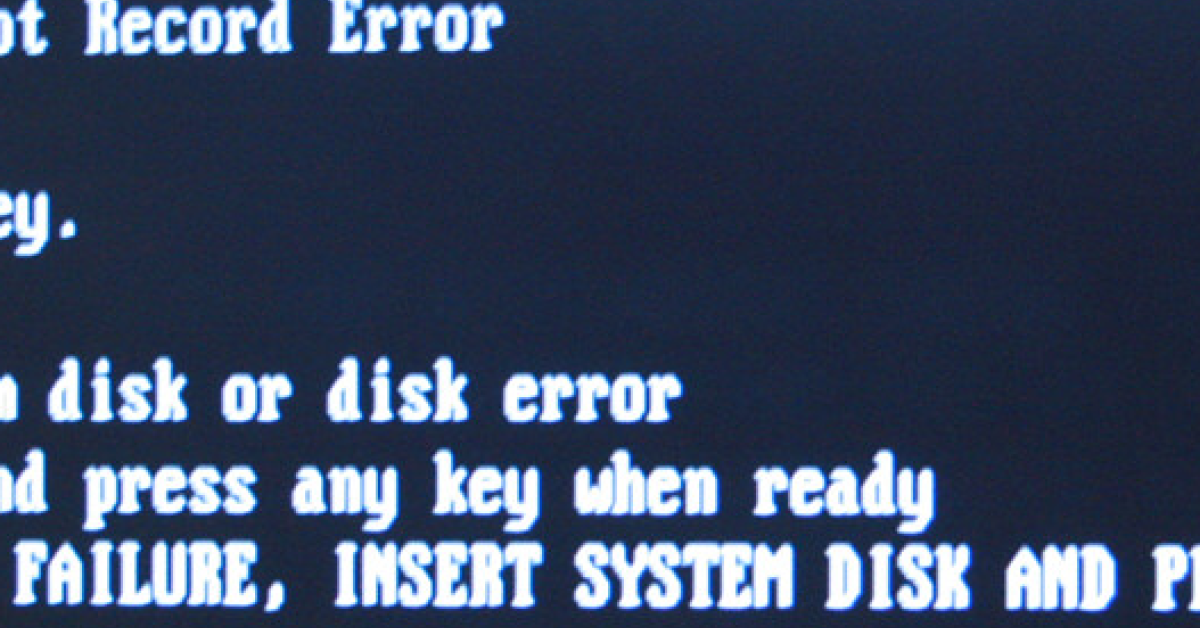
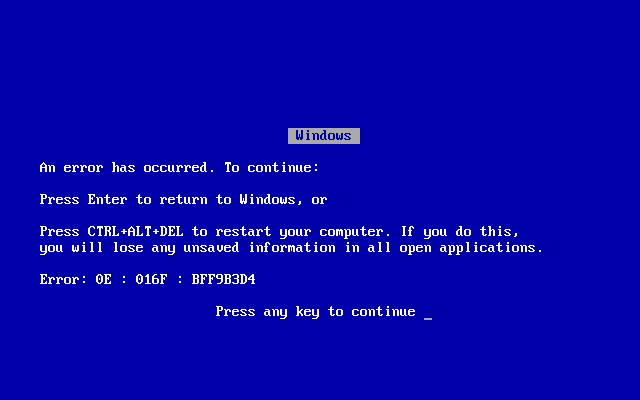
- Error messages indicating disk problems
- Unusual noises coming from the hard drive
- Files and folders becoming corrupted or inaccessible
Steps to Repair Disk Problems
- Step 1: Check for physical issues with the hard drive by listening for unusual noises or vibrations
- Step 2: Use built-in Windows tools such as CHKDSK to scan and repair disk errors
- Step 3: If necessary, consider replacing the hard drive if physical issues are detected
Implementing CHKDSK Commands
To implement CHKDSK commands, you can start by opening the Command Prompt as an administrator. Then, type “chkdsk C: /f” and press Enter to scan and fix any errors on the C drive. If you want to scan for and repair bad sectors, you can type “chkdsk C: /r” instead.
After initiating the command, you may be prompted to schedule a scan for the next time your computer restarts. If you agree, type “Y” and press Enter. Once the scan is complete, you can check the results in the Event Viewer under the Windows Logs section. If CHKDSK detects and fixes errors, make sure to back up your important data to prevent any potential data loss.
Running CHKDSK from File Explorer
To run CHKDSK from File Explorer in Windows 10, follow these steps:
First, open File Explorer by pressing the Windows key + E on your keyboard.
Next, right-click on the drive you want to scan and repair and select Properties from the context menu.
In the Properties window, go to the Tools tab and click on the Check button under the Error checking section.
If prompted, select Scan drive to start the CHKDSK process.
Once the scan is complete, CHKDSK will attempt to repair any disk errors it finds.
After the process is finished, you can close the Properties window and continue using your computer as usual.
Remember to back up your important files before running CHKDSK to avoid any potential data loss.
Initiating CHKDSK via Command Prompt
To initiate CHKDSK via Command Prompt, first open Command Prompt with administrative privileges. You can do this by typing “cmd” into the Windows Search bar, right-clicking on Command Prompt, and selecting “Run as administrator” from the context menu.
Once Command Prompt is open, type “chkdsk /f” and press enter to instruct CHKDSK to fix any errors it finds on the disk. If you also want CHKDSK to locate and mark bad sectors, you can add the “/r” parameter like this: “chkdsk /f /r“.
After entering the command, you will likely be prompted to schedule the disk check for the next time the computer restarts. Type “Y” and press enter to confirm.
Now, restart your computer to allow CHKDSK to scan and repair any disk errors. Keep in mind that this process may take some time, depending on the size and speed of your disk.
Executing CHKDSK Before Windows Boots
To execute CHKDSK before Windows boots, you will need to access the Command Prompt. Restart your computer and press the Esc key or the appropriate key to enter the BIOS or UEFI settings. Navigate to the boot options and select the option to boot from a USB or CD containing the Windows installation files.
Once the installation files are loaded, choose the Repair your computer option and select Troubleshoot > Advanced options > Command Prompt. In the Command Prompt window, type chkdsk /f /r and press Enter. This will initiate a scan and repair process for any disk errors on your Windows 10 system.
After the process is complete, restart your computer and allow Windows to boot normally. CHKDSK will have scanned and repaired any NTFS disk errors, bad sectors, or other issues that may have been affecting your system’s performance.
Troubleshooting with Safe Mode
When troubleshooting disk errors in Windows 10, Safe Mode can be a helpful tool. To access Safe Mode, restart your computer and press the F8 key repeatedly until the Advanced Boot Options menu appears. From there, select Safe Mode and press Enter. Once in Safe Mode, you can use CHKDSK to scan and repair disk errors.
Open the Command Prompt by typing “cmd” in the Windows search bar, right-clicking Command Prompt, and selecting “Run as administrator”. Then, type “chkdsk /f /r” and press Enter. This will scan for and repair any disk errors on your Windows 10 system. After the process is complete, restart your computer and it should boot back into normal mode.
If you encounter any issues during this process, check the Event Viewer for error logs to help diagnose the problem.
Addressing “Volume in Use” Notices
If you are receiving “Volume in Use” notices when attempting to run CHKDSK, it means that the disk you are trying to scan is currently in use and cannot be locked for the process. To resolve this issue, you will need to schedule CHKDSK to run on the next system restart.
To do this, open Command Prompt as an administrator and type the command chkdsk C: /f (replace C: with the appropriate drive letter) and press Enter. You will then be asked if you want to schedule the disk check for the next system restart. Type “Y” and press Enter.
Restart your computer, and CHKDSK will run before the operating system fully loads. It will then scan and repair any disk errors it finds. After the process is complete, your computer should start up normally.
This method allows CHKDSK to run without interference from the operating system or any open files, ensuring a thorough scan and repair of any disk errors.
Scheduled Disk Check Adjustments
| Option | Description |
|---|---|
| /f | Fix errors on the disk |
| /r | Locate bad sectors and recover readable information |
| /x | Force the volume to dismount first if necessary |
| /scan | Scan the integrity of the file system and file system metadata of a volume for logical and physical errors |
| /perf | Perform the scan faster by excluding unnecessary file information |
Resolving Drive Errors
To resolve drive errors in Windows 10 using CHKDSK, you can follow these steps. First, open a Command Prompt with administrative privileges by typing “cmd” in the Start menu, then right-clicking on “Command Prompt” and selecting “Run as administrator. ” Next, type “chkdsk /f” and press Enter to scan and repair any disk errors. If the drive is currently in use, you will be prompted to schedule a scan for the next time the computer restarts.
After scheduling the scan, restart your computer to allow CHKDSK to check and fix any errors on the disk. Once the scan is complete, CHKDSK will provide a summary of the results, including any actions taken to repair disk errors. This process can help resolve issues such as bad sectors and file system corruption, ultimately improving the overall health and performance of your disk.
Disk Health Management Strategies
To scan and repair disk errors in Windows 10 using CHKDSK, follow these steps:
First, open the Command Prompt by searching for “cmd” in the Start menu and selecting “Run as administrator.”
Next, type “chkdsk C: /f” and press Enter. Replace “C” with the letter of the drive you want to scan and repair.
If the system tells you that it can’t lock the drive and asks if you want to schedule a scan for the next time you restart, type “Y” and press Enter.
Restart your computer to allow CHKDSK to scan and repair the disk errors.
Once the scan and repair process is complete, CHKDSK will provide a summary of the results.
It’s important to regularly scan and repair disk errors to maintain the health of your disk and prevent potential data loss.
Preventing Data Corruption
To prevent data corruption on your Windows 10 system, you can use the built-in CHKDSK tool to scan and repair disk errors. First, open a Command Prompt with administrative privileges by searching for “cmd” in the Windows search bar, then right-clicking on Command Prompt and selecting “Run as administrator.”
Next, type the command “chkdsk C: /f” into the Command Prompt and press Enter. Replace “C” with the letter of the drive you want to scan. This command will scan the drive for errors and attempt to fix any it finds.
If you want to scan for and attempt to repair bad sectors, you can use the command “chkdsk C: /r” instead.
After running CHKDSK, restart your computer to allow the tool to scan and repair the disk. This process may take some time, so be patient.
By regularly using CHKDSK to scan and repair disk errors, you can help prevent data corruption and maintain the health of your Windows 10 system.