Welcome to the ultimate guide on eliminating the sneaky infiltrator known as SlimCleaner Virus. Discover effective strategies and tools to safeguard your device and bid farewell to this troublesome digital nuisance.
Recently, Fortect has become increasingly popular as a reliable and efficient way to address a wide range of PC issues. It's particularly favored for its user-friendly approach to diagnosing and fixing problems that can hinder a computer's performance, from system errors and malware to registry issues.
- Download and Install: Download Fortect from its official website by clicking here, and install it on your PC.
- Run a Scan and Review Results: Launch Fortect, conduct a system scan to identify issues, and review the scan results which detail the problems affecting your PC's performance.
- Repair and Optimize: Use Fortect's repair feature to fix the identified issues. For comprehensive repair options, consider subscribing to a premium plan. After repairing, the tool also aids in optimizing your PC for improved performance.
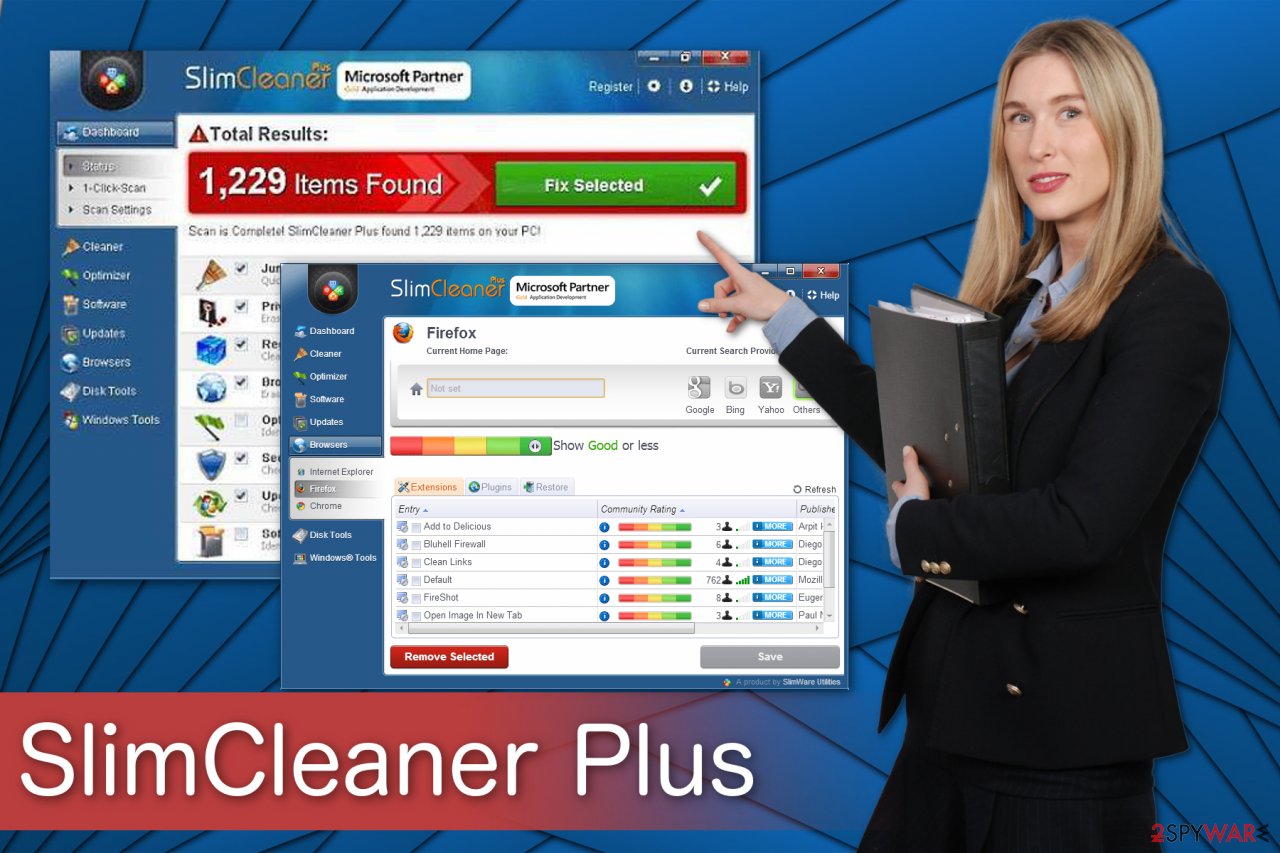
Uninstalling SlimCleaner Plus on Windows
To uninstall SlimCleaner Plus on Windows, follow these steps:
1. Open the Control Panel on your computer.
2. Go to “Programs” or “Programs and Features”.
3. Look for SlimCleaner Plus in the list of installed programs.
4. Right-click on SlimCleaner Plus and select “Uninstall” or “Remove”.
5. Follow the prompts in the uninstallation wizard to complete the process.
6. Restart your computer to ensure that SlimCleaner Plus is completely removed.
It’s important to note that SlimCleaner Plus is classified as a potentially unwanted program (PUP) and may have been installed without your consent. It is known for displaying pop-up messages and performing computer scans, often providing misleading information to encourage users to purchase the full version.
If you have concerns about the presence of other PUPs or malware on your system, we recommend using a trusted antivirus or internet security suite to scan your computer. Norton is a reputable option that can help detect and remove any threats.
Remember to always keep your system and software up to date to minimize the risk of infiltration and ensure optimal performance.
Checking for Remaining Traces of SlimCleaner Plus
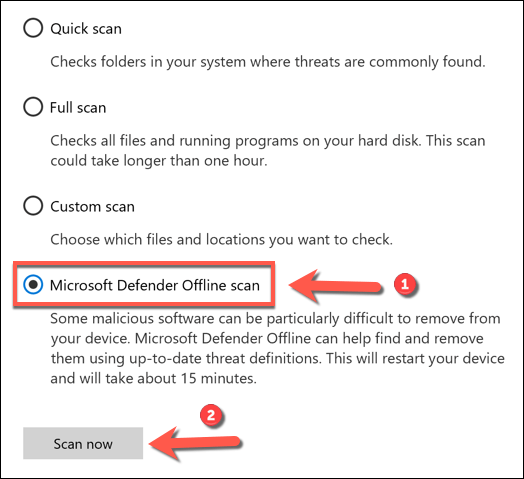
- Scan your system: Run a comprehensive scan using Windows Defender or an up-to-date antivirus software to detect any remaining traces of SlimCleaner Plus.
- Remove related files: Delete any files or folders associated with SlimCleaner Plus that may still be present on your computer.
- Uninstall remaining components: Go to the Control Panel, navigate to the “Programs and Features” section, and uninstall any remaining components of SlimCleaner Plus.
- Clean the Windows Registry: Use a trusted registry cleaner tool to scan and remove any SlimCleaner Plus entries from the Windows Registry.
- Disable startup entries: Check the startup tab in the Task Manager and disable any entries related to SlimCleaner Plus to prevent it from running on system startup.
- Reset browser settings: If SlimCleaner Plus made any unwanted changes to your browser settings, reset them to their default configuration to remove any remnants.
- Update software: Ensure that your operating system, antivirus, and other software are up to date to protect your system from potential vulnerabilities exploited by the SlimCleaner virus.
- Monitor system performance: Keep an eye on your computer’s performance after removing SlimCleaner Plus to ensure that all traces have been successfully eradicated.
Removing SlimCleaner Plus Malware and Infected Files
To remove the SlimCleaner Plus malware and infected files from your PC, follow these steps:
1. Open the Control Panel in Microsoft Windows.
2. Navigate to the “Programs” or “Programs and Features” section.
3. Look for the SlimCleaner Plus application in the list of installed programs.
4. Uninstall SlimCleaner Plus by selecting it and clicking on the “Uninstall” button.
5. Follow the prompts in the uninstallation wizard to complete the removal process.
6. After removing SlimCleaner Plus, consider running a thorough computer scan with a trusted antivirus program like Norton to detect and remove any remaining malware or viruses.
7. If you experience any issues during the removal process, consult the support documentation or contact Slimware Utilities Holdings Inc. for assistance.
Remember, it’s important to regularly scan your PC for malware and avoid installing unnecessary system optimization tools or PC optimization software, as they may not deliver the promised benefits and can potentially compromise your computer’s security.
Keeping Device Protected from Unwanted Programs
Keeping Your Device Protected from Unwanted Programs
If you’ve recently encountered the SlimCleaner virus on your device, it’s crucial to take immediate action to remove it. At Microsoft, we understand the importance of keeping your device safe and secure. Follow these steps to effectively uninstall SlimCleaner Plus and protect your system from potential threats.
1. Uninstall SlimCleaner Plus: Go to your device’s “Control Panel” and select “Uninstall a program.” Locate SlimCleaner Plus in the list of installed applications and click “Uninstall.”
2. Perform a thorough computer scan: Use a trusted antivirus software, such as Norton or Microsoft Defender, to scan your device for any remaining traces of the virus. Follow the software’s instructions to complete the scan and remove any detected threats.
3. Be cautious of pop-up messages: Avoid clicking on any suspicious pop-up messages or advertisements. These can often be a gateway for unwanted programs to infiltrate your device.
By following these steps, you can effectively remove the SlimCleaner virus and safeguard your device from similar threats in the future. Remember to regularly update your antivirus software and exercise caution when downloading new applications or visiting unfamiliar websites. Stay safe and enjoy a secure computing experience with Microsoft Windows.
Keeping Software, OS, and Drivers Up-to-Date
To keep your software, operating system, and drivers up-to-date, follow these simple steps:
1. Regularly check for updates: Stay vigilant and make it a habit to check for updates for all your installed applications, operating system, and drivers. This will ensure that you have the latest versions with enhanced features and security patches.
2. Enable automatic updates: Most software and operating systems offer an option to enable automatic updates. This feature will automatically download and install updates in the background, saving you time and ensuring your system is always up-to-date.
3. Be cautious of PUPs: Potentially Unwanted Programs (PUPs) are often bundled with other software and can infiltrate your system without your consent. Be sure to carefully read each installation prompt and uncheck any additional software that you do not want to install.
4. Use reliable antivirus software: Install a reputable internet security suite, such as Norton, to provide real-time protection against viruses and malware. This will help prevent any malicious software from infecting your system.
5. Remove SlimCleaner Virus: If you suspect your system has been infected with the SlimCleaner Virus, follow the instructions provided in the article titled “Remove SlimCleaner Virus” by Sam Boyd. It provides step-by-step guidance on removing this specific threat from your PC.
Remember, keeping your software, OS, and drivers up-to-date is crucial for the smooth and secure operation of your system. Stay proactive and follow these recommendations to ensure optimal performance and protect your data.
Avoiding Installation of Potentially Unwanted Applications
To avoid installing potentially unwanted applications (PUPs) like SlimCleaner Virus, follow these steps:
1. Be cautious when downloading software. Only download applications from trusted sources and avoid third-party download sites.
2. Read carefully during the installation process. PUPs often hide within the installation process of legitimate applications. Uncheck any boxes or decline any offers to install additional software.
3. Use an antivirus program with real-time protection. A reliable antivirus program, like Norton, can help detect and block PUPs before they can infiltrate your system.
4. Regularly update your operating system and applications. Updating your software helps patch vulnerabilities that PUPs may exploit.
5. Be wary of pop-up notifications. Some PUPs may try to trick you into downloading them through pop-up ads or fake system notifications. Close these windows without clicking on anything.
By following these steps, you can protect your system from potentially unwanted applications and keep it running smoothly. Remember, prevention is key when it comes to avoiding PUPs.
Removing SlimCleaner Adware from Internet Browsers
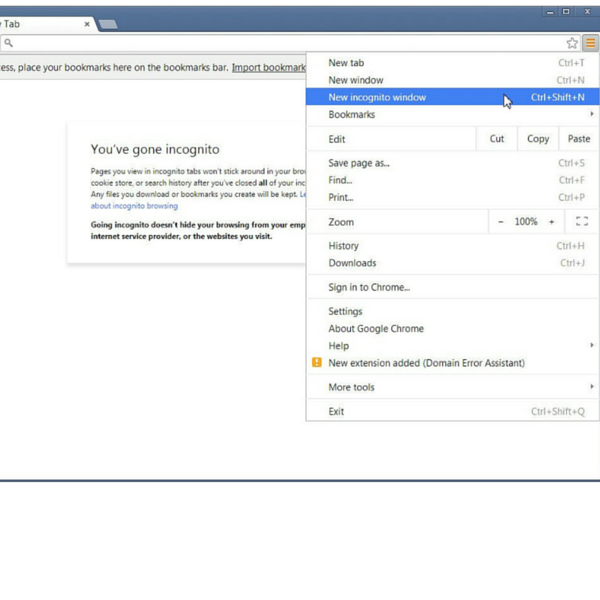
- Remove SlimCleaner from Google Chrome
- Open Google Chrome
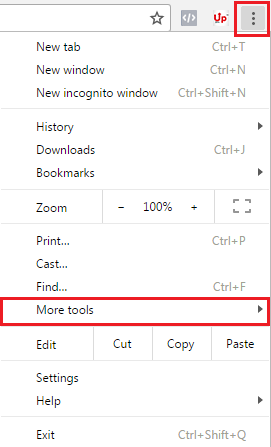
- Click on the three dots at the top right corner of the browser
- Select “More tools” from the dropdown menu
- Choose “Extensions”
- Locate SlimCleaner or any suspicious extension

- Click on the trash bin icon next to the extension to remove it
- Remove SlimCleaner from Mozilla Firefox
- Open Mozilla Firefox
- Click on the three horizontal lines at the top right corner of the browser
- Select “Add-ons” from the dropdown menu
- Choose “Extensions” or “Appearance & Themes”

- Find SlimCleaner or any suspicious add-ons
- Click on the remove button next to the add-on to delete it
- Remove SlimCleaner from Microsoft Edge
- Open Microsoft Edge
- Click on the three dots at the top right corner of the browser
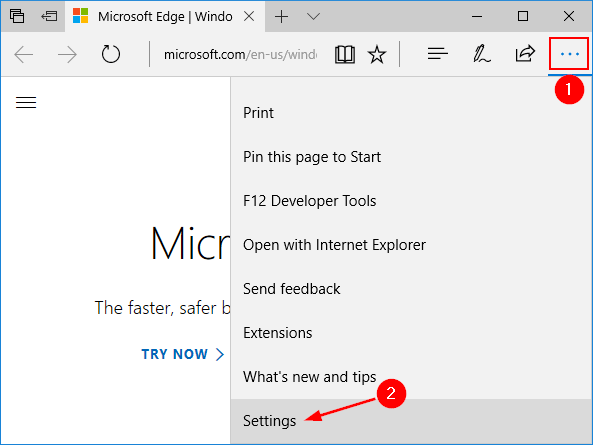
- Select “Extensions” from the dropdown menu
- Locate SlimCleaner or any unwanted extension
- Click on the remove button next to the extension to uninstall it
- Remove SlimCleaner from Safari
- Open Safari
- Click on “Safari” in the top menu bar

- Select “Preferences”
- Choose the “Extensions” tab
- Find SlimCleaner or any suspicious extension
- Click on the uninstall button to remove the extension

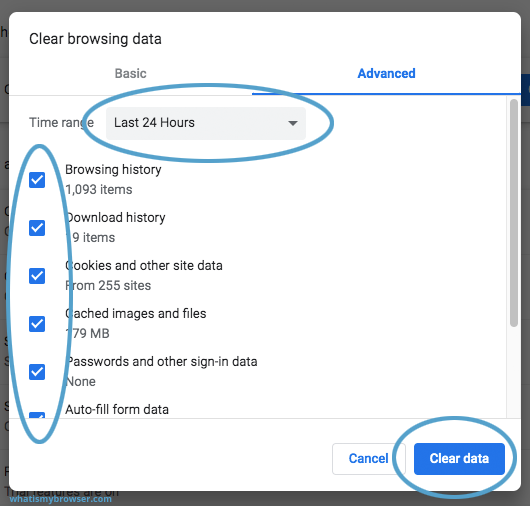
- Clear Browsing Data
- Open the browser settings
- Locate the “Privacy” or “History” section
- Select “Clear browsing data” or “Clear history”
- Choose the appropriate time range to clear
- Check the boxes for the data you want to remove (e.g., cookies, cache)
- Click on the “Clear” or “Delete” button to erase the selected data
Cleaning Registries Associated with SlimCleaner Plus
To remove the SlimCleaner virus from your system, it is important to clean the registries associated with the software. Registries are files that store important settings and information for applications installed on your computer.
To clean the registries, follow these steps:
1. Open the Start menu and type “regedit” in the search bar.
2. Press Enter to open the Registry Editor.
3. In the left panel, navigate to the following location: HKEY_CURRENT_USER\Software\Slimware Utilities.
4. Right-click on the Slimware Utilities folder and select Delete.
5. Confirm the deletion by clicking Yes in the prompt.
6. Repeat steps 3-5 for the following locations:
– HKEY_LOCAL_MACHINE\SOFTWARE\Slimware Utilities
– HKEY_LOCAL_MACHINE\SOFTWARE\Wow6432Node\Slimware Utilities
7. Close the Registry Editor.
Cleaning the registries associated with SlimCleaner Plus can help ensure that all traces of the software are removed from your system. This will help improve system performance and prevent any potential issues caused by the software.
Note: It is always recommended to backup your registries before making any changes.
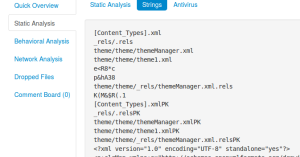
Scanning for SlimCleaner Plus with Anti-Malware Tool
To remove the SlimCleaner virus from your computer, you can use the Anti-Malware Tool to scan for and eliminate any traces of the application. This tool is specifically designed to detect and remove potentially unwanted programs (PUPs) like SlimCleaner.
First, download and install the Anti-Malware Tool from a trusted source.
Next, open the tool and initiate a scan of your system.
Once the scan is complete, review the results to see if SlimCleaner or any related threats are detected.
If SlimCleaner is found, select it and click on the “Remove” button to eliminate it from your computer.
Finally, restart your computer to complete the removal process.
By following these steps, you can effectively remove the SlimCleaner virus and ensure the security and performance of your PC.
Removing SlimCleaner Plus from Windows (Video Guide)
If you’re looking to remove SlimCleaner Plus from your Windows system, we’ve got you covered with this helpful video guide. Follow the steps below to effectively uninstall the software and ensure a clean removal from your PC.
1. Open the Control Panel by searching for it in the Windows search bar.
2. Click on “Uninstall a program” under the “Programs” section.
3. Locate SlimCleaner Plus in the list of installed programs.
4. Right-click on SlimCleaner Plus and select “Uninstall” from the drop-down menu.
5. Follow the on-screen prompts to complete the uninstallation process.
By following these steps, you will be able to remove SlimCleaner Plus from your Windows system and eliminate any potential issues or unwanted software. If you encounter any difficulties during the process, feel free to refer to the video guide for visual assistance.
Remember to always exercise caution when downloading and installing PC optimization software, as some programs may come bundled with potentially unwanted programs (PUPs) like SlimCleaner Plus. Stay informed and protect your system’s performance and security.
For further assistance or information, consult the official SlimCleaner Plus website or contact their customer support team.
[Video Guide: Removing SlimCleaner Plus from Windows]
[Threat Summary:
– Name: SlimCleaner Plus
– Type: Potentially Unwanted Program (PUP)
– Purpose: System optimization tool
– Background: Developed by Slimware Utilities Holdings Inc.
– Subscription: Controls and pricing may vary
– Recommendations: Consider using reputable PC optimization software, such as Norton Now, for a more reliable and trusted solution.]
Remember, it’s important to regularly review and manage the software installed on your system to maintain optimal performance and security.
Removing SlimCleaner Plus from Mac OS X (Video Guide)
If you’re looking to remove SlimCleaner Plus from your Mac OS X system, follow these simple steps:
1. Open the Applications folder on your Mac.
2. Locate the SlimCleaner Plus application.
3. Right-click on the application and select Move to Trash.
4. Empty the Trash to permanently delete the application.
Additionally, it is recommended to perform a thorough scan of your system using trusted antivirus software, such as Norton Now, to ensure complete removal of any potential threats.
Please note that SlimCleaner Plus is a system optimization tool developed by Slimware Utilities Holdings Inc. While it claims to improve system performance, it has been reported to exhibit characteristics of potentially unwanted software. Many users have experienced unwanted infiltration, persistent advertisements, and aggressive marketing tactics.
If you have purchased a subscription to SlimCleaner Plus, it is advisable to contact their customer support for assistance with cancellation and refund options. Keep in mind, however, that despite claims of a money-back guarantee, some instances have revealed difficulties in obtaining refunds.
For a more secure and efficient system, it is recommended to rely on trusted system optimization tools and consult reliable sources for software recommendations.
Removing SlimCleaner Plus from Google Chrome
- Open Google Chrome
- Click on the Chrome icon on your desktop or search for Chrome in the Start menu and click on it.

- Access Chrome settings
- Click on the three vertical dots at the top right corner of the Chrome window to open the menu.
- Select “Settings” from the drop-down menu.
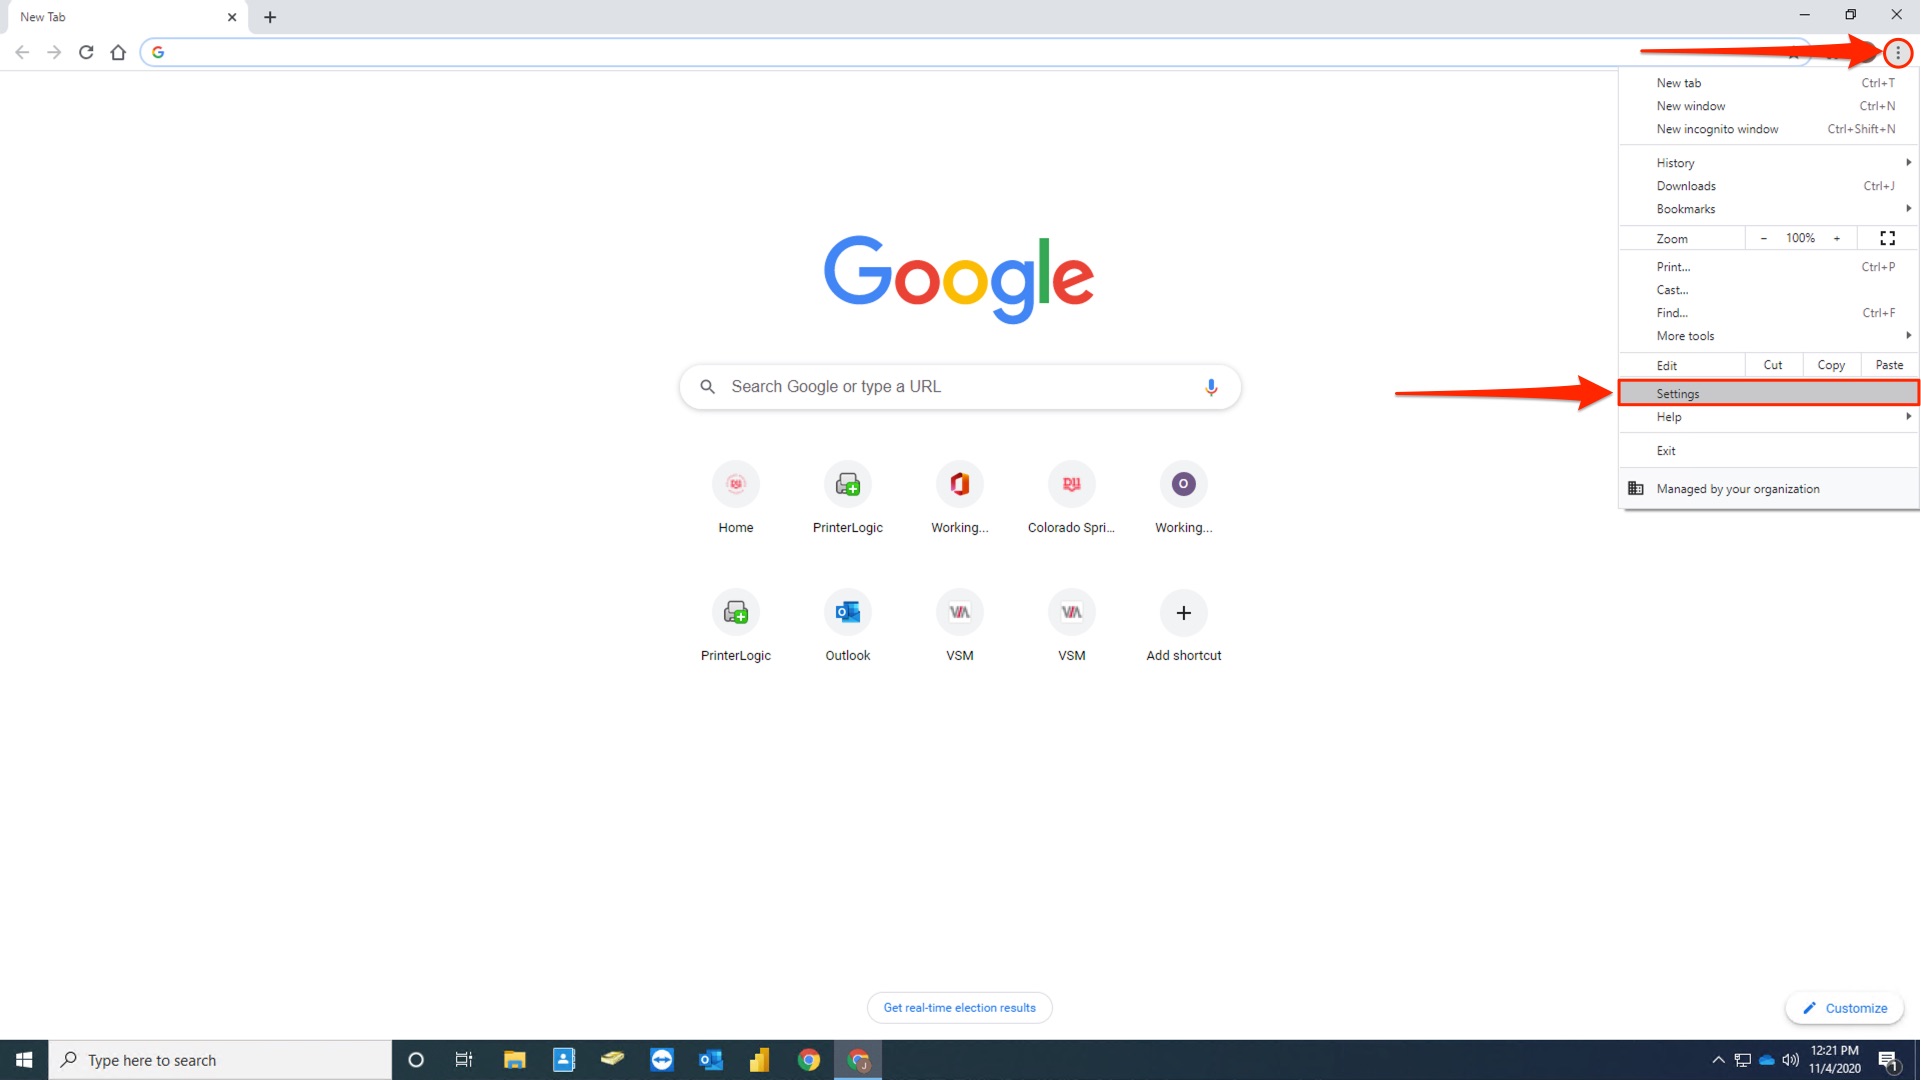
- Go to the Extensions page
- In the left sidebar of the Settings page, click on “Extensions”.
- Locate SlimCleaner Plus
- Scroll through the list of installed extensions and find “SlimCleaner Plus”.
- Remove SlimCleaner Plus
- Click on the trash can icon located next to “SlimCleaner Plus”.
- A confirmation dialog will appear.
- Click on “Remove” to uninstall the extension.
- Restart Google Chrome
- Close and reopen Google Chrome to complete the removal process.
Removing SlimCleaner Plus from Mozilla Firefox
- Step 1: Open Mozilla Firefox.
- Step 2: Click on the three horizontal lines in the top-right corner to open the menu.
- Step 3: Select “Add-ons” from the dropdown menu.
- Step 4: In the Add-ons Manager tab, click on the “Extensions” or “Appearance” tab.
- Step 5: Look for the SlimCleaner Plus extension or any suspicious add-ons.
- Step 6: Click on the “Remove” or “Disable” button next to the SlimCleaner Plus extension or suspicious add-ons.
- Step 7: A confirmation dialog box may appear, click on “Remove” or “Disable” to proceed.
- Step 8: Restart Mozilla Firefox to complete the removal process.
Removing SlimCleaner Plus from Safari
- Open Safari browser
- Click on the Safari icon in the dock or navigate to it in the Applications folder
- Access Safari preferences
- Click on the “Safari” menu in the top left corner of the screen
- Select “Preferences” from the drop-down menu

- Go to the Extensions tab
- Click on the “Extensions” tab at the top of the Preferences window
- Locate SlimCleaner Plus extension
- Scroll through the list of installed extensions
- If you find SlimCleaner Plus, click on it to select it

- Remove SlimCleaner Plus
- Click on the “Uninstall” or “Remove” button next to SlimCleaner Plus
- Confirm the removal when prompted
- Reset Safari settings (optional)
- If you want to ensure complete removal, you can reset Safari to its default settings
- Click on the “General” tab in Safari preferences
- Click on the “Reset” button
- Confirm the reset when prompted
- Restart Safari
- Close the Safari preferences window
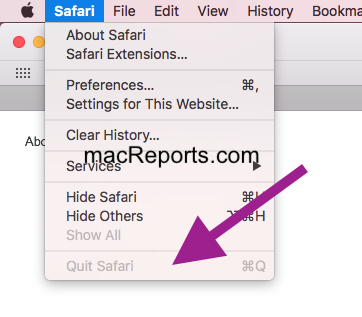
- Quit Safari by clicking on the “Safari” menu and selecting “Quit Safari”
- Relaunch Safari to complete the removal process