Having trouble with your Skype camera not working properly? Let’s troubleshoot and fix the issue together.
Recently, Fortect has become increasingly popular as a reliable and efficient way to address a wide range of PC issues. It's particularly favored for its user-friendly approach to diagnosing and fixing problems that can hinder a computer's performance, from system errors and malware to registry issues.
- Download and Install: Download Fortect from its official website by clicking here, and install it on your PC.
- Run a Scan and Review Results: Launch Fortect, conduct a system scan to identify issues, and review the scan results which detail the problems affecting your PC's performance.
- Repair and Optimize: Use Fortect's repair feature to fix the identified issues. For comprehensive repair options, consider subscribing to a premium plan. After repairing, the tool also aids in optimizing your PC for improved performance.
Check Camera and Skype Status
To troubleshoot Skype camera not working, first check the camera and Skype status. Ensure that your webcam is properly connected to your computer or laptop. If using a USB webcam, try connecting it to a different USB port.
Next, make sure that the camera is not being used by any other application software that might be running in the background. Open your Device Manager to see if the camera is being recognized by your system.
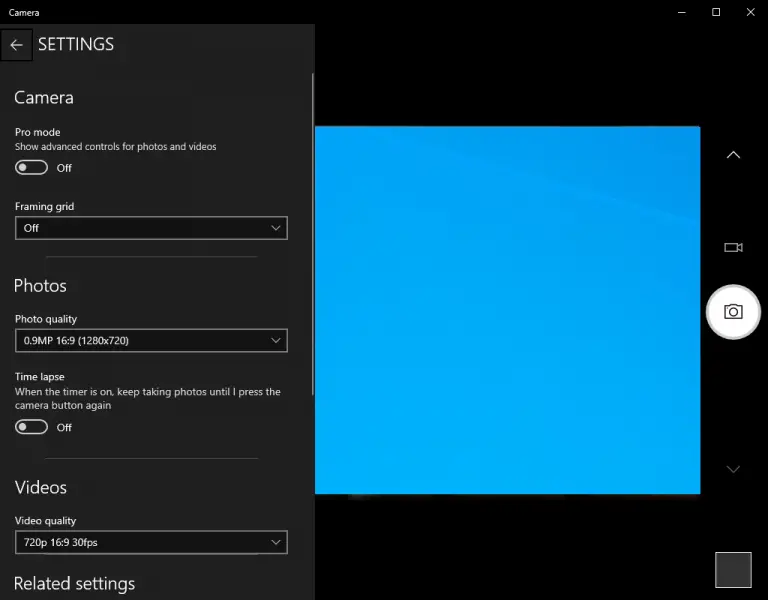
If the camera is working fine but still not showing up in Skype, check your Skype settings to make sure the correct camera is selected. Sometimes, Skype might default to a different camera if multiple cameras are connected to your computer.
Test and Choose the Right Camera
- Identify the issue by checking if the camera is physically connected and if there are any error messages.
- Update drivers for the camera to ensure compatibility with Skype.
- Check the camera settings in Skype to ensure it is selected as the default camera.
- Test the camera on a different device or application to determine if the issue is with Skype or the camera itself.
- Consider changing the camera if it is old or malfunctioning.
Verify and Update Camera Drivers
To verify and update your camera drivers, follow these steps:
Step 1: Press the Windows key + X on your keyboard and select Device Manager from the context menu.
Step 2: Locate the Camera or Imaging devices section and expand it to see your camera driver.
Step 3: Right-click on your camera driver and select Update driver. Follow the on-screen instructions to complete the process.
If you are using a Mac, go to the Apple menu and select App Store. Click on Updates and check if there are any available updates for your camera drivers. Install them if needed.
Updating your camera drivers can often resolve issues with Skype camera not working. Make sure to restart your device after updating the drivers to apply the changes.
Grant Necessary Permissions to Skype
In the settings menu, locate the “Permissions” section. Here, you will find options to enable or disable access to your camera, microphone, and other features. Make sure that the camera permission is turned on to allow Skype to use your camera during video calls.
If the camera still isn’t working after granting the necessary permissions, try restarting the Skype app or your device. Sometimes, a simple restart can resolve technical issues. Additionally, check for any software updates for Skype or your device’s operating system, as outdated software can sometimes cause problems with camera functionality.
Close Conflicting Apps
To troubleshoot Skype camera not working, close any conflicting apps that might be using the camera at the same time. This can include any other video calling apps or programs that access the camera. Make sure to check for any background processes that could be using the camera as well.
If you’re using a Windows 10 or MacOS Mojave laptop or personal computer, go to the task manager or activity monitor to see the list of running apps and processes. Look for any app that might be accessing the camera and close it.
If you suspect a specific app is causing the issue, try closing it first to see if that resolves the problem. Sometimes a glitch in one app can affect the camera function in another app like Skype.
After closing conflicting apps, restart Skype and see if the camera is now working properly. If not, proceed with other troubleshooting steps to fix the issue.
Check Internet and System Compatibility
Verify Device Connections: Check if your camera is properly connected to your personal computer via USB hardware. Also, make sure your Wi-Fi connection is strong if you are using a mobile device for Skype.
Update Device Drivers: Update your device drivers to ensure they are compatible with Skype. This can help fix any issues related to the camera not working properly.
Update System and Skype Software
To troubleshoot Skype camera not working issues, make sure to update your system and Skype software. Check for system updates on Windows 10 or MacOS Mojave to ensure that your operating system is up to date. This can often resolve compatibility issues that may be causing the camera problem.
Similarly, update your Skype software to the latest version available. This can include bug fixes and improvements that may address the camera not working problem. You can update Skype through the Microsoft Store on Windows or the App Store on MacOS.
If the camera still isn’t working after updating your system and Skype, you may need to troubleshoot further. Check your device driver settings to ensure that the camera is recognized and enabled. Additionally, make sure that your camera isn’t being blocked by any other applications or settings on your computer.
In some cases, a reinstallation of Skype may be necessary to fix the camera issue. Uninstall Skype completely, then download and install the latest version from the official website. This can help to reset any settings that may be causing the problem.
Reinstall or Update Webcam Drivers
If your Skype camera is not working, one possible solution is to reinstall or update your webcam drivers. To do this, first right-click on the Start button and select Device Manager. Look for your webcam under Imaging devices or Cameras, then right-click on it and select Uninstall device. Once uninstalled, restart your computer and let it reinstall the drivers automatically.
If the issue persists, you can try updating the drivers by right-clicking on your webcam in Device Manager, selecting Update driver, and then choosing to Search automatically for updated driver software. This will search online for the latest drivers for your webcam.
After updating or reinstalling the drivers, restart your computer and try using Skype again to see if the camera now works properly. This simple step can often resolve camera issues and get you back to video calling in no time.
Disable and Re-enable the Webcam
If your Skype camera is not working, try disabling and re-enabling the webcam to troubleshoot the issue. To do this, go to your device’s settings and locate the webcam option. Disable it, wait a few seconds, and then re-enable it to see if this resolves the problem.
If disabling and re-enabling the webcam does not fix the issue, you may need to check the device driver for your camera. Update the driver to ensure it is functioning properly. Additionally, make sure that your webcam is not being used by any other applications or programs that could be causing a conflict.
If you are still experiencing issues with your Skype camera not working, consider restarting your device. Sometimes a simple reboot can resolve technical glitches and get your webcam back up and running.
Try a Different USB Port or Generic Drivers
If your Skype camera is not working, one quick solution to try is switching to a different USB port. Sometimes the issue may be with the port itself, so plugging your camera into a different one could resolve the problem.
Another option is to check if your camera is using the correct drivers. You can try using generic drivers for your camera instead of the specific ones to see if that makes a difference.
If neither of these solutions work, you may need to delve deeper into the troubleshooting process to identify the root cause of the problem.
Troubleshoot with Windows Tools
If your Skype camera is not working, you can troubleshoot the issue using Windows tools. First, check if your camera is properly connected and recognized by your computer. Go to Device Manager by pressing Windows key + X and select Device Manager. Look for your camera under the Imaging devices section. If it has a yellow exclamation mark, right-click and select Update driver software.
If updating the driver doesn’t work, you can try disabling and re-enabling the camera. Go back to Device Manager, right-click on the camera, and select Disable device. Then, right-click on it again and select Enable device.
If the camera still isn’t working, you can try resetting the camera app. Press Windows key + I to open Settings, go to Apps, select Apps & features, find the Camera app, and click on Advanced options. Then click on Reset.
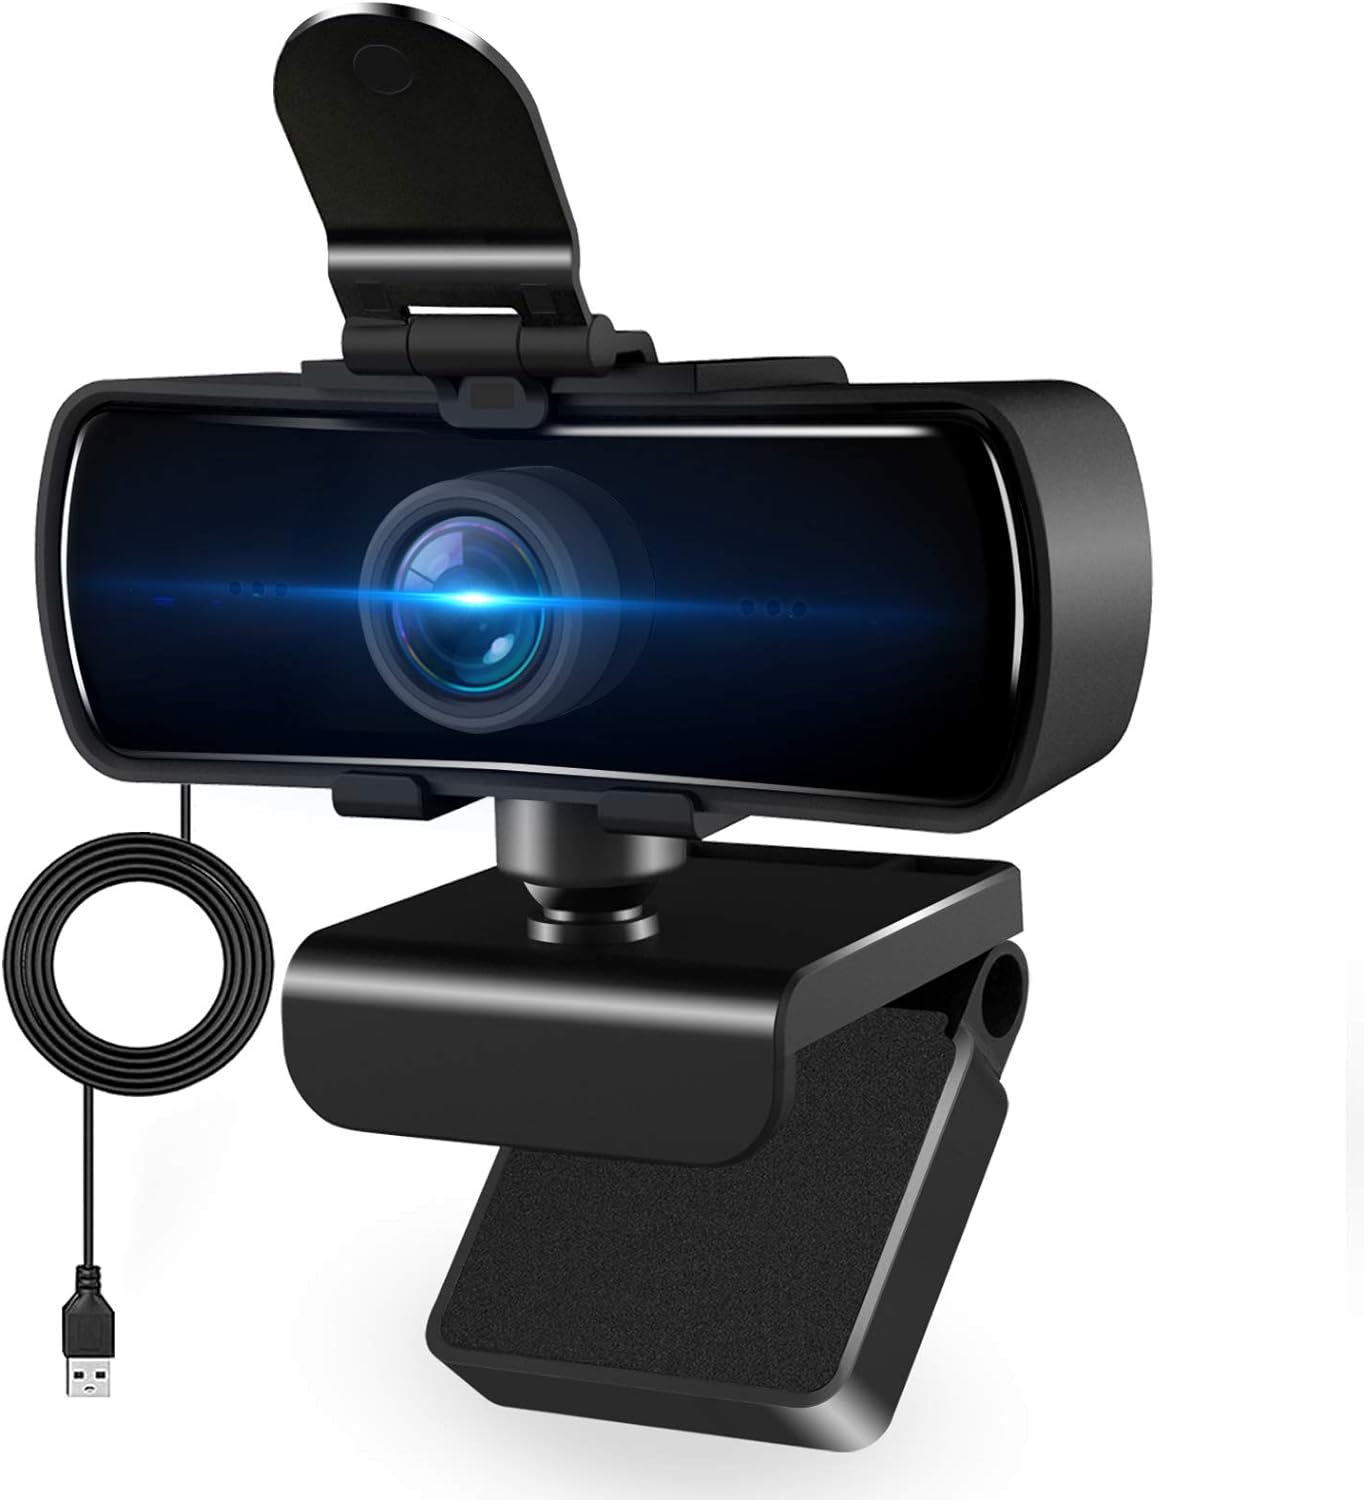
Consider Camera Replacement or Upgrade
Consider camera replacement or upgrade if you are still experiencing issues with your Skype camera not working. Sometimes the problem may lie with the camera itself, and replacing it with a new one could resolve the issue.
Upgrading your camera to a higher quality one can also improve the overall video calling experience on Skype. Make sure to check the compatibility of the new camera with your device before making a purchase.
If you have tried all troubleshooting steps and the camera still doesn’t work, investing in a new camera may be the best solution. Look for cameras that are specifically designed for video calling to ensure compatibility and optimal performance.
Reset or Restore Your System
Reset Skype: Open Skype, go to Settings > Audio & Video and click on the camera dropdown menu. Choose a different camera (if available) or simply select the same camera to reset it.
Restore Camera Settings: Check your device’s camera settings to ensure it is enabled for Skype. Go to Device Manager on Windows or Settings > Privacy > Camera on Android to enable camera access for Skype.
Restart Your Device: Sometimes a simple restart can fix camera issues. Turn off your device, wait a few seconds, then turn it back on to see if the camera works in Skype.
If these steps don’t resolve the problem, try uninstalling and reinstalling the Skype app or updating your device’s operating system.
FAQ
Why is my camera not working Skype?
Your camera may not be working on Skype because the app may not have permission to access it. Check your privacy settings to ensure that Skype has permission to use your camera. Additionally, make sure that the correct camera device is selected within Skype’s settings. Restart Skype after making any changes to see if the issue is resolved.
How can I turn on my camera on Skype?
To turn on your camera on Skype, you can go to the settings menu and select the option to enable your camera.
Why is my camera showing a black screen on Skype?
Your camera is showing a black screen on Skype because the app may not have permission to access the camera. To fix this, adjust your permissions by opening the Start menu and clicking on the Settings gear.
How do I unblock my camera on Skype?
To unblock your camera on Skype, you can go to Windows Settings, then Privacy, and Camera settings. Make sure the camera is turned on for Skype in the list of apps allowed to use the camera.


