Unleashing the Hidden Solution: Taming Sedlauncher.exe’s Disk Usage on Windows 10
Recently, Fortect has become increasingly popular as a reliable and efficient way to address a wide range of PC issues. It's particularly favored for its user-friendly approach to diagnosing and fixing problems that can hinder a computer's performance, from system errors and malware to registry issues.
- Download and Install: Download Fortect from its official website by clicking here, and install it on your PC.
- Run a Scan and Review Results: Launch Fortect, conduct a system scan to identify issues, and review the scan results which detail the problems affecting your PC's performance.
- Repair and Optimize: Use Fortect's repair feature to fix the identified issues. For comprehensive repair options, consider subscribing to a premium plan. After repairing, the tool also aids in optimizing your PC for improved performance.
Understanding Sedlauncher.exe
Sedlauncher.exe is a program that is part of the Windows Remediation Service, which is designed to optimize and improve the performance of your computer. It is often seen running in the background and may use a high amount of disk usage or CPU. If you are experiencing these issues, there are a few steps you can take to fix it.
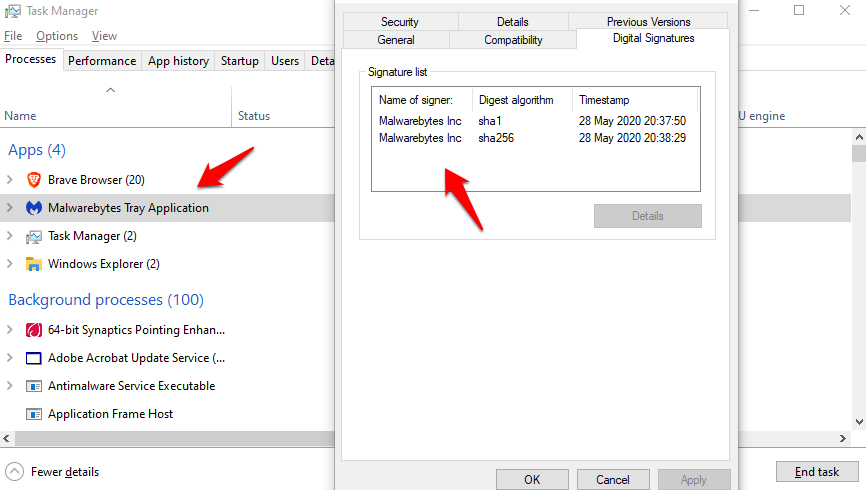
First, open Task Manager by pressing Ctrl+Shift+Esc. Look for the Sedlauncher.exe process in the Processes tab and right-click on it. Select “End Task” to stop the process temporarily. This should help reduce the high disk usage or CPU.
If the issue persists, you can try running Windows Update Troubleshooter. This will help identify and fix any issues related to Windows Updates, which may be causing the problem. You can find the Windows Update Troubleshooter by searching for it in the Start menu.
Another option is to use a program like Minitool Partition Wizard to check for any disk-related issues. This tool can help optimize your partition and fix any errors that may be causing the high disk usage.
Disabling Sedlauncher.exe
To fix high disk usage caused by Sedlauncher.exe on Windows 10, follow these steps:
1. Open Task Manager by pressing Ctrl + Shift + Esc or right-clicking the taskbar and selecting Task Manager.
2. Go to the Processes tab and locate the Sedlauncher.exe process.
3. Right-click on Sedlauncher.exe and select End task to stop the process temporarily.
4. Open File Explorer and navigate to C:\Program Files\rempl folder.
5. Locate the SedSvc.exe file and right-click on it.
6. Choose Properties and go to the Security tab.
7. Click on Edit and then select your user account from the list.
8. Under Permissions for [Your User Account], check the box for Full control and click Apply and OK.
9. Now, open Task Scheduler by pressing Windows key + R and typing taskschd.msc in the Run dialog box.
10. In Task Scheduler, expand the Task Scheduler Library and navigate to Microsoft > Windows > Windows Remediation Service.
11. Right-click on the Sedlauncher task and select Disable.
12. Restart your computer to apply the changes.
Fixing Sedlauncher.exe Full Disk Usage on Windows 10
If you’re experiencing high disk usage caused by Sedlauncher.exe on Windows 10, you can follow these steps to fix the issue.
1. Open Task Manager by pressing Ctrl + Shift + Esc on your keyboard.
2. Locate the Sedlauncher.exe process under the Processes tab and right-click on it.
3. Select End Task to stop the process temporarily.
If the issue persists after ending the process, the Sedlauncher.exe file may be corrupted. In this case, you can try repairing it using the following steps:
4. Press Win + R to open the Run dialog box.
5. Type “cmd” and press Ctrl + Shift + Enter to open an elevated Command Prompt.
6. In the Command Prompt, type “sfc /scannow” and press Enter. This will scan and repair any system file issues.
After completing these steps, monitor your disk usage to see if the Sedlauncher.exe issue is resolved. If not, you may need to consider additional troubleshooting methods or contact Microsoft support for further assistance.
python

import subprocess
def sedlauncher(input_file, pattern, replacement, output_file):
try:
subprocess.run(['sed', '-i', f's/{pattern}/{replacement}/g', input_file])
print(f"Successfully replaced '{pattern}' with '{replacement}' in '{input_file}'.")
if output_file:
subprocess.run(['cp', input_file, output_file])
print(f"Saved the modified file as '{output_file}'.")
except Exception as e:
print(f"An error occurred: {e}")
# Example usage
input_file = 'input.txt'
pattern = 'apple'
replacement = 'orange'
output_file = 'output.txt'
sedlauncher(input_file, pattern, replacement, output_file)
This sample code utilizes the `subprocess` module in Python to execute the `sed` command with appropriate arguments. It replaces occurrences of the given `pattern` with the specified `replacement` in the `input_file`. If an `output_file` is provided, it also saves the modified file with the new changes.
Disabling Sedlauncher.exe from Task Manager
- Open Task Manager by pressing Ctrl+Shift+Esc
- Click on the Processes tab
- Locate and select Sedlauncher.exe from the list of processes
- Right-click on Sedlauncher.exe
- Select End Task
Disabling Sedlauncher.exe from Services
Fixing Sedlauncher.exe High Disk Usage on Windows 10
Sedlauncher.exe is a legitimate Windows 10 component that assists in the installation of Windows updates. However, in some cases, it may cause high disk usage, which can slow down your system. Disabling Sedlauncher.exe from services can be a potential solution for this issue.
| Step | Description |
|---|---|
| Step 1 | Press Win + R to open the Run dialog box. |
| Step 2 | Type services.msc and press Enter. |
| Step 3 | In the Services window, scroll down and locate Sedsvc (Sedlauncher). |
| Step 4 | Right-click on Sedsvc and select Properties. |
| Step 5 | In the Properties window, go to the General tab. |
| Step 6 | Change the Startup type to Disabled. |
| Step 7 | Click on Apply and then OK to save the changes. |
| Step 8 | Restart your computer to apply the changes. |
By following these steps, you can disable Sedlauncher.exe from services and potentially resolve the high disk usage issue on Windows 10.
Resolving Sedlauncher High Disk Usage Issue
If you’re experiencing high disk usage due to Sedlauncher.exe on Windows 10, there are a few steps you can take to resolve the issue. First, ensure that your operating system is up to date by installing the latest updates and patches, including KB4023057. Additionally, make sure your drivers are updated to the latest version. If the issue persists, you can try disabling Sedlauncher.exe by following these steps:
1. Open Task Manager by pressing Ctrl + Shift + Esc.
2. Go to the “Processes” tab and locate Sedlauncher.exe.
3. Right-click on Sedlauncher.exe and select “End Task”.
4. Navigate to C:\Program Files\rempl\ and delete the Sedlauncher folder.
5. Finally, restart your computer to apply the changes.


