In this article, we explore solutions for common problems that you may encounter in your daily life.
Recently, Fortect has become increasingly popular as a reliable and efficient way to address a wide range of PC issues. It's particularly favored for its user-friendly approach to diagnosing and fixing problems that can hinder a computer's performance, from system errors and malware to registry issues.
- Download and Install: Download Fortect from its official website by clicking here, and install it on your PC.
- Run a Scan and Review Results: Launch Fortect, conduct a system scan to identify issues, and review the scan results which detail the problems affecting your PC's performance.
- Repair and Optimize: Use Fortect's repair feature to fix the identified issues. For comprehensive repair options, consider subscribing to a premium plan. After repairing, the tool also aids in optimizing your PC for improved performance.
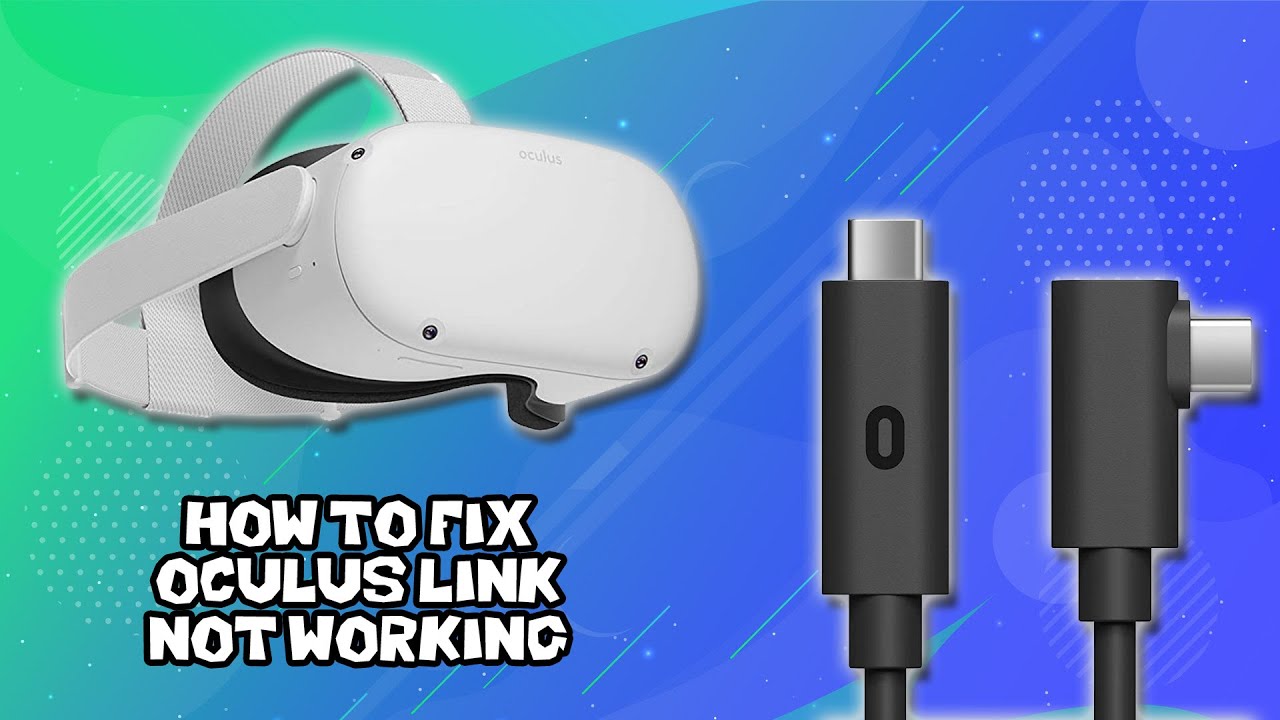
Troubleshooting Oculus Quest 2 Disconnection from PC
If you’re experiencing disconnection issues when using your Oculus Quest 2 with your PC, there are a few things you can try to fix it.
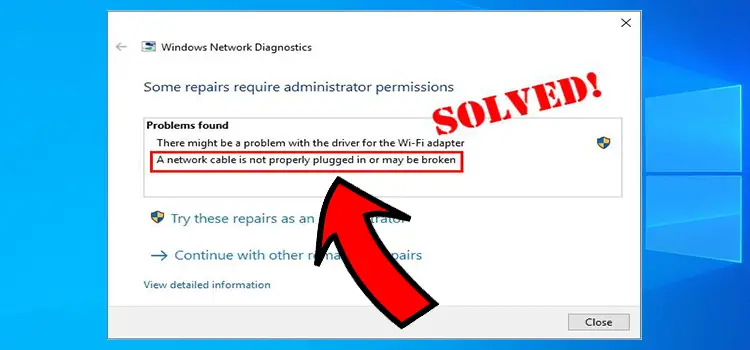
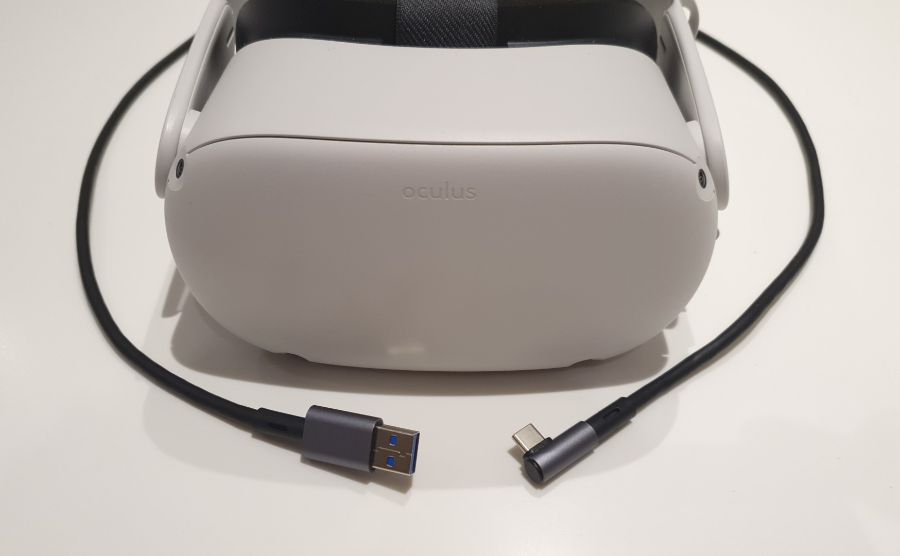
First, make sure that your USB cable is plugged securely into both your headset and your PC’s USB port. Restart your headset and PC, and try using a different USB port if the problem persists.
If you’re using the Quest Link cable, try using a different USB connector on the cable. You can also try using a USB hub with its own power source to ensure a strong connection.
Check your Wi-Fi connection, as a weak or unstable connection can cause disconnection issues.
Make sure that all of your USB drivers are up to date, and that your Oculus app and Steam VR are both updated.
If you’re still experiencing issues, try disabling any optimization features on your PC that may be interfering with your VR experience.
By following these steps, you should be able to fix most disconnection issues and get back to enjoying your VR games and movies.
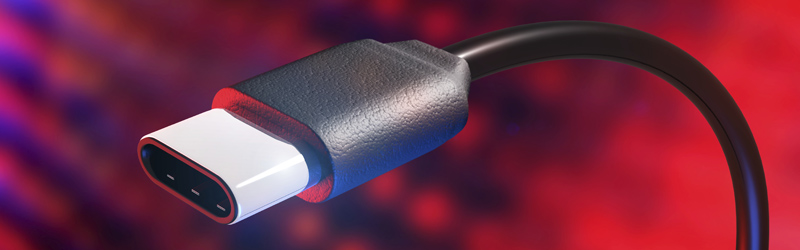
USB Cable and Port Issues
- Clean the port:
- Turn off the device
- Use a small brush or toothpick to remove any dust or debris from the USB port
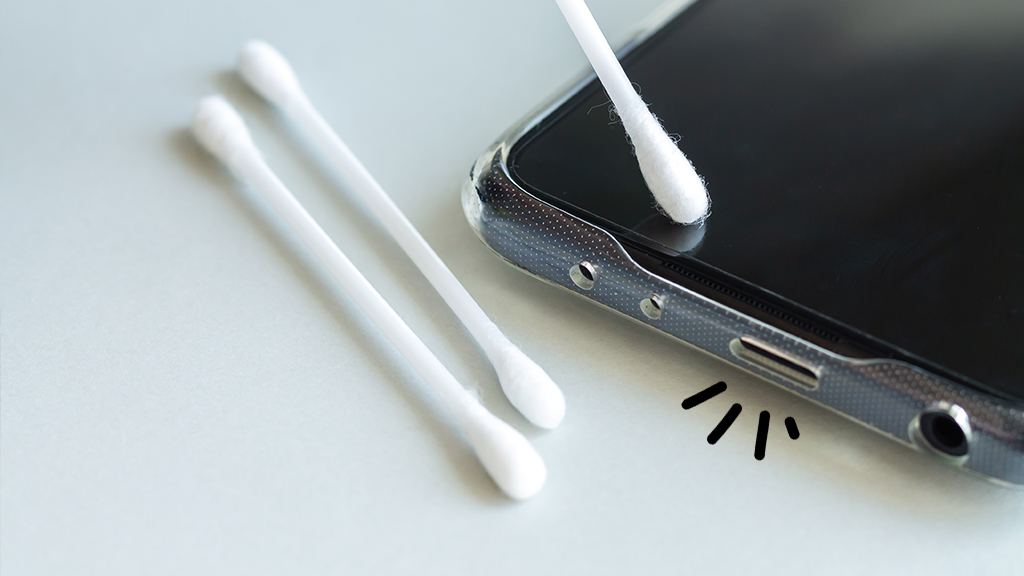
- Blow compressed air into the port to remove any remaining debris
- Turn the device back on
- Replace the cable:
- Try a different USB cable to see if the issue is with the cable itself
- If the new cable works, dispose of the old cable properly
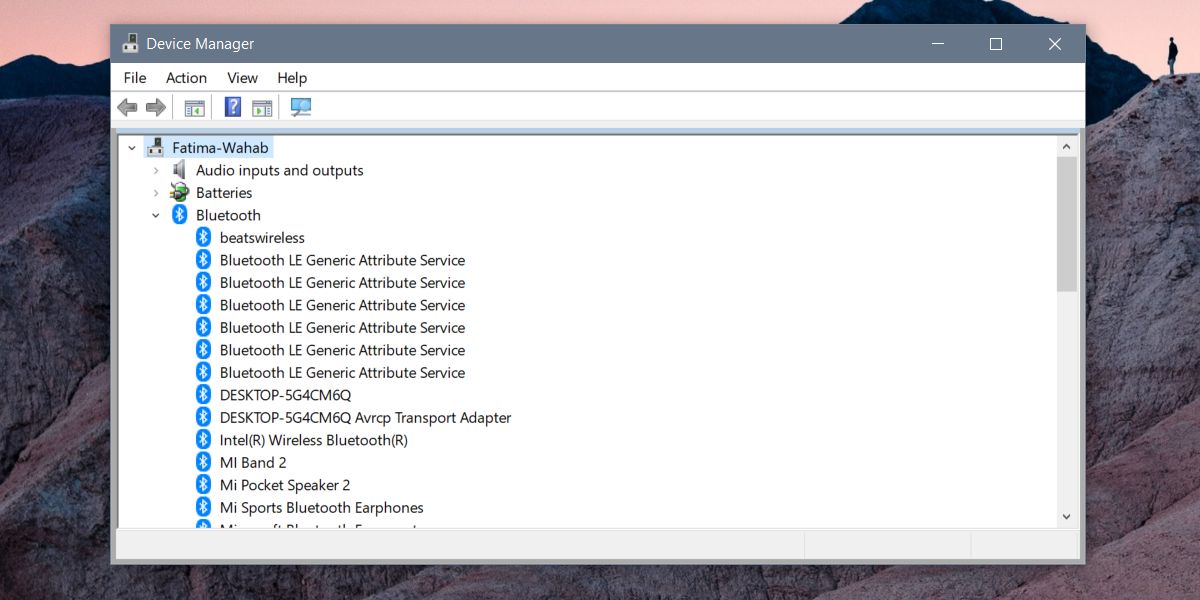
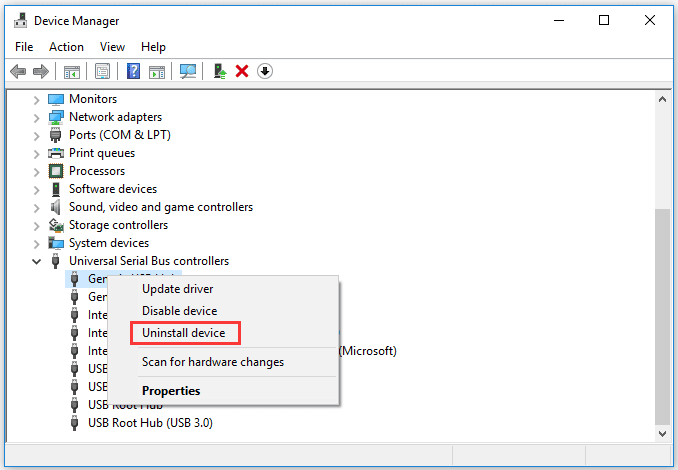
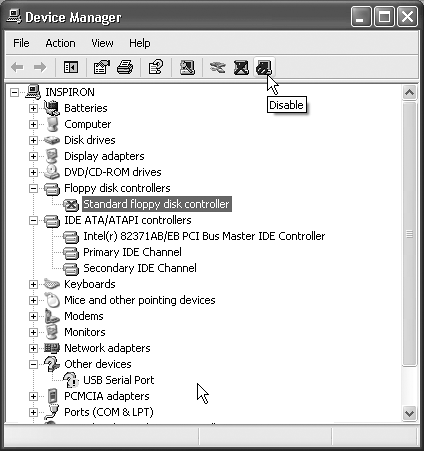
- Update drivers:
- Open the device manager on your computer
- Locate the USB device causing issues
- Right-click and select “Update Driver”
- Restart the computer
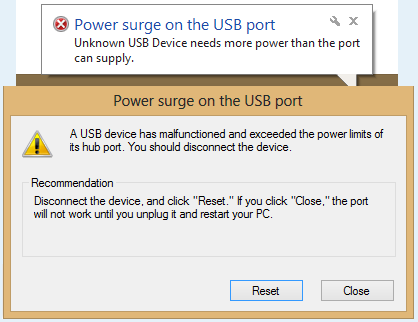
- Check power source:
- Ensure the device is connected to a power source that provides adequate power
- Try a different power source to see if the issue persists
- Reset device:
- Turn off the device
- Disconnect all cables and remove the battery (if possible)

- Hold the power button down for 30 seconds
- Reconnect all cables and reinsert the battery (if removed)
- Turn the device back on
Graphics Card and Driver Issues
Graphics card and driver issues can be a frustrating problem to deal with when trying to enjoy your VR headset. If you’re experiencing problems with your graphics card or driver, there are a few things you can try to fix it. First, make sure your graphics card drivers are up to date. You can do this by going to the manufacturer’s website and downloading the latest drivers. If that doesn’t work, try updating your Oculus Link software or switching to a different cable or port. It’s also worth checking your Wi-Fi connection if you’re experiencing disconnection issues. If all else fails, try troubleshooting with the Oculus Support team or doing further research online. Remember, graphics card and driver issues don’t have to be a deal breaker for your VR experience. With a little time and effort, you can find the fixes that work for you.
using System;

using System.Management;
public class OculusQuest2Checker
{
public static void Main(string[] args)
{
ManagementObjectSearcher searcher = new ManagementObjectSearcher("SELECT * FROM Win32_PnPEntity");
foreach (ManagementObject obj in searcher.Get())
{
if (obj["Name"].ToString().Contains("Oculus Quest 2"))
{
Console.WriteLine("Oculus Quest 2 detected!");
break;
}
}
}
}
This code uses the System.Management namespace to query the Win32_PnPEntity class, which provides information about the Plug and Play devices installed on a computer. It then searches for any device with a name that contains “Oculus Quest 2” and displays a message if found.
Again, this is just a rough example and may not directly address the issue of the device disconnecting from a PC.
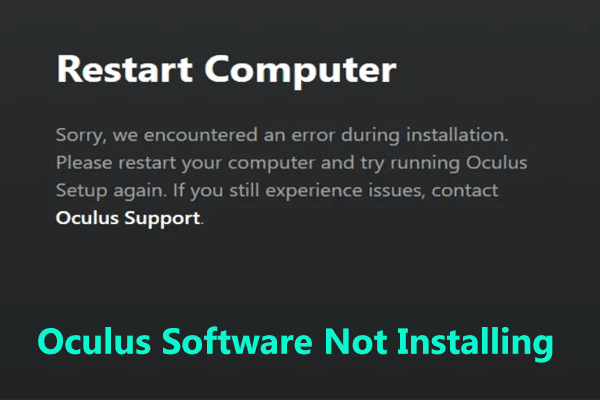
Oculus Software Repair and Reinstall
If you’re experiencing any issues with your Oculus software, repair and reinstalling is a quick and easy way to fix it. Start by uninstalling the Oculus app from your computer and deleting any remaining Oculus files. Restart your computer and download the latest version of the Oculus app from the official website. Connect your Oculus device and follow the on-screen steps to set it up again. If you’re having trouble with Oculus Link, make sure you have the latest drivers installed and try using a different USB port or cable. Check for updates to the Oculus app and your device’s firmware regularly to avoid any issues. If you’re still experiencing problems, consult the Oculus support website or reach out to their customer service for further assistance.
Powered USB 3.0 Hub as a Solution
| Powered USB 3.0 Hub as a Solution | |
|---|---|
| Pros | Cons |
| Provides additional USB ports for devices | May not be a permanent fix for underlying issues |
| Offers faster data transfer speeds than USB 2.0 | May require additional power source |
| Can help reduce clutter on workstation | May not be compatible with all devices |
| Can be a cost-effective solution compared to replacing hardware | May not address software or driver issues |
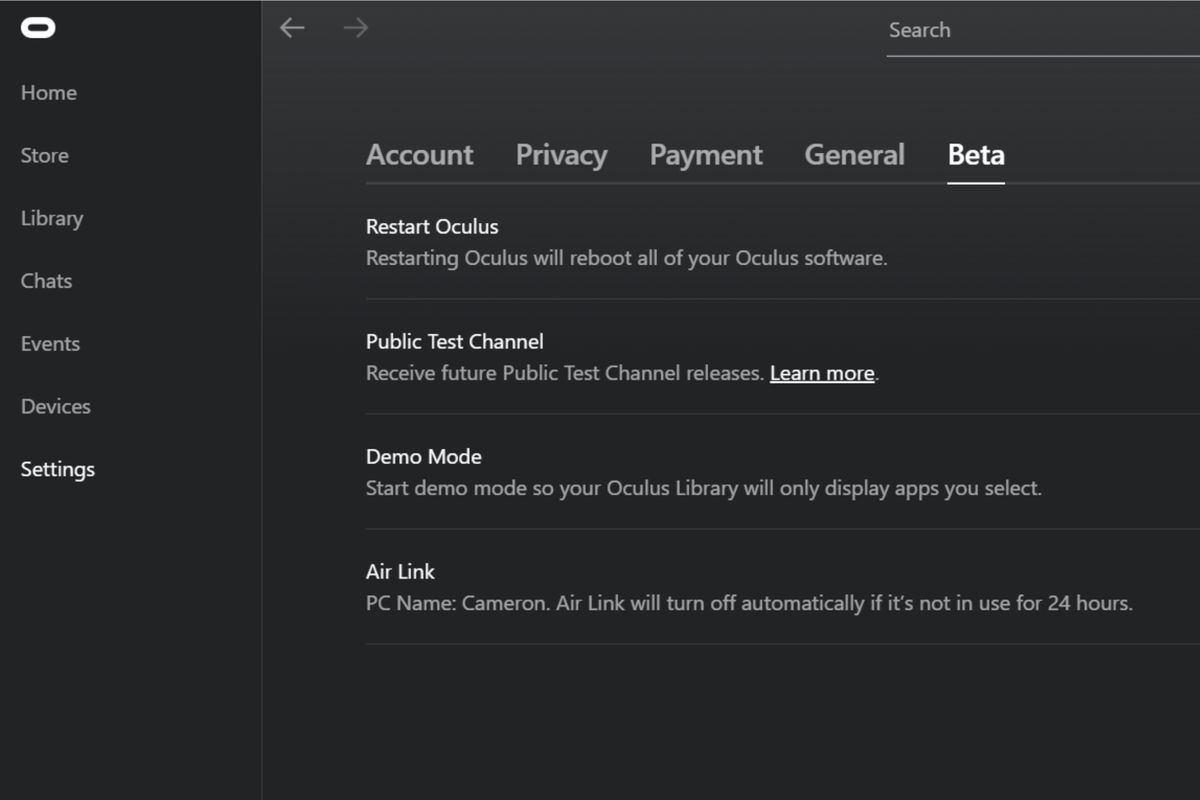
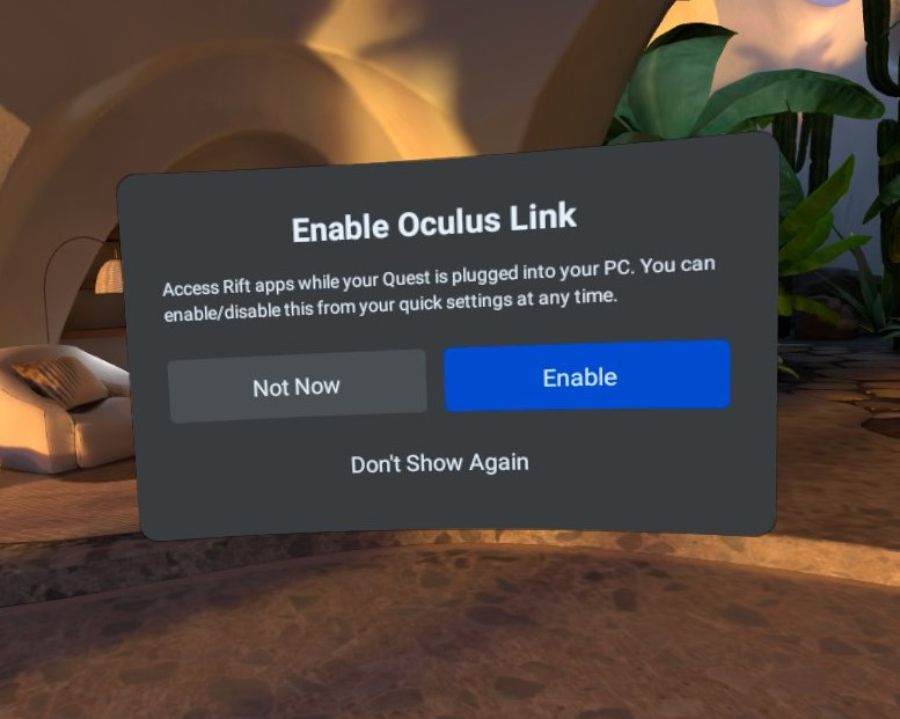
Oculus Air Link as an Alternative
Looking for an alternative to Oculus Link? Consider Oculus Air Link. This technology allows you to wirelessly connect your Oculus Quest 2 or Quest Pro to your PC VR, eliminating the need for a Link cable altogether.
While Oculus Link is a great option for many, it can have its disconnection issues, making it a deal breaker for some. Oculus Air Link provides a way to avoid these disconnecting problems and offers an optimization feature for a smoother gameplay experience.
To use Oculus Air Link, make sure your WiFi connection is strong and that you have the latest drivers for your USB ports and controllers. If you’re still experiencing connectivity problems, try using a USB hub or Open Windows to increase connectivity.
Height and Image Quality Issues on Oculus Link
-
Step 1: Check Your Cable
- Make sure your cable is properly plugged in on both ends
- Try a different cable to see if the issue is with the cable itself
-
Step 2: Adjust Your Oculus Link Settings
- Open your Oculus PC app
- Go to “Devices” and select your Oculus Quest 2
- Click on “Device Settings”
- Adjust the “Graphics Preference” to “Performance”
- Adjust the “Encode Resolution Width” to a lower value
- Restart your Oculus Quest 2 and try again

-
Step 3: Adjust Your Computer’s Graphics Settings
- Open your graphics card control panel (e.g. Nvidia Control Panel)
- Adjust the “Resolution” and “Refresh Rate” to match your Oculus Quest 2
- Adjust the “Texture Filtering” and “Antialiasing” settings to a lower value
- Restart your computer and try again

-
Step 4: Update Your Graphics Card Drivers
- Go to your graphics card manufacturer’s website
- Download and install the latest drivers for your graphics card

- Restart your computer and try again
-
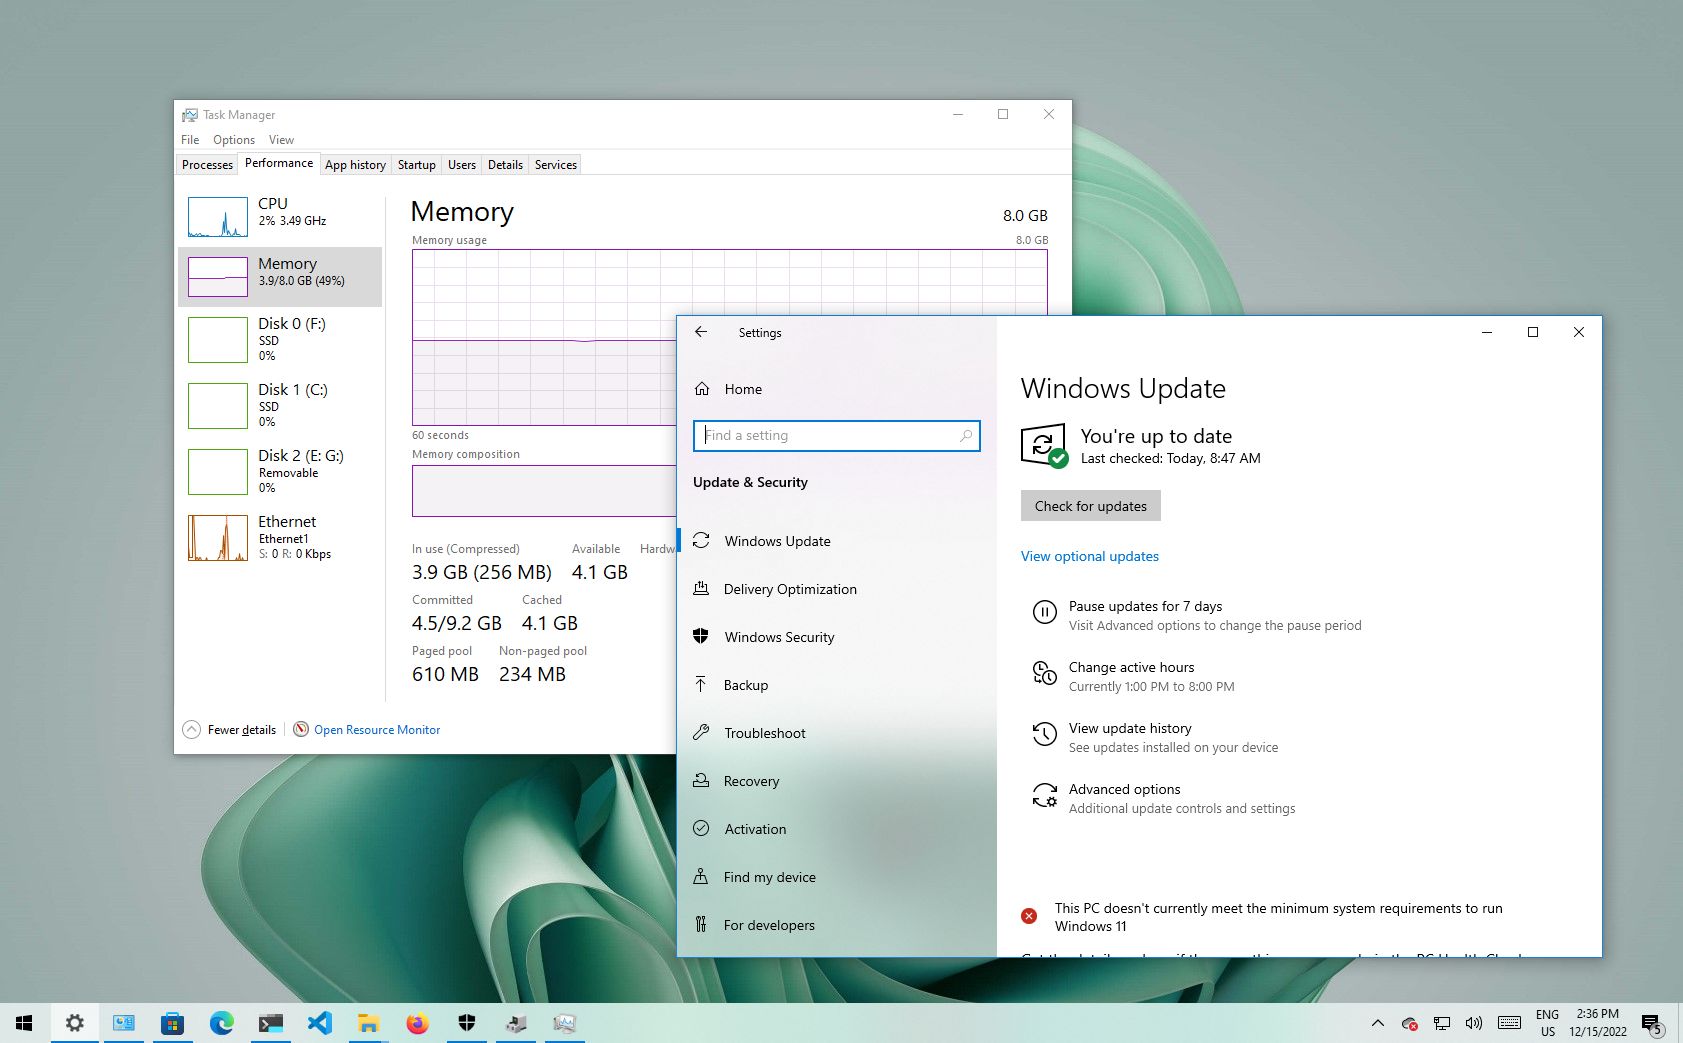
Step 5: Check Your Computer’s Performance
- Open Task Manager by pressing Ctrl+Shift+Esc
- Check the CPU and GPU usage while using Oculus Link
- If usage is high, close any unnecessary programs or processes
- Consider upgrading your computer’s hardware if performance is consistently low
Stuttering on Wired and Wireless Oculus Link
- Check internet connection and bandwidth:
- Ensure that your internet connection is stable and working properly.
- Check your internet bandwidth to ensure it is sufficient for running the Oculus Link.
- Update graphics drivers:
- Visit the website of the manufacturer of your graphics card to download the latest drivers.
- Uninstall the old graphics drivers before installing the new ones.
- Disable unnecessary programs:
- Open Task Manager by pressing Ctrl+Shift+Esc.
- End any unnecessary programs that may be running in the background and using up system resources.
- Adjust in-game settings:
- Lower graphics settings in the game you are playing to improve performance.
- Reduce the resolution of the game to further improve performance.
- Try using a different USB port:
- Disconnect the Oculus Link cable from your computer.
- Try using a different USB port on your computer to connect the cable to.
- Check that the USB port you are using is USB 3.0 or higher.
- Restart Oculus software:
- Close the Oculus software completely.
- Restart the software and try using the Oculus Link again.
- Restart your computer:
- Restart your computer to clear any temporary files and improve performance.
- Try using the Oculus Link again after restarting your computer.

Faulty Link Cable and USB Drives
- Check the cable connections:
- Ensure the link cable is properly connected to both devices
- Check if there are any visible damages on the cable
- Try a different USB port:
- Insert the cable or USB drive into a different USB port on your device
- Make sure the port is not damaged or blocked
- Restart your device:
- Restart your computer or device to refresh the USB ports
- Check if the USB drive or cable is detected after restarting
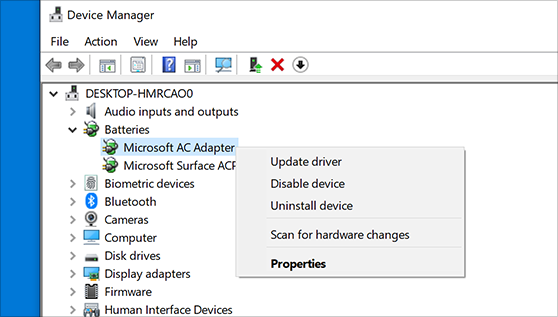
- Update device drivers:
- Open Device Manager by pressing Windows key + X
- Locate the USB device that is not working properly
- Right-click and select Update Driver Software
- Follow the on-screen instructions to complete the update
- Scan for hardware changes:
- Open Device Manager by pressing Windows key + X
- Right-click on your computer name and select Scan for hardware changes
- Wait for the scan to complete and check if the USB drive or cable is detected
- Run hardware troubleshooter:
- Open Settings by pressing Windows key + I
- Select Update & Security
- Select Troubleshoot from the left-hand menu
- Select Hardware and Devices and click Run the troubleshooter
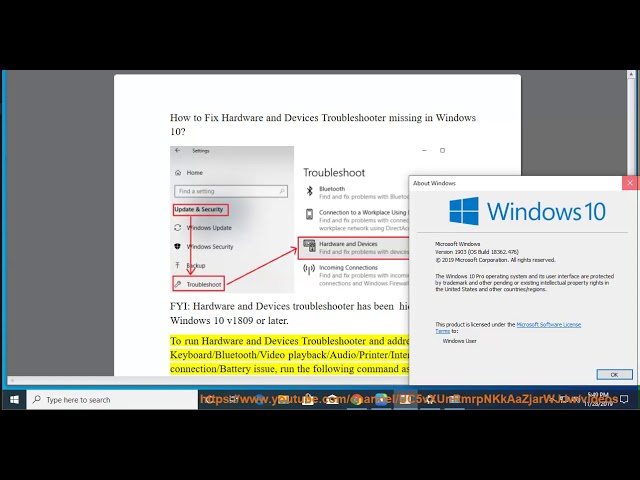
- Follow the on-screen instructions to complete the troubleshooter
- Check for malware:
- Run a full system scan using your antivirus software
- Remove any detected malware or viruses

- Restart your device and check if the USB drive or cable is detected
- Replace the cable or USB drive:
- If all the above steps fail, replace the faulty cable or USB drive with a new one
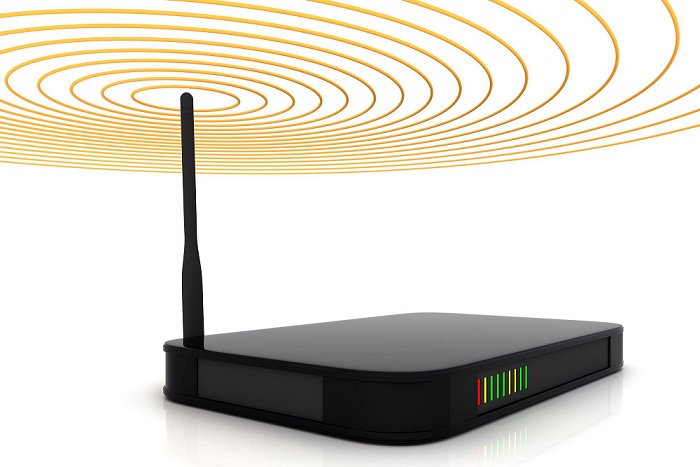
Glitches in Internet Connection
If you’re experiencing glitches in your internet connection while using your VR headset, there are a few things you can do to fix it.
First, check your wifi connection and make sure it’s stable. If you’re using an Oculus Quest headset, try using a USB cable with the Oculus Quest Link to improve connection quality.
Another thing to check is your USB drivers – updating them may solve the issue.
If you’re using a PC VR headset such as Oculus Rift, make sure you’re using the latest version of Steam VR.
Closing any unnecessary applications and optimizing your device’s settings may also improve connection quality.
If the problem persists, try restarting your headset and controllers.
Restarting and Updating Quest and PC
- Close all applications and files
- Click the “Start” button
- Select “Power”
- Choose “Restart”
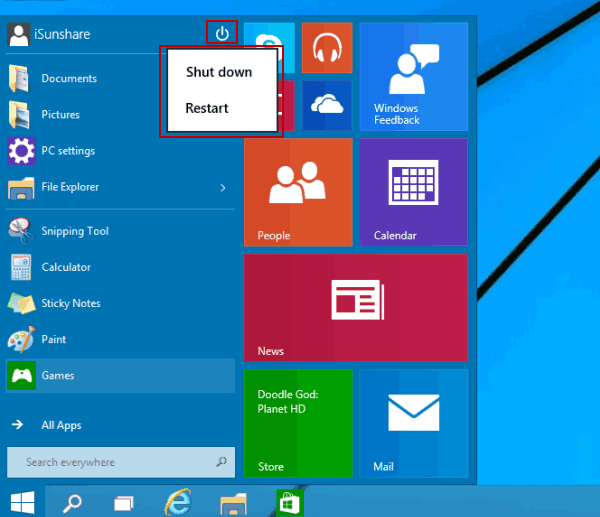
- Wait for the PC to shut down and restart
- Launch Quest
Updating Quest and PC:
- Check for updates on Quest
- Open Quest
- Select “Settings”
- Click “System”
- Select “Updates”
- Click “Check for Updates”
- Check for updates on PC
- Click the “Start” button
- Select “Settings”
- Click “Update & Security”
- Select “Check for updates”
- Install updates
- Follow the prompts to install updates on Quest and PC
- Restart the PC after updates are installed
Checking for Software Updates
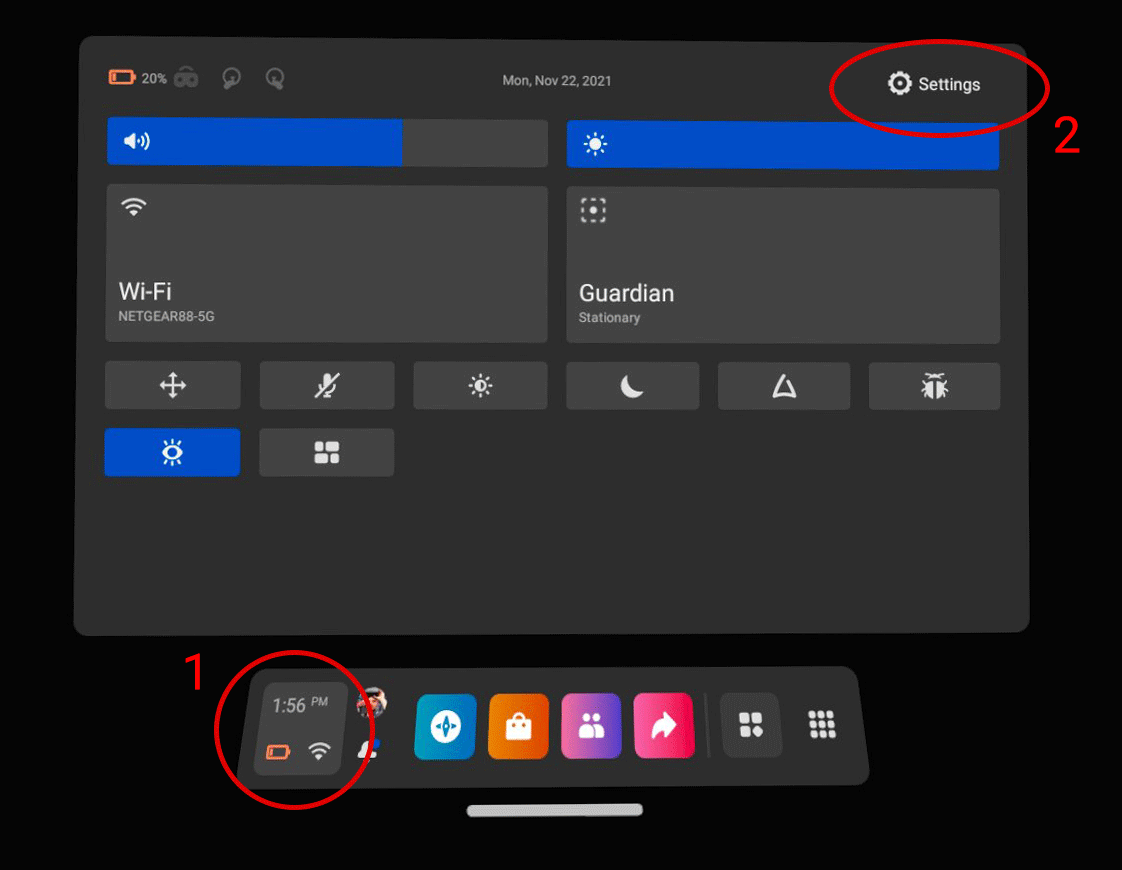
To check for software updates on your Oculus Quest 2 or Quest Pro, follow these steps:
1. Put on your headset and turn it on.
2. Open the “Settings” app.
3. Scroll down to “About” and select it.
4. Look for the “Software Update” section and click “Check for Updates”.
If there is an available update, follow the on-screen instructions to download and install it. This can often fix issues like disconnection problems with controllers or the Oculus Link cable. It’s a good idea to check for updates from time to time to make sure your device is running smoothly.
If you’re still experiencing issues after updating, try researching the problem or seeking out fixes from the Oculus community. Oculus also has an optimization feature that can help improve performance for movies and games. Don’t hesitate to leave comments on relevant posts or seek out technical support if needed.
Restarting Router and Oculus Link
- Restarting the Router
- Locate the power button on the back of the router and press and hold it until the lights turn off and on again
- Wait for the router to fully restart and the lights to stabilize
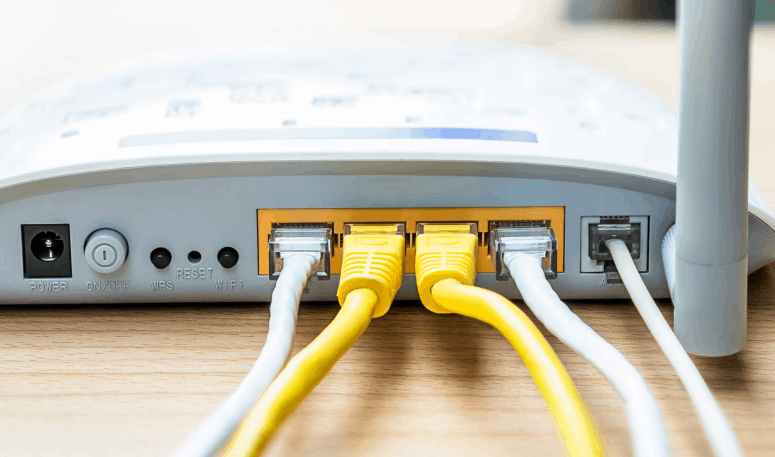
- Check if the Oculus Link connection has been restored
- Restarting Oculus Link
- Disconnect the Oculus Link cable from the computer and headset
- Open the Oculus app on the computer
- Click on Devices and then select Quest/Quest 2
- Click on More Settings and then click Restart Oculus Link
- Reconnect the Oculus Link cable to the computer and headset
- Check if the Oculus Link connection has been restored
Factory Resetting Quest
To factory reset your Oculus Quest, follow these simple steps. First, turn off your headset. Hold down the power button and the volume down button simultaneously until the boot-up screen appears. Use the volume buttons to navigate to the “Factory Reset” option and select it by pressing the power button. Confirm that you want to proceed with the reset by selecting “Yes.”
After the reset is complete, you will need to set up your Quest again from scratch. This means re-downloading any apps or games you had previously installed. If you were experiencing any issues with your Quest, this reset may help to fix it. However, if the problem persists, do some research and see if others have experienced similar issues. You can also reach out to Oculus support for assistance.
It’s worth noting that a factory reset should only be done as a last resort. If you’re experiencing a disconnection issue with the Oculus Link or a general device problem with your VR headset, there may be other solutions to try first. Check forums and user comments to see if anyone has found a fix. If all else fails, you can try a factory reset.
Remember to backup anything important before proceeding with a factory reset. And if you’re experiencing any issues with your Oculus Rift or other VR headsets, many of these steps may still apply. Just be sure to look up specific instructions for your device.
Letting the Battery Drain Completely
Letting your battery drain completely can cause problems with your device’s performance. If you’re experiencing issues with your Oculus Quest 2 or Quest Pro, it could be due to a drained battery. The first step in fixing it is to charge your device fully.
If your device still isn’t working properly after charging, try resetting it. This can help with any general device problems, including disconnection issues with controllers and the Oculus Link.
Another thing to try is updating your software. This can help with any bugs or glitches that may be causing issues.
If none of these solutions work, it may be time to contact customer support. They can help you troubleshoot any problems and determine if your device needs to be repaired or replaced.
Remember, it’s important to take care of your device to ensure its longevity and optimal performance. Avoid letting your battery drain completely and stay up-to-date with software updates to prevent any future issues.


