
Having trouble with a “NTLDR is Missing” error when trying to boot Windows 8 from a USB? This article will guide you through the steps to fix this issue.
Recently, Fortect has become increasingly popular as a reliable and efficient way to address a wide range of PC issues. It's particularly favored for its user-friendly approach to diagnosing and fixing problems that can hinder a computer's performance, from system errors and malware to registry issues.
- Download and Install: Download Fortect from its official website by clicking here, and install it on your PC.
- Run a Scan and Review Results: Launch Fortect, conduct a system scan to identify issues, and review the scan results which detail the problems affecting your PC's performance.
- Repair and Optimize: Use Fortect's repair feature to fix the identified issues. For comprehensive repair options, consider subscribing to a premium plan. After repairing, the tool also aids in optimizing your PC for improved performance.
Understanding NTLDR and Its Role

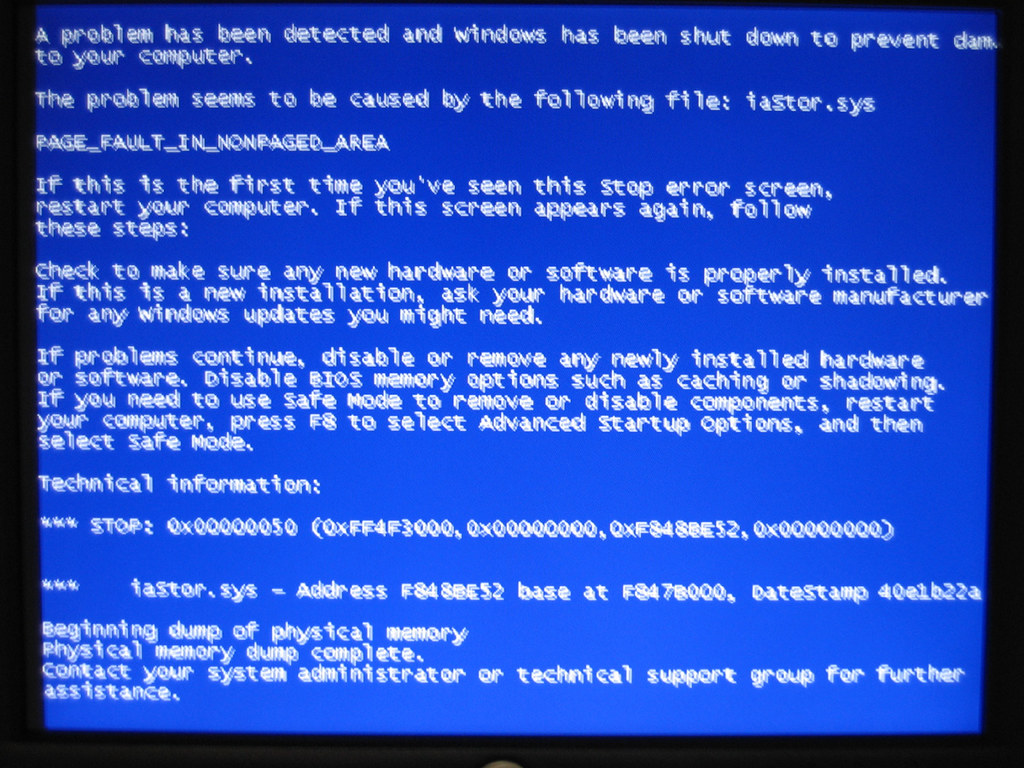
NTLDR is an important component in the booting process of Windows operating systems. It stands for “NT Loader” and is responsible for loading the operating system into the computer’s memory. In the article titled “Fix NTLDR Is Missing USB Boot Windows 8,” we provide helpful instructions for resolving the issue when encountering the “NTLDR is missing” error message.
To fix this issue, you will need a USB flash drive and access to another computer. First, create a bootable USB flash drive with a Windows installation ISO file. Then, insert the USB drive into the affected computer and restart it. Access the BIOS settings by pressing the appropriate key during startup (usually F2, F12, or DEL). Change the boot priority to USB so that the computer boots from the USB drive. Save the changes and exit the BIOS settings.
Follow the on-screen instructions to boot from the USB drive and select the “Repair your computer” option. Choose the Command Prompt option from the list of recovery tools.
Once in the Command Prompt, enter the following commands to fix the NTLDR issue:
1. bootrec /fixmbr: This command repairs the Master Boot Record (MBR), which is essential for the computer to start.
2. bootrec /fixboot: This command fixes the boot sector of the system partition.
3. bootrec /rebuildbcd: This command rebuilds the Boot Configuration Data (BCD) store.
After executing these commands, restart the computer and remove the USB drive. The “NTLDR is missing” error should be resolved, and the computer should boot normally into Windows.
Common Symptoms of the Error
- Check if the USB drive is properly connected
- Ensure that the USB drive is securely plugged into the computer
- Verify the boot order in BIOS settings
- Restart the computer and access the BIOS settings by pressing a specific key (usually Del or F2) during the boot process
- Navigate to the “Boot” or “Boot Order” section
- Make sure that the USB drive is listed as the first boot device
- Save the changes and exit the BIOS settings
- Use a different USB port
- If the USB drive is not recognized in one port, try plugging it into a different USB port
- Try using a different USB drive
- If possible, use a different USB drive to see if the issue is with the drive itself
- Create a bootable USB drive with Windows 8
- Download the Windows 8 ISO file from the official Microsoft website
- Use a tool like Rufus or the Windows USB/DVD Download Tool to create a bootable USB drive with the Windows 8 ISO
- Ensure that the USB drive is formatted correctly and has the necessary boot files
- Perform a repair installation of Windows 8
- Insert the bootable USB drive into the computer
- Restart the computer and boot from the USB drive
- Follow the on-screen instructions to perform a repair installation of Windows 8
- Choose the option to repair the existing installation instead of performing a fresh installation
- Use the Command Prompt to fix the NTLDR error
- Insert the bootable USB drive into the computer
- Restart the computer and boot from the USB drive
- Choose the option to open the Command Prompt
- Enter the following commands:
bootrec /fixmbr
bootrec /fixboot
bootrec /rebuildbcd - Restart the computer and check if the NTLDR error is resolved
Primary Causes Behind the Error
The primary causes behind the error “NTLDR Is Missing” when using a USB boot on Windows 8 can be attributed to several factors. One possible cause is an issue with the boot sector, which may have become corrupted or damaged. Another common cause is a misconfigured or missing boot. ini file, which is responsible for loading the operating system.
Additionally, problems with the Windows NT loader (NTLDR) itself can also lead to this error. It’s important to ensure that the USB device is properly connected and recognized by the computer’s BIOS. If the issue persists, it may be necessary to check for any computer viruses or malware that could be interfering with the boot process.
Simple Restart as a Quick Fix
If you are encountering the “NTLDR is Missing” error when trying to boot your Windows 8 computer from a USB drive, a simple restart can often fix the issue.
To do this, follow these steps:
1. Press and hold the power button on your computer until it turns off.
2. Wait a few seconds, then press the power button again to turn it back on.
3. As the computer restarts, pay attention to the screen and look for any prompts to press a certain key to enter the boot menu or BIOS setup.
4. Once you enter the boot menu or BIOS setup, make sure that the USB drive is selected as the primary boot device.
5. Save any changes you made in the BIOS setup and exit the menu.
6. Your computer should now restart and attempt to boot from the USB drive with Windows 8.
If the “NTLDR is Missing” error persists, you may need to try other troubleshooting steps or seek further assistance.
Disconnecting Removable Storage Devices
To fix the “NTLDR Is Missing” error when booting Windows 8 from a USB, it is important to disconnect any removable storage devices. This includes any external hard drives, USB flash drives, or memory cards.
To disconnect these devices, follow these steps:
1. Save any important files or data that may be on the removable storage device to another location.
2. Safely eject the removable storage device from your computer. This can usually be done by right-clicking on the device in your file explorer and selecting “Eject” or “Safely Remove”.
3. Once the device is safely disconnected, restart your computer.
4. After the restart, ensure that the removable storage device is still disconnected.
5. Attempt to boot Windows 8 from the USB again.
By disconnecting removable storage devices, you eliminate any potential interference or conflicts that may be causing the “NTLDR Is Missing” error. This will allow your computer to properly boot from the USB and resolve the issue.
Adjusting the BIOS Boot Sequence
To adjust the BIOS boot sequence and fix the NTLDR Is Missing USB Boot error in Windows 8, follow these steps:
1. Restart your computer and enter the BIOS setup by pressing the Del or F2 key (the specific key may vary depending on your computer).
2. Locate the Boot or Boot Order section in the BIOS menu.
3. Use the arrow keys to navigate to the USB device or removable media option in the boot sequence.
4. Move the USB device or removable media option to the top of the boot sequence using the Plus or Minus key.
5. Save the changes and exit the BIOS setup.
6. Insert the bootable USB device or removable media with the Windows 8 installation files.
7. Restart your computer and follow the on-screen instructions to boot from the USB device and reinstall Windows 8.
By adjusting the BIOS boot sequence, you can prioritize the USB device or removable media as the primary boot option, allowing you to fix the NTLDR Is Missing error and successfully boot from a USB device in Windows 8.
Setting the Correct Active Partition
To set the correct active partition and fix the “NTLDR Is Missing” error on a USB boot of Windows 8, follow these steps:
1. Insert the USB boot device into the computer and restart it.
2. Press the key to access the boot menu (this key varies depending on the computer’s manufacturer).
3. Use the arrow keys to select the USB boot device from the menu and press Enter.
4. Once the Windows Setup screen appears, press Shift+F10 to open a command prompt.
5. Type diskpart and press Enter to open the DiskPart utility.
6. Type list disk and press Enter to view the available disks on your computer.
7. Identify the disk containing the Windows installation. It is usually labeled with a size that matches your hard drive.
8. Type select disk X (replace X with the disk number) and press Enter.
9. Type list partition and press Enter to view the partitions on the selected disk.
10. Identify the partition marked as “Active”. It is usually labeled with “System” or “Boot”.
11. Type select partition X (replace X with the partition number) and press Enter.
12. Type active and press Enter to set the selected partition as active.
13. Exit the DiskPart utility by typing exit and pressing Enter.
14. Close the command prompt and continue with the Windows installation.
By setting the correct active partition, you can resolve the “NTLDR Is Missing” error and successfully boot into Windows 8 from the USB device.
BIOS Update for Motherboard Compatibility
To fix the “NTLDR Is Missing USB Boot Windows 8” issue, you may need to update your motherboard’s BIOS to ensure compatibility. Follow these steps:
1. Identify your motherboard’s manufacturer and model.
2. Visit the manufacturer’s website and navigate to the support or downloads section.
3. Locate the latest BIOS update for your specific motherboard model.
4. Download the BIOS update file to a USB flash drive.
5. Restart your computer and enter the BIOS setup by pressing the specified key (usually displayed on the startup screen).
6. Navigate to the “BIOS Update” or “Flash BIOS” section.
7. Select the USB flash drive as the source for the BIOS update.
8. Follow the on-screen instructions to update the BIOS.
9. Once the update is complete, restart your computer and check if the “NTLDR Is Missing” error is resolved.
Securing Internal Connections of Data and Power Cables
To secure internal connections of data and power cables, follow these steps:
1. First, power off your computer and unplug it from the power source.
2. Open the computer case by removing the screws or latches.
3. Locate the data and power cables connected to your hard drive or other internal components.
4. Check if the cables are securely plugged into their respective ports. If not, gently push them in until they click into place.
5. Inspect the cables for any signs of damage or fraying. If you find any issues, consider replacing the cables.
6. Once you have ensured that all connections are secure and cables are in good condition, close the computer case and tighten the screws or latches.
7. Plug your computer back into the power source and power it on.
By securing the internal connections of your data and power cables, you can prevent issues like the “NTLDR Is Missing” error when attempting to boot from a USB drive on Windows 8.
Master Boot Record (MBR) Restoration
To fix the “NTLDR is missing” error when booting Windows 8 from a USB, you may need to restore the Master Boot Record (MBR). Here’s how to do it:
1. Insert your Windows 8 installation USB and restart your computer.
2. Press the necessary key to enter the boot menu (usually F12 or Esc) and select the USB as the boot device.
3. When the Windows Setup screen appears, choose your language preferences and click “Next.”
4. Click “Repair your computer” at the bottom of the screen.
5. Select “Troubleshoot” > “Advanced options” > “Command Prompt.”
6. In the Command Prompt window, type bootrec /fixmbr and press Enter.
7. Wait for the process to complete, then type exit and press Enter to close the Command Prompt.
8. Restart your computer and remove the USB drive.
9. Your computer should now boot normally without the “NTLDR is missing” error.
Note: This method should work for most cases, but if the error persists, you may need to try other solutions or seek further assistance.
Replacing Corrupt NTLDR and NTDETECT.COM Files
To fix the “NTLDR Is Missing” error when using a USB boot in Windows 8, you will need to replace the corrupt NTLDR and NTDETECT.COM files.
1. Start by inserting your Windows installation disc or USB boot drive into your computer.
2. Restart your computer and press any key to boot from the installation disc or USB.
3. Once the Windows Setup screen appears, choose your language and other preferences, then click “Next.”
4. Click “Repair your computer” and select the operating system you want to repair.
5. Choose the “Command Prompt” option from the System Recovery Options menu.
6. In the Command Prompt window, navigate to the root directory of your system drive by typing the appropriate letter (usually C:) followed by a colon and pressing Enter.
7. Use the following commands to replace the corrupt files:
copy X:\i386\NTLDR C:\
copy X:\i386\NTDETECT.COM C:\
(Note: Replace “X” with the drive letter of your installation disc or USB.)
8. Restart your computer and remove the installation disc or USB.
9. Your computer should now boot normally without the “NTLDR Is Missing” error.
Cleaning Up the Root Folder to Resolve File Overload
To clean up the root folder and resolve file overload, follow these steps:
1. Start by organizing your files into separate folders based on their type or category. This will help you locate and manage them more efficiently.
2. Delete any unnecessary or duplicate files to free up space. Be cautious when deleting files and ensure you have a backup in case you delete something important.
3. Consider using disk partitioning to divide your hard drive into multiple sections. This can help with file organization and improve overall system performance.
4. If you’re experiencing file overload due to a specific program or application, try reinstalling it. This can sometimes resolve any issues or conflicts that may be causing excessive files.
5. Regularly clean up temporary files, cache, and other unnecessary data from your computer. You can use built-in tools like Disk Cleanup on Windows or third-party software to do this.
6. Run a reliable antivirus scan to check for any malware or viruses that may be contributing to file overload. Make sure your antivirus software is up to date before scanning.
F.A.Qs
Where is the NTLDR file in Windows 7?
In Windows 7, the NTLDR file is typically found in the root directory of the active partition on the first boot drive. If the NTLDR file is missing or corrupted, it will result in the “NTLDR is missing” error screen.
What does NTLDR stand for in booting a computer?
NTLDR stands for NT loader in booting a computer.
Where is the NTLDR file located in Windows?
The NTLDR file in Windows is located in the root directory, typically on the drive where Windows is installed. However, it is a hidden file and cannot be directly seen.
How do I fix a missing NTLDR file?
To fix a missing NTLDR file, you can try the following steps:
– Restart your computer.
– Check for any media in floppy and optical drives, and disconnect external drives.
– Verify and correct the hard drive and other drive settings in BIOS.
– Restore the NTLDR and ntdetect.com files by using the Windows XP CD.


