Welcome to our article on libexpat.dll, a vital component of many software applications. In this piece, we will explore the significance of this file, common errors associated with it, and provide you with a comprehensive guide on how to download and fix any issues you may encounter. Join us as we delve into the world of libexpat.dll troubleshooting!
Recently, Fortect has become increasingly popular as a reliable and efficient way to address a wide range of PC issues. It's particularly favored for its user-friendly approach to diagnosing and fixing problems that can hinder a computer's performance, from system errors and malware to registry issues.
- Download and Install: Download Fortect from its official website by clicking here, and install it on your PC.
- Run a Scan and Review Results: Launch Fortect, conduct a system scan to identify issues, and review the scan results which detail the problems affecting your PC's performance.
- Repair and Optimize: Use Fortect's repair feature to fix the identified issues. For comprehensive repair options, consider subscribing to a premium plan. After repairing, the tool also aids in optimizing your PC for improved performance.
Overview of libexpat.dll
libexpat.dll is a library file that serves as an XML parser for various applications and software on Windows 10 and other Windows operating systems. If you encounter errors related to libexpat.dll, the best solution is to download and fix the error using a reliable PC tool. Follow these instructions:
1. Visit files.com to download libexpat.dll.
2. Install the downloaded file using the provided installation method.
3. Run a DLL database utility to ensure all entries are correct and up-to-date.
4. Use a PC optimization tool to scan and repair any system errors or fragmentation.
5. Restart your computer to apply the changes.
Understanding libexpat.dll errors and issues
1. Start by downloading a reliable PC tool from a trusted source like files.com or Graphvis.
2. Install the tool and launch it on your computer.
3. Use the utility to scan your system for any issues related to the libexpat.dll file.
4. Once the scan is complete, the tool will offer a list of errors or issues found.
5. Select the libexpat.dll error from the list and click on the “Fix” button to resolve it.
6. If the error persists, try using a DLL database to find a compatible version of the libexpat.dll file.
7. Download the DLL file and place it in the appropriate location, usually in the “Windows/System32” folder.
8. Restart your computer to apply the changes and check if the error is resolved.
Multiple instances of libexpat.dll
If you’re encountering the issue of multiple instances of libexpat.dll, we’re here to help you download and fix the error.
1. Identify the problem: Check your Windows 10 system for any duplicate instances of libexpat.dll using the Windows Resource Monitor.
2. Remove duplicate instances: To fix the issue, you’ll need to manually remove the extra libexpat.dll files from your system.
3. Clean up your system: Use a reliable software like Outbyte PC Repair to scan your system for any unwanted files or registry entries related to libexpat.dll.
4. Optimize your system: Defragment your hard disk and optimize the utilization of your CPU to ensure smooth functioning of libexpat.dll.
Choosing the correct version of libexpat.dll
If you’re encountering errors related to the libexpat.dll file, it’s important to choose the correct version for your system. Here’s how to download and fix the libexpat.dll error:
1. Identify your system architecture (32-bit or 64-bit) by right-clicking on “My Computer” or “This PC” and selecting “Properties.”
2. Visit the official Microsoft website and search for the libexpat.dll download page.
3. Locate the appropriate version of libexpat.dll for your system architecture and click on the download link.
4. Once the file is downloaded, navigate to the location where it was saved and extract the contents if necessary.
5. Copy the extracted libexpat.dll file and paste it into the relevant directory. For example, if you’re using a 64-bit system, paste it into “C:\Windows\System32.”
6. Restart your computer to apply the changes.
Placing and registering the libexpat.dll file
To download and fix errors related to the libexpat.dll file, follow these instructions:
1. Download the libexpat.dll file from a trusted source or from the official website.
2. Locate the downloaded file on your computer.
3. Right-click on the libexpat.dll file and select “Copy”.
4. Open the folder where your application or program is installed.
5. Right-click inside the folder and select “Paste” to place the libexpat.dll file in the correct location.
6. Register the libexpat.dll file by opening the Command Prompt as an administrator.
7. Type “regsvr32 libexpat.dll” and press Enter to register the file.
8. Restart your computer to apply the changes.
If you continue to experience errors or encounter any other issues, please refer to the official documentation or seek assistance from a professional.
Methods to fix missing libexpat.dll error
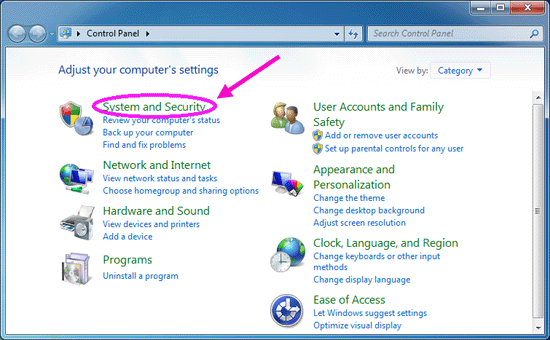
- Open the Control Panel on your computer.
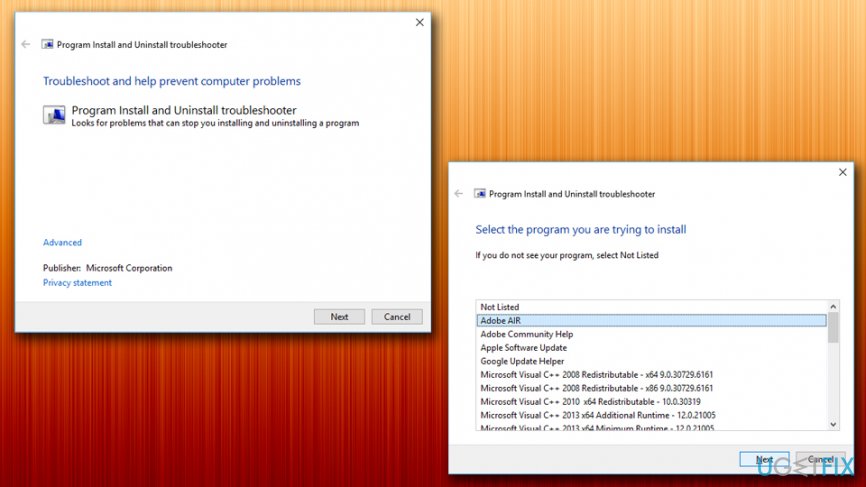
- Select Uninstall a program or Programs and Features.
- Locate the software that is displaying the missing libexpat.dll error.
- Right-click on the software and choose Uninstall.
- Once the software is uninstalled, go to the official website of the software and download the latest version.
- Run the installer and follow the on-screen instructions to reinstall the software.
Method 2: Restore libexpat.dll from the Recycle Bin
- Double-click on the Recycle Bin icon on your desktop.
- Search for the libexpat.dll file.
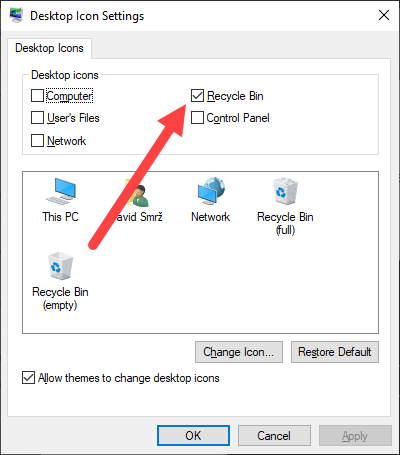
- If found, right-click on it and select Restore.
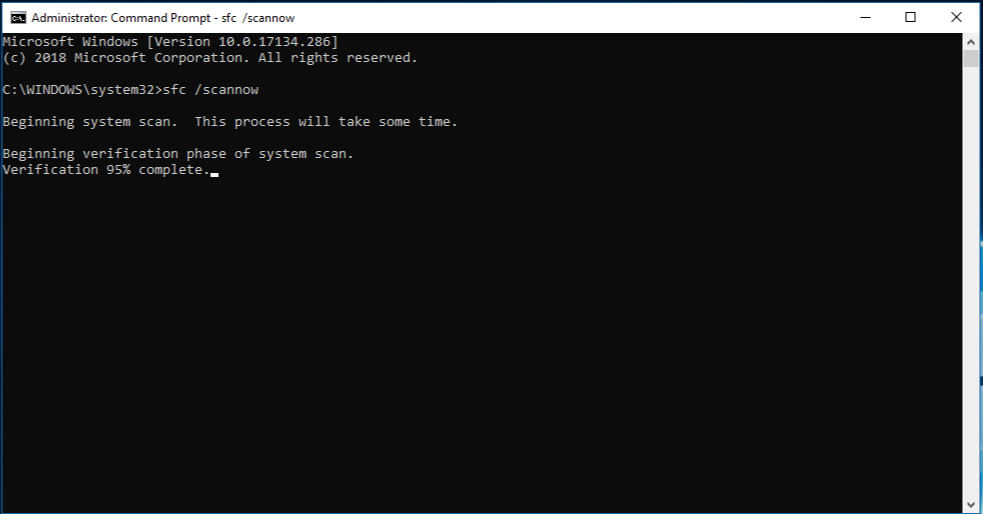
Method 3: Use System File Checker (SFC) to repair libexpat.dll
- Open the Command Prompt as an administrator.
- Type sfc /scannow and press Enter.
- The System File Checker will scan and repair any corrupted or missing system files, including libexpat.dll.
- Wait for the process to complete and restart your computer.
Method 4: Update or reinstall the affected program
- Open the Control Panel on your computer.
- Select Uninstall a program or Programs and Features.
- Locate the software that is displaying the missing libexpat.dll error.
- Right-click on the software and choose either Update or Uninstall.
- If you choose to update the software, follow the on-screen instructions to download and install the latest version.
- If you choose to uninstall the software, go to the official website of the software and download the latest version.
- Run the installer and follow the on-screen instructions to reinstall the software.
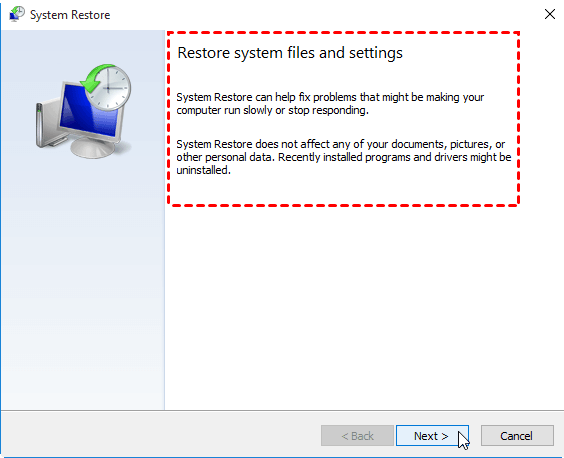
Method 5: Use a System Restore Point
- Open the Control Panel on your computer.
- Select Recovery or System and Security.
- Click on System Restore.
- Select a restore point prior to encountering the libexpat.dll error.
- Follow the on-screen instructions to restore your system.
- Restart your computer once the restoration is complete.
Scanning for malware and performing system restore for libexpat.dll error
To scan for malware and perform a system restore for the libexpat.dll error, follow these steps:
1. Open your antivirus application and run a full scan of your system to detect and remove any malware that may be causing the error.
2. After the scan is complete, open the System Restore feature on your Windows operating system.
3. Choose a restore point from before you started experiencing the libexpat.dll error and follow the on-screen instructions to restore your system to that point.
4. Once the system restore is complete, restart your computer to apply the changes.
If the error persists, you may need to reinstall the libexpat.dll file. Download a reliable version of the file from a trusted source and follow the installation instructions to replace the existing file.


