Having trouble with your computer not starting up? Don’t worry, I’ve got you covered. In this guide, we’ll dive into the troubleshooting steps you can take to get your computer up and running again in no time.
Recently, Fortect has become increasingly popular as a reliable and efficient way to address a wide range of PC issues. It's particularly favored for its user-friendly approach to diagnosing and fixing problems that can hinder a computer's performance, from system errors and malware to registry issues.
- Download and Install: Download Fortect from its official website by clicking here, and install it on your PC.
- Run a Scan and Review Results: Launch Fortect, conduct a system scan to identify issues, and review the scan results which detail the problems affecting your PC's performance.
- Repair and Optimize: Use Fortect's repair feature to fix the identified issues. For comprehensive repair options, consider subscribing to a premium plan. After repairing, the tool also aids in optimizing your PC for improved performance.
Troubleshooting Steps for a Computer that Won’t Start
1. Check Power Connections: Make sure the computer is properly plugged into a working power outlet and that the power strip or surge protector, if used, is turned on.
2. Test the Power Supply: If the computer still won’t start, try a different power cord or power supply to rule out any issues with the current one.
3. Remove External Devices: Disconnect any USB devices, printers, or external hard drives that are connected to the computer.
4. Perform a Hard Reset: Hold down the power button for 10 seconds to fully power off the computer. Then, unplug the power cord from the back of the computer and wait for one minute before plugging it back in and turning on the computer.
5. Check the Display: Ensure that the monitor or laptop screen is properly connected and turned on. Try connecting the computer to a different display device if available.
6. Boot into Safe Mode: If the computer starts but doesn’t fully boot into Windows, try booting into Safe Mode by pressing the F8 key repeatedly during startup. From there, you can troubleshoot any software or driver issues.
7. Check for BIOS Updates: Visit the manufacturer’s website to see if there are any BIOS updates available for your specific computer model. Follow the instructions provided to update the BIOS, if necessary.
8. Perform a System Restore: If the computer recently experienced a software or driver issue, use System Restore to revert the computer back to a previous working state. Open the Start menu, type “System Restore,” and follow the on-screen instructions.
9. Contact Technical Support: If none of these steps resolve the issue, it may be necessary to contact a computer repair technician or the manufacturer’s technical support for further assistance.
Checking Power Source and Connections

- Ensure that the power source is working:
- Check if the power outlet is functioning properly by plugging in another device.
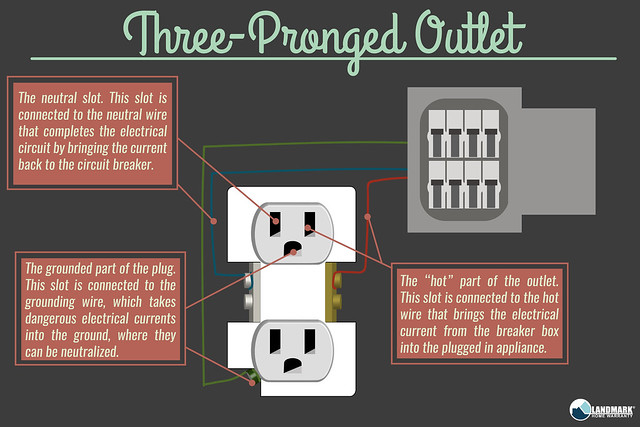
- Verify that the power cord is securely connected to both the computer and the power outlet.
- Try using a different power cord or adapter if available.
- Inspect the power button and cables:
- Make sure the power button is not stuck and can be pressed easily.
- Examine the power cables for any visible damage or frayed wires.
- Ensure that all cables, including the power cable, monitor cable, and other peripheral cables, are firmly connected to their respective ports.
- Reset the power supply:
- If the computer is a desktop, unplug the power cord from the back of the computer.
- Press and hold the power button for about 10 seconds to discharge any remaining power.

- Plug the power cord back in and try turning on the computer.
- Check the battery (if applicable):
- If you are using a laptop, ensure that the battery is properly inserted and charged.
- If the laptop battery is removable, try removing and reinserting it.
- Plug the laptop directly into a power source using the AC adapter.
Listening for Beeps and Exploring BIOS

When troubleshooting a computer that won’t start, it’s important to listen for any beeping sounds coming from your motherboard. These beeps can provide valuable information about what might be causing the issue.
To listen for beeps, first make sure your computer is powered on. If you don’t hear anything, try turning up the volume on your computer or plugging in a pair of headphones or a headset.
Next, pay attention to the pattern of the beeps. Each pattern corresponds to a specific error or issue. You can find a list of beep codes for your particular motherboard in the manufacturer’s documentation or by searching online.
Once you have identified the error indicated by the beeps, you can begin exploring the BIOS (Basic Input/Output System) for further troubleshooting. The BIOS is a firmware that is built into your computer’s motherboard and it controls the basic functions of your computer, such as booting up.
To access the BIOS, restart your computer and look for instructions on the screen. It is usually a key like Del, F2, or F12. Press this key repeatedly until the BIOS setup screen appears.
In the BIOS, you can check various settings and configurations that may be causing the startup problem. Pay attention to settings related to boot order, hardware compatibility, and overclocking. Make sure everything is set correctly.
If you are unsure about changing any settings in the BIOS, it’s best to seek assistance from a computer repair technician. Making incorrect changes can potentially cause further issues.
Remember to save any changes you make in the BIOS before exiting. This ensures that the changes take effect when you restart your computer.
By listening for beeps and exploring the BIOS, you can gather valuable information and potentially fix the issue preventing your computer from starting up properly.
Disconnecting Unnecessary Devices and USBs
To troubleshoot and fix a computer not starting, one of the first steps is to disconnect unnecessary devices and USBs. This can help identify any hardware or power issues that may be preventing the computer from starting properly.
Start by unplugging any USB devices connected to the computer, such as external hard drives, printers, or game controllers. Remove them from the USB ports and set them aside for now.
Next, check if any unnecessary devices are plugged into the computer. This could include devices like webcams, headsets, or even additional monitors. Disconnect these devices from the computer and see if the computer starts up.
In some cases, a faulty or overloaded power strip may be the culprit. If your computer is connected to a power strip or surge protector, disconnect it from the power source and plug the computer directly into a wall outlet.
If you have recently made any changes to your computer hardware, such as installing a new graphics card or upgrading your RAM, try disconnecting these components temporarily. Remove the graphics card or RAM sticks and see if the computer starts up without them.
Remember to always follow proper safety precautions when working with computer hardware. Make sure to turn off the computer and unplug it from the power source before making any changes.
By disconnecting unnecessary devices and USBs, you can narrow down the possible causes of your computer not starting. If the problem persists, you may need to further troubleshoot or seek professional assistance.
Starting the Computer in Safe Mode
If your computer is not starting properly, you may need to start it in Safe Mode to troubleshoot and fix the issue. Safe Mode allows you to start your computer with only the essential drivers and services, which can help identify and resolve any software or driver conflicts.
To start your computer in Safe Mode:
1. Press and hold the Shift key on your keyboard and then click the Start button in the lower-left corner of the screen.
2. Select the Power icon, and then click Restart while holding down the Shift key.
Your computer will now restart and automatically boot into Safe Mode. In Safe Mode, you can try to identify and fix the issue causing your computer not to start properly.
To exit Safe Mode and restart your computer normally, simply restart your computer without holding down the Shift key.
Remember, Safe Mode is a troubleshooting tool and may not provide all the features and functionality of your normal operating system. It is recommended to only use Safe Mode when necessary and to restart your computer normally once the issue is resolved.
If you’re still experiencing difficulties starting your computer, it may be helpful to consult the Microsoft website or seek further assistance from a certified technician.
Restoring Computer to Previous Settings
If your computer is not starting properly, you may need to restore it to a previous settings to resolve the issue. Follow these steps to troubleshoot and fix the problem:
1. Start your computer and press the Windows key + R to open the Run dialog box.
2. Type “msconfig” and press Enter to open the System Configuration tool.
3. In the System Configuration window, click on the “Boot” tab.
4. Under the Boot options, check the “Safe boot” box and select “Minimal“.
5. Click “Apply” and then “OK” to save the changes.
6. Restart your computer. It will now start in Safe Mode.
7. Once in Safe Mode, you can troubleshoot the issue by checking for any recent changes or updates that may have caused the problem.
8. To restore your computer to a previous settings, open the “Start” menu and click on “Settings“.
9. In the Settings window, click on “Update & Security“.
10. Select “Recovery” from the left menu.
11. Under the “Go back to the previous version of Windows 10“, click on “Get started“.
12. Follow the on-screen instructions to complete the process.
13. Once the restoration is complete, your computer will restart and should start properly.
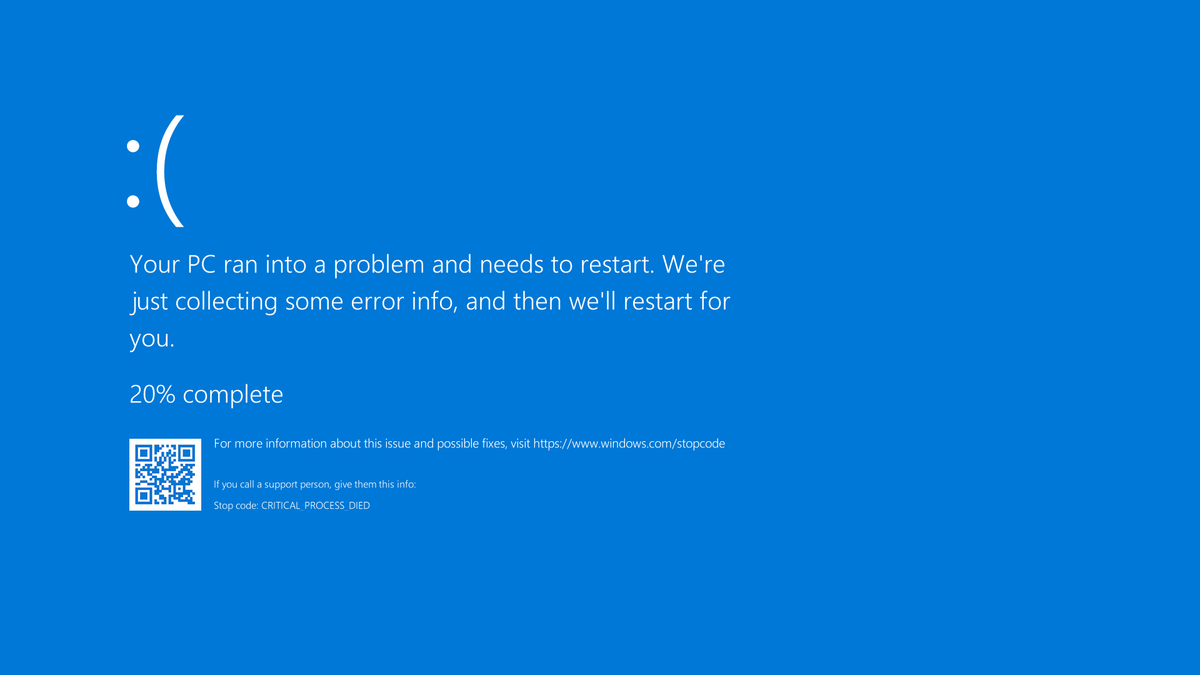
Resolving Errors and Reboots during Startup
- Try Safe Mode:
- Press the F8 key repeatedly during startup to access the Advanced Boot Options menu.
- Select Safe Mode and press Enter.
- If the computer starts in Safe Mode, it indicates a software or driver issue.
- Perform a System Restore:
- Boot the computer in Safe Mode (as explained in the previous step).
- Open the Start menu and search for System Restore.
- Select a restore point when the computer was working properly and follow the on-screen instructions to complete the process.
- Check for Malware:
- Boot the computer in Safe Mode (as explained in the first step).
- Open a reliable antivirus or anti-malware program.
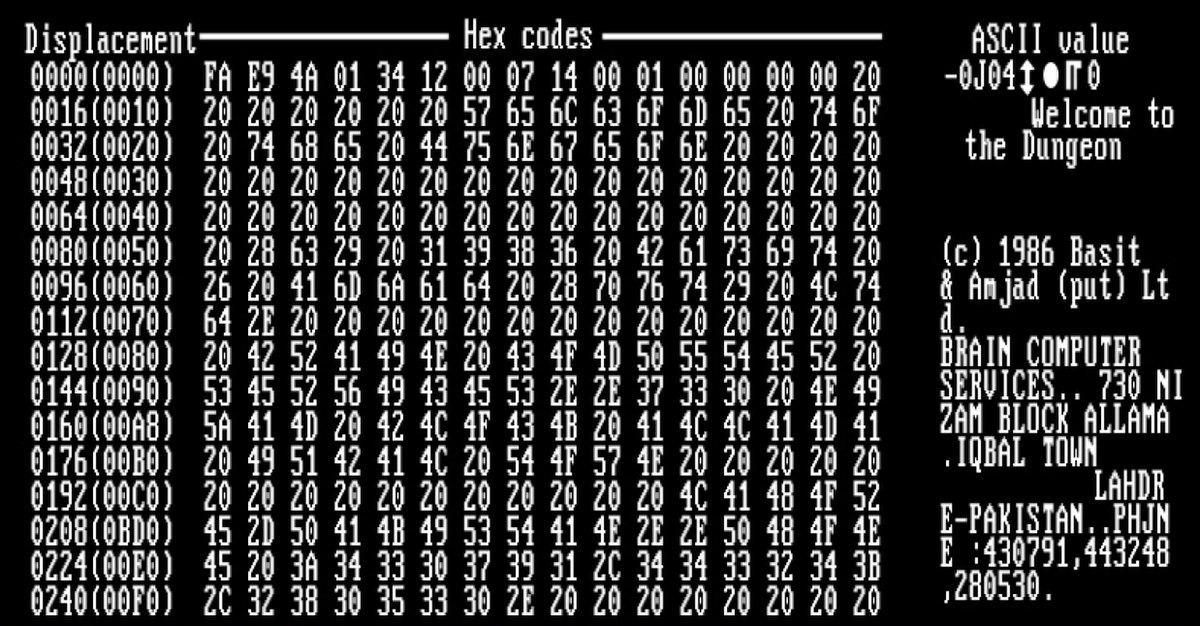
- Perform a full system scan and remove any detected malware or viruses.
- Disable Automatic Restart:
- Boot the computer in Safe Mode (as explained earlier).
- Press Win + R to open the Run dialog box.
- Type sysdm.cpl and press Enter to access the System Properties window.
- Navigate to the Advanced tab and click on Settings under the Startup and Recovery section.
- Uncheck the box next to Automatically restart under System failure.
- Click OK to save the changes.
- Check Hardware Connections:
- Ensure all cables and connections are secure and properly attached to their respective ports.
- Inspect the RAM, hard drive, and other internal components to make sure they are properly seated.


