In this guide, we will explore how to disable automatic restart on system failure in Windows 10.
Recently, Fortect has become increasingly popular as a reliable and efficient way to address a wide range of PC issues. It's particularly favored for its user-friendly approach to diagnosing and fixing problems that can hinder a computer's performance, from system errors and malware to registry issues.
- Download and Install: Download Fortect from its official website by clicking here, and install it on your PC.
- Run a Scan and Review Results: Launch Fortect, conduct a system scan to identify issues, and review the scan results which detail the problems affecting your PC's performance.
- Repair and Optimize: Use Fortect's repair feature to fix the identified issues. For comprehensive repair options, consider subscribing to a premium plan. After repairing, the tool also aids in optimizing your PC for improved performance.
How to Stop Automatic Restart on Windows System Failure
To disable automatic restart on system failure in Windows 10, follow these steps:
1. Press the Windows key + R to open the Run dialog box.
2. Type “sysdm.cpl” and press Enter to open the System Properties window.
3. In the System Properties window, go to the Advanced tab.
4. Under the Startup and Recovery section, click on the Settings button.
5. In the Startup and Recovery window, uncheck the box that says “Automatically restart” under the System failure section.
6. Click OK to save the changes.
Understanding the Cause of Automatic System Restarts
Automatic system restarts can be frustrating, especially when they occur during important tasks. In Windows 10, these restarts are often caused by system failures or errors. Understanding the cause of these automatic restarts can help you disable them and regain control over your computer.
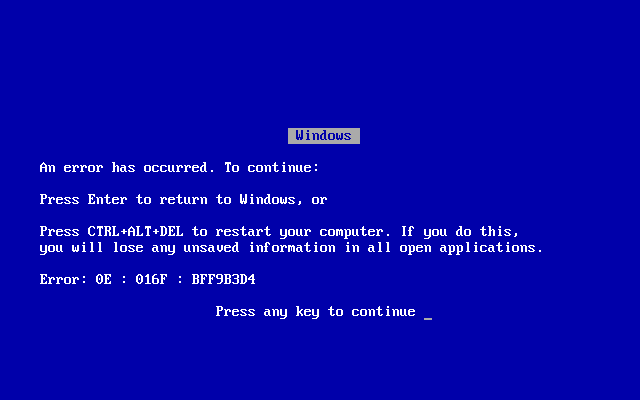
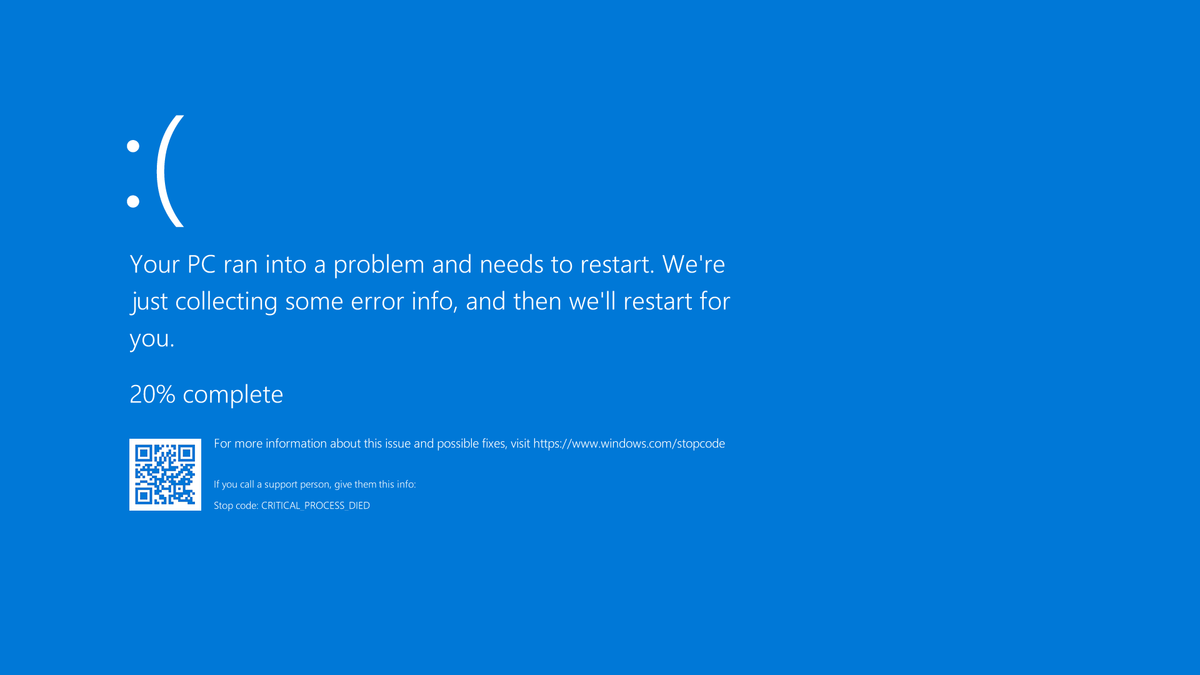
One common cause of automatic system restarts is the “Automatic Restart on System Failure” feature. This feature is designed to automatically restart your computer after a system failure, such as a blue screen error. While this can be helpful for diagnosing and resolving issues, it can also be disruptive if you need to manually troubleshoot or recover from a system failure.
To disable automatic restarts on system failure in Windows 10, follow these steps:
1. Press the Windows key + R to open the Run dialog box.
2. Type “sysdm.cpl” and press Enter to open the System Properties window.
3. Click on the “Advanced” tab.
4. Under the “Startup and Recovery” section, click on the “Settings” button.
5. In the “System failure” section, uncheck the box next to “Automatically restart”.
6. Click OK to save your changes and exit the window.
By disabling the automatic restart feature, you can prevent your computer from restarting automatically after a system failure. This allows you to take the necessary steps to diagnose and resolve the issue without interruptions.
Finding a Solution to Disable Automatic Restart on System Failure
To disable automatic restart on system failure in Windows 10, follow these steps:
1. Press Windows key + R to open the Run dialog box.
2. Type “sysdm.cpl” and press Enter to open the System Properties window.
3. Go to the Advanced tab and click on the Settings button under Startup and Recovery.
4. In the System failure section, uncheck the box next to “Automatically restart”.
5. Click OK to save the changes and close all windows.
By disabling automatic restart, you can view any error messages or system failure details instead of the computer automatically restarting. This can be helpful in troubleshooting and finding a solution to the issue causing the system failure.
Ensuring Privacy & Transparency in System Restart Settings
At Microsoft, we understand the importance of privacy and transparency when it comes to system restart settings in Windows 10. We believe that users should have control over their devices and be able to make informed decisions about how their systems behave.
To disable automatic restart on system failure in Windows 10, follow these steps:
1. Click on the Start menu and select “Settings.”
2. In the Settings menu, click on “Update & Security.”
3. From the left-hand menu, choose “Recovery.”
4. Under the “Advanced startup” section, click on “Restart now.”
5. Your computer will restart and display the “Choose an option” screen.
6. Select “Troubleshoot” and then click on “Advanced options.”
7. In the Advanced options menu, choose “Startup Settings.”
8. Click on the “Restart” button to continue.
9. When your computer restarts, a list of startup settings will appear.
10. Press the number key associated with “Disable automatic restart on system failure” (usually F8 or F9).
11. Your computer will now start up without automatically restarting in the event of a system failure.