Unlock the secrets to resolving your Dell laptop keyboard’s automatic key pressing with this innovative solution. Say goodbye to frustrating typing experiences as we unveil the ultimate fix to restore smooth and effortless keystrokes.
Recently, Fortect has become increasingly popular as a reliable and efficient way to address a wide range of PC issues. It's particularly favored for its user-friendly approach to diagnosing and fixing problems that can hinder a computer's performance, from system errors and malware to registry issues.
- Download and Install: Download Fortect from its official website by clicking here, and install it on your PC.
- Run a Scan and Review Results: Launch Fortect, conduct a system scan to identify issues, and review the scan results which detail the problems affecting your PC's performance.
- Repair and Optimize: Use Fortect's repair feature to fix the identified issues. For comprehensive repair options, consider subscribing to a premium plan. After repairing, the tool also aids in optimizing your PC for improved performance.
Troubleshooting Hardware and Software Issues
If you are experiencing automatic key pressing or unresponsive keys on your Dell laptop keyboard, follow these steps to fix the issue:
1. Check for physical damage: Inspect the keyboard for any visible damage or debris that may be causing the issue. Clean the keys and ensure they are properly aligned.
2. Restart your laptop: Sometimes, a simple restart can resolve software glitches that may be affecting your keyboard.
3. Update keyboard drivers: Go to the Dell website and download the latest keyboard driver for your specific laptop model. Install the driver and restart your laptop.
4. Disable Filter Keys: Press the Windows key + I to open the Settings menu. Select “Ease of Access” and click on “Keyboard.” Make sure the “Filter Keys” option is turned off.
5. Adjust keyboard settings: Open the Control Panel, go to “Hardware and Sound,” and click on “Keyboard.” Adjust the repeat delay and repeat rate settings to your preference.
6. Test with an external keyboard: If the issue persists, connect an external keyboard to your laptop to determine if the problem is with the keyboard itself or the laptop’s software.
Updating and Reinstalling Keyboard Drivers
To update and reinstall keyboard drivers on your Dell laptop, follow these steps:
1. Press the Windows key and type “Device Manager” in the search bar. Open the Device Manager from the search results.
2. In the Device Manager window, locate and expand the “Keyboards” section.
3. Right-click on your Dell laptop keyboard and select “Update driver.”
4. Choose the option to search automatically for updated driver software. Windows will search for and install the latest driver for your keyboard.
5. If the update doesn’t resolve the issue, right-click on your Dell laptop keyboard again and select “Uninstall device.”
6. Confirm the uninstallation and restart your laptop.
7. After the restart, Windows will automatically reinstall the keyboard driver.
8. Test your keyboard to see if the automatic key pressing issue is resolved.
Running Keyboard Troubleshooters
To fix Dell laptop keyboard issues, you can run keyboard troubleshooters. These troubleshooters are designed to automatically diagnose and resolve common keyboard problems. Here’s how you can run them:
1. Press the Windows key + I to open the Settings app.
2. Go to Update & Security, then select Troubleshoot from the left menu.
3. Scroll down and click on Keyboard troubleshooter.
4. Click on Run the troubleshooter and follow the on-screen instructions.
If the troubleshooter detects any issues, it will provide recommended solutions. These solutions may include updating the laptop keyboard driver, checking for hardware problems, or adjusting keyboard settings.
By running the keyboard troubleshooters, you can quickly identify and fix keyboard issues on your Dell laptop.
python

import pyautogui

import time
# Delay before pressing the key
time.sleep(5)
# Simulate pressing the 'A' key
pyautogui.press('a')
In this example, the code waits for 5 seconds using `time.sleep(5)` before simulating the pressing of the ‘A’ key using `pyautogui.press(‘a’)`. You can modify the delay and the key to be pressed according to your requirements.
Please note that this code only works on the local machine where it is executed, and it’s important to use such tools responsibly and ethically.
Adjusting Keyboard Settings
To fix a Dell laptop keyboard with automatic key pressing, you can adjust the keyboard settings. Here’s how:
1. Access the keyboard settings by pressing the Windows key and typing “Keyboard Settings” in the search bar. Press Enter to open the settings.
2. In the Keyboard Settings window, locate the option for “Typing.” Click on it to expand the menu.
3. Find the setting for “Key Repeat” and adjust the slider to your preferred speed. This will control how quickly a key is repeated when held down.
4. Next, locate the setting for “Delay Until Repeat” and adjust the slider to determine how long you need to hold down a key before it starts repeating.
5. If the issue persists, update the laptop’s keyboard driver. Press the Windows key and type “Device Manager.” Open the Device Manager and expand the “Keyboards” category.
6. Right-click on the keyboard driver and select “Update driver.” Follow the on-screen instructions to complete the driver update.
By adjusting the keyboard settings and updating the driver, you should be able to resolve the issue of automatic key pressing on your Dell laptop.
Performing Malware and System Scans
To ensure the security and optimal performance of your Dell laptop, it is important to regularly scan for malware and system issues. Follow these steps to perform a thorough scan:
1. Update your antivirus software: Make sure your antivirus software is up to date with the latest virus definitions. This will help detect and remove any malware on your system.
2. Launch a full system scan: Open your antivirus software and initiate a full system scan. This will scan all files and folders on your Dell laptop for any potential threats.
3. Remove detected malware: If any malware is detected during the scan, follow the prompts to remove or quarantine the malicious files. This will help protect your laptop from further harm.
4. Run a system diagnostic scan: In addition to malware scans, it is also recommended to run a system diagnostic scan. This will check for any hardware or software issues that could be affecting the performance of your Dell laptop.
5. Update drivers: If your Dell laptop keyboard is experiencing issues, it could be due to outdated or corrupted drivers. Visit the Dell support website and download the latest drivers for your specific laptop model.
By regularly performing malware and system scans, you can ensure the security and smooth functioning of your Dell laptop’s keyboard and overall system.
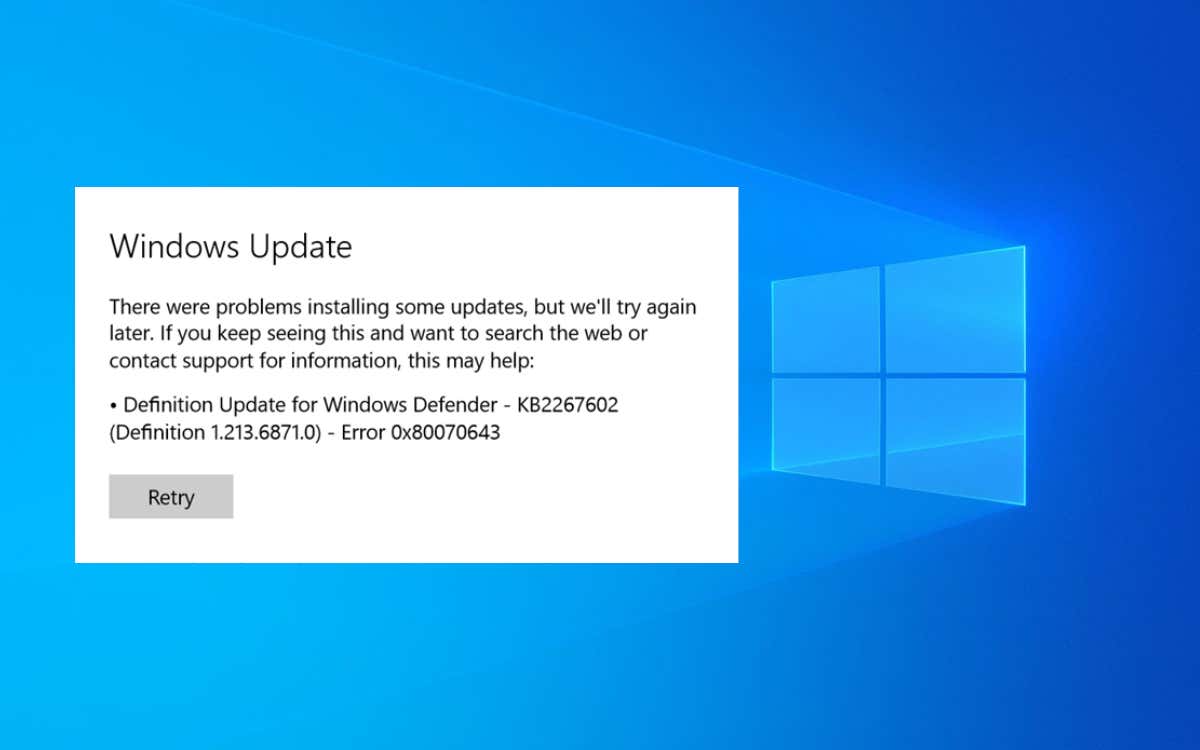
Ensuring System Updates are Installed
- Step 1: Open the Start menu by clicking on the Windows icon on the taskbar.
- Step 2: Search for Windows Update and select Windows Update settings.
- Step 3: In the Windows Update settings, click on Check for updates.
- Step 4: Wait for Windows to scan for available updates.
- Step 5: If any updates are found, click on Install updates to start the installation process.
- Step 6: Follow the on-screen instructions to complete the installation of the updates.
- Step 7: Restart your Dell laptop after the updates have been installed.


