As a technology enthusiast, troubleshooting hardware and devices has become a common task. With a focus on fixing issues, this article provides valuable insights and practical tips to overcome common hardware and device problems efficiently.
Recently, Fortect has become increasingly popular as a reliable and efficient way to address a wide range of PC issues. It's particularly favored for its user-friendly approach to diagnosing and fixing problems that can hinder a computer's performance, from system errors and malware to registry issues.
- Download and Install: Download Fortect from its official website by clicking here, and install it on your PC.
- Run a Scan and Review Results: Launch Fortect, conduct a system scan to identify issues, and review the scan results which detail the problems affecting your PC's performance.
- Repair and Optimize: Use Fortect's repair feature to fix the identified issues. For comprehensive repair options, consider subscribing to a premium plan. After repairing, the tool also aids in optimizing your PC for improved performance.
Troubleshooter Missing: Causes and Solutions
If you’re missing the Troubleshooter feature on your Windows device, there could be a few potential causes and solutions to consider.
First, ensure that your operating system is up to date. The Troubleshooter may not be available if you’re using an older version of Windows, such as Windows 7 or Windows 8. Consider updating to Windows 10 or Windows 11 for access to the latest troubleshooting tools.
Another possibility is that the Troubleshooter feature has been disabled or removed. To check, go to the Start menu and search for “Troubleshooters.” If it doesn’t appear, you can enable it through the Settings menu. Open Settings, go to “Update & Security,” and select “Troubleshoot” to enable the Troubleshooter.
If the Troubleshooter is still missing, it’s possible that there’s an issue with your device drivers. Outdated or incompatible drivers can affect the availability of troubleshooting tools. Check the manufacturer’s website for the latest driver updates for your specific hardware.
Lastly, malware or a software conflict could be causing the Troubleshooter to be missing. Run a full scan with your antivirus software to check for any malicious programs. Additionally, try performing a System Restore to revert your computer to a previous state where the Troubleshooter was still available.
By considering these potential causes and trying the suggested solutions, you can troubleshoot the missing Troubleshooter feature on your Windows device.
Accessing the Hardware and Devices Troubleshooter
To access the Hardware and Devices Troubleshooter on your Windows computer, follow these steps:
1. Click on the Start menu in the bottom left corner of your screen.
2. Type “Troubleshoot” in the search bar and select the “Troubleshoot settings” option.
3. In the Troubleshoot settings window, scroll down to find the “Find and fix other problems” section.
4. Click on “Hardware and Devices” in the list of troubleshooters.
5. Click on the “Run the troubleshooter” button to start the troubleshooting process.
6. The troubleshooter will scan your computer for any hardware and device issues and attempt to fix them.
7. Follow any on-screen instructions provided by the troubleshooter to resolve the issues.
If the Hardware and Devices Troubleshooter is not able to fix the problem, you may need to seek additional help from Microsoft support or an internet forum for further assistance.
Alternative Troubleshooting Methods
- Restart the device
- Check for loose connections
- Update device drivers
- Scan for malware or viruses
- Run hardware diagnostics
- Perform a system restore
- Reinstall or repair the operating system
Restart the device:
- Click on the Start button
- Select Restart from the power options menu
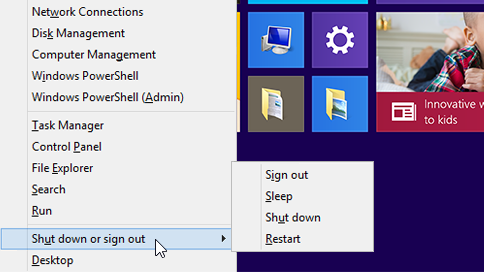
- Wait for the device to shut down and start up again
Check for loose connections:
- Power off the device
- Inspect all cables and connections
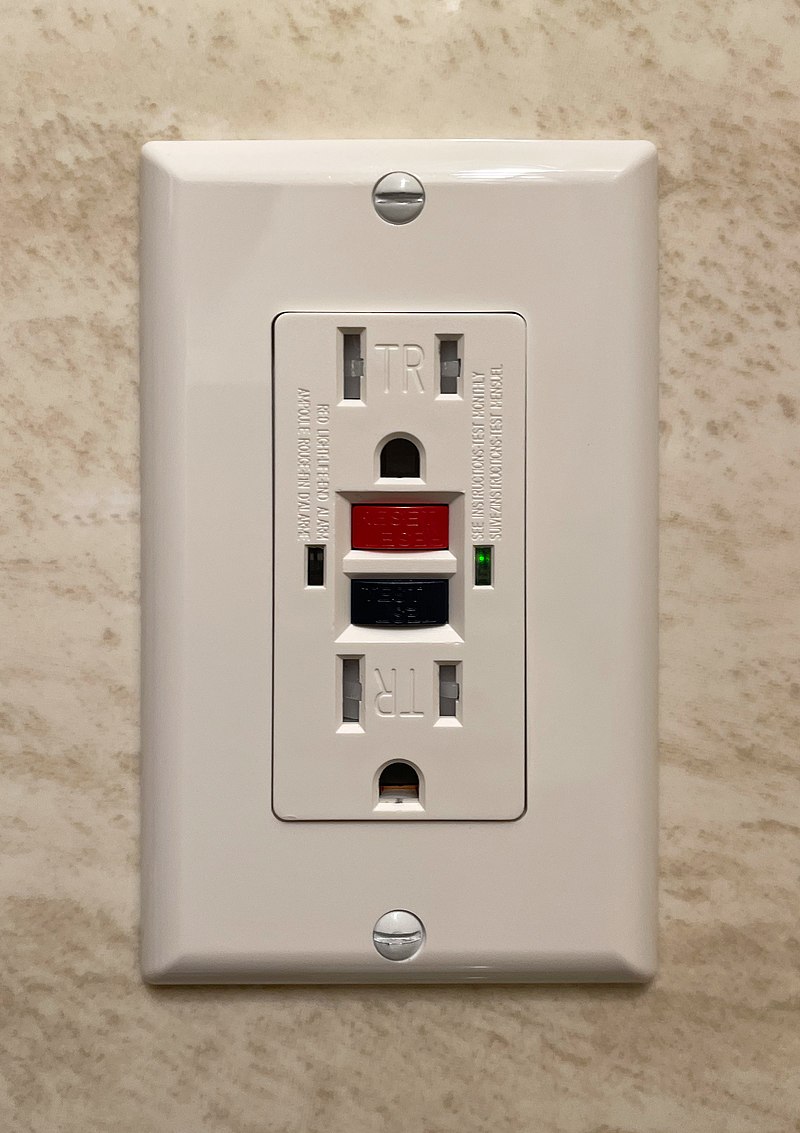
- Ensure they are securely plugged in
Update device drivers:
- Open Device Manager by pressing Win+X and selecting it from the menu
- Expand the relevant device category
- Right-click on the device and select Update driver
- Choose the option to search automatically for updated driver software
- Follow the on-screen instructions to complete the update
Scan for malware or viruses:
- Open your preferred antivirus software
- Initiate a full system scan
- Allow the scan to complete and take necessary actions based on the scan results
Run hardware diagnostics:
- Refer to the device or manufacturer’s documentation for instructions on running diagnostics
- Follow the provided steps or use any diagnostic tools provided
- Review the diagnostic results and troubleshoot accordingly
Perform a system restore:
- Click on the Start button
- Search for System Restore and open it
- Select a restore point from a date when the device was functioning properly
- Follow the on-screen instructions to initiate the restore process
- Wait for the system restore to complete and for the device to restart
Reinstall or repair the operating system:
- Backup all important files and data
- Insert the operating system installation media
- Restart the device and boot from the installation media
- Follow the on-screen instructions to either repair or reinstall the operating system

- Wait for the process to complete and for the device to restart
Running the Troubleshooter through Windows Settings
1. Open the Windows Settings by clicking on the Start menu and selecting the gear icon.
2. In the Settings window, click on the “System” category.
3. From the left-hand menu, select “Troubleshoot”.
4. In the Troubleshoot settings, you will find a list of troubleshooters available for various hardware and device issues.
5. Scroll through the list and select the troubleshooter that corresponds to the problem you are experiencing.
6. Click on the troubleshooter and select “Run the troubleshooter”.
7. Follow the on-screen instructions provided by the troubleshooter to diagnose and fix the issue.
By utilizing the Troubleshooters in Windows Settings, you can easily resolve common hardware and device problems without the need for extensive technical knowledge.