Recently, Fortect has become increasingly popular as a reliable and efficient way to address a wide range of PC issues. It's particularly favored for its user-friendly approach to diagnosing and fixing problems that can hinder a computer's performance, from system errors and malware to registry issues.
- Download and Install: Download Fortect from its official website by clicking here, and install it on your PC.
- Run a Scan and Review Results: Launch Fortect, conduct a system scan to identify issues, and review the scan results which detail the problems affecting your PC's performance.
- Repair and Optimize: Use Fortect's repair feature to fix the identified issues. For comprehensive repair options, consider subscribing to a premium plan. After repairing, the tool also aids in optimizing your PC for improved performance.
Troubleshooting BAD POOL HEADER Errors on Windows 10
If you’re experiencing a BAD POOL HEADER error on your Windows 10 PC, there are a few steps you can take to fix it. First, try restarting your computer. If that doesn’t work, boot into Safe Mode by pressing F8 or using the Shift + Restart method. Once in Safe Mode, you can try running a memory diagnostic to check for any hardware issues. If that doesn’t solve the problem, it may be a driver issue. Try updating your drivers using Device Manager or Windows Update. You can also try a System Restore to a previous point before the error occurred. If none of these steps work, it may be necessary to reinstall your operating system to fix the issue and prevent any data loss.
Steps to Fix BAD POOL HEADER 0x00000019 Error
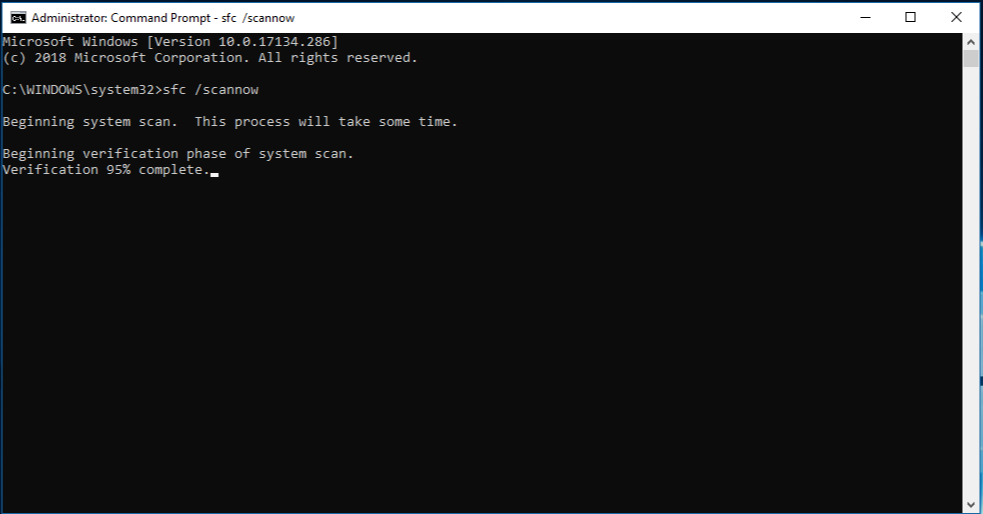
- Check for Corrupted System Files
- Open Command Prompt as an administrator
- Type sfc /scannow and press Enter
- Wait for the scan to complete
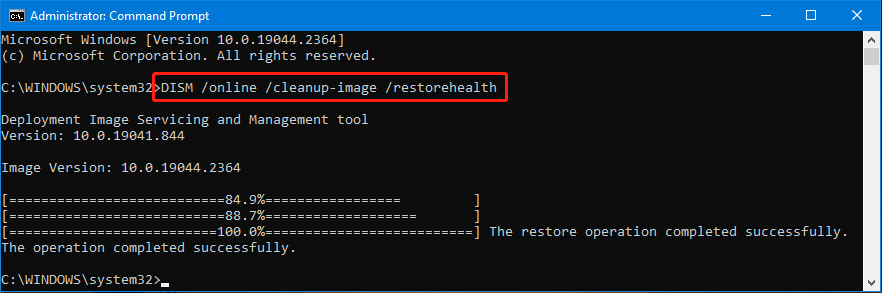
- If errors are found, type dism /online /cleanup-image /restorehealth and press Enter
- Wait for the process to complete
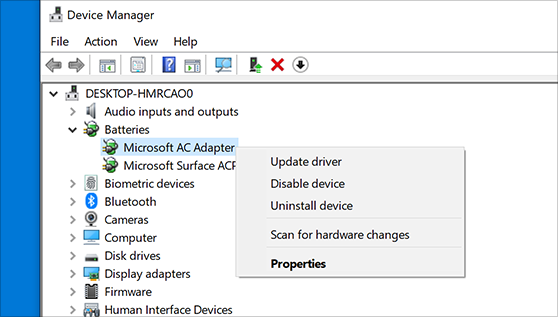
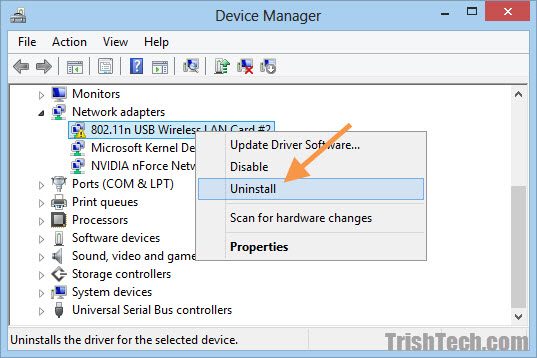
- Update or Reinstall Drivers
- Open Device Manager
- Find the device driver causing the error
- Right-click on the driver and select Update Driver or Uninstall
- If uninstalling, restart the computer and allow Windows to automatically reinstall the driver
- Disable Antivirus and Firewall Temporarily
- Open Windows Security
- Click on Virus & threat protection

- Click on Manage settings
- Turn off Real-time protection
- Click on Firewall & network protection
- Turn off Domain network, Public network, and Private network firewalls

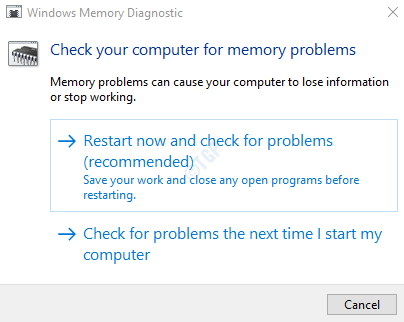
- Run Memory Diagnostic Tool
- Open Start
- Type Windows Memory Diagnostic and press Enter
- Select Restart now and check for problems
- Wait for the test to complete
- Perform System Restore
- Open Start
- Type System Restore and press Enter
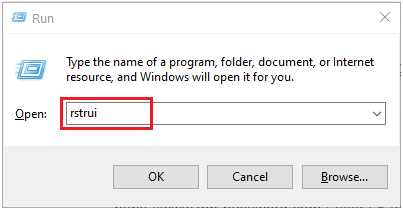
- Select a restore point prior to the error occurring
- Follow the prompts to complete the restoration process
Precautionary Measures to Prevent BAD POOL HEADER Errors
To prevent BAD POOL HEADER errors on Windows 10, follow these steps:
1. Update your OS and drivers regularly to keep your system stable and free of errors.
2. Install reliable antivirus software to prevent malicious software from corrupting system files.
3. Be cautious when installing new apps or software, as they can sometimes cause conflicts and errors.
4. Check your device for hardware issues like overheating or failing memory, as these can often be the culprit behind BAD POOL HEADER errors.
5. Use the Command Prompt to run a scan and fix any errors or corrupt files that may be causing the problem.
By taking these precautionary measures, you can avoid the frustration and potential data loss that come with BAD POOL HEADER errors. Remember to stay on top of updates and keep your system clean and secure to prevent these issues from creeping up.
Common Causes of BAD POOL HEADER Errors on Windows 10
- Check for Corrupted System Files
- Open Command Prompt as an admin
- Type in sfc /scannow and press Enter
- Wait for the scan to finish and restart your computer
- Check for Malware or Viruses
- Run a Full System Scan using your antivirus software
- If there is no antivirus software installed, download and install one
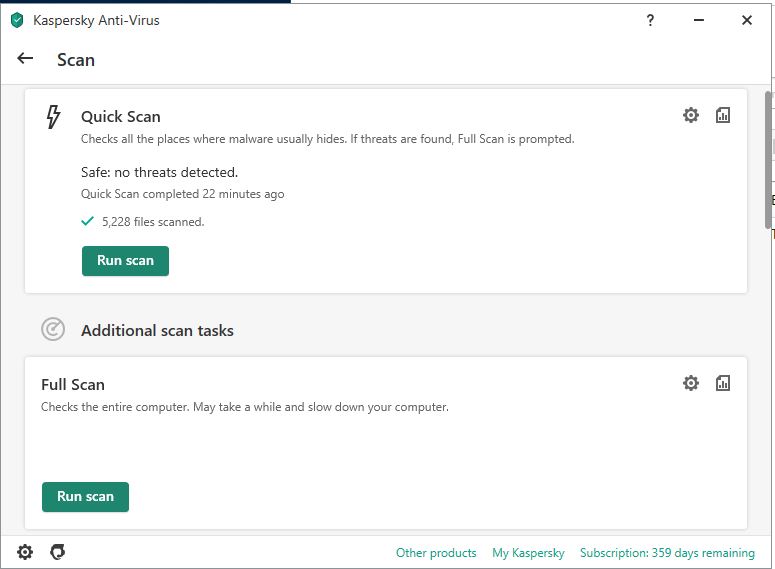
- Update your antivirus software to the latest version and run another scan
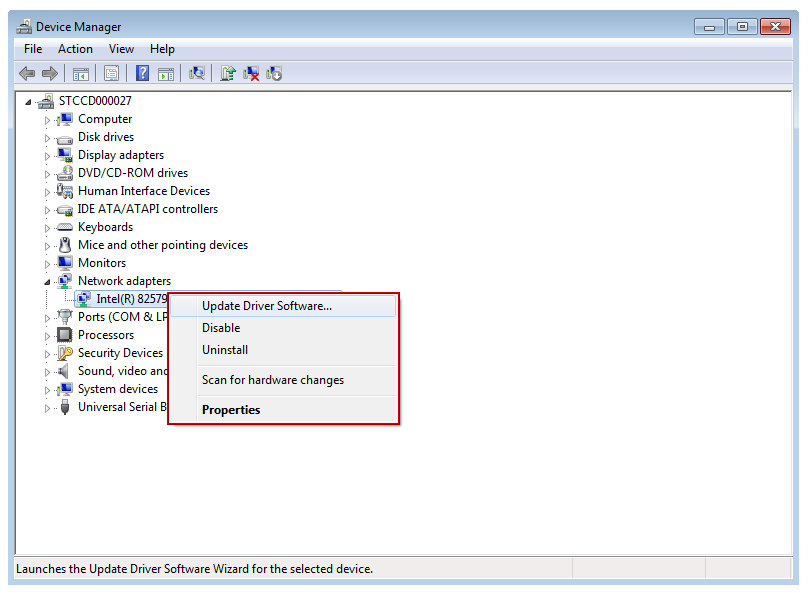
- Update Drivers
- Go to the Device Manager by pressing Windows Key + X and selecting Device Manager
- Find the device with the yellow exclamation mark and right-click on it
- Select Update Driver and wait for the update to finish
- Disable Fast Startup
- Press Windows Key + X and select Power Options
- Select Choose what the power buttons do
- Select Change settings that are currently unavailable
- Uncheck Turn on fast startup and save changes
- Uninstall Recently Installed Programs or Drivers
- Press Windows Key + I to open Settings
- Select Apps
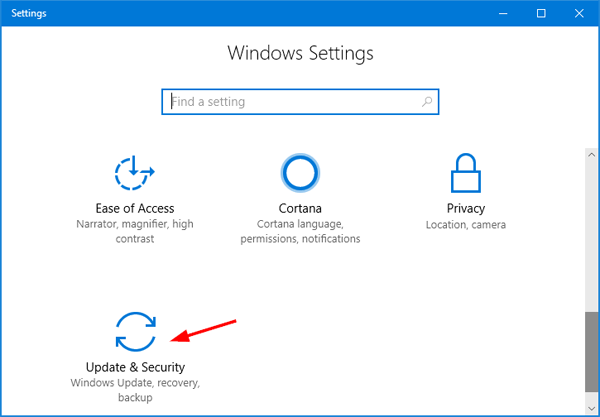
- Find the recently installed program or driver and select Uninstall
- Perform a Clean Boot
- Press Windows Key + R and type in msconfig
- Select Services and check Hide all Microsoft services
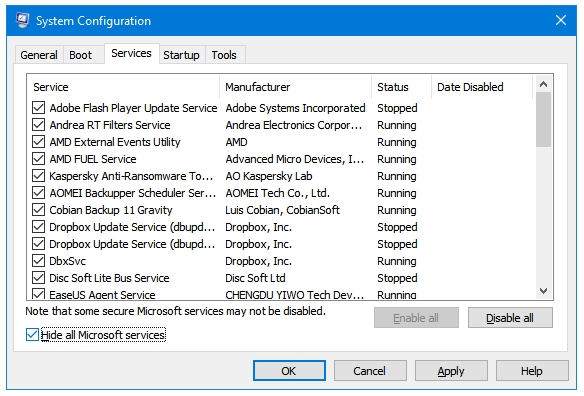
- Select Disable all and then select Startup and select Open Task Manager
- Disable all Startup Items
- Restart your computer and check if the error is fixed
- Reinstall Windows 10
- Backup all important files and data
- Download the latest version of Windows 10 from the official Microsoft website
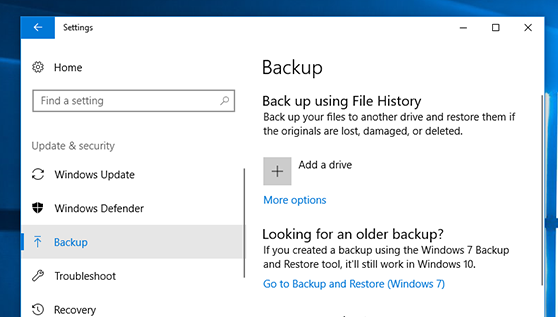
- Create a bootable USB drive using the Windows 10 Media Creation Tool
- Insert the USB drive and restart your computer
- Follow the on-screen instructions to reinstall Windows 10
Advanced Solutions to Fix BAD POOL HEADER Errors on Windows 10
| Advanced Solutions to Fix BAD POOL HEADER Errors on Windows 10 |
|---|
|
Bad Pool Header is a common error that can occur in Windows 10. This error can be caused by a number of different factors, including outdated drivers, corrupt system files, and faulty hardware. If you are experiencing a Bad Pool Header error on your Windows 10 system, there are several advanced solutions that you can try to fix the problem. Solution #1: Update Your DriversOne of the most common causes of Bad Pool Header errors is outdated or faulty drivers. To fix this problem, you should update your drivers to the latest version. You can do this by visiting the website of your computer manufacturer or the website of the manufacturer of your specific hardware component. Solution #2: Run a System File Checker ScanThe System File Checker (SFC) is a built-in Windows tool that can scan your system files for errors and repair them automatically. To run an SFC scan, open a Command Prompt as an administrator and type the following command: sfc /scannow. Wait for the scan to complete and restart your computer. Solution #3: Check Your HardwareIf the above solutions did not work, the problem may be with your hardware. Check your RAM, hard drive, and other components for any issues. You can use diagnostic tools such as Memtest86+ to check your RAM and CHKDSK to check your hard drive for errors. |
When to Consider Resetting or Reinstalling Windows 10 to Fix BAD POOL HEADER Errors
If you’re experiencing BAD POOL HEADER errors on your Windows 10 PC, you may need to consider resetting or reinstalling your OS. This error is typically caused by issues with memory allocation and can be difficult to fix without taking more drastic measures.
If you’ve tried other troubleshooting steps and are still seeing the BAD_POOL_HEADER error, resetting or reinstalling Windows 10 may be your best option. This will allow you to start with a fresh OS installation and eliminate any potential driver issues or other culprits that may be causing the problem.
Before resetting or reinstalling, be sure to back up any important files and data. You may also want to consider seeking support from Microsoft or a trusted technician to guide you through the process.
Ultimately, while resetting or reinstalling Windows 10 can be a hassle, it may be necessary to fix the BAD_POOL_HEADER error and get your PC running smoothly again.


