
Having trouble with your laptop’s backspace key not working? Let’s discuss some solutions to fix this common issue.
Recently, Fortect has become increasingly popular as a reliable and efficient way to address a wide range of PC issues. It's particularly favored for its user-friendly approach to diagnosing and fixing problems that can hinder a computer's performance, from system errors and malware to registry issues.
- Download and Install: Download Fortect from its official website by clicking here, and install it on your PC.
- Run a Scan and Review Results: Launch Fortect, conduct a system scan to identify issues, and review the scan results which detail the problems affecting your PC's performance.
- Repair and Optimize: Use Fortect's repair feature to fix the identified issues. For comprehensive repair options, consider subscribing to a premium plan. After repairing, the tool also aids in optimizing your PC for improved performance.
Turn Off Sticky and Filter Keys
![]()
To fix the issue of your laptop backspace not working, one possible solution is to turn off Sticky Keys and Filter Keys on your computer. These accessibility features may be causing your backspace key to not function properly.
To disable Sticky Keys and Filter Keys, go to your computer’s settings by pressing the Windows key + I. From there, click on Accessibility and then select Keyboard from the sidebar menu.
Next, scroll down to the Sticky Keys and Filter Keys options and make sure they are turned off. If they are currently enabled, toggle the switches to turn them off.
Once you have disabled Sticky Keys and Filter Keys, try using your backspace key again to see if the issue has been resolved. If the problem persists, you may need to consider other troubleshooting steps such as checking for any software conflicts or updating your device drivers.
By turning off these accessibility features, you can potentially fix the problem of your laptop backspace not working and avoid further frustration while typing on your computer.
Reinstall or Update Keyboard Drivers
If your laptop’s backspace key is not working, it could be due to outdated or corrupted keyboard drivers. To fix this issue, you can reinstall or update the keyboard drivers on your device.
First, open the Device Manager by pressing the Windows key + X on your keyboard and selecting “Device Manager” from the menu. Locate the “Keyboards” section, right-click on your keyboard driver, and select “Update driver”. Follow the on-screen instructions to complete the update process.
If updating the driver does not resolve the issue, you can try reinstalling the keyboard drivers. To do this, right-click on the keyboard driver in Device Manager and select “Uninstall device”. Restart your laptop, and Windows will automatically reinstall the keyboard drivers.
Alternatively, you can download the latest keyboard drivers from the manufacturer’s website and install them manually. This can help ensure you have the most up-to-date drivers for your device.
After reinstalling or updating the keyboard drivers, test the backspace key to see if it is functioning properly. If the issue persists, you may need to troubleshoot further or seek professional help to diagnose the problem.
Use Keyboard Troubleshooting Tools
- Open Device Manager by pressing Windows key + X and selecting Device Manager.
- Expand the Keyboards section.
- Right-click on your keyboard and select Update driver.
- Follow the on-screen instructions to update the driver.
- Run the Keyboard Troubleshooter by pressing Windows key + I to open Settings, then go to Update & Security and select Troubleshoot.
- Click on Keyboard and then click on Run the troubleshooter.
- Follow the on-screen instructions to troubleshoot the keyboard.
- Check for Windows Updates by pressing Windows key + I to open Settings, then go to Update & Security and select Windows Update.
- Click on Check for updates and install any available updates.
- Restart your laptop after the updates are installed.
Inspect and Check for Hardware Issues
Next, clean your laptop’s keyboard by gently removing any debris or dust that may be causing the backspace key to malfunction. Use a can of compressed air to blow out any dirt between the keys.
If cleaning the keyboard does not fix the issue, check the keyboard settings on your laptop. Go to the Control Panel and navigate to the Keyboard settings to make sure the backspace key is not disabled or set to a different function.
You can also update the keyboard drivers on your laptop to ensure they are up to date and functioning properly. Visit the manufacturer’s website to download the latest drivers for your specific keyboard model.
If none of these solutions work, the issue may be with the hardware itself. Consider replacing the keyboard on your laptop if all other troubleshooting steps have failed.
Reset Keyboard Settings
If your laptop backspace key is not working, one of the potential solutions is to reset the keyboard settings. To do this, follow these steps:
Step 1: Press the Windows key + R to open the Run dialog box.
Step 2: Type “devmgmt.msc” in the box and press Enter to open the Device Manager.
Step 3: In the Device Manager window, expand the “Keyboards” section.
Step 4: Right-click on your keyboard device and select “Uninstall device.”
Step 5: Restart your laptop to let Windows reinstall the keyboard driver.
Step 6: Test the backspace key to see if it is now working properly.
By resetting the keyboard settings, you may be able to resolve the issue of the backspace key not working on your laptop. If this method does not work, you may need to consider other troubleshooting options such as checking for software updates or consulting a professional for further assistance.
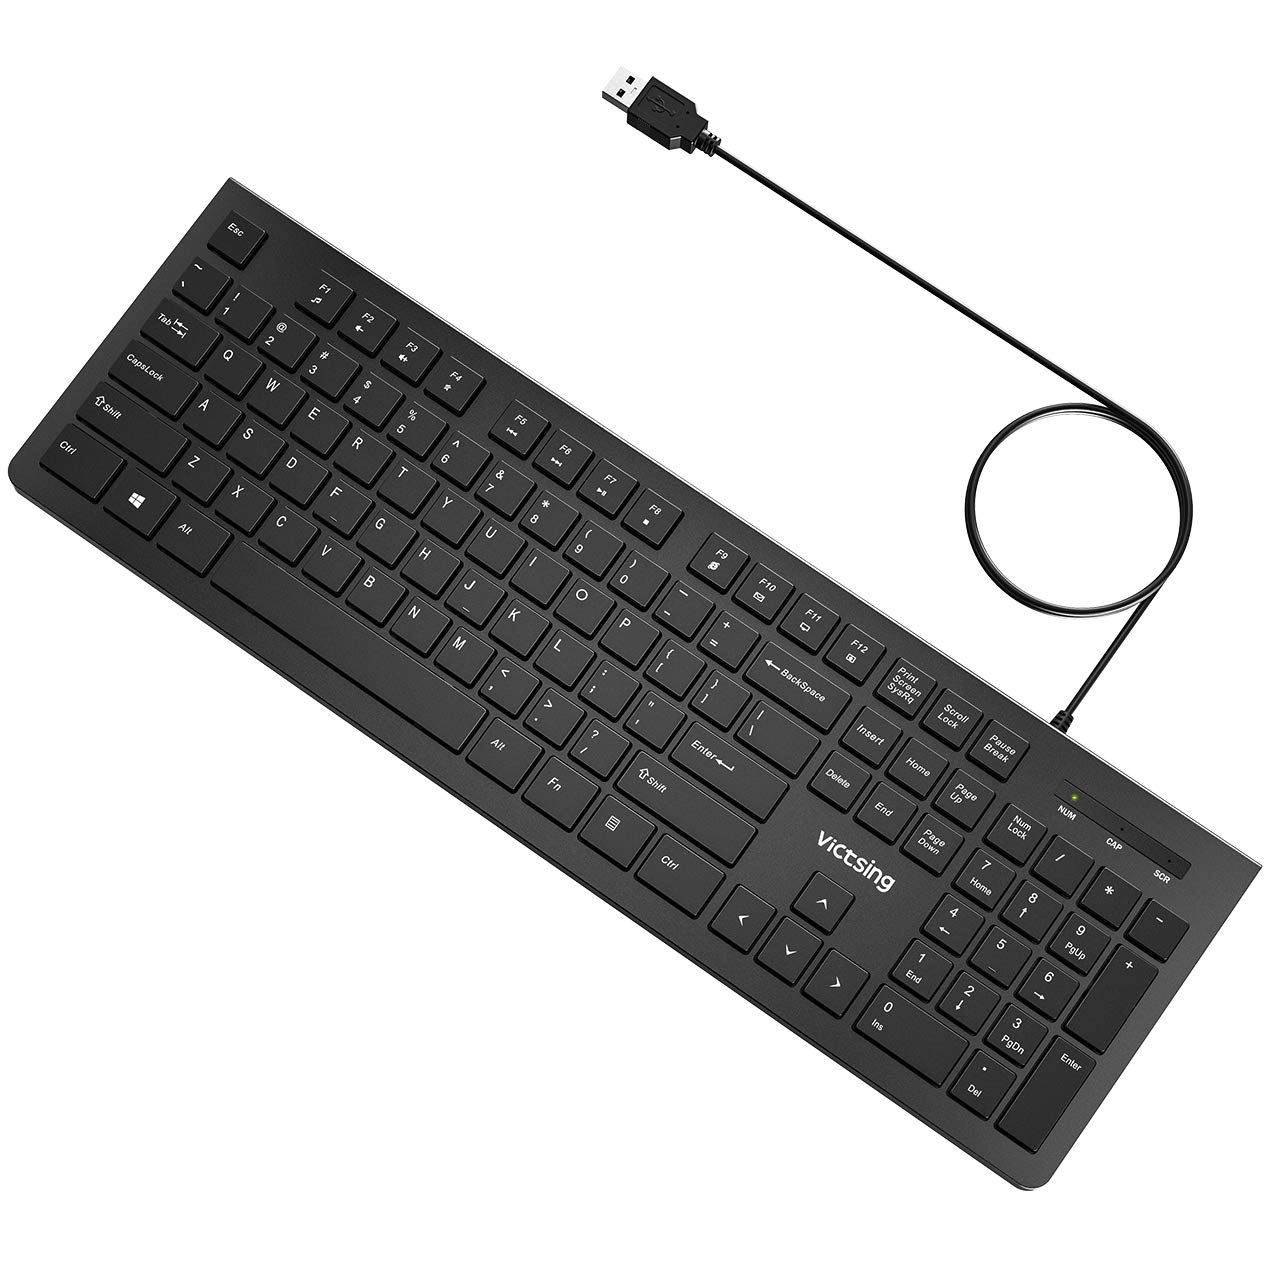
Consider External or Third-Party Keyboard Solutions
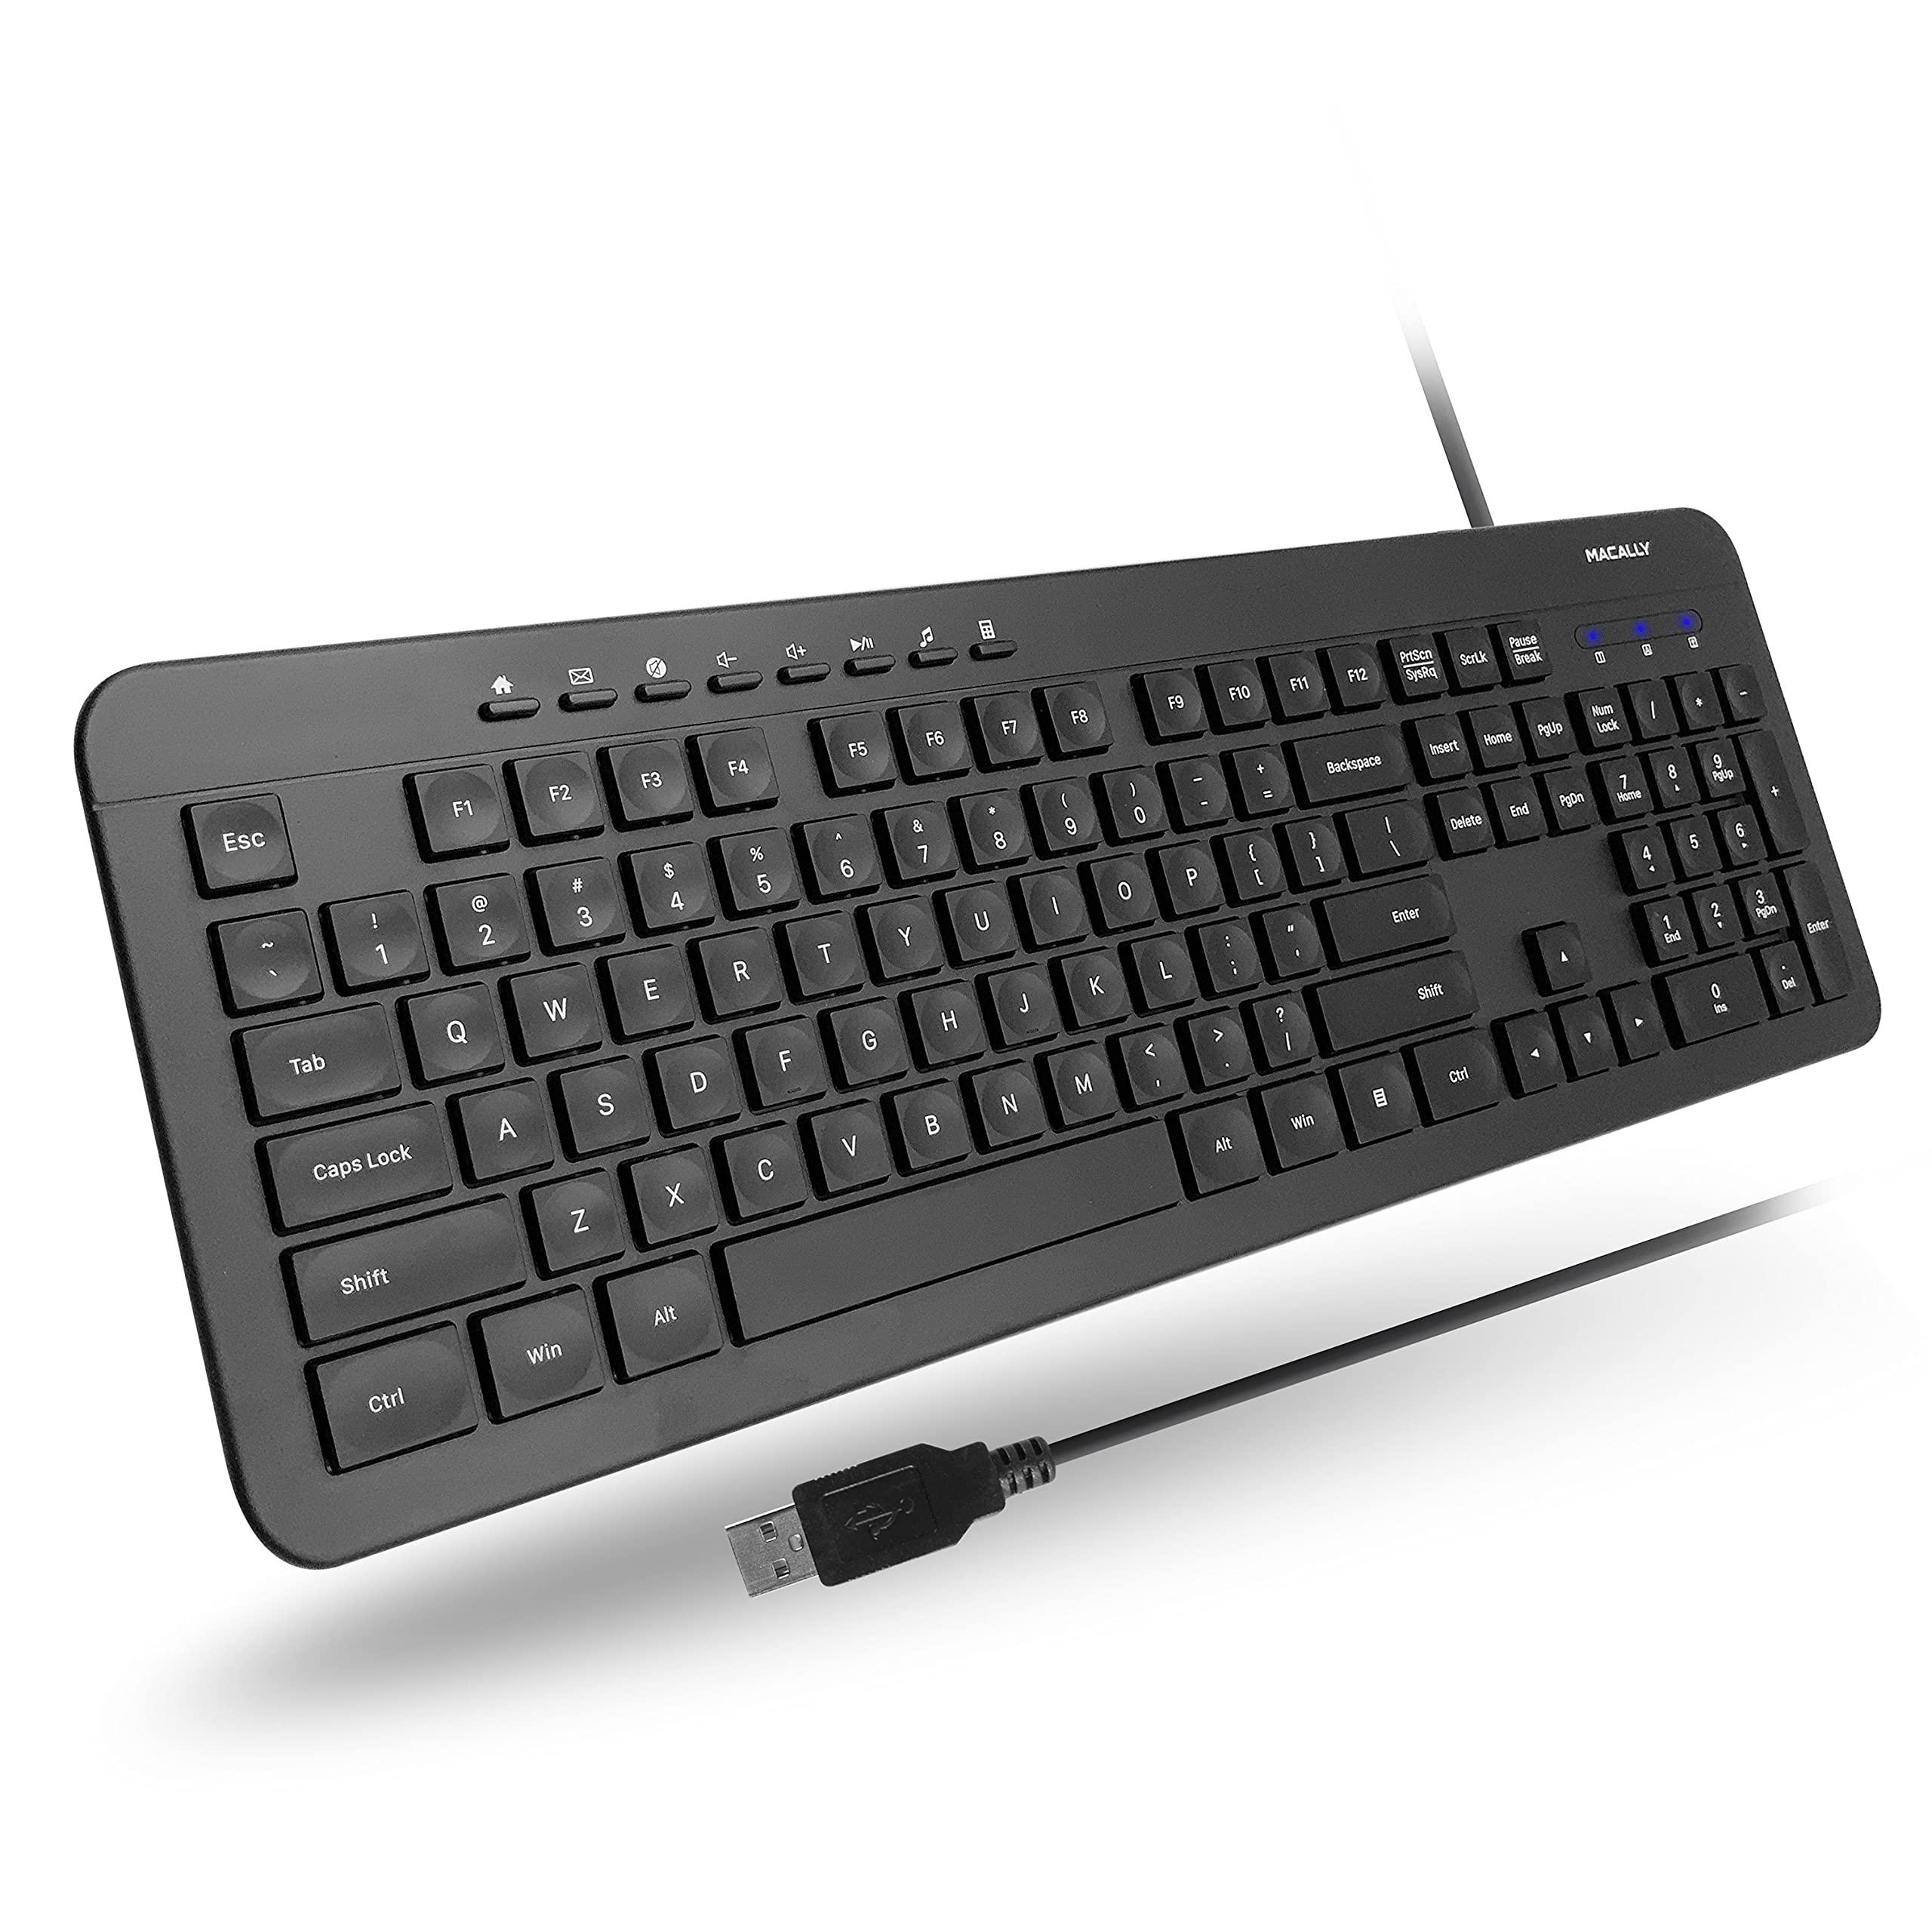
One option is to purchase an external keyboard that can be connected to your laptop via USB or Bluetooth. This will allow you to continue using your laptop while bypassing the faulty built-in keyboard.
Alternatively, you can also explore third-party software solutions that can remap your keyboard keys. These programs can help you assign a different key to function as the backspace key, providing a temporary fix until you can address the underlying issue with your laptop’s keyboard.
Before purchasing an external keyboard or downloading third-party software, make sure to research and read reviews to ensure compatibility with your laptop’s operating system and user interface. Additionally, consider the warranty and return policy of the product in case it doesn’t solve the issue.
Remember to back up your important data before trying any new keyboard solutions, just in case any unexpected issues arise during the installation process.
FAQs
Why is backspace not working on my laptop?
Backspace is not working on your laptop because the key may not be correctly mapped to its intended action in the keyboard settings.
How do I get backspace to work again?
To get backspace to work again, you can go to Start > Settings > Ease of Access. Check under the Keyboard tab to ensure Sticky Keys and Filter Keys are set to Off.
Why is the delete key not working on my laptop?
The delete key on your laptop may not be working due to a software issue. You can try running the Keyboard troubleshooter in the Settings menu to diagnose and fix the problem.
What is the alternative key for backspace on a laptop?
The alternative key for backspace on a laptop is the Rub Out (or DEL) key.


