Struggling with the error message “Windows Couldn’t Automatically Bind IP Protocol Stack”? Let’s explore some solutions to fix this issue.
Recently, Fortect has become increasingly popular as a reliable and efficient way to address a wide range of PC issues. It's particularly favored for its user-friendly approach to diagnosing and fixing problems that can hinder a computer's performance, from system errors and malware to registry issues.
- Download and Install: Download Fortect from its official website by clicking here, and install it on your PC.
- Run a Scan and Review Results: Launch Fortect, conduct a system scan to identify issues, and review the scan results which detail the problems affecting your PC's performance.
- Repair and Optimize: Use Fortect's repair feature to fix the identified issues. For comprehensive repair options, consider subscribing to a premium plan. After repairing, the tool also aids in optimizing your PC for improved performance.
Reset Network Adapter to Default Settings
To reset the network adapter to default settings, you can try the following steps:
1. Press the Windows key + X to open the menu.
2. Click on Device Manager.
3. Locate your network adapter under Network adapters.
4. Right-click on the adapter and select Uninstall device.
5. Check the box that says Delete the driver software for this device, then click Uninstall.
6. Restart your computer to let Windows reinstall the network adapter.
7. Check if the issue with Windows not being able to bind the IP protocol stack is resolved.
By resetting the network adapter, you are essentially starting fresh with the network settings, which may help in fixing the issue you are experiencing.
Configure WLAN AutoConfig Service
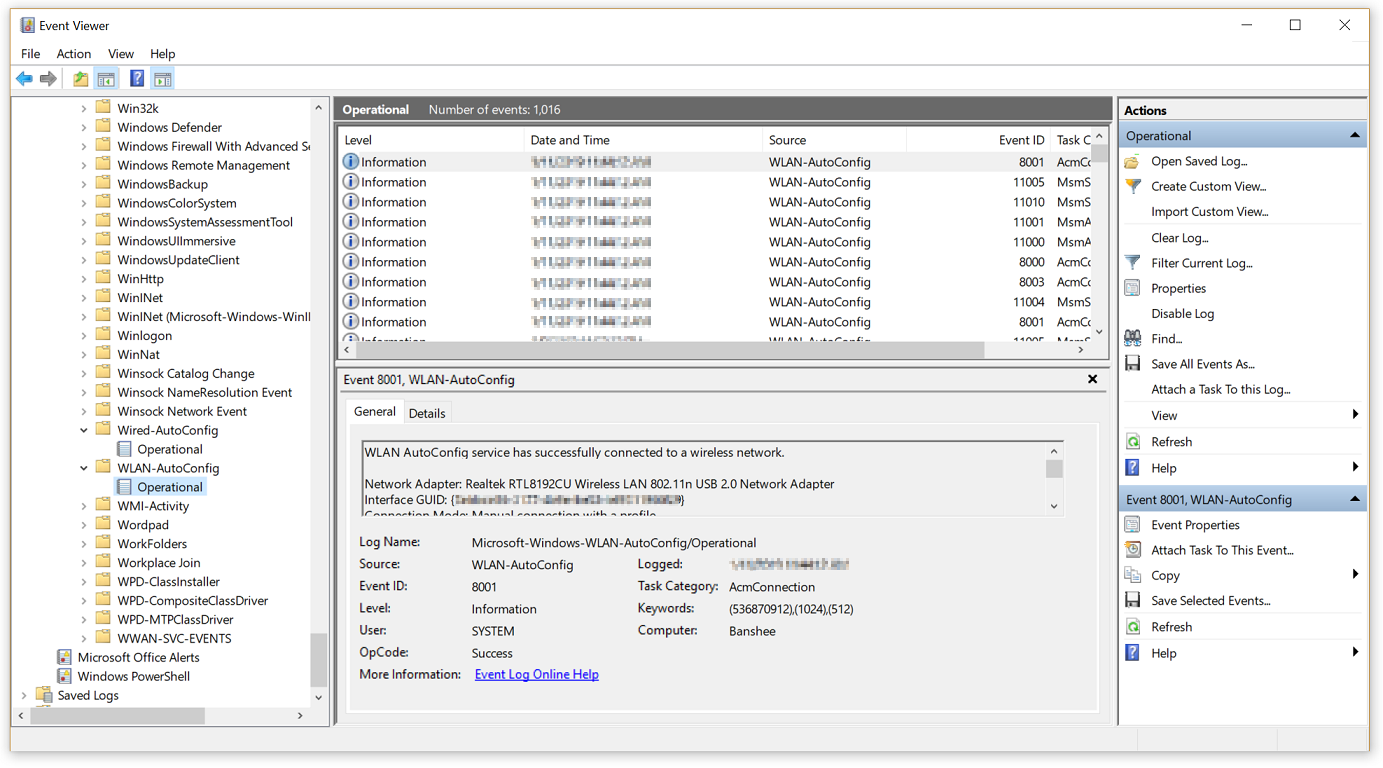
To fix the “Windows Couldn’t Automatically Bind IP Protocol Stack” error, you can try configuring the WLAN AutoConfig Service. Here’s how to do it:
1. Press the Windows key + R to open the Run dialog box.
2. Type services.msc and press Enter to open the Services window.
3. Scroll down and locate the WLAN AutoConfig service.
4. Right-click on WLAN AutoConfig and select Properties.
5. In the WLAN AutoConfig Properties window, go to the General tab.
6. Make sure the Startup type is set to Automatic.
7. Click on the Start button to start the service.
8. Click Apply and then OK to save the changes.
After configuring the WLAN AutoConfig Service, restart your computer and check if the issue has been resolved. This should help in binding the IP Protocol Stack automatically.
Clear DNS and Reset Winsock
- Clear DNS Cache:
- Open Command Prompt as an administrator by searching for it in the start menu, right-clicking on it, and selecting Run as administrator.
- Type the command ipconfig /flushdns and press Enter.
- Wait for the confirmation message that the DNS resolver cache was cleared successfully.
- Reset Winsock:
- Open Command Prompt as an administrator by searching for it in the start menu, right-clicking on it, and selecting Run as administrator.
- Type the command netsh winsock reset and press Enter.
- Wait for the command to complete and then restart your computer to apply the changes.
Update Network Adapter Driver
To update the network adapter driver, first, open the Device Manager by right-clicking on the Start button and selecting it. Look for the Network adapters section and expand it. Right-click on your network adapter and select Update driver. Choose Search automatically for updated driver software and follow the on-screen instructions to complete the update. After the driver has been updated, restart your computer to apply the changes. This should help resolve the issue of Windows not being able to automatically bind the IP protocol stack.
If the problem persists, consider checking for any additional Windows updates or contacting your network administrator for further assistance.
Perform a System Restore or Reset
Performing a System Restore or Reset can help resolve the issue of Windows not being able to automatically bind the IP Protocol Stack. Here’s how to do it:
First, type “System Restore” in the Windows search bar and open the System Restore tool.
Next, select a restore point from a date before the issue started occurring and follow the on-screen instructions to complete the restoration process.
If System Restore doesn’t work, you can try resetting your Windows network settings by following these steps:
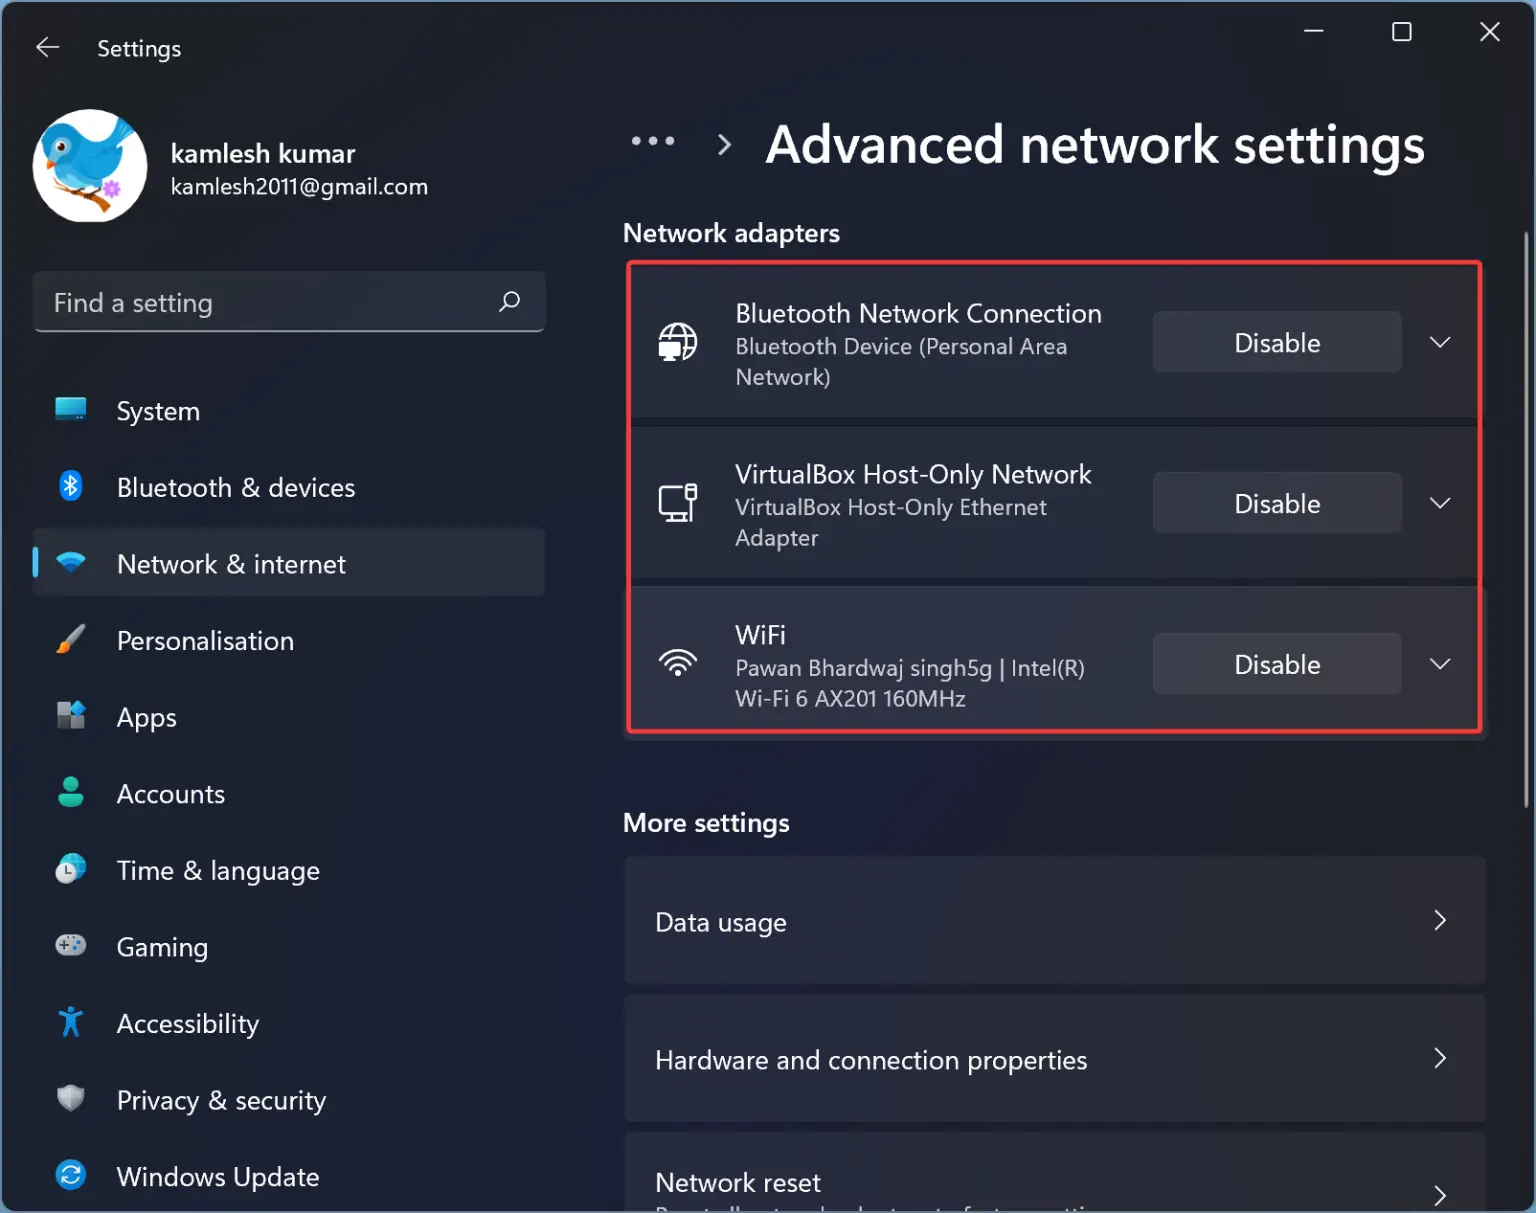
Navigate to the “Settings” app in Windows and click on “Network & Internet.”
Scroll down and click on “Network reset” under the “Status” section.
Click on “Reset now” and follow the prompts to reset your network settings.
After performing a System Restore or Reset, restart your computer to apply the changes and check if the issue with the IP Protocol Stack binding has been resolved.
Modify Registry Settings
1. Press the Windows key + R to open the Run dialog box.
2. Type “regedit” and press Enter to open the Registry Editor.
3. In the Registry Editor, navigate to the following key: HKEY_LOCAL_MACHINE\SYSTEM\CurrentControlSet\Services\Tcpip\Parameters.
4. Look for a registry value named “DisableTaskOffload” on the right-hand side.
5. If the value is not present, right-click on an empty space, select New > DWORD (32-bit) Value, and name it “DisableTaskOffload”.
6. Double-click on “DisableTaskOffload” and set the value data to 1 to disable task offload.
7. Close the Registry Editor and restart your computer for the changes to take effect.
8. Check if the issue has been resolved.


