In this article, we will explore how to tackle the issue of an oversized display on Windows 10, empowering users to regain control over their screen size for a seamless computing experience.
Recently, Fortect has become increasingly popular as a reliable and efficient way to address a wide range of PC issues. It's particularly favored for its user-friendly approach to diagnosing and fixing problems that can hinder a computer's performance, from system errors and malware to registry issues.
- Download and Install: Download Fortect from its official website by clicking here, and install it on your PC.
- Run a Scan and Review Results: Launch Fortect, conduct a system scan to identify issues, and review the scan results which detail the problems affecting your PC's performance.
- Repair and Optimize: Use Fortect's repair feature to fix the identified issues. For comprehensive repair options, consider subscribing to a premium plan. After repairing, the tool also aids in optimizing your PC for improved performance.
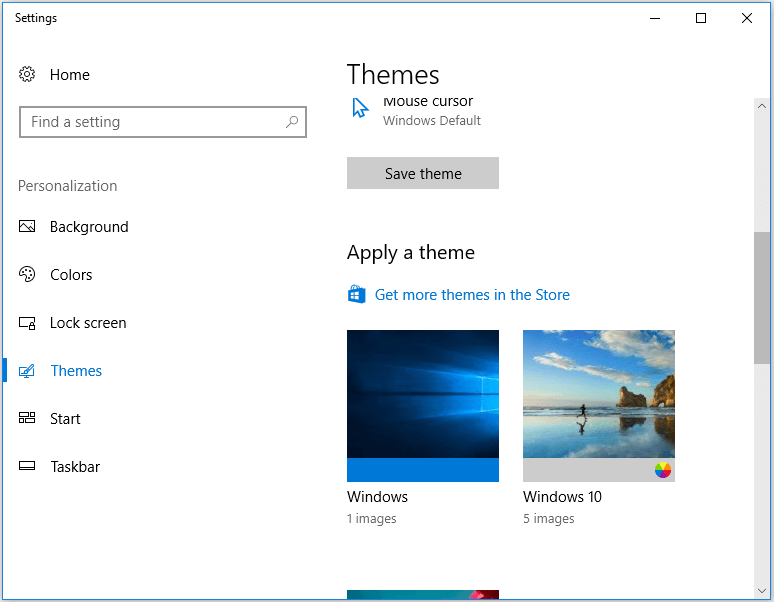
Resolving Overscan and Display Issues on Windows 10
If you’re experiencing overscan and display issues on Windows 10, there are a few steps you can take to resolve them.
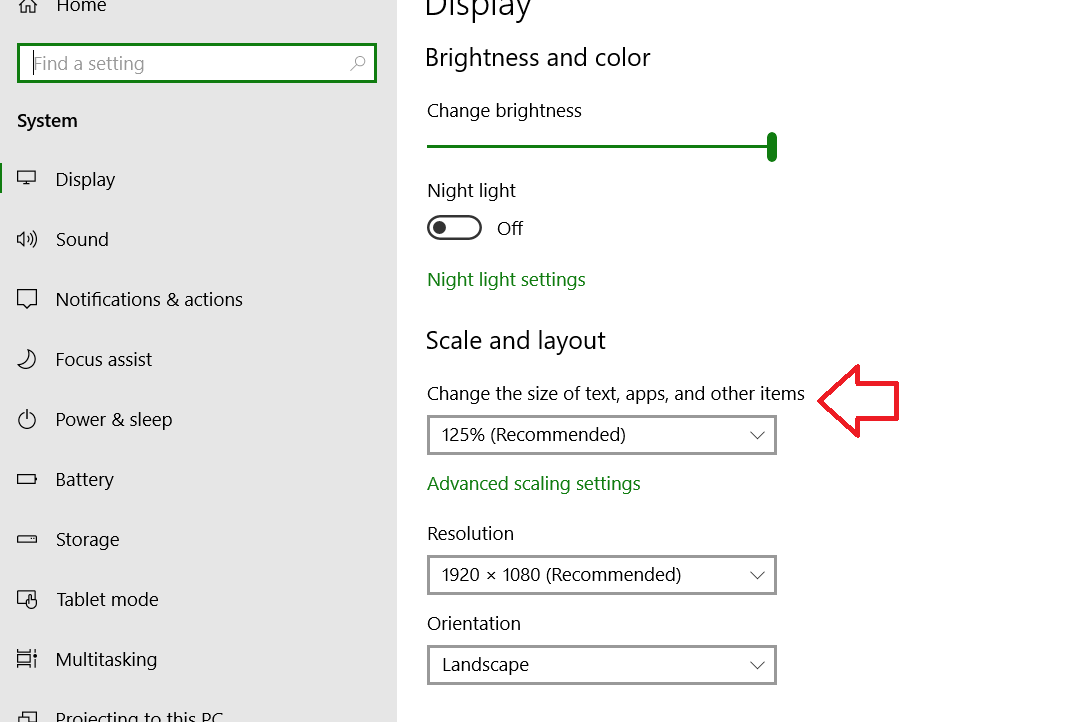
First, check your display settings by right-clicking on the desktop and selecting “Display settings.” From there, go to the “Resolution” section and make sure it’s set to the recommended resolution for your screen.
If that doesn’t fix the issue, you can try adjusting the scaling options. Head back to the “Display settings” and scroll down to the “Scale and layout” section. Here, you can change the size of text, apps, and other items to make sure everything fits on your screen properly.
If you’re using multiple monitors, you may need to adjust the display resolution individually for each monitor.
Additionally, make sure you have the latest display drivers installed. You can do this by going to the manufacturer’s website or using a driver update tool like Driver Easy.
Adjusting Screen Resolution and Scaling on Windows 10
If your Windows 10 screen is too big and you’re experiencing an oversized display, you can easily adjust the screen resolution and scaling to fix the issue. Here’s how:
1. Right-click on an empty area on your desktop and select “Display settings” from the context menu.
2. In the Display settings window, scroll down to the “Scale and layout” section.
3. Under the “Display resolution” dropdown, choose a lower resolution if everything appears too big, or a higher resolution if everything appears too small.
4. If the screen still doesn’t fit properly, adjust the “Change the size of text, apps, and other items” slider to increase or decrease the scaling percentage.
5. You can also customize the scaling for each display if you have multiple monitors connected.
6. Click on “Apply” to save the changes.
Updating Display Drivers to Fix Overscaling on Windows 10
To fix overscaling on your Windows 10 screen, you may need to update your display drivers. Here’s how:
1. Press the Windows key + X and select “Device Manager” from the menu.
2. Expand the “Display adapters” category and right-click on your display driver.
3. Select “Update driver” and choose the option to search automatically for updated driver software.
4. Follow the on-screen instructions to complete the driver update process.
5. After the update is finished, restart your computer.
If updating the driver doesn’t fix the overscaling issue, you can try adjusting the display scaling settings:
1. Right-click on your desktop and select “Display settings.”
2. Scroll down to the “Scale and layout” section and adjust the slider under “Change the size of text, apps, and other items” to your preference.
3. Click “Apply” and then restart your computer to see if the overscaling problem is resolved.
Updating your display drivers and adjusting the display scaling settings should help fix the oversized display issue on your Windows 10 computer.
python

import pyautogui
def resize_screen(width, height):
screen_width, screen_height = pyautogui.size()
pyautogui.moveTo(screen_width - 1, screen_height - 1) # Move the cursor to the bottom-right corner
pyautogui.dragTo(width, height, duration=1) # Drag the cursor to the specified width and height
# Example usage
new_width = 1920 # Enter your desired width here
new_height = 1080 # Enter your desired height here
resize_screen(new_width, new_height)
This code utilizes the `pyautogui` library to automate the mouse’s movement and resizing of the screen. The `resize_screen` function takes in the desired width and height as parameters and resizes the screen accordingly.
Please note that this code is just a basic example and may not work on all systems or configurations. Additionally, manipulating the screen size programmatically can have unintended side effects, so it is always recommended to use the built-in display settings or consult the manufacturer’s instructions for adjusting the screen size.
Exploring Windows 10 Scaling Options and Settings
- Introduction: Understanding the scaling options and settings available in Windows 10
- Why is my Windows 10 screen too big?
- How to fix an oversized display on Windows 10
- 1. Adjusting display resolution:

- 2. Scaling options in Windows 10:
- 3. Changing the size of text, apps, and other items:
- 4. Customizing scaling for individual displays:
- 5. Optimizing scaling for high-DPI displays:
- 6. Resetting display settings to default:
- Conclusion: Enhancing your Windows 10 experience with proper scaling options