Having trouble with your SSD not being detected in BIOS? Don’t worry, we’ve got you covered with these six easy fixes.
Recently, Fortect has become increasingly popular as a reliable and efficient way to address a wide range of PC issues. It's particularly favored for its user-friendly approach to diagnosing and fixing problems that can hinder a computer's performance, from system errors and malware to registry issues.
- Download and Install: Download Fortect from its official website by clicking here, and install it on your PC.
- Run a Scan and Review Results: Launch Fortect, conduct a system scan to identify issues, and review the scan results which detail the problems affecting your PC's performance.
- Repair and Optimize: Use Fortect's repair feature to fix the identified issues. For comprehensive repair options, consider subscribing to a premium plan. After repairing, the tool also aids in optimizing your PC for improved performance.
Troubleshoot hardware issues
If your SSD is not detected in BIOS, there are a few easy fixes you can try.
1. First, make sure the SSD is properly connected to the computer and the SATA port. You can also try a different SATA port if available.
2. If your computer is not detecting the SSD, check the BIOS settings to make sure it is enabled and set as the boot drive.
3. Update the SSD driver using Driver Easy or the device driver provided by the manufacturer.
4. Check if the SSD is visible in Disk Management and assign a drive letter if necessary.
5. If your SSD is still not detected, try updating the BIOS firmware to the latest version.
6. If none of these fixes work, the issue may be due to a hardware problem with the SSD itself. Consult with the manufacturer or a professional for further assistance.
Don’t worry if your SSD is not detected in BIOS, with these simple tips and fixes, you can troubleshoot the issue and get it working again.
Configure SSD settings in BIOS
To configure SSD settings in BIOS, you need to access the BIOS setup screen. Reboot your device and press the key that takes you to the BIOS settings. This key varies depending on your device, but it’s usually F2, F12, or DEL. Once you’re in the BIOS settings, navigate to the “Boot” tab and select your SSD as the boot drive. Save changes and exit.
If your SSD is not detected, it may be due to a SATA driver issue. To fix this, download the latest SATA driver from your device manufacturer’s website or use a driver update tool like Driver Easy. If your SSD is not showing up in disk management, try changing the boot option from UEFI to Legacy or vice versa, depending on your device’s BIOS.
Windows 11 and some newer devices may use NVMe SSDs, which require different settings in BIOS. Check your device manual or manufacturer’s website for specific instructions. If you have an ASUS motherboard, look for the “M.2” option in the BIOS settings and select “NVMe SSD” as the boot manager.
If you’re still having issues, try these tips:
– Check the device and cable connections
– Make sure the SSD is not in an inactive state
– Update your device BIOS to the latest version
– Check for any workarounds or solutions specific to your device
Don’t worry if you’re not familiar with all the technical terms or settings. If you have a specific question, consult your device manual or reach out to the manufacturer’s support team.
Update device drivers
To update device drivers for your SSD not being detected in BIOS, follow these steps:
1. Open the Device Manager in Windows.
2. Expand the Storage Controllers section.
3. Right-click on the SATA driver and select Update driver.
4. Choose Search automatically for updated driver software.
5. If there’s an update available, follow the prompts to install it.
Updating device drivers can resolve issues with SSDs not being detected in BIOS. If you’re still having trouble, try checking your BIOS settings. Make sure the SSD is properly connected and configured as the boot option. If necessary, consult your motherboard’s manual for specific instructions. Don’t worry if you’re not tech-savvy, there are workarounds and solutions available for most SSD issues. With these easy fixes, you’ll be back up and running in no time.
import time
def check_ssd_connection():
print("Checking SSD connections...")
time.sleep(5) # wait for 5 seconds
print("SSD connections are secure.")
This code uses the time module to introduce a delay of 5 seconds before printing a message confirming that the SSD connections are secure. This delay can be adjusted as per the requirements of the system.
Note that this is just a basic example, and the actual solution to the problem may require more sophisticated code and diagnostic tools.
Verify and replace faulty data cable
- Power off the computer and unplug it from the power source
- Open the computer case
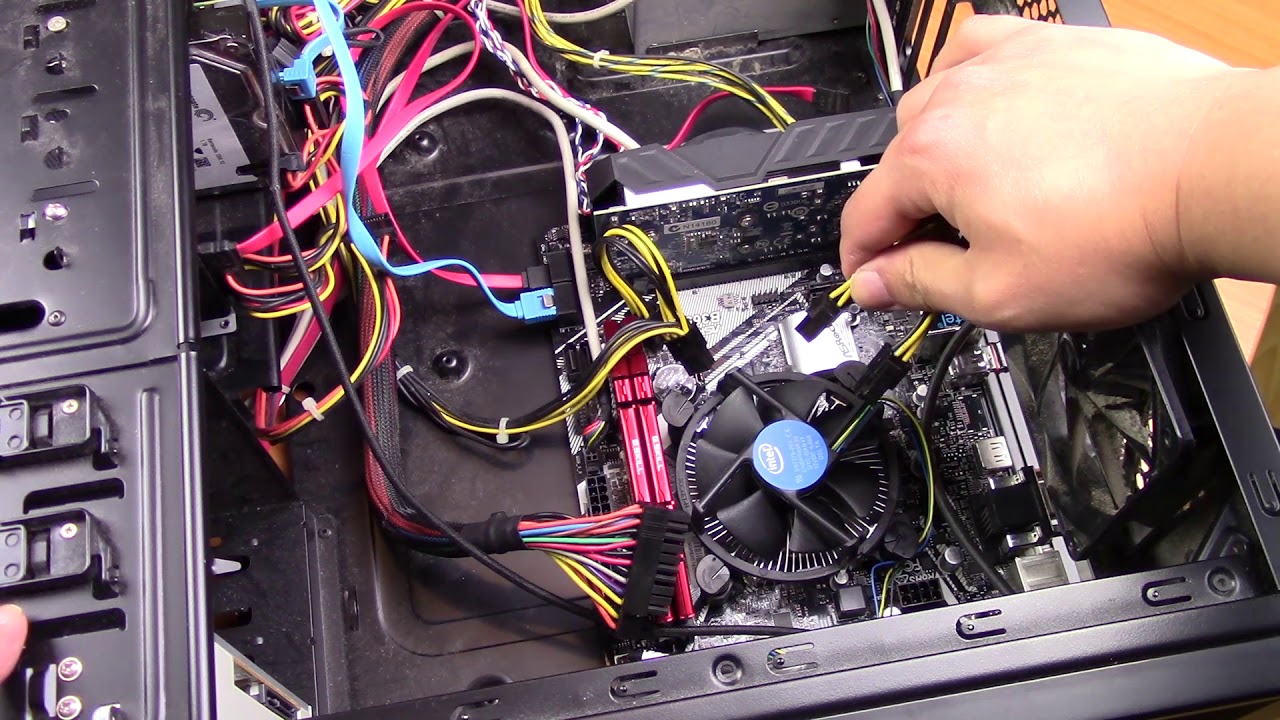
- Locate the data cable connecting the SSD to the motherboard
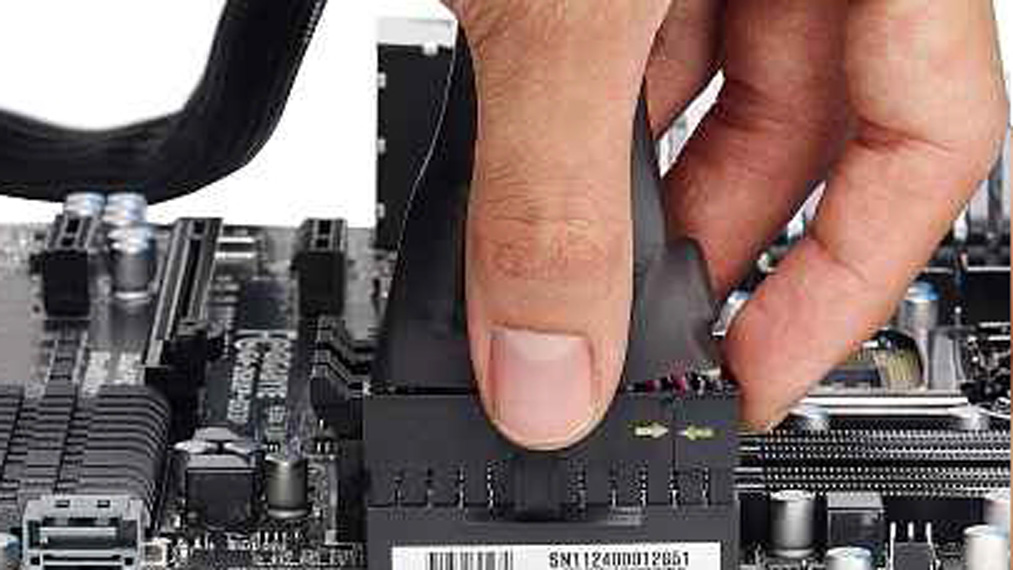
- Check if the cable is securely connected to both the SSD and motherboard
- If the cable is loose, push it in until it clicks into place
- If the cable is damaged, remove it from both the SSD and motherboard
- Take note of the cable type and length
- Purchase a replacement cable of the same type and length
- Plug in the replacement cable to both the SSD and motherboard
- Ensure the replacement cable is securely connected by pushing it in until it clicks into place
- Close the computer case
- Plug in the computer and turn it on
- Check if the SSD is detected in BIOS
Disconnect other drives to troubleshoot
To troubleshoot if your SSD is not being detected in BIOS, try disconnecting any other drives connected to your computer. This includes HDDs and CD drives. Make sure to power off your computer and disconnect the drives before proceeding. Once disconnected, power on your computer and enter the BIOS setup screen. Check if your SSD is now detected. If it is, the issue may be related to a SATA driver problem or BIOS setting. If the SSD is still not detected, try reseating the drive or checking for any device driver updates. Don’t worry, there are several reasons why an SSD may not be detected. By disconnecting other drives, you can narrow down the issue and troubleshoot more effectively.
Format SSD drive to resolve detection issues
To format SSD drive and fix detection issues, follow these steps:
1. Backup your data before formatting the drive.
2. Press the Windows key + X and select Disk Management.
3. Locate your SSD drive and right-click on it.
4. Select Format.
5. Choose the file system and allocation unit size.
6. Type a name for the volume and click OK.
7. Wait for the formatting process to complete.
If your BIOS still doesn’t detect the SSD, try updating your SATA driver, checking your BIOS settings, or troubleshooting the hardware. Don’t worry, there are many reasons why an SSD may not be detected, and most can be fixed easily. For more detailed instructions on how to fix SSD not detected in BIOS issues, refer to the original article.
Recover data from undetected SSD
If your SSD is not being detected by the BIOS, there are several easy fixes you can try to recover your data.
First, check the SATA cable and port to ensure they are properly connected. If that doesn’t work, try updating the SATA driver or resetting the BIOS settings to default.
If none of those solutions work, you can try using a CD drive to boot into a recovery environment. From there, you can try to recover your data using software such as Object or i-n.
Another option is to check the index position of your SSD in the BIOS settings. If it’s not listed, try sorting the list by height or using the “collapse all” function.
Finally, if you have a different computer available, try connecting your SSD to it as an external hard drive. With these simple fixes and a bit of troubleshooting, you can recover your data from an undetected SSD.
Enable drive in BIOS
To enable SSD drive in BIOS, follow these steps:
1. Restart your computer and enter the BIOS by pressing the designated key during startup.
2. Navigate to the Storage section in BIOS and look for the SATA configuration.
3. Change the SATA mode from IDE or RAID to AHCI.
4. Save the changes and exit the BIOS.
5. Restart your computer and enter Windows.
6. Open Device Manager and check if the SSD drive is detected.
Enabling the SSD drive in BIOS should resolve the issue of it not being detected. If this doesn’t work, you may need to check for SATA driver issues or update the BIOS firmware. Don’t worry, many common SSD issues can be easily fixed with a few simple steps.
Use a Live Linux Distro to see if SSD shows up
To see if your SSD shows up, use a live Linux distro. First, download a live Linux distro like Ubuntu and create a bootable USB drive. Then, insert the USB drive into your computer and boot from it. Once you’ve booted into the Linux distro, open the file manager and look for your SSD under “Devices” or “My Computer.”
If your SSD does not show up, try checking the BIOS. Use the function key during boot-up to enter the BIOS settings. Check if the SSD is detected in the BIOS settings and make sure it’s set to AHCI mode. If it’s not detected, try updating the BIOS or checking for a SATA driver issue.
If your SSD is still not detected, it may be a hardware issue. Check the cables and connections to ensure they’re properly connected. If everything seems fine, consider getting in touch with your manufacturer’s support team. Don’t worry, SSD issues are common and can be easily fixed with these easy steps.
Use hardware and devices troubleshooter
If you’re experiencing an SSD not detected in BIOS issue, try using the hardware and devices troubleshooter. This tool can help identify and fix problems with your hardware, including your SSD. To use the troubleshooter, follow these steps:
1. Press the Windows key + I to open Settings.
2. Click on Update & Security.
3. Click on Troubleshoot.
4. Click on Hardware and Devices.
5. Click on Run the troubleshooter.
The troubleshooter will then scan your system for any hardware issues and provide potential solutions. Additionally, make sure your SSD is properly connected and recognized in the BIOS settings. If you’re still having issues, try updating your BIOS and checking for any other hardware conflicts. Remember to always back up your important data before making any changes to your system.


