Silencing the Silent: Troubleshooting the Intel SST Audio Device No Sound Issue
Recently, Fortect has become increasingly popular as a reliable and efficient way to address a wide range of PC issues. It's particularly favored for its user-friendly approach to diagnosing and fixing problems that can hinder a computer's performance, from system errors and malware to registry issues.
- Download and Install: Download Fortect from its official website by clicking here, and install it on your PC.
- Run a Scan and Review Results: Launch Fortect, conduct a system scan to identify issues, and review the scan results which detail the problems affecting your PC's performance.
- Repair and Optimize: Use Fortect's repair feature to fix the identified issues. For comprehensive repair options, consider subscribing to a premium plan. After repairing, the tool also aids in optimizing your PC for improved performance.
Troubleshooting Intel SST Audio Device Issues
If you’re facing a “No Sound” issue with your Intel SST Audio Device, follow these steps to fix it:
1. Update the driver:
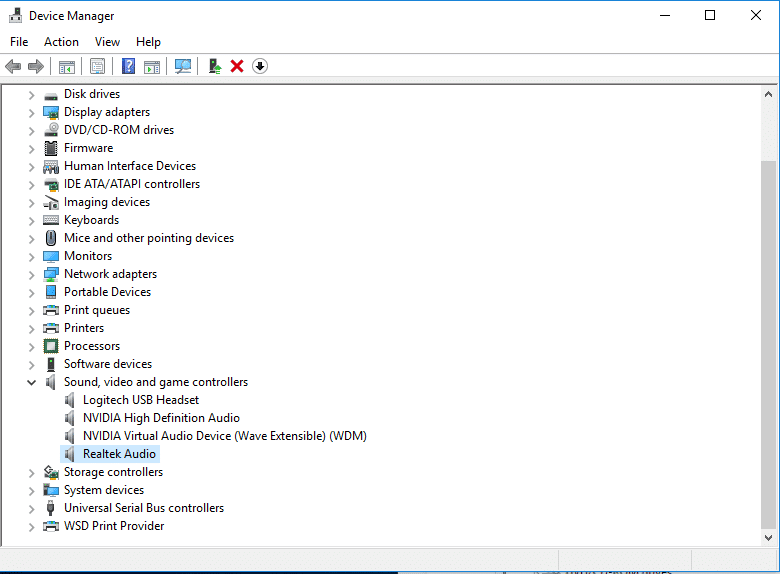
– Open Device Manager.
– Expand the “Sound, video, and game controllers” section.
– Right-click on the Intel SST Audio Device and select “Update driver”.
– Choose the option to automatically search for updated driver software.
– Follow the on-screen instructions to complete the update.
2. Check for driver conflicts:
– Open Device Manager.
– Expand the “Sound, video, and game controllers” section.
– Look for any yellow exclamation marks indicating driver issues.
– Right-click on the conflicting drivers and select “Update driver”.
3. Verify audio settings:
– Right-click on the speaker icon in the taskbar and select “Open Sound settings”.
– Ensure that the Intel SST Audio Device is set as the default audio output device.
4. Restart your PC:
– Sometimes a simple restart can resolve audio problems.
If these steps don’t resolve the issue, consider seeking further assistance from a professional or contacting Intel’s support team.
Uninstalling and Updating Intel SST Audio Device Drivers
To uninstall or update Intel SST Audio Device drivers, follow these steps:
1. Press the Windows key + X and select “Device Manager” from the menu.
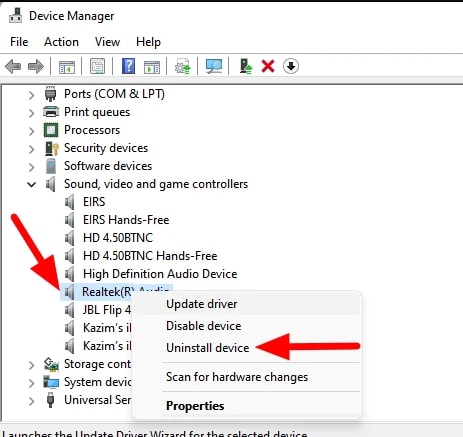
2. Expand the “Sound, video, and game controllers” category.
3. Right-click on the “Intel SST Audio Device” and select “Uninstall device” to remove the driver.
4. Check the box that says “Delete the driver software for this device” and click “Uninstall” to confirm.
5. To update the driver, right-click on the “Intel SST Audio Device” again and select “Update driver.”
6. Choose the option to search automatically for updated driver software.
7. Windows will search for the latest driver and install it if available.
8. Restart your computer to apply the changes.
If you’re still experiencing audio issues, you can try using Driver Easy or contacting Intel for further assistance. Remember to always keep your drivers up to date to ensure optimal sound quality.
Enhancing Sound Quality with Intel Smart Sound Technology
If you’re experiencing no sound issues with your Intel SST Audio Device, don’t worry, we’re here to help. Follow these steps to fix the problem:
1. Check your audio output device: Make sure your speakers or headphones are connected properly and turned on.
2. Update your audio driver: Download the latest driver for your Intel Smart Sound Technology from the official Intel website or use a trusted driver update tool like Driver Easy.
3. Restart your computer: This can help refresh the system and resolve any temporary glitches.
4. Check your microphone settings: If the issue is with your microphone, make sure it’s properly connected and not muted. Adjust the volume levels as needed.
5. Run a troubleshooter: Windows has built-in troubleshooters that can automatically detect and fix audio problems. Go to the Settings menu, navigate to “Update & Security,” and select “Troubleshoot.” Then, choose the “Playing Audio” troubleshooter.
python

import subprocess
def check_audio_device_status():
try:
# Use subprocess to run command-line tool for listing audio devices
output = subprocess.check_output(['powershell', 'Get-PnpDevice -Class AudioEndpoint']).decode('utf-8')
# Check if Intel SST audio device is listed
if 'Intel SST Audio Device' in output:
return True
else:
return False
except:
return False
def fix_audio_issues():
try:
# Use subprocess to run command-line tool for fixing audio issues
subprocess.call(['powershell', 'Get-PnpDevice -Class AudioEndpoint | Disable-PnpDevice -Confirm:$false'])
subprocess.call(['powershell', 'Get-PnpDevice -Class AudioEndpoint | Enable-PnpDevice -Confirm:$false'])
print("Audio device has been reset.")
except:
print("Failed to reset audio device.")
# Check if Intel SST audio device is present
if check_audio_device_status():
print("Intel SST audio device found.")
else:
print("Intel SST audio device not found.")
# Attempt to fix audio issues
fix_audio_issues()
This code uses Python’s `subprocess` module to run PowerShell commands that interact with the audio endpoints on a Windows system. The `check_audio_device_status` function checks if the Intel SST audio device is present in the list of audio devices. The `fix_audio_issues` function attempts to reset the audio device by disabling and then enabling it again.
Please note that this is a basic example, and depending on the specific problem you are facing, additional troubleshooting steps or modifications to the code may be necessary.
Enabling Intel SST and Resolving Driver Problems
If you’re experiencing an audio problem with your Intel SST Audio Device, there are a few steps you can take to resolve the issue.
First, ensure that the Intel SST Audio Device driver is enabled. To do this, follow these steps:
1. Press Windows key + X and select Device Manager.
2. Expand the “Sound, video and game controllers” section.
3. Right-click on the Intel SST Audio Device and select “Enable device”.
If the issue persists, it may be due to a driver issue. Try updating the driver to the latest version. Here’s how:
1. Right-click on the Intel SST Audio Device and select “Update driver”.
2. Choose the option to search automatically for updated driver software.
3. Follow the on-screen instructions to complete the driver update.
If these steps don’t resolve the issue, you can try uninstalling and reinstalling the driver. Here’s how:
1. Right-click on the Intel SST Audio Device and select “Uninstall device”.
2. Restart your PC.
3. Windows will automatically reinstall the driver.
Updating BIOS and Realtek Drivers for Intel Smart Sound Technology
- Check the current version of the BIOS and Realtek drivers
- Open Device Manager by pressing Windows Key + X and selecting Device Manager
- Expand the Sound, video, and game controllers category
- Right-click on Intel SST Audio Device and select Properties
- In the Driver tab, note down the current version of the driver
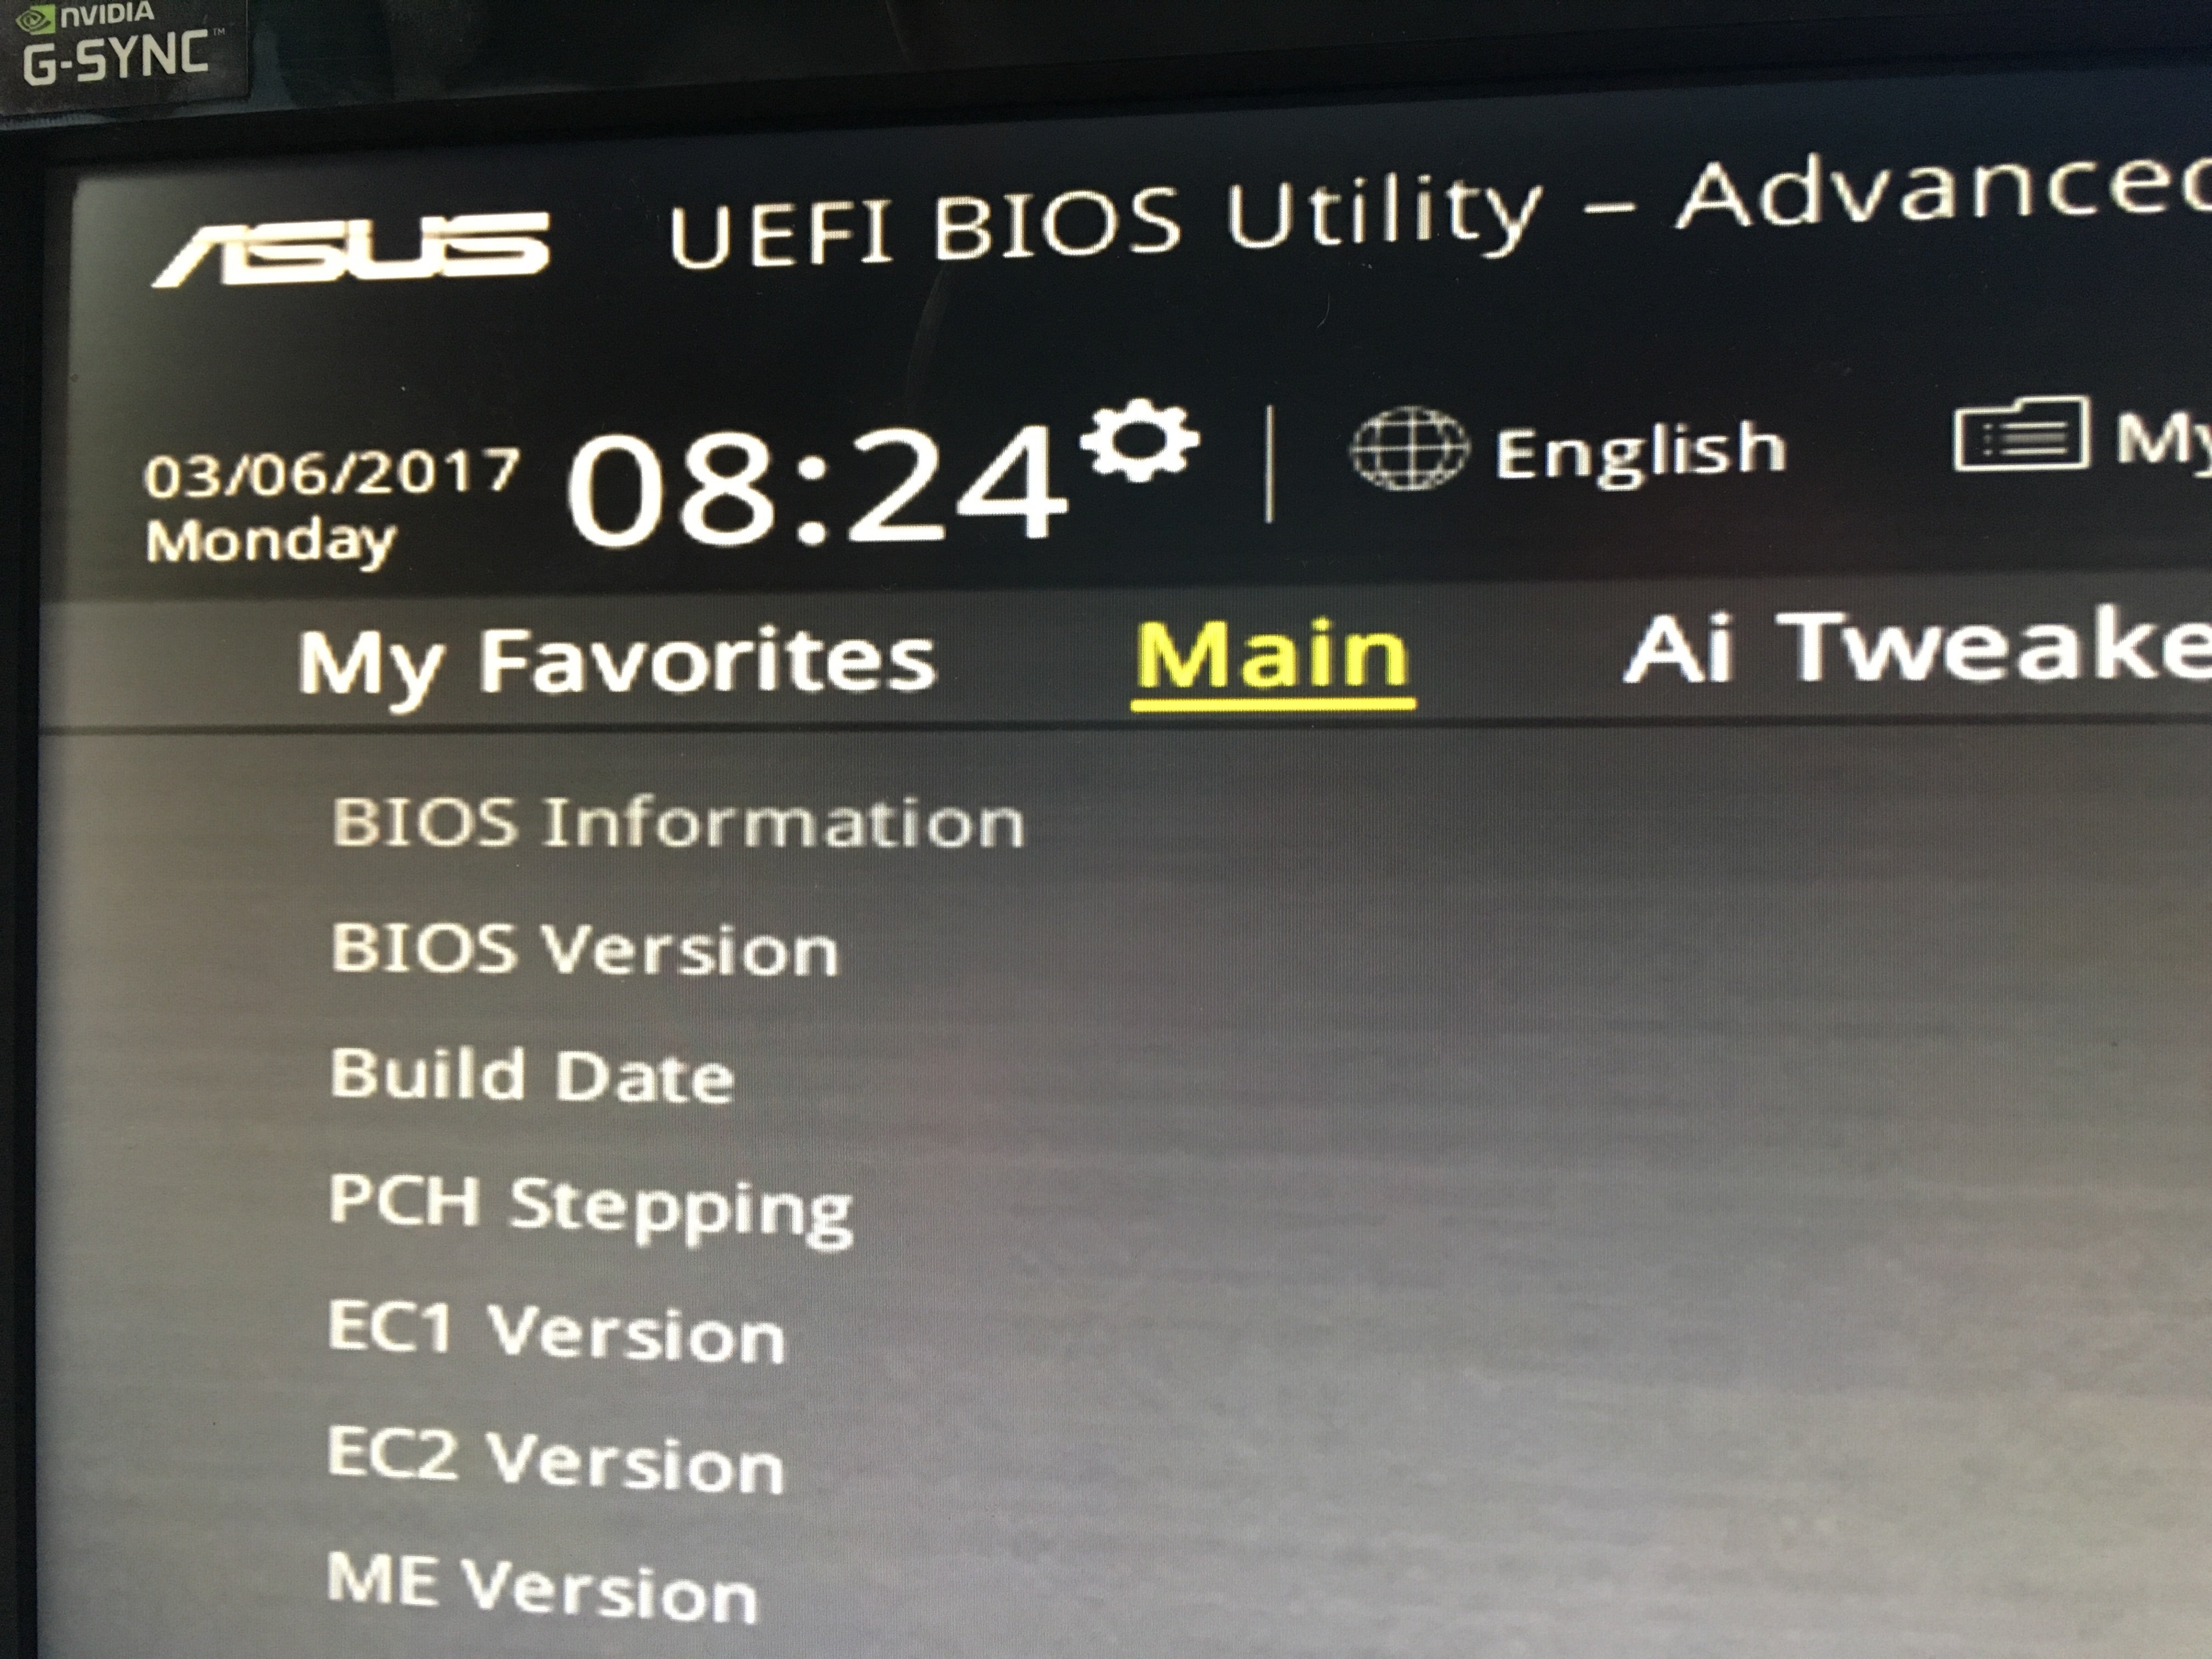
- Open System Information by pressing Windows Key + R, typing msinfo32, and hitting Enter
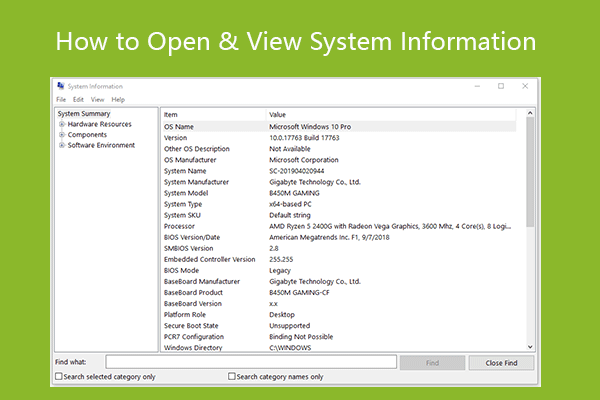
- In the System Summary section, check the BIOS Version/Date
- Download the latest BIOS and Realtek drivers
- Visit the manufacturer’s website for your computer or motherboard
- Navigate to the Support or Downloads section
- Search for the latest BIOS update for your specific model
- Download the BIOS update file to your computer
- Search for the latest Realtek audio driver for your specific model
- Download the Realtek driver file to your computer

- Update the BIOS
- Ensure your computer is plugged into a power source
- Run the downloaded BIOS update file
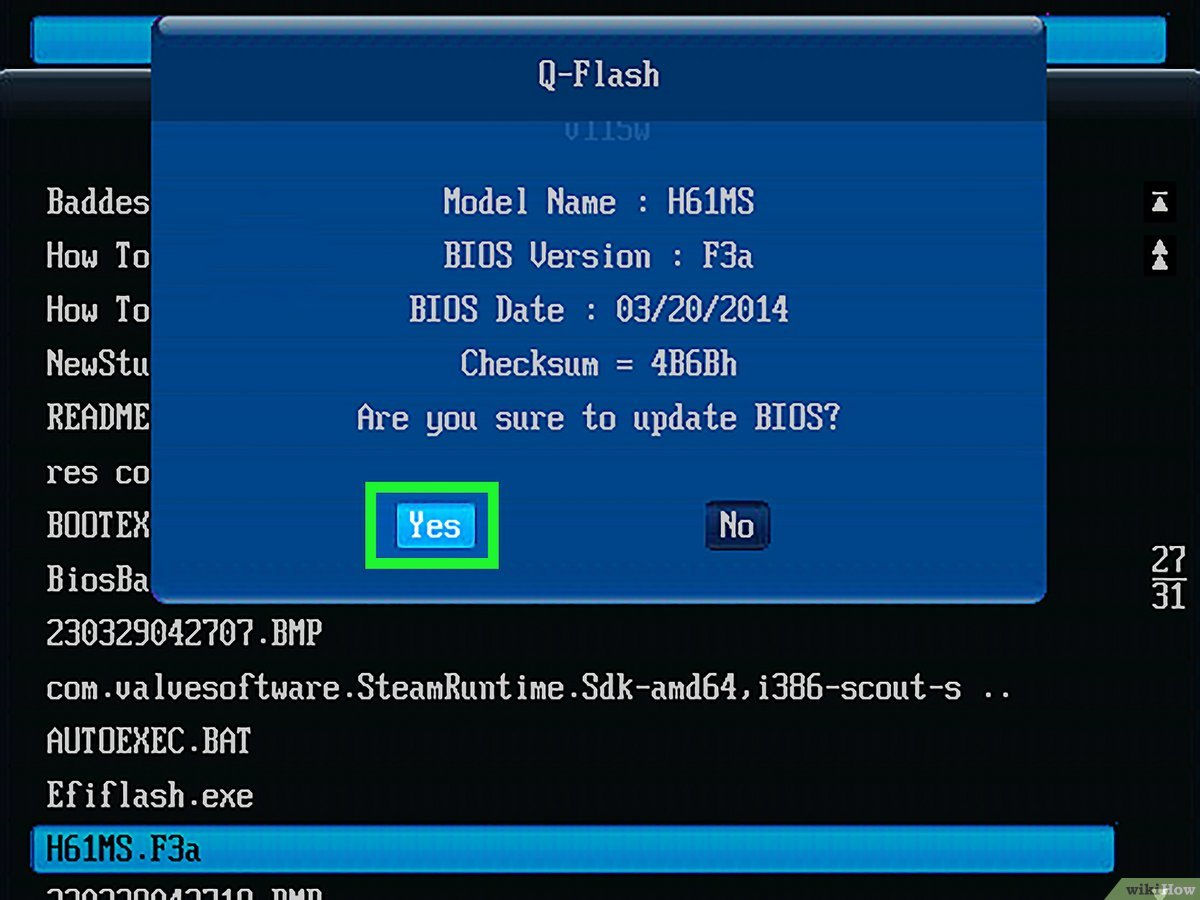
- Follow the on-screen instructions to update the BIOS
- Wait for the process to complete and the computer to restart
- Update the Realtek drivers
- Run the downloaded Realtek driver file
- Follow the on-screen instructions to install the driver
- Restart your computer to finalize the installation
Reinstalling Intel Smart Sound Technology for Driver Issues
If you are experiencing driver issues with your Intel Smart Sound Technology (SST) audio device and are facing a no sound problem, here is a quick guide to help you fix it.
First, make sure you have the latest driver version for your SST audio device. You can download it from the Intel website or use a reliable driver updater tool like Outbyte to automatically update your drivers.
If updating the driver doesn’t solve the issue, try reinstalling the Intel SST audio driver.
1. Press Windows key + X and select “Device Manager” from the list.
2. Expand the “Sound, video, and game controllers” category.
3. Right-click on the Intel SST audio device and select “Uninstall device”.
4. Check the box that says “Delete the driver software for this device” and click “Uninstall”.
5. Restart your computer.
6. After the restart, Windows will automatically reinstall the driver for the Intel SST audio device.
If the problem persists, you may need to contact Intel support or seek assistance from a professional technician.
Windows Versions Affected by Intel Smart Sound Driver Problems
- Step 1: Open Device Manager by pressing Windows Key + X and selecting Device Manager from the menu.
- Step 2: Expand the Sound, video, and game controllers category.
- Step 3: Right-click on the Intel SST Audio Device (WDM) and select Update driver.
- Step 4: Choose the Browse my computer for drivers option.
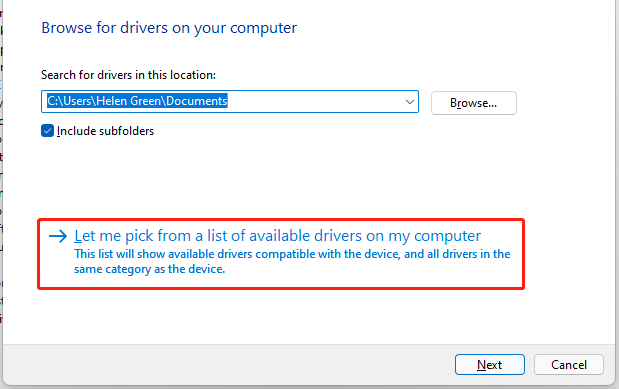
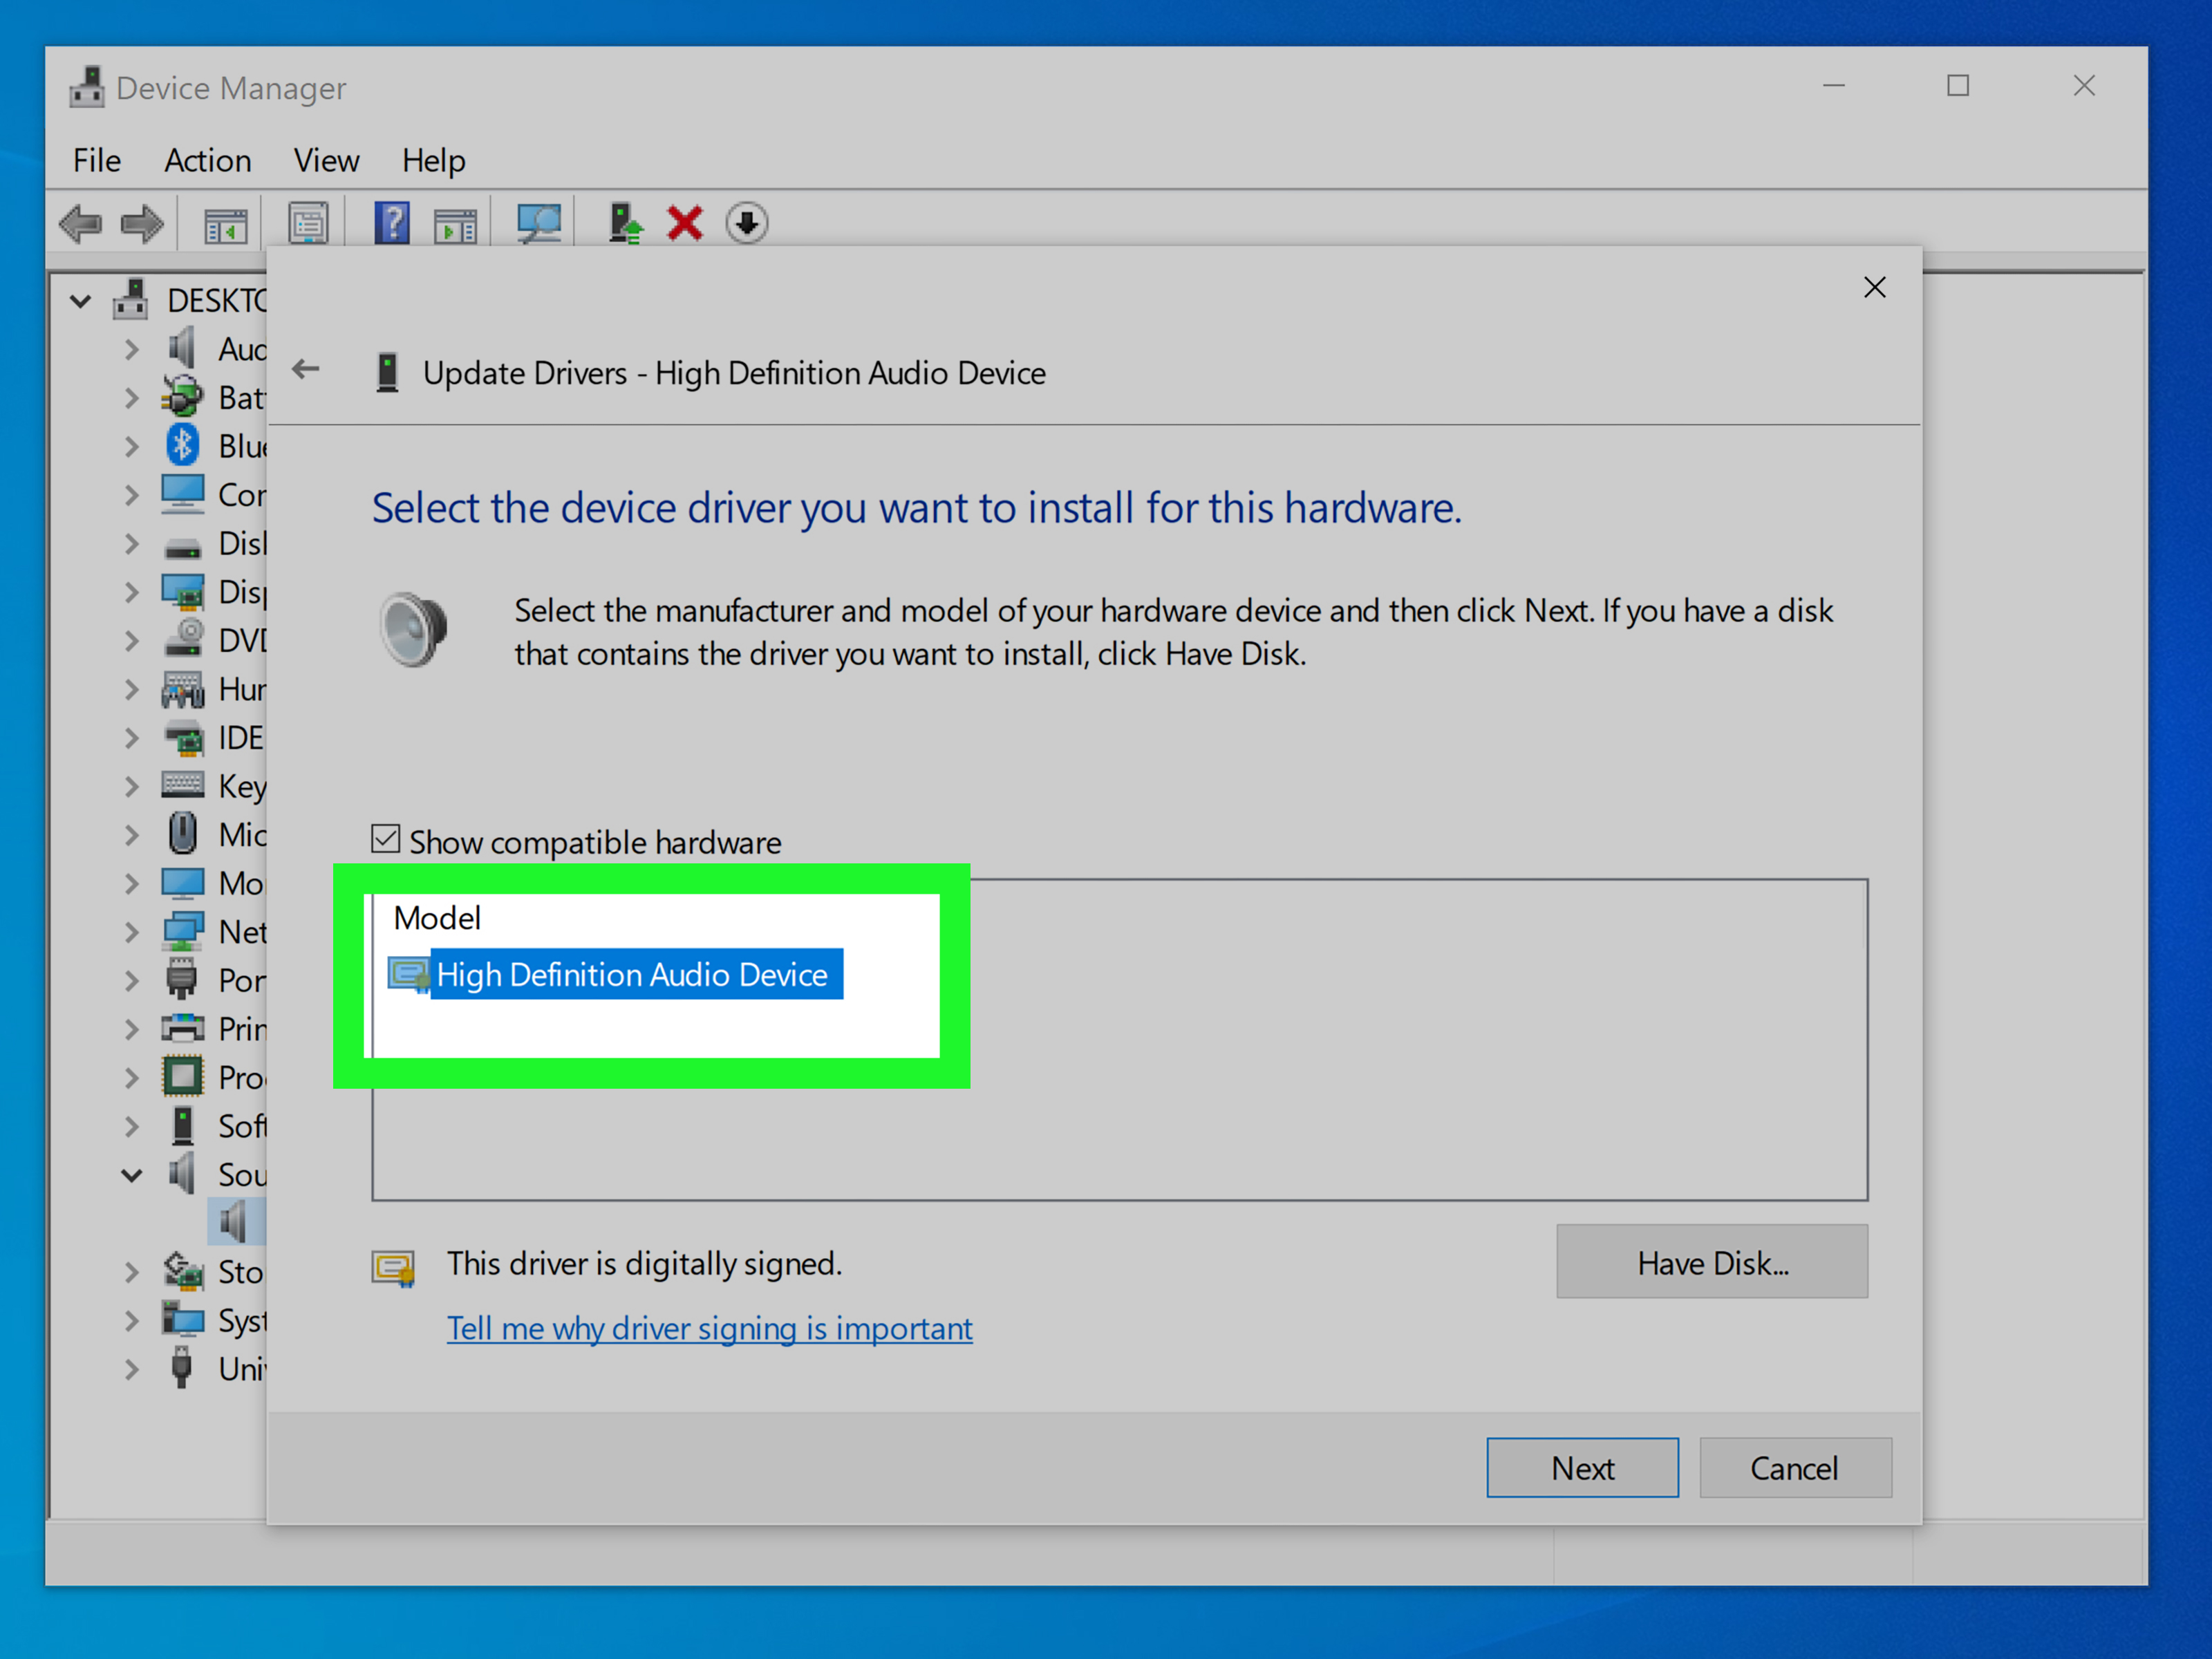
- Step 5: Select the Let me pick from a list of available drivers on my computer option.
- Step 6: Uncheck the Show compatible hardware checkbox.
- Step 7: From the list of drivers, choose the one with a different name than the currently installed driver (e.g., High Definition Audio Controller).
- Step 8: Click Next and follow the on-screen instructions to install the selected driver.
- Step 9: Restart your computer for the changes to take effect.