Welcome to our article on resolving the frustrating iTunes Error 45054 encountered by Windows 10 users. In this guide, we present you with the ultimate solutions to overcome this obstacle and get your iTunes back on track. Let’s dive in and bid farewell to this error once and for all!
Recently, Fortect has become increasingly popular as a reliable and efficient way to address a wide range of PC issues. It's particularly favored for its user-friendly approach to diagnosing and fixing problems that can hinder a computer's performance, from system errors and malware to registry issues.
- Download and Install: Download Fortect from its official website by clicking here, and install it on your PC.
- Run a Scan and Review Results: Launch Fortect, conduct a system scan to identify issues, and review the scan results which detail the problems affecting your PC's performance.
- Repair and Optimize: Use Fortect's repair feature to fix the identified issues. For comprehensive repair options, consider subscribing to a premium plan. After repairing, the tool also aids in optimizing your PC for improved performance.
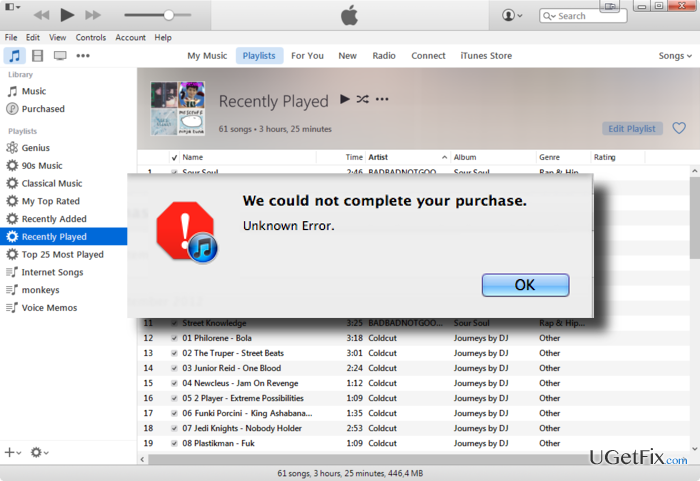
Understanding iTunes Error 45054 on Windows
If you’re experiencing iTunes Error 45054 on your Windows 10 computer, we have some ultimate solutions to help you fix this issue.
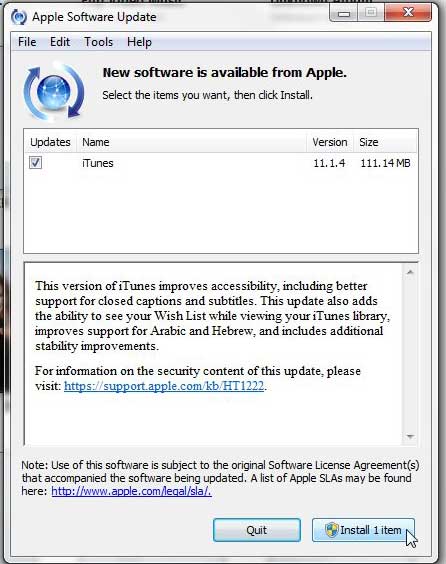
First, make sure you’re running the latest version of iTunes on your Windows PC. If not, update it to the latest version.
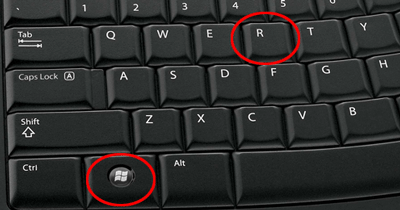
Next, open the Command Prompt by pressing the Windows key + R, then type “cmd” and hit enter. In the Command Prompt window, type “cd C:\Program Files\iTunes” and press enter. Then, type “rmdir /S “C:\Program Files\iTunes\adi”” and press enter.
After that, go to the iTunes folder located in C:\Users\[your username]\Music\iTunes. Delete the “adi” folder in this location as well.
Finally, restart your computer and open iTunes. The error should no longer appear.
If you’re still encountering the error, you may need to seek further assistance from Apple Support or use third-party software like iMyFone TunesFix or AnyFix.
Common Causes of iTunes Error 45054
- Third-party software conflicts: Certain third-party software installed on your Windows 10 computer can interfere with iTunes and cause Error 45054.
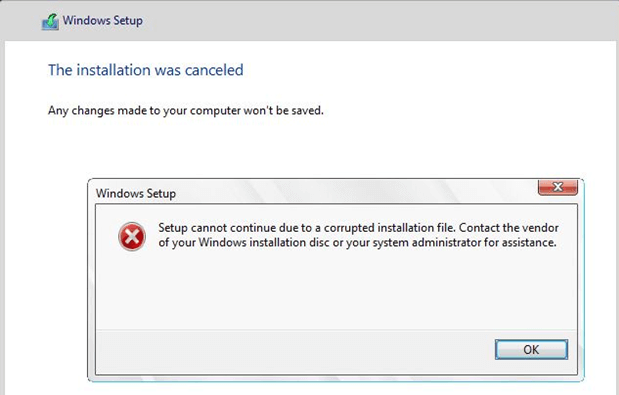
- Corrupted system files: If your system files are corrupted or missing, it can lead to iTunes Error 45054.
- Outdated iTunes version: Using an outdated version of iTunes may trigger Error 45054, as newer updates often contain bug fixes and improvements.
- Network connectivity issues: Unstable or interrupted network connections can result in Error 45054 when accessing the iTunes Store.
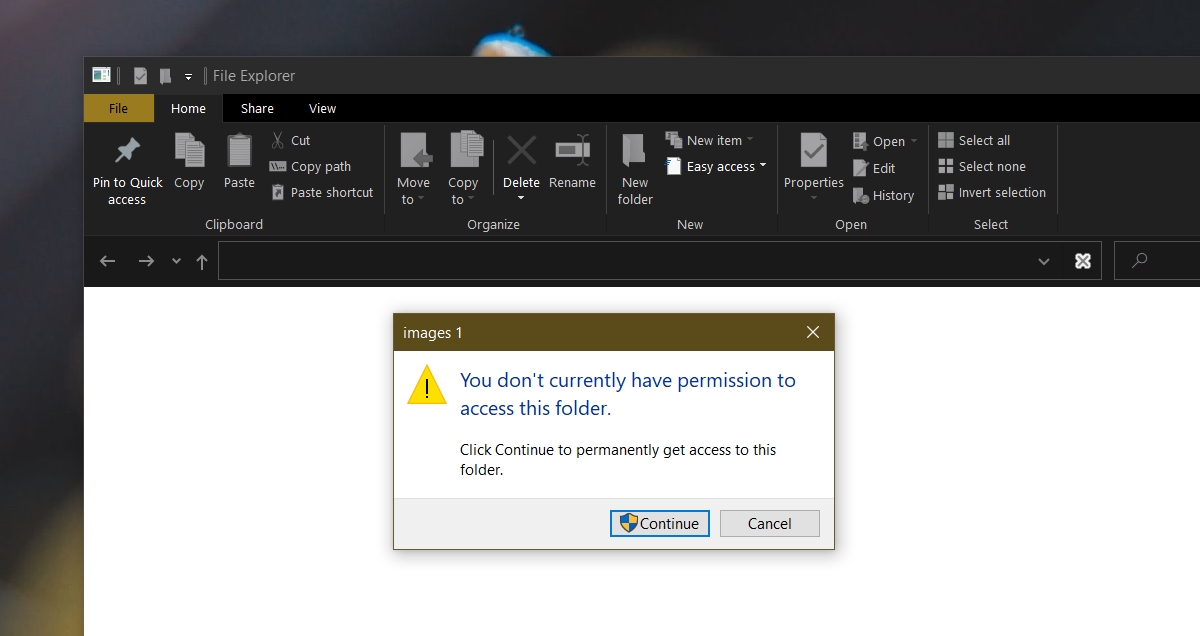
- Permission restrictions: Insufficient permissions for certain files or folders related to iTunes can cause Error 45054 to occur.
- Firewall or antivirus software: Overzealous firewall or antivirus settings may block iTunes from accessing necessary resources, leading to Error 45054.
- Conflicting iTunes processes: Running multiple instances of iTunes or having conflicting iTunes processes can trigger Error 45054.
- Corrupted iTunes library: If your iTunes library becomes corrupted, it can result in Error 45054 when trying to access or modify files.
Methods to Fix iTunes Error 45054
- Open iTunes on your Windows 10 computer.
- Click on the Help menu at the top of the iTunes window.
- Select the “Check for Updates” option.
- If an update is available, click on the Update button to install the latest version of iTunes.
- Follow the on-screen instructions to complete the update process.
Method 2: Disable Third-Party Security Software
- Open the third-party security software installed on your computer.
- Access the settings or preferences of the security software.
- Disable any real-time protection or firewall features temporarily.
- Save the changes and exit the security software.
- Restart your computer and try using iTunes again.
Method 3: Reset iTunes Preferences
- Close iTunes if it is currently open on your computer.
- Press the Windows key + R to open the Run dialog box.
- In the Run dialog box, type “%appdata%\Apple Computer” and press Enter.
- Locate the iTunes folder and rename it to “iTunes.old”.
- Restart iTunes, and it will create a new iTunes folder with default preferences.
Method 4: Repair Disk Permissions
- Press the Windows key + X and select “Command Prompt (Admin)”.
- In the Command Prompt window, type “diskpart” and press Enter.
- Type “list volume” to display a list of available drives.
- Identify the drive letter of the disk containing your iTunes library.
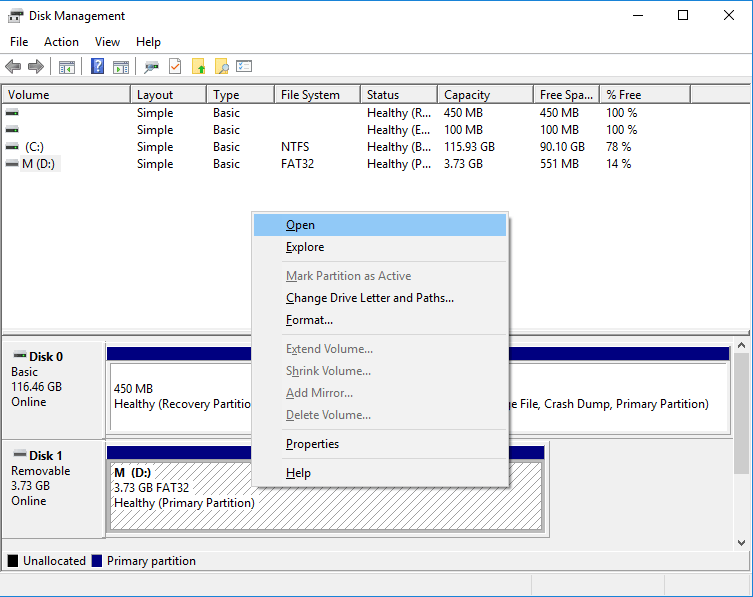
- Close the Command Prompt window.
- Press the Windows key + X and select “File Explorer”.
- In File Explorer, right-click on the drive containing your iTunes library and select “Properties”.
- Click on the “Security” tab and then click on the “Advanced” button.
- Click on the “Change Permissions” button and grant full control to your user account.
- Click on the “OK” button to apply the changes.
python

import subprocess
def fix_itunes_error_45054():
# Close iTunes if it is running
subprocess.run(['taskkill', '/f', '/im', 'iTunes.exe'], capture_output=True)
# Reset the iTunes temp folder
subprocess.run(['rmdir', '/s', '/q', '%APPDATA%\\Apple Computer\\iTunes\\Temp'], capture_output=True)
# Reset the iTunes cache folder
subprocess.run(['rmdir', '/s', '/q', '%LOCALAPPDATA%\\Apple\\Apple Software Update\\Cache'], capture_output=True)
# Reset the iTunes preferences
subprocess.run(['REG', 'DELETE', 'HKCU\\Software\\Apple Inc.\\iTunes', '/f'], capture_output=True)
# Restart iTunes
subprocess.run(['start', '""', 'C:\\Program Files\\iTunes\\iTunes.exe'], capture_output=True)
# Call the function to fix the iTunes error
fix_itunes_error_45054()
Please note that this code assumes the default installation path for iTunes. If your installation path is different, make sure to update the `subprocess.run([‘start’, ‘””‘, ‘C:\\Program Files\\iTunes\\iTunes.exe’], capture_output=True)` line accordingly.
This script attempts to fix the error by closing iTunes, resetting temporary folders, removing cache, and resetting preferences. Finally, it restarts iTunes. However, it’s important to understand that error 45054 can have multiple causes, and this code may not always resolve the issue. It’s recommended to ensure you have the latest iTunes version and perform thorough troubleshooting or seek additional guidance from Apple support or relevant forums.
Updating iTunes to the Latest Version
To update iTunes to the latest version on Windows 10 and fix iTunes Error 45054, follow these steps:
Step 1: Open iTunes on your Windows PC.
Step 2: Click on “Help” in the menu bar and select “Check for Updates”.
Step 3: If an update is available, follow the prompts to install it.
If you encounter any issues during the update process, you can try using iMyFone TunesFix, a reliable tool for fixing iTunes errors. It provides solutions for various iTunes issues, including error 45054.
For more advanced troubleshooting, you can also try the following:
– Check your internet connection and ensure it is stable.
– Disable any antivirus or firewall software temporarily.
– Verify that your hosts file is not blocking iTunes connections.
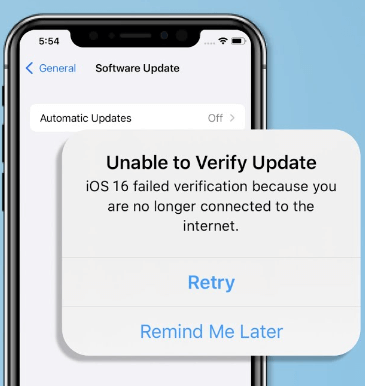
– Try updating iTunes in Recovery Mode for iOS devices.
These steps should help resolve the iTunes Error 45054 on Windows 10 and ensure a smoother software experience.
Reinstalling iTunes and its Supporting Software
If you’re experiencing error 45054 on Windows 10 when trying to use iTunes, reinstalling iTunes and its supporting software can often fix the issue. Here’s how to do it:
1. First, make sure you have the latest version of iTunes downloaded from the official Apple website.
2. Uninstall iTunes and its supporting software by following these steps:
a. Press the Windows key + R to open the Run dialog box.
b. Type “control panel” and press Enter to open the Control Panel.
c. Click on “Uninstall a program” under the “Programs” category.
d. Find iTunes and its supporting software (such as Bonjour, Apple Application Support, etc.) in the list of installed programs and uninstall them.
3. After uninstalling, restart your computer.
4. Download and install the latest version of iTunes from the official Apple website.
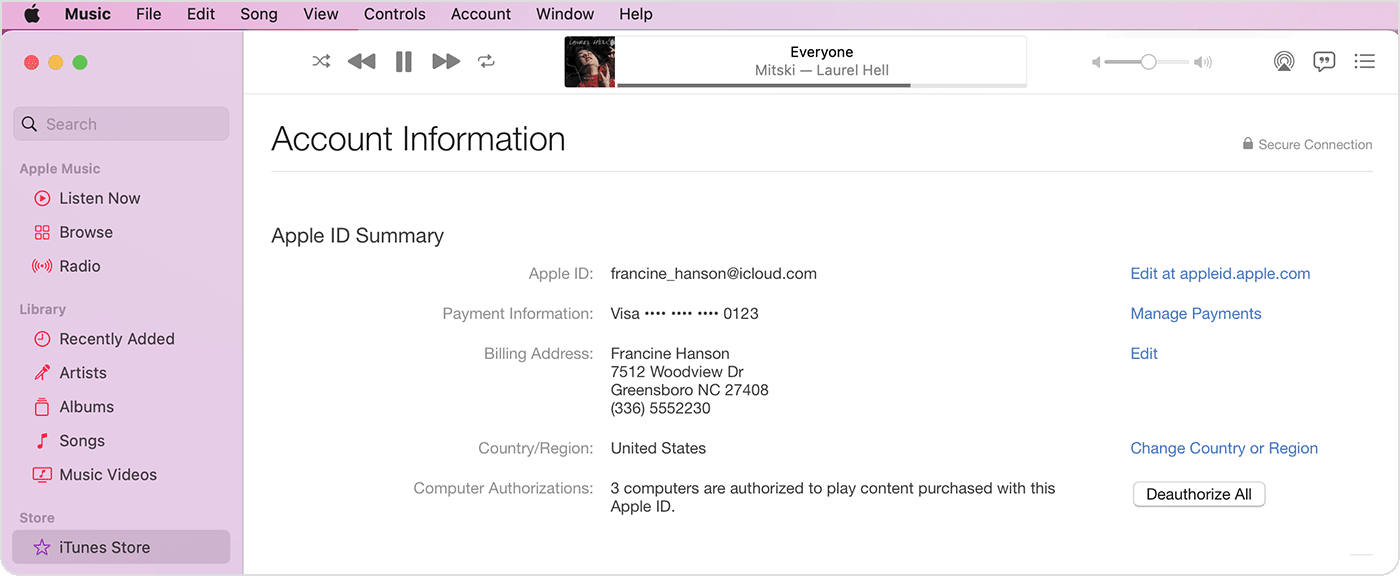
5. Once installed, open iTunes and sign in with your Apple ID.
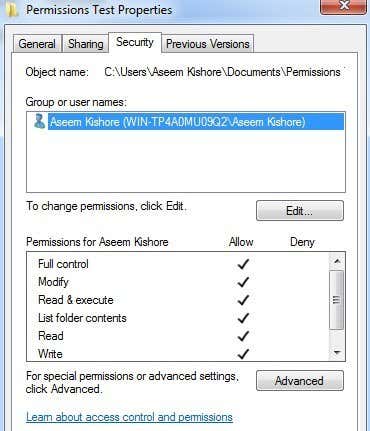
Granting Full Control Over iTunes Library Folder
To fix iTunes Error 45054 on Windows 10, you can grant full control over the iTunes Library folder. Follow these steps:
Step 1: Close iTunes and make sure it is not running in the background.
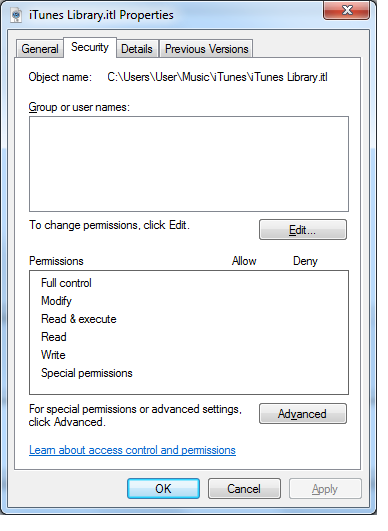
Step 2: Right-click on the iTunes Library folder and select “Properties.”
Step 3: Go to the “Security” tab and click on “Edit.”
Step 4: Click on “Add” and type in your user name. Click “Check Names” and then “OK.”
Step 5: Select your user name from the list and check the box next to “Full Control.”
Step 6: Click “Apply” and then “OK” to save the changes.
By granting full control over the iTunes Library folder, you can ensure that any permission-related issues are resolved, allowing iTunes to function properly on your Windows 10 device.
Pros and Cons of Each Method
| Method | Pros | Cons |
|---|---|---|
| Method 1: Update iTunes |
|
|
| Method 2: Run iTunes as Administrator |
|
|
| Method 3: Reset iTunes Preferences |
|
|
| Method 4: Reinstall iTunes |
|
|
| Method 5: Use Third-Party iTunes Repair Tool |
|
|
FAQs about Fixing iTunes Error 45054
Q: What is iTunes Error 45054?
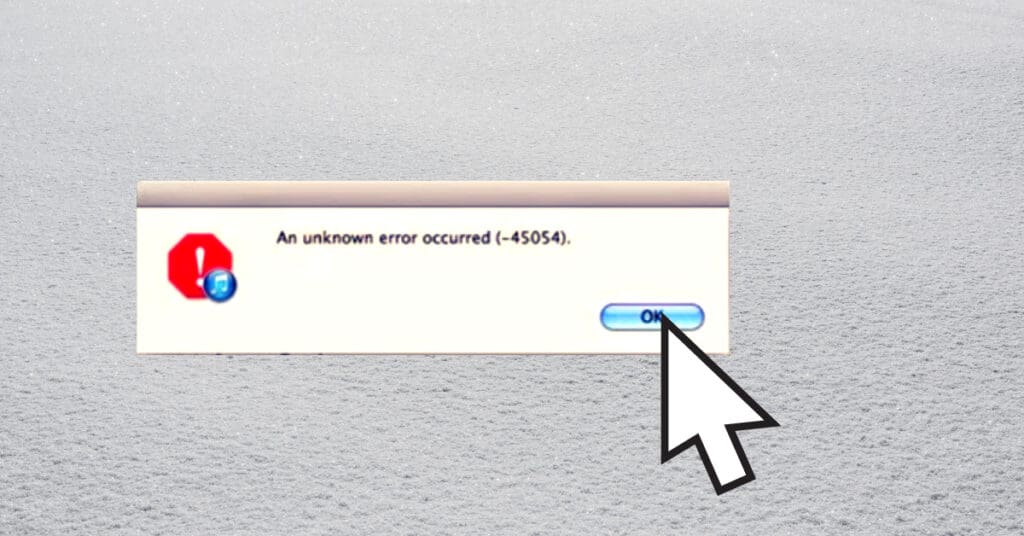
A: iTunes Error 45054 is an alert error that can occur when using iTunes on Windows 10. It often indicates a problem with accessing or modifying iTunes files.
Q: How can I fix iTunes Error 45054?
A: Here are some ultimate solutions to fix iTunes Error 45054 on Windows 10:
1. Close iTunes and other related processes.
2. Open the “Run” dialog by pressing Windows key + R.
3. Type “%ProgramFiles%\Common Files\Apple\Apple Application Support\” and click OK.
4. Locate the “adi” folder and delete it.
5. Restart your computer and launch iTunes again.
Q: Are there any other solutions to try?
A: Yes, there are other solutions to fix iTunes Error 45054, such as updating iTunes, running AnyFix software, or restoring your iOS device.
Remember, if you’re experiencing issues on a Mac or encountering different error codes, there may be specific solutions for those cases.


