Unveiling the Ultimate Solution: Troubleshooting the Hamachi VPN Network Adapter Error
Recently, Fortect has become increasingly popular as a reliable and efficient way to address a wide range of PC issues. It's particularly favored for its user-friendly approach to diagnosing and fixing problems that can hinder a computer's performance, from system errors and malware to registry issues.
- Download and Install: Download Fortect from its official website by clicking here, and install it on your PC.
- Run a Scan and Review Results: Launch Fortect, conduct a system scan to identify issues, and review the scan results which detail the problems affecting your PC's performance.
- Repair and Optimize: Use Fortect's repair feature to fix the identified issues. For comprehensive repair options, consider subscribing to a premium plan. After repairing, the tool also aids in optimizing your PC for improved performance.
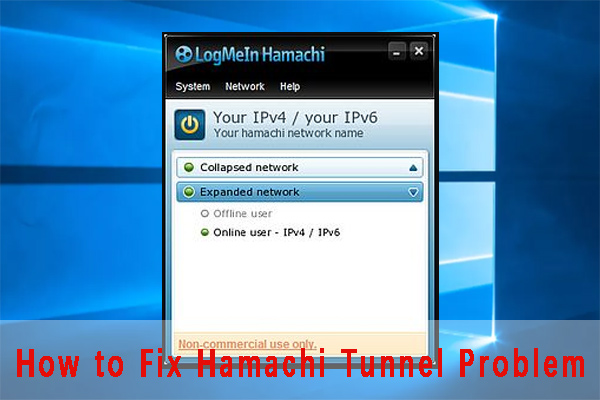
Windows Hamachi Client connection failure
If you’re experiencing a connection failure with the Windows Hamachi Client, here are some steps to help resolve the issue.
1. Open the Device Manager by pressing the Windows key + R, then typing “devmgmt.msc” and hitting Enter.
2. Look for the Network Adapters section and expand it.
3. Locate the LogMeIn Hamachi adapter. If you see a yellow triangle icon, right-click on it and select “Uninstall”.
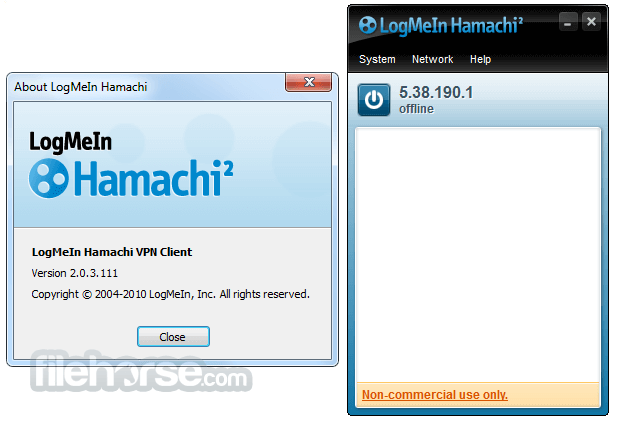
4. Once uninstalled, go to the LogMeIn Hamachi website and download the latest version of the software.
5. Install the software and follow the setup instructions.
6. After installation, open the Hamachi application and check if the connection issue is resolved.
How to connect to a Hamachi network
To connect to a Hamachi network and fix the Hamachi VPN Network Adapter Error, follow these steps:
1. Open the Device Manager on your Windows computer. You can do this by right-clicking on the Start button and selecting “Device Manager” from the menu.
2. Look for the “Network adapters” section and expand it.
3. If you see a yellow triangle icon next to the Hamachi network adapter, right-click on it and select “Uninstall device.” Confirm the action.
4. After uninstalling, click on the “Action” menu at the top of the Device Manager window and select “Scan for hardware changes.”
5. Windows will automatically reinstall the Hamachi network adapter.
6. Once the reinstallation is complete, try reconnecting to your Hamachi network. The adapter should now work without any errors.
Troubleshooting Minecraft Hamachi server connection
If you are experiencing issues with your Minecraft Hamachi server connection and are encountering the Hamachi VPN Network Adapter Error, here are some troubleshooting steps to help you resolve the problem.
First, ensure that you are running the game and Hamachi as an administrator. This can help to avoid any permission issues that may be causing the error.
Next, check if the Hamachi network adapter is properly installed. Open the Device Manager by pressing Windows Key + X and selecting Device Manager. Look for the Network Adapters section and verify if the Hamachi network adapter is listed. If not, you may need to reinstall the Hamachi software.
If the adapter is listed but has a yellow exclamation mark, it indicates a problem with the device driver. Right-click on the Hamachi adapter and select Update driver to resolve this.
Additionally, make sure that your Windows firewall or any other security software is not blocking the Hamachi connection. You can temporarily disable the firewall to test if it is the cause of the issue.
If you are still experiencing problems, try resetting the Winsock catalog. Open the Command Prompt as an administrator and type the following command: netsh winsock reset. Restart your computer after running this command.
Checking if Hamachi is working
If you’re experiencing issues with your Hamachi VPN network adapter, there are a few steps you can take to troubleshoot the problem:
1. First, ensure that Hamachi is running in administrator mode. Right-click on the Hamachi shortcut and select “Run as administrator.”
2. Check if the Hamachi network adapter is enabled. Open the Network and Sharing Center in your Control Panel and navigate to the “Change adapter settings” option. Look for the Hamachi network adapter and make sure it is enabled.
3. If the adapter is enabled but still not working, try reinstalling the Hamachi network adapter driver. Open Device Manager, expand the “Network adapters” category, and locate the Hamachi network adapter. Right-click on it and select “Uninstall.” Then, restart your computer and let Windows automatically reinstall the driver.
4. If the issue persists, try resetting the Hamachi network adapter. Open a Command Prompt as an administrator and type the following command: netsh int ip reset. Restart your computer afterwards.
Resolving Hamachi service stoppage
If you’re experiencing a service stoppage with your Hamachi VPN Network Adapter, we have a quick fix for you. First, try restarting your computer in safe mode and see if the issue persists. If it does, follow these steps:
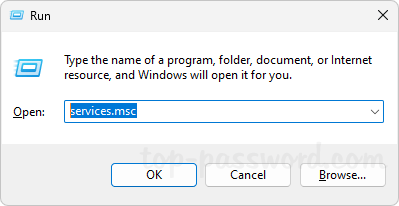
1. Press the Windows key + R to open the Run dialog box.
2. Type “devmgmt.msc” and hit Enter to open the Device Manager.
3. Expand the “Network adapters” category and locate the Hamachi adapter.
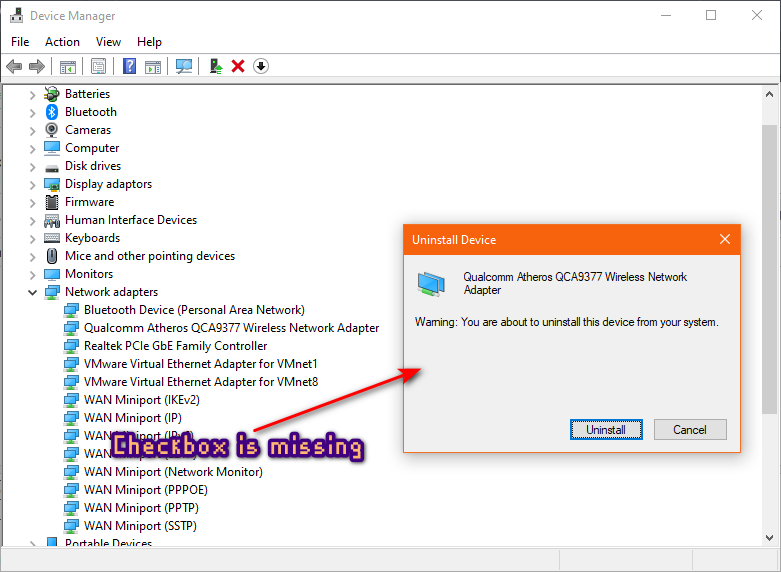
4. Right-click on the Hamachi adapter and select “Uninstall device”.
5. Check the box that says “Delete the driver software for this device” and click “Uninstall”.
6. Restart your computer and let Windows reinstall the Hamachi adapter.
This should resolve any errors related to the Hamachi VPN Network Adapter. If you’re still experiencing issues, please contact our support team for further assistance.
Updating the Hamachi driver
To update the Hamachi driver and fix the VPN network adapter error, follow these steps:
1. Open Device Manager by pressing Windows key + X and selecting Device Manager.
2. Expand the Network adapters category.
3. Locate the Hamachi network adapter.
4. Right-click on it and select Update driver.
5. Choose “Search automatically for updated driver software.”
6. Windows will search and install the latest driver for the Hamachi adapter.
7. Restart your computer to apply the changes.
If the issue persists, try uninstalling and reinstalling Hamachi by following these steps:
1. Press Windows key + R, type “appwiz.cpl,” and press Enter.
2. Locate Hamachi in the list of installed programs.
3. Right-click on it and select Uninstall.
4. Download the latest version of Hamachi from the official website.
5. Run the installer and follow the on-screen instructions to reinstall Hamachi.
After reinstalling, check if the VPN status error is resolved. If not, please consult our support team for further assistance.
Creating a Hamachi server
To fix the Hamachi VPN Network Adapter Error, follow these steps:
1. Press the Windows key + R to open the Run dialog box.
2. Type “ncpa.cpl” and press Enter to open the Network Connections window.
3. Look for the Hamachi adapter. If it’s not visible, go to the View menu and click on “Show hidden devices”.
4. Right-click on the Hamachi adapter and select “Properties”.
5. Go to the “Driver” tab and click on “Uninstall Device”.
6. Check the box that says “Delete the driver software for this device” and click on “Uninstall”.
7. Restart your computer.
8. Download the latest version of Hamachi from the official website and install it.
9. Launch Hamachi and create a new virtual network.
10. Check if the Hamachi VPN Network Adapter Error is resolved.
If you are still experiencing issues, consider reaching out to Hamachi support for further assistance.
Fixing common Hamachi issues
- Press Windows Key + R to open the Run dialog box.
- Type ncpa.cpl and press Enter to open the Network Connections window.
- Locate the Hamachi Network Interface in the list of network connections.
- Right-click on the Hamachi Network Interface and select Disable.
- Wait for a few seconds, then right-click on the Hamachi Network Interface again and select Enable.
- Try using Hamachi again and check if the issue is resolved.
Repair Method 2: Reinstall the Hamachi Network Adapter
- Press Windows Key + R to open the Run dialog box.
- Type devmgmt.msc and press Enter to open the Device Manager.
- Expand the Network Adapters category.
- Right-click on the Hamachi Network Adapter and select Uninstall device.
- Check the box for Delete the driver software for this device and click Uninstall.
- Restart your computer.
- After the restart, Hamachi will automatically reinstall the network adapter.
- Try using Hamachi again and check if the issue is resolved.
Repair Method 3: Update Hamachi to the Latest Version
- Open Task Manager by pressing Ctrl+Shift+Esc.
- In the Processes tab, locate and end all Hamachi-related processes.
- Visit the official Hamachi website and download the latest version of the software.
- Run the downloaded installer and follow the on-screen instructions to update Hamachi.
- Once the update is complete, restart your computer.
- Try using Hamachi again and check if the issue is resolved.


