Welcome to this informative article where we delve into the perplexing issue of a greyed-out New Simple Volume option in Disk Management. Join us as we explore effective solutions to fix this problem and regain control over your disk partitions.
Recently, Fortect has become increasingly popular as a reliable and efficient way to address a wide range of PC issues. It's particularly favored for its user-friendly approach to diagnosing and fixing problems that can hinder a computer's performance, from system errors and malware to registry issues.
- Download and Install: Download Fortect from its official website by clicking here, and install it on your PC.
- Run a Scan and Review Results: Launch Fortect, conduct a system scan to identify issues, and review the scan results which detail the problems affecting your PC's performance.
- Repair and Optimize: Use Fortect's repair feature to fix the identified issues. For comprehensive repair options, consider subscribing to a premium plan. After repairing, the tool also aids in optimizing your PC for improved performance.
Reasons for “New Simple Volume” Being Greyed Out on Disk Management
If the “New Simple Volume” option is greyed out on Disk Management, it could be due to several reasons.
One possibility is that the disk you are trying to create a new volume on is using the GPT partition style, which does not support the “New Simple Volume” feature. In this case, you can try converting the disk to MBR using a third-party partition manager like EaseUS Partition Master or Partition Assistant Professional.
Another reason could be that the disk already has the maximum number of partitions allowed. In this situation, you will need to delete an existing volume or extend an existing volume to free up space for a new volume. You can use tools like Disk Management, MiniTool Partition Wizard, or Disk Manager to perform these operations.
Additionally, if the disk you are working with is the system disk or contains the system partition, the “New Simple Volume” option will be unavailable. This is because Windows does not allow creating new volumes on the system disk to avoid potential issues.
Lastly, if there is unallocated space on the disk, you can try using the “New Simple Volume” option within the Disk Management tool or the volume wizard to create a new volume. Make sure to select the unallocated space when prompted.
Solutions to Fix Greyed Out “New Simple Volume” on Local Hard Drive and USB Drive
- Open Start menu and search for Command Prompt.
- Right-click on Command Prompt and select Run as administrator.
- Type chkdsk followed by the drive letter (e.g., chkdsk C:) and press Enter.
- Wait for the scanning process to complete and fix any errors found.
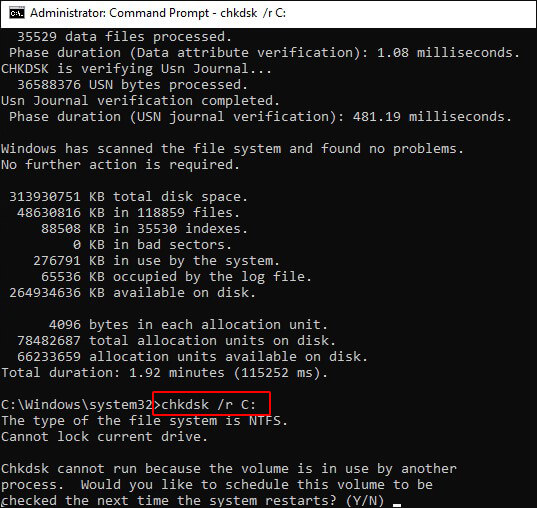
- Restart your computer and check if the “New Simple Volume” option is no longer greyed out.
Solution 2: Update Disk Driver
- Press Windows key + X and select Device Manager from the menu.
- Expand the category for Disk drives.
- Right-click on the relevant disk drive and select Update driver.
- Choose the option to Search automatically for updated driver software.
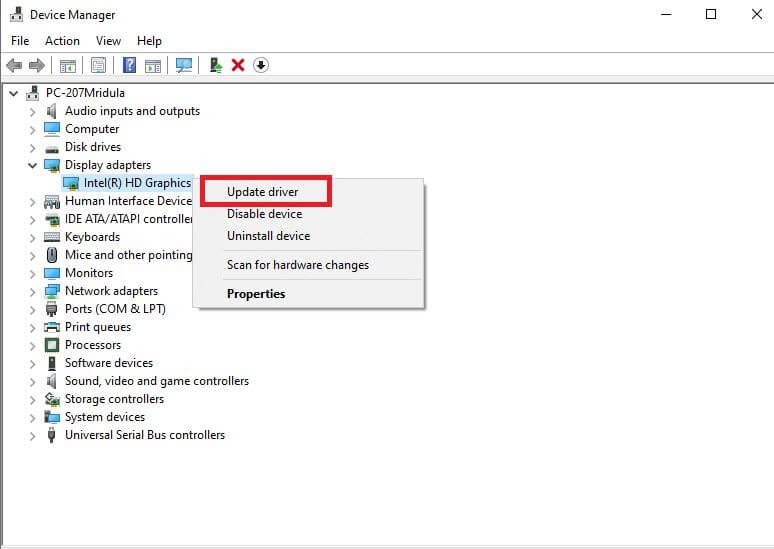
- Follow the on-screen instructions to complete the driver update process.
- Restart your computer and check if the issue is resolved.
Solution 3: Disable Hibernation
- Open Command Prompt as administrator (refer to Solution 1).
- Type powercfg -h off and press Enter.
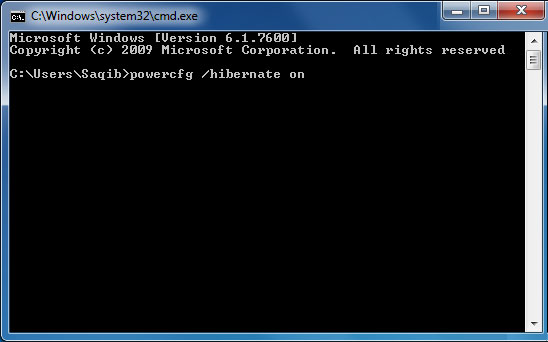
- Close the Command Prompt and check if the “New Simple Volume” option is now accessible.
Solution 4: Initialize Disk
- Open Disk Management by right-clicking on Start and selecting Disk Management.
- Locate the greyed out disk and right-click on it.
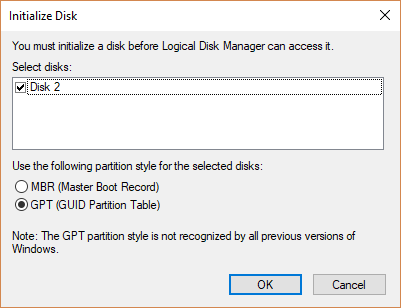
- Select Initialize Disk.
- Choose the appropriate disk type (MBR or GPT) and click OK.
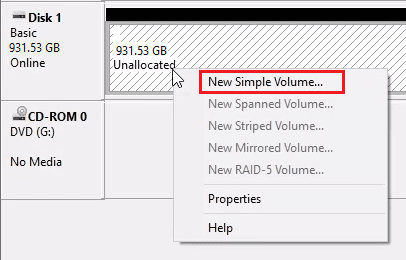
- Once the disk is initialized, right-click on the unallocated space and select New Simple Volume.
- Follow the on-screen instructions to create a new partition.
Troubleshooting Steps for New Simple Volume Greyed Out on Different Storage Devices
- Check if the storage device is properly connected and recognized by the system:
- Ensure that the device is securely plugged into the appropriate port.
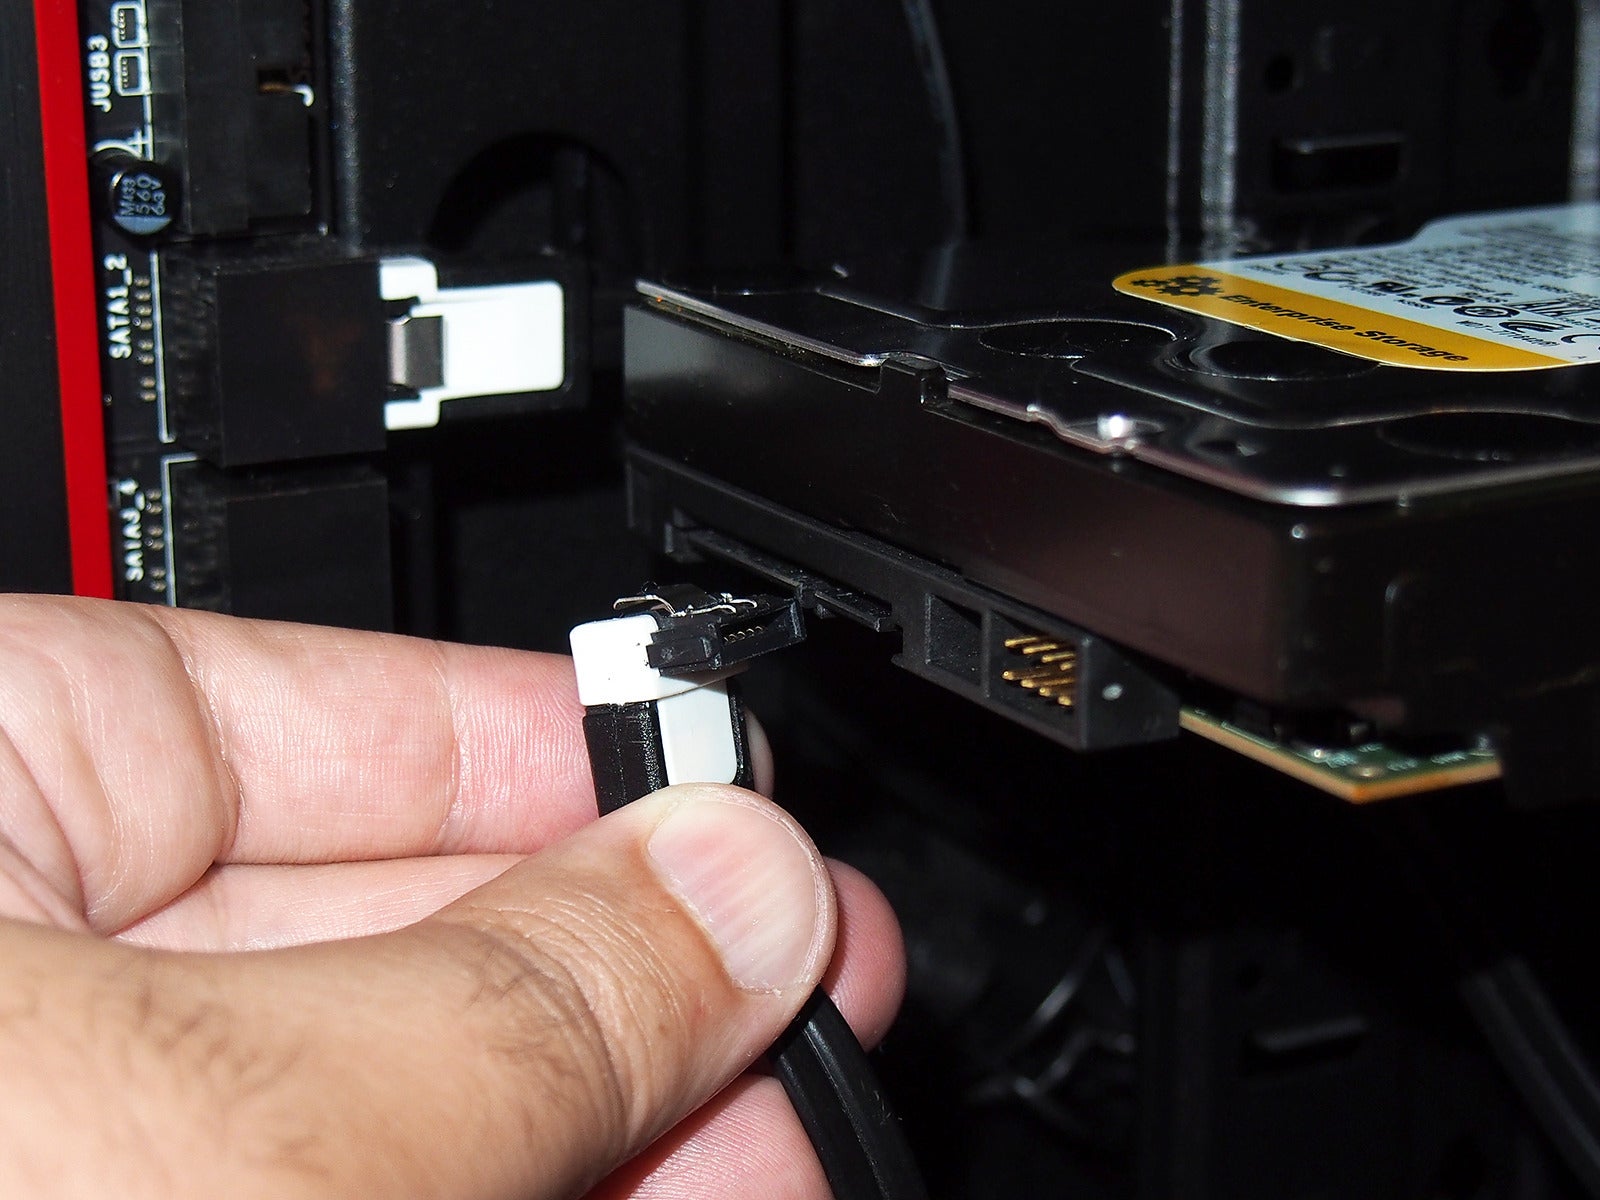
- Verify that the device is listed in the Device Manager.
- If the device is not recognized, try connecting it to a different USB port or using a different cable.
- Ensure that the storage device is initialized:
- Open Disk Management by pressing Win+X and selecting Disk Management from the menu.
- If the disk shows as “Not Initialized,” right-click on it and select Initialize Disk.

- Choose the appropriate partition style (MBR or GPT) and click OK.
- Check for conflicting drive letters:
- Open Disk Management.
- Right-click on the greyed-out volume and select Change Drive Letter and Paths.
- If there is already a drive letter assigned to the volume, click on Change and assign a different drive letter.
- Verify if the storage device is formatted:
- Open Disk Management.
- If the volume shows as “Unallocated” or “RAW,” right-click on it and select New Simple Volume.

- Follow the on-screen instructions to format the volume with a file system (NTFS or FAT32) and assign a drive letter.
- Check for driver issues:
- Open Device Manager by pressing Win+X and selecting Device Manager from the menu.
- Expand the Disk Drives category.
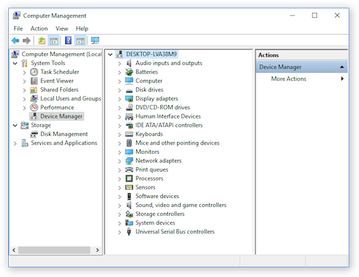
- Right-click on the storage device and select Update Driver.
- Choose to automatically search for updated driver software.
- Run the Hardware and Devices troubleshooter:
- Press Win+I to open the Settings app.
- Click on Update & Security and go to the Troubleshoot tab.
- Scroll down and click on Hardware and Devices.
- Click on Run the troubleshooter and follow the instructions provided.
- Try the storage device on a different computer:
- Connect the device to another computer and check if the issue persists.
- If the device works on another computer, the problem may be related to the current computer’s configuration or software.
python

import subprocess
def create_simple_volume():
# Execute diskpart command to open disk management console
subprocess.run("diskpart")
# Assuming the disk number is provided as input
disk_number = input("Enter the disk number: ")
# Execute diskpart command to select the specified disk
subprocess.run(f"select disk {disk_number}")
# Execute diskpart command to create a new simple volume
subprocess.run("create partition primary")
# Close diskpart console
subprocess.run("exit")
# Calling the function to create a simple volume
create_simple_volume()
Again, please exercise caution while handling disk management operations and consult official documentation or professionals for assistance.
Frequently Asked Questions About Resolving the Issue of New Simple Volume Being Greyed Out
If you’re experiencing the issue of the New Simple Volume option being greyed out in Disk Management, here are some frequently asked questions to help resolve the problem:
1. Why is the New Simple Volume option greyed out?
The New Simple Volume option may be greyed out because the target disk is not initialized, or it may contain an existing partition that needs to be deleted before creating a new volume.
2. How can I resolve this issue?
To resolve this issue, follow these steps:
– Open Disk Management by pressing Windows key + X and selecting Disk Management.
– Right-click on the target disk and select Initialize Disk.
– Right-click on the unallocated space and select New Simple Volume.
– Follow the instructions in the New Simple Volume Wizard to create a new volume.
3. Are there any alternative methods to create a new volume?
Yes, you can also use third-party partition management tools such as EaseUS Partition Master, MiniTool Partition Wizard, or Partition Assistant Professional to create a new volume if the Disk Management method doesn’t work.


