Capturing picture-perfect moments on your Android device can be a delightful experience, but what happens when your camera suddenly stops working? Fear not, as we’ve got you covered with essential tips and tricks to fix your Android camera and get back to snapping memories in no time.
Recently, Fortect has become increasingly popular as a reliable and efficient way to address a wide range of PC issues. It's particularly favored for its user-friendly approach to diagnosing and fixing problems that can hinder a computer's performance, from system errors and malware to registry issues.
- Download and Install: Download Fortect from its official website by clicking here, and install it on your PC.
- Run a Scan and Review Results: Launch Fortect, conduct a system scan to identify issues, and review the scan results which detail the problems affecting your PC's performance.
- Repair and Optimize: Use Fortect's repair feature to fix the identified issues. For comprehensive repair options, consider subscribing to a premium plan. After repairing, the tool also aids in optimizing your PC for improved performance.
Troubleshooting the Camera on Android
If your Android camera is not working, there are a few steps you can take to fix the issue. First, try rebooting your device by pressing and holding the power off button, then selecting “Reboot.” This can often resolve software bugs that may be causing the problem.
If that doesn’t work, you can try clearing the data for the camera app. Open Settings, go to Apps, find the camera app, and select “Clear Data.” This will reset the app and may solve any issues it’s experiencing.
Another potential solution is to close any other apps that may be using the camera. Open Settings, go to Apps, and manually close any apps that could be accessing the camera. This can improve camera performance and prevent any conflicts.
If none of these steps work, it’s possible that there may be hardware problems with your camera. In this case, it’s recommended to contact your device manufacturer for further assistance.
Remember to always ensure that your phone has enough storage space available and that you have the latest software updates installed. These can also contribute to camera errors.
Hopefully, these troubleshooting steps will help resolve the issue and get your Android camera working again.
Clearing Cache and Data Files on Android
To clear cache and data files on your Android device and fix camera issues, follow these steps:
1. Reboot your device: Restarting your phone can often resolve software bugs and improve performance. Press and hold the power off button, then select “Restart” or “Reboot.”
2. Close unnecessary apps: Closing apps running in the background can free up RAM and potentially fix camera errors. Swipe up from the bottom of the screen to access the recent apps menu, then swipe left or right to close apps.
3. Clear camera app data: Go to Settings > Apps > Camera. Tap on “Storage,” then select “Clear Data.” This will reset the camera app settings and may fix any issues.
4. Search your gallery: Check if the camera problem occurs only within the camera app. If you can take pictures outside the app, the issue may be with the camera app itself.
5. Check for system updates: Keeping your phone’s software up to date can help resolve software bugs and improve camera performance. Go to Settings > System > Software Update to check for available updates.
Remember, if these solutions don’t work, there may be hardware problems with your camera. In this case, consider contacting your phone manufacturer or visiting a service center for further assistance.
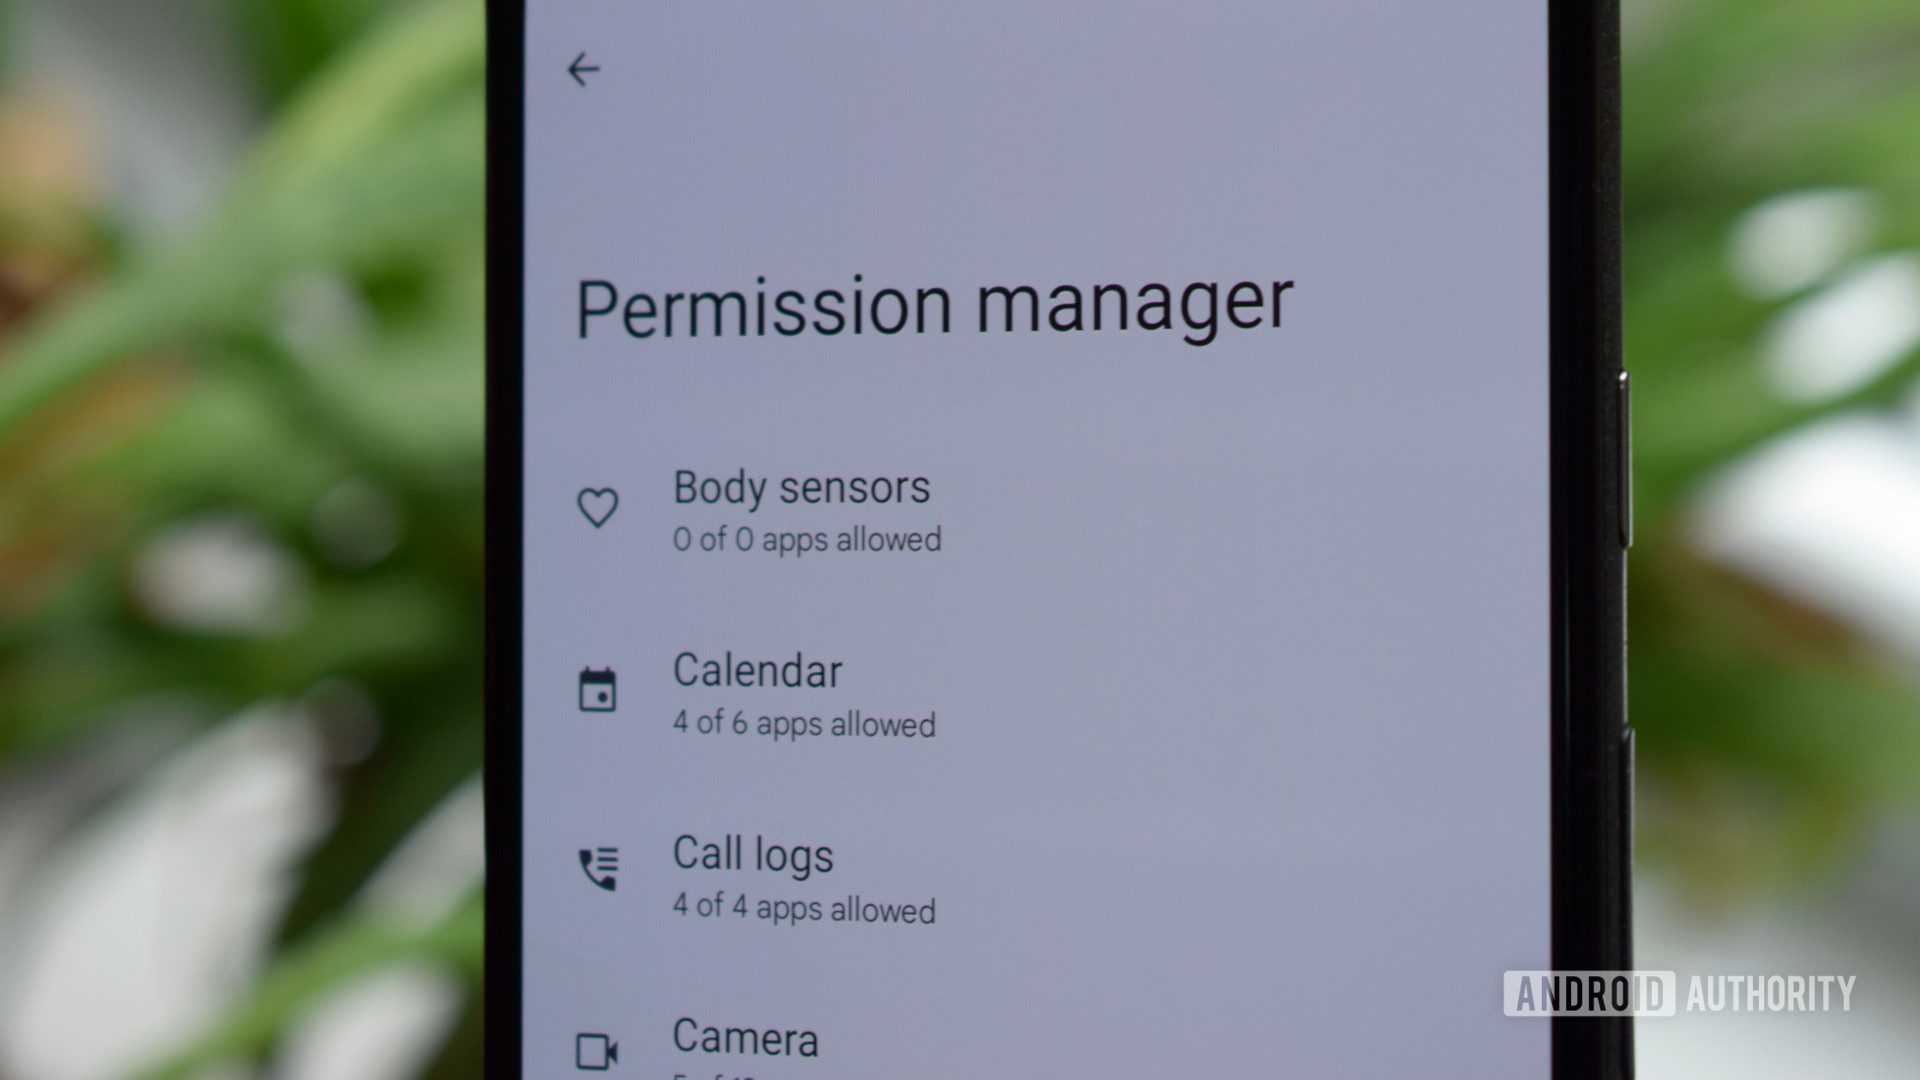
Managing Camera App Permissions on Android
- Understanding camera app permissions: Learn about the importance of camera app permissions and how they impact the functionality of your Android device.
- Checking camera app permissions: Discover how to verify the current camera app permissions on your Android device.
- Adjusting camera app permissions: Find out how to modify camera app permissions to grant or revoke access.
- Granting camera app permissions: Learn the steps to allow camera app access for specific applications on your Android device.
- Revoking camera app permissions: Understand how to remove camera app access for certain apps to enhance privacy or troubleshoot issues.
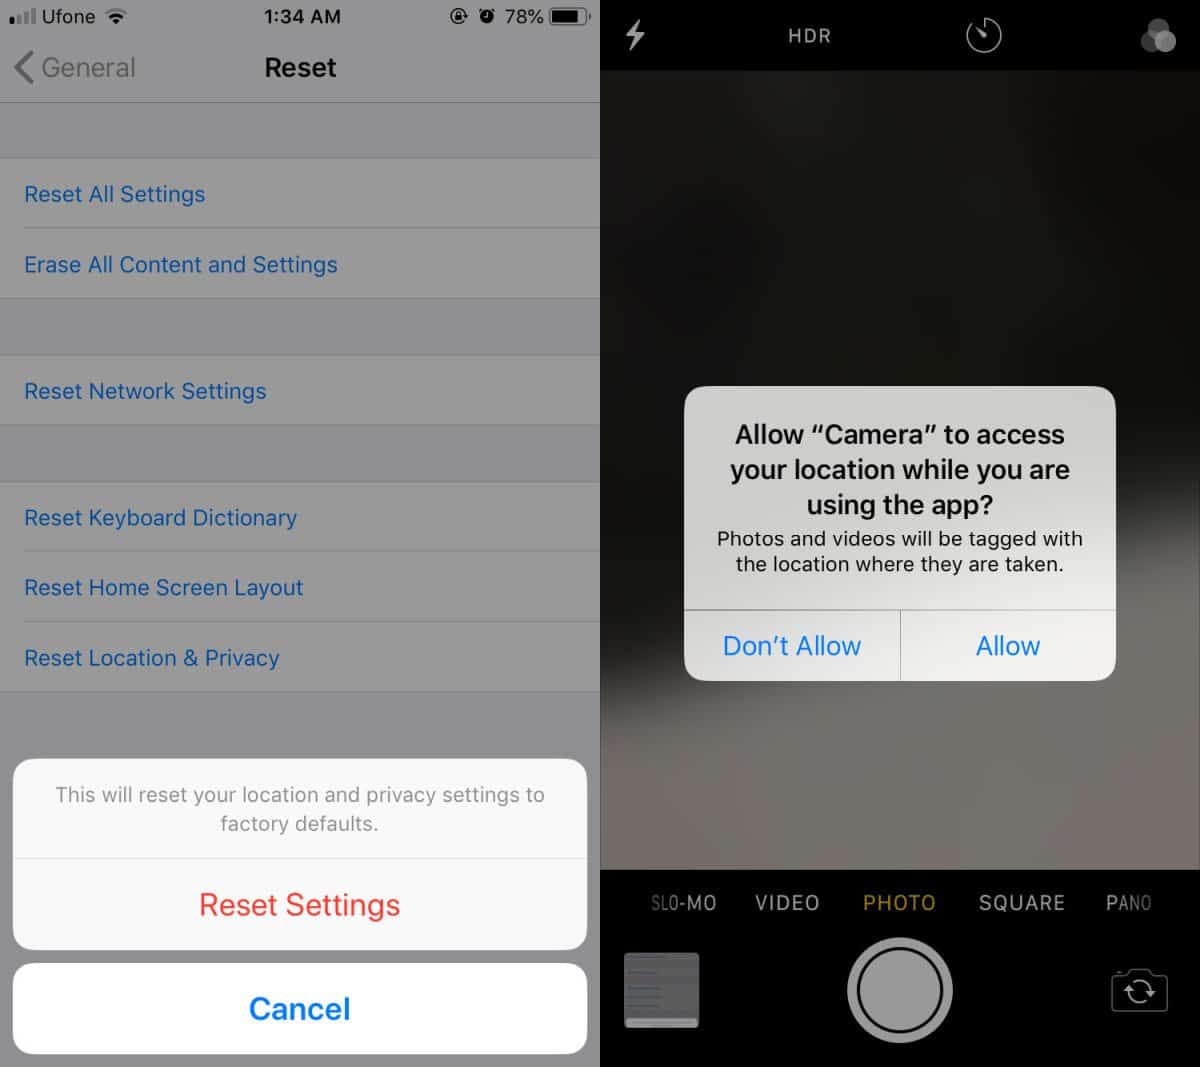
- Resetting camera app permissions: Discover how to reset camera app permissions to their default settings.
- Updating camera app: Learn why keeping your camera app up to date can help resolve issues and improve performance.
- Other troubleshooting steps: Explore additional suggestions to troubleshoot and fix camera-related problems on your Android device.
java

import android.content.Context;

import android.content.pm.PackageManager;

import android.widget.Toast;
public class CameraAvailabilityChecker {
public static void checkCameraAvailability(Context context) {
if (context.getPackageManager().hasSystemFeature(PackageManager.FEATURE_CAMERA)) {
// Camera is available
Toast.makeText(context, "Camera is available", Toast.LENGTH_SHORT).show();
} else {
// Camera is not available
Toast.makeText(context, "Camera is not available", Toast.LENGTH_SHORT).show();
}
}
}
In this code, we use the `PackageManager` class to check if the device has a camera feature available. If the camera feature is present, it displays a toast message saying “Camera is available.” Otherwise, it displays a toast message saying “Camera is not available.”
Please note that you would need to integrate this code into an Android project and call the `checkCameraAvailability()` method with a valid `Context` object to see the toast messages.
Force Stopping the Camera App on Android
If your Android camera is not working and you’re encountering the “unfortunately camera has stopped” error, there are a few ways you can try to fix it. Here’s what you can do:
1. Reboot your device: Sometimes a simple restart can resolve camera issues. Hold down the power button, select “Restart,” and see if the problem persists.
2. Close the camera app: Close the camera app and any other apps running in the background. To do this, open the Recent Apps view, swipe left or right to find the camera app, and swipe it off the screen.
3. Clear app cache and data: Go to Settings > Apps > Camera > Storage. Tap “Clear cache” and “Clear data” to reset the camera app.
4. Toggle camera permissions: Make sure the camera app has permission to access your camera. Go to Settings > Apps > Camera > Permissions and ensure the camera permission is enabled.
5. Check for software updates: Keeping your phone’s software up to date can help resolve camera issues. Go to Settings > System > Software Updates and check for any available updates.
Remember, these solutions may vary depending on your Android device and its software version. If the problem persists, you may need to contact your device manufacturer or seek further assistance.
Checking for System Updates on Android
To ensure your camera is functioning properly on your Android device, it’s important to regularly check for system updates. These updates often include bug fixes and improvements that can address camera-related issues.
To check for system updates, follow these steps:
1. Open the “Settings” app on your Android device.
2. Scroll down and tap on “System” or “About phone.”
3. Look for the “System updates” or “Software updates” option and tap on it.
4. If an update is available, tap “Download” or “Check for updates.”
5. Once the update is downloaded, tap “Install” to begin the installation process.
Remember to keep your device connected to a stable Wi-Fi network and ensure it has sufficient battery power before starting the update.
Regularly checking for system updates can help resolve camera errors and improve the overall performance of your Android device. Don’t forget to also check for updates for specific camera-related apps, such as TikTok, Google Meet, or any other application you frequently use for capturing photos or videos.
Performing a Factory Reset on Android
Performing a Factory Reset on Android
If your Android camera is not working as expected, performing a factory reset can help resolve the issue. However, please note that a factory reset will erase all data on your device, so it’s important to back up your important files and settings before proceeding.
| Steps | Description |
|---|---|
| Step 1 | Go to the “Settings” app on your Android device. |
| Step 2 | Scroll down and tap on “System” or “System & Updates”. |
| Step 3 | Tap on “Reset” or “Reset options”. |
| Step 4 | Choose “Factory data reset” or “Erase all data”. |
| Step 5 | Review the information and tap on “Reset phone” or “Reset device”. |
| Step 6 | Enter your device’s PIN, password, or pattern when prompted. |
| Step 7 | Tap on “Erase everything” or “Delete all”. |
| Step 8 | Your device will now begin the factory reset process. This may take a few minutes. |
| Step 9 | Once the reset is complete, your device will reboot. |
| Step 10 | Set up your device again and check if the camera issue is resolved. |
Performing a factory reset can help in fixing various software-related issues, including camera problems. However, if the camera still doesn’t work after the reset, it may indicate a hardware problem, and it’s recommended to contact the manufacturer or seek professional assistance.