Welcome to our article on Acer Aspire 5552 Black Screen Fix Solutions. If you’re facing the frustrating issue of a black screen on your Acer laptop, fear not! We have gathered some effective solutions to help you resolve this problem and get your laptop up and running again. So, let’s dive in and explore the possible fixes for this pesky black screen issue.
Recently, Fortect has become increasingly popular as a reliable and efficient way to address a wide range of PC issues. It's particularly favored for its user-friendly approach to diagnosing and fixing problems that can hinder a computer's performance, from system errors and malware to registry issues.
- Download and Install: Download Fortect from its official website by clicking here, and install it on your PC.
- Run a Scan and Review Results: Launch Fortect, conduct a system scan to identify issues, and review the scan results which detail the problems affecting your PC's performance.
- Repair and Optimize: Use Fortect's repair feature to fix the identified issues. For comprehensive repair options, consider subscribing to a premium plan. After repairing, the tool also aids in optimizing your PC for improved performance.
Common Ways to Repair Acer Aspire 5552 Black Screen
If you’re experiencing a black screen on your Acer Aspire 5552, there are a few common solutions you can try. First, check if the power lights are on and if the laptop is receiving power. If not, try pressing and holding the power button for 30 seconds to reset it.
Next, try using a flashlight to check if there is a faint image on the screen. If so, it could be a backlight issue. Adjust the brightness settings by pressing the FN key and the corresponding brightness key.
If none of these solutions work, you can try booting into Safe Mode or accessing the BIOS settings. To do this, restart your laptop and repeatedly press the F8 or F2 key before the Windows logo appears.
If all else fails, you may need to seek professional help or contact Acer support for further assistance.
Fixing the Acer Laptop Monitor Black Screen: Step-by-Step Guide
If you’re facing the Acer Aspire 5552 black screen issue, we’ve got you covered. Follow these steps to fix the problem:
1. Start by powering off your Acer laptop completely.
2. Disconnect all peripherals, including USB devices and power cords.
3. Remove the battery and unplug the power adapter.
4. Press and hold the power button for 30 seconds to discharge any residual power.
5. Plug in the power adapter and turn on your laptop.
6. If the black screen issue persists, try pressing the FN and power button simultaneously.
7. Check for any indicator lights or sounds indicating that the laptop is starting up.
8. Shine a flashlight onto the screen to check if there is a faint display.
9. If there is still no display, try booting into Safe Mode or accessing the BIOS.
10. If none of the above solutions work, consider seeking professional assistance or contacting Acer support.
Remember, these steps may vary depending on your specific Acer model, so refer to your user manual or visit Acer’s official website for further guidance.
How to Recover Lost Data Before Fixing the Black Screen Issue
If you’re facing a black screen issue on your Acer Aspire 5552 laptop, it’s important to recover any lost data before attempting to fix the problem. Follow these steps to retrieve your data:
1. Connect an external USB drive to your laptop.
2. Use a different computer to download and install the Recoverit Data Recovery software from the official website.
3. Launch the software and select the location where your lost data was stored.
4. Start the scanning process and wait for the software to retrieve your lost files.
5. Once the scan is complete, preview and select the files you want to recover.
6. Click on the “Recover” button and choose the external USB drive as the destination to save your recovered data.
7. Safely disconnect the USB drive from the computer and proceed with fixing the black screen issue.
Remember to always backup your important data to prevent data loss in the future.
Troubleshooting Tips for Resolving Acer Aspire 5552 Black Screen
- Check the power supply:
- Make sure the power cord is properly connected to both the laptop and the power outlet.
- Check if the power outlet is working by plugging in another device.

- If using a battery, ensure it is charged and properly inserted into the laptop.
- Try an external display:
- Connect your laptop to an external monitor or TV using the appropriate cable.
- Press the appropriate function key (usually Fn + F5 or F8) to switch the display output to the external monitor.

- If the external display works, it indicates a potential issue with the laptop’s screen or graphics card.
- Perform a hard reset:
- Turn off the laptop and disconnect all peripherals.
- Remove the battery and unplug the power cord.
- Hold down the power button for 15-20 seconds to discharge any residual power.
- Reinsert the battery and plug in the power cord.

- Turn on the laptop and see if the black screen issue is resolved.
- Boot in safe mode:
- Restart the laptop and continuously press the F8 key until the Advanced Boot Options menu appears.
- Use the arrow keys to select “Safe Mode” and press Enter.
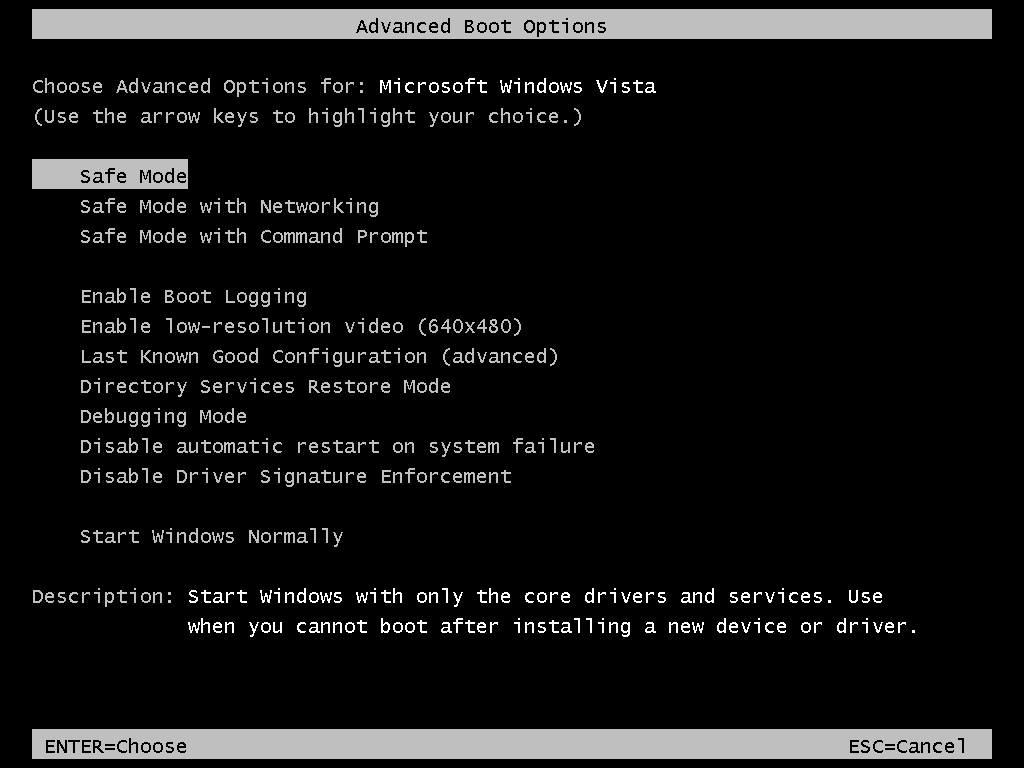
- If the laptop successfully boots into safe mode, it suggests a problem with a recently installed driver or software.
- Update graphics drivers:
- Visit the Acer support website or the manufacturer’s website for your graphics card.
- Download and install the latest graphics drivers compatible with your laptop model.
- Restart the laptop and check if the black screen issue is resolved.
- Perform a system restore:
- Restart the laptop and continuously press the F8 key until the Advanced Boot Options menu appears.
- Use the arrow keys to select “Repair Your Computer” and press Enter.
- Select your language preferences and log in using an administrator account.
- Choose “System Restore” and follow the on-screen instructions to restore your system to a previous working state.
- Reset BIOS settings:
- Restart the laptop and continuously press the F2 key to enter the BIOS setup.
- Navigate to the “Exit” tab using the arrow keys.
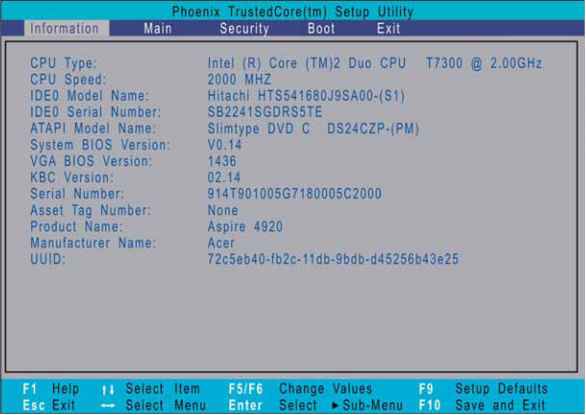
- Select “Load Setup Defaults” or a similar option.
- Save the changes and exit the BIOS.
- Restart the laptop and check if the black screen issue is resolved.
- Seek professional assistance:
- If none of the above methods resolve the black screen issue, it is recommended to contact Acer support or a qualified technician for further diagnosis and repair.
- Provide them with detailed information about the troubleshooting steps you have already taken.