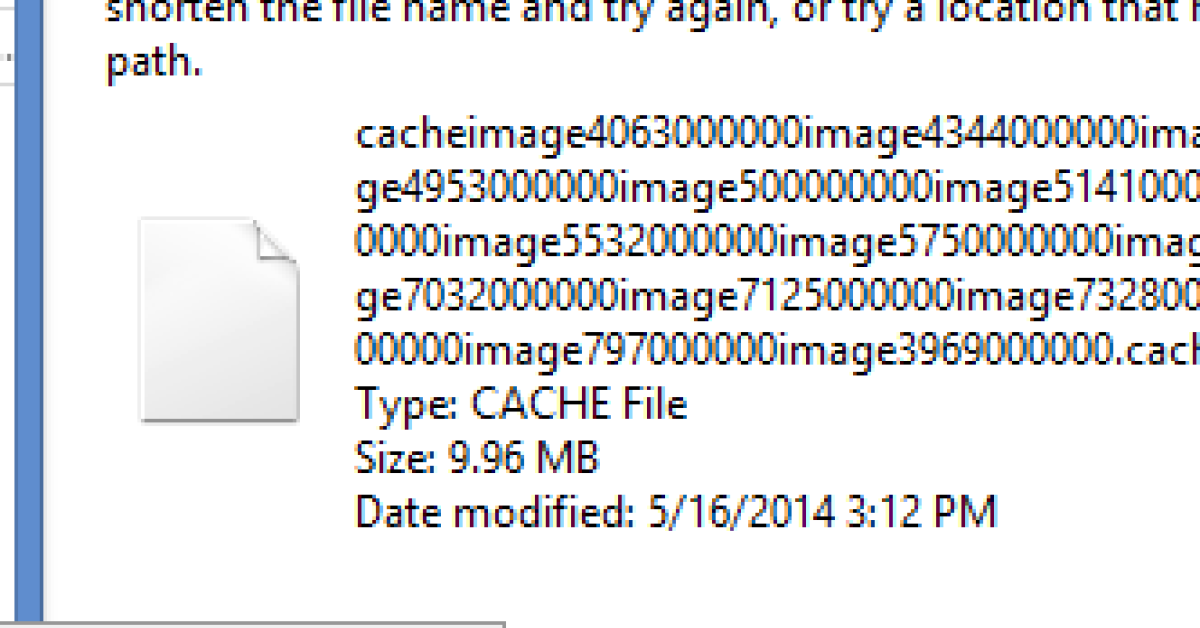
In my experience, dealing with a file that is too large for the destination system can be frustrating and time-consuming.
Recently, Fortect has become increasingly popular as a reliable and efficient way to address a wide range of PC issues. It's particularly favored for its user-friendly approach to diagnosing and fixing problems that can hinder a computer's performance, from system errors and malware to registry issues.
- Download and Install: Download Fortect from its official website by clicking here, and install it on your PC.
- Run a Scan and Review Results: Launch Fortect, conduct a system scan to identify issues, and review the scan results which detail the problems affecting your PC's performance.
- Repair and Optimize: Use Fortect's repair feature to fix the identified issues. For comprehensive repair options, consider subscribing to a premium plan. After repairing, the tool also aids in optimizing your PC for improved performance.
Understanding File System Limitations
When encountering the error message “File Too Large for Destination System,” it is important to understand the limitations of the file system you are working with. Different operating systems have different restrictions when it comes to file size and format.
For Windows users, the NTFS file system has a maximum file size limit of 16 TB, but individual files cannot exceed 2GB when using the FAT32 file system.
When transferring files to a destination system with limitations, it is crucial to check the file format and size beforehand to avoid encountering errors.
If you are trying to transfer a file that exceeds the destination system’s limitations, consider breaking the file into smaller parts, compressing it using software like WinRAR, or converting it to a more compatible format.
Causes of File Size Errors
-
Check File Size:
- Open File Explorer and locate the file in question.
- Right-click on the file and select “Properties.”
- Check the file size to ensure it is within the limits of the destination system.
-
Compress File:
- Right-click on the file and select “Send to” then “Compressed (zipped) folder.”
- Wait for the file to compress and then transfer the compressed file to the destination system.
-
Remove Unnecessary Data:
- Delete any unnecessary files or data within the file that may be causing it to exceed the destination system’s limits.
- Save the file and transfer it to the destination system.
Compress or Split Large Files
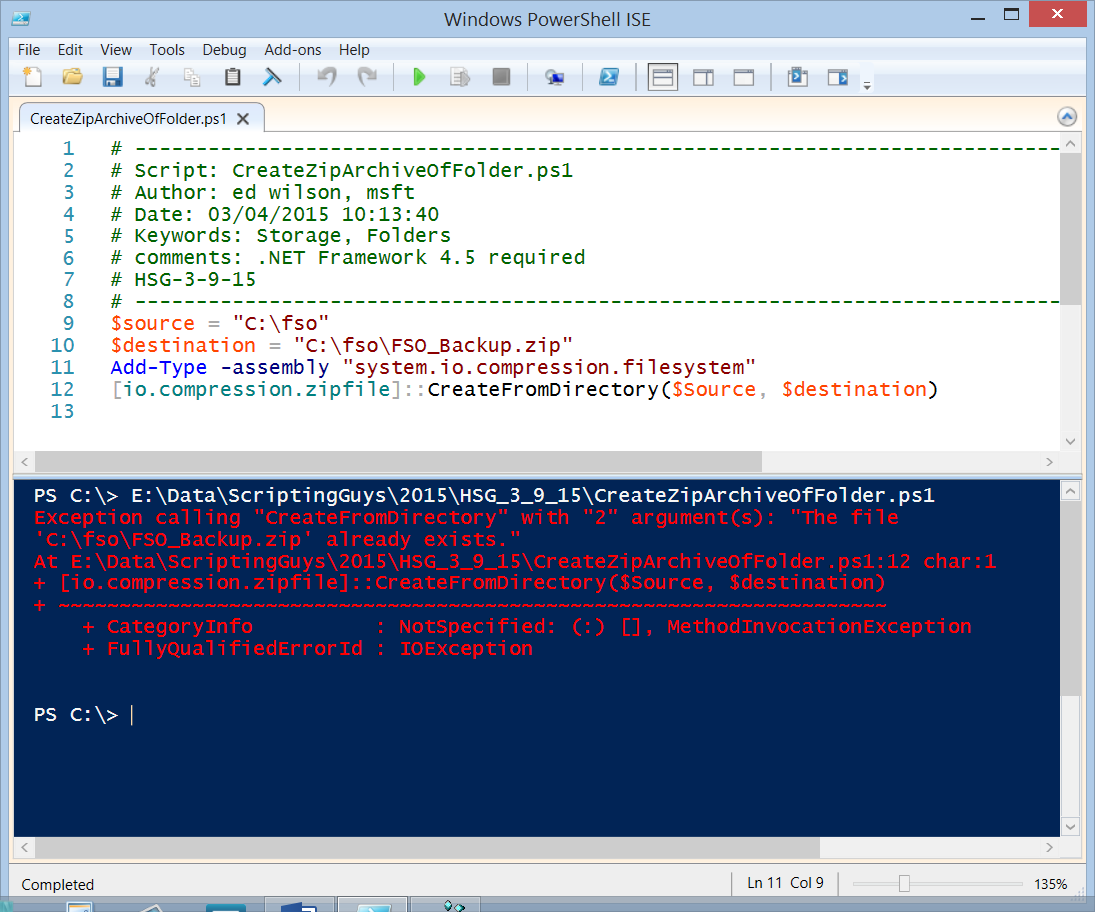
To compress large files that are too big for the destination system, you can use a file compression software like WinRAR. Simply right-click on the file you want to compress, select “Add to archive,” choose a compression format like ZIP or RAR, and click “OK.” This will reduce the file size, making it easier to transfer or store.
If you need to split a large file into smaller parts, you can use the built-in file splitting feature in WinRAR. Right-click on the file, select “Add to archive,” choose “Split to volumes” and set the size of each part. This will create multiple smaller files that can be easily transferred or stored.
Alternatively, you can use a file splitting software like HJSplit to divide the large file into smaller chunks. Simply open the software, select the file you want to split, choose the size of each part, and click “Split.” This will create multiple smaller files that can be easily managed.
Converting to NTFS without Data Loss
To convert a file system from FAT32 to NTFS without data loss, you can use the built-in Windows utility called Command Prompt. First, open Command Prompt as an administrator by searching for it in the Start menu and right-clicking to run as admin. Next, type convert drive_letter: /fs: ntfs and hit Enter, replacing “drive_letter” with the actual drive letter of the target drive. Confirm the conversion by typing “Y” when prompted and hitting Enter.
Wait for the conversion process to complete, which may take some time depending on the size of the drive. Once finished, your drive will now be in the NTFS file system format, allowing you to store files larger than 4GB without any data loss.
Formatting Storage to NTFS
To format your storage to NTFS, follow these steps:
1. Open File Explorer and locate the drive you want to format.
2. Right-click on the drive and select ‘Format’ from the context menu.
3. In the Format window, choose ‘NTFS’ as the file system.
4. Click ‘Start’ to begin the formatting process.
5. Once the formatting is complete, your storage will now be in NTFS format.
Alternative Storage Solutions

| Storage Solution | Description |
|---|---|
| Cloud Storage | Store your files in the cloud using services like Google Drive, Dropbox, or OneDrive. This allows you to access your files from anywhere and easily share them with others. |
| External Hard Drive | Transfer your large files to an external hard drive and then connect it to your destination system to access the files. This is a convenient way to store and transport large amounts of data. |
| Network Attached Storage (NAS) | Set up a NAS device on your network to store your files. This allows you to access your files from multiple devices and provides a centralized storage solution for your data. |
| Compression Software | Use compression software like WinZip or 7-Zip to reduce the size of your files before transferring them. This can help you fit larger files onto your destination system. |
Recovering Lost Data from Formatted Drives
To recover lost data from formatted drives, you can use a reliable data recovery software. First, download and install the data recovery software on your computer. Next, connect the formatted drive to your computer using a USB cable or disk enclosure. Run the data recovery software and select the formatted drive as the source for scanning. The software will scan the drive for any recoverable files and display them in the results.
Select the files you want to recover and choose a destination folder on your computer to save them. Wait for the software to complete the recovery process, which may take some time depending on the size of the files. Once the recovery is done, check the destination folder to ensure that your files have been successfully recovered. Remember to back up your recovered files to prevent any future data loss.
FAQ
How do I fix file is too large for destination file system error?
To fix the “file is too large for destination file system” error, you can change the file system of the USB stick from FAT32 to NTFS. Remember to back up any data on the USB stick before formatting it. Simply right-click on the USB stick, select Format, change the File System to NTFS, and format it.
How do I fix file too large for destination file system without formatting?
To fix the “file too large for destination file system” error without formatting, you can convert the FAT32 file system to NTFS using the AOMEI Partition Assistant Standard tool. This will allow you to change the file system on your hard drive without losing any data.
How do I bypass 4GB limitation on FAT32?
To bypass the 4GB limitation on FAT32, you can reformat the drive to NTFS or exFAT using Disk Utility on a Mac.
How to convert FAT32 to NTFS without losing data?
To convert FAT32 to NTFS without losing data, you can use the Command Prompt. Simply navigate to Start > All Programs > Accessories > Command Prompt, then type “convert drive_letter: /fs:ntfs” in the command prompt window. For example, if you want to convert E drive, type “convert E: /fs:ntfs” and press Enter. Follow the prompt to enter the current volume label for your drive E.