Windows 10 updates can sometimes cause boot issues, leaving users frustrated and unsure of how to proceed. In this article, we’ll explore some common troubleshooting steps to help get your computer up and running again.
Recently, Fortect has become increasingly popular as a reliable and efficient way to address a wide range of PC issues. It's particularly favored for its user-friendly approach to diagnosing and fixing problems that can hinder a computer's performance, from system errors and malware to registry issues.
- Download and Install: Download Fortect from its official website by clicking here, and install it on your PC.
- Run a Scan and Review Results: Launch Fortect, conduct a system scan to identify issues, and review the scan results which detail the problems affecting your PC's performance.
- Repair and Optimize: Use Fortect's repair feature to fix the identified issues. For comprehensive repair options, consider subscribing to a premium plan. After repairing, the tool also aids in optimizing your PC for improved performance.
Troubleshooting Methods for Windows 10 Not Booting After Update
If your Windows 10 PC won’t boot after an update, try these troubleshooting methods.
Method 1: Perform System Restore
If you recently installed an update that caused the issue, try performing a system restore. Follow these steps:
1. Boot your computer into the recovery environment.
2. Select Troubleshoot > Advanced options > System Restore.
3. Choose a restore point from before the update was installed and follow the prompts.
Method 2: Run System File Checker
Corrupted files can cause boot issues. Run System File Checker to fix them. Here’s how:
1. Boot your computer into the recovery environment.
2. Select Troubleshoot > Advanced options > Command Prompt.
3. Type sfc /scannow and press Enter.
4. Wait for the scan to complete and follow the prompts.
If these methods don’t work, try using a bootable USB drive or a tool like MiniTool Partition Wizard Pro to fix the issue. Make sure to keep your Windows 10 installation file and drivers up to date to prevent boot problems in the future.
Using Safe Mode to Fix Windows 10 Booting Issues
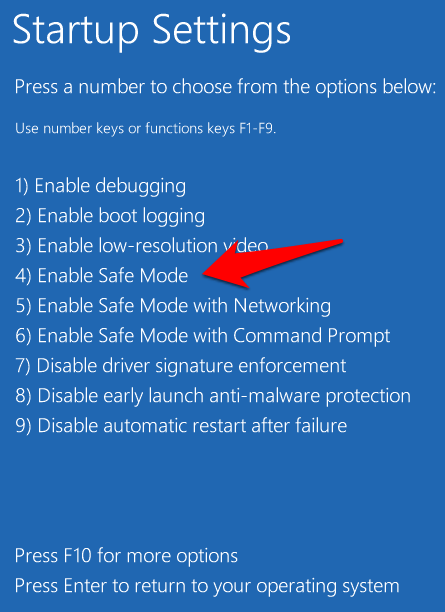
If your Windows 10 PC won’t boot after an update, using Safe Mode can help fix the issue. To access Safe Mode, restart your computer and repeatedly press F8 until the Advanced Boot Options menu appears. From there, select Safe Mode with Networking and press Enter.
Once in Safe Mode, you can try some fixes to get your computer to boot properly. Start by running the System File Checker by opening the Command Prompt as an administrator and entering the command “sfc /scannow“. This will scan and repair any corrupted system files.
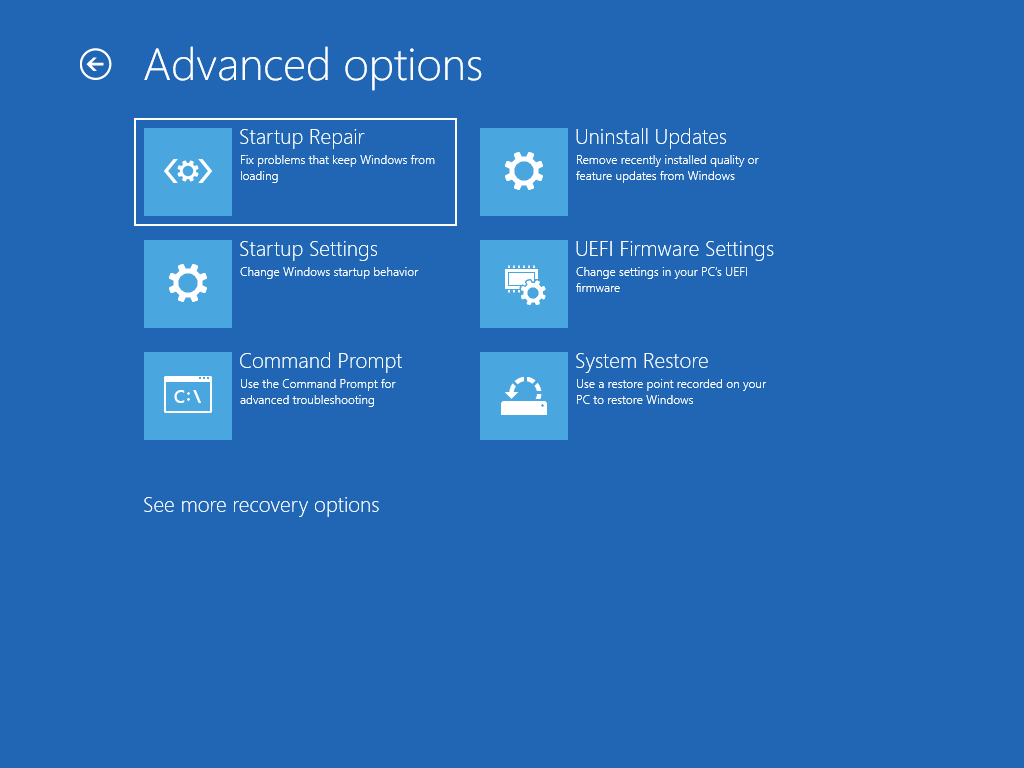
You can also try running Startup Repair by accessing the Advanced Startup Options and selecting Troubleshoot > Advanced Options > Startup Repair. This will automatically fix any startup errors.
If these techniques don’t work, you may need to use a bootable USB or MiniTool Partition Wizard Pro to repair your master boot record or boot sector.
Remember to always back up your important files before attempting any solutions. By following these steps, you can fix common booting issues and get your computer back up and running.
Repairing System Files and Master Boot Record to Fix Windows 10 Booting Issues
If your Windows 10 computer won’t boot after an update, there are a few techniques you can try to repair it. One common cause of booting issues is damaged system files or a corrupted Master Boot Record (MBR). Here are two methods to fix these issues:
Method 1: Perform System Restore.
– Restart your computer and press F8 to enter the Advanced Boot Options menu.
– Select “System Restore” and follow the prompts to restore your computer to a previous state.
– Your computer should restart normally.
Method 2: Run System File Checker.
– Press Win+X and select “Command Prompt (Admin).”
– Type “sfc /scannow” and press Enter to run the System File Checker.
– The tool will search for and repair any corrupted system files.
– Restart your computer and check if the booting problem is resolved.
If these solutions don’t work, you may need to repair or reinstall Windows using an installation file or seek hands-on help from a professional. Remember to back up your important files before attempting any fixes.
Deleting Pending XML Files and Uninstalling Updates to Fix Windows 10 Booting Issues
If your Windows 10 laptop won’t boot after installing an update, try deleting pending XML files and uninstalling updates as a troubleshooting method.
First, go to the cleanup.xml page and follow the instructions to delete any pending XML files.
Then, uninstall any recent updates that may have caused the booting issue. Go to the Windows Update page and click on “View update history.” From there, click on “Uninstall updates” and select the updates you want to remove.
If you’re still experiencing problems, try running a startup repair by following these steps:
1. Restart your computer and press F8 repeatedly until the Advanced Boot Options screen appears.
2. Select “Repair your computer” and press Enter.
3. Choose your language preferences and click “Next.”
4. Click on “Startup Repair” and follow the on-screen instructions.
Hopefully, these steps will resolve your booting issues and get your computer back up and running. If not, consider seeking further assistance from a professional.
Starting PC in Safe Mode and Updating Device Drivers to Fix Windows 10 Booting Issues
- Restart the PC and press the F8 key to enter the Boot Options menu.
- Select Safe Mode with Networking and press Enter.
- Login to your PC with the administrator account.
- Press Windows + X and select Device Manager.
- Expand the device category that needs to be updated.
- Right-click the device and select Update Driver Software.
- Select “Search automatically for updated driver software.”
- If an updated driver is found, install it.
- If no updated driver is found, visit the manufacturer’s website and download the latest driver.
- Install the driver and restart the PC.

Restoring Windows and Resetting BIOS to Default to Fix Windows 10 Booting Issues
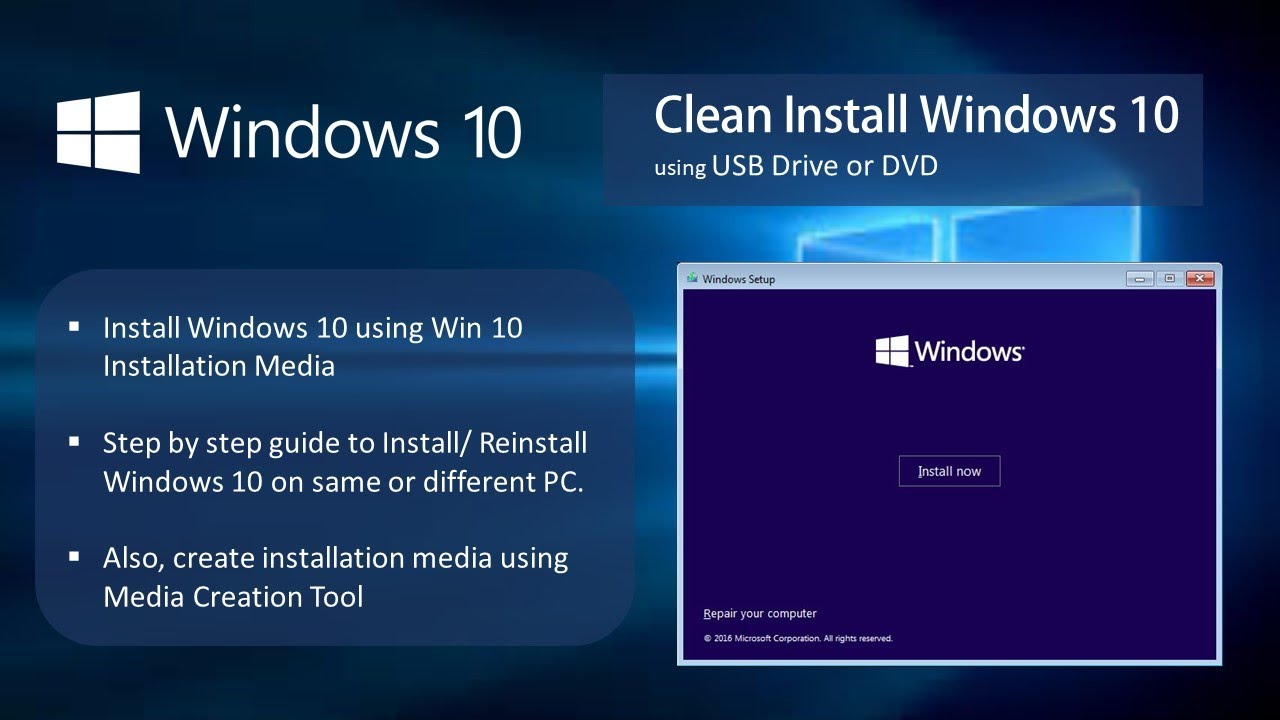
- Step 1: Create a Windows 10 installation media using a USB or DVD.
- Step 2: Boot your computer from the installation media.
- Step 3: Select your language preferences and click on “Next”.
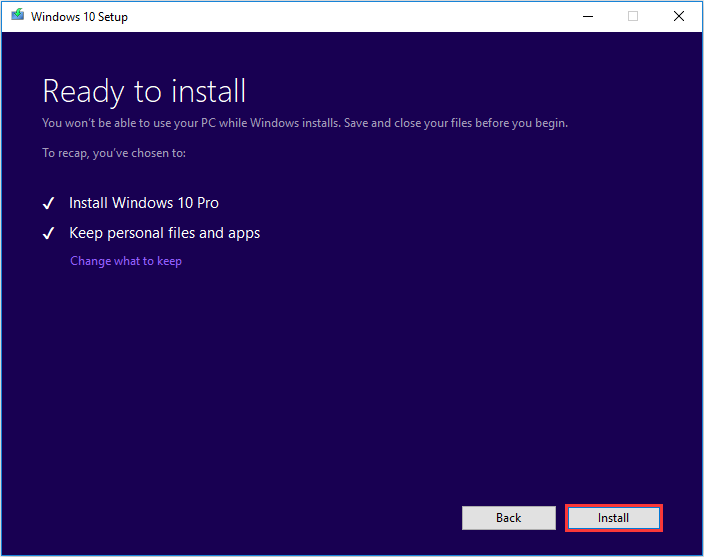
- Step 4: Click on “Install Now” and enter your product key if prompted.
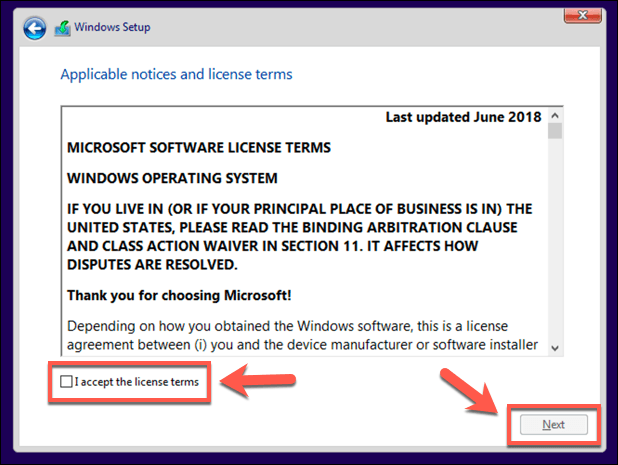
- Step 5: Accept the license terms and click on “Next”.
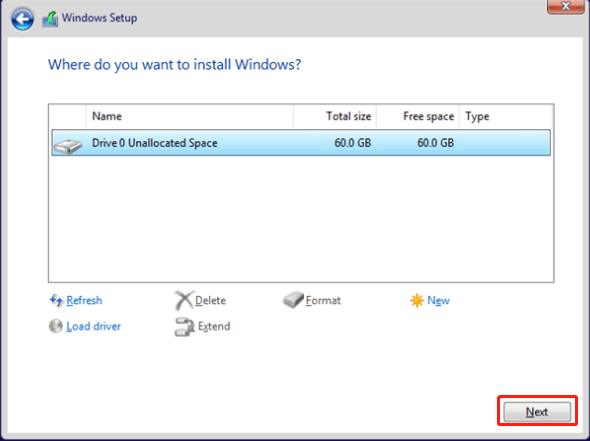
- Step 6: Choose “Custom: Install Windows only (advanced)”.
- Step 7: Select the partition where you want to install Windows 10 and click on “Next”.
- Step 8: Wait for the installation to complete and follow the on-screen instructions to set up Windows 10.
- Step 9: Reset BIOS to default settings.
- Step 10: Restart your computer and press the key to enter the BIOS setup utility.
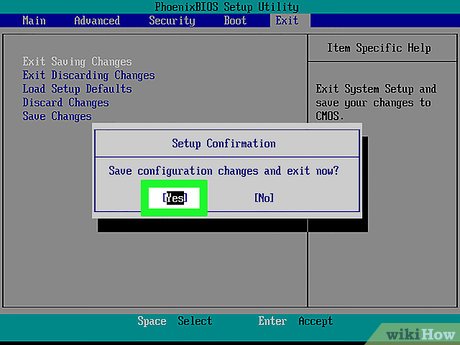
- Step 11: Locate the “Load Defaults” option and select it.
- Step 12: Save changes and exit the BIOS setup utility.
Going Back to Previous Version and Performing Custom Install to Fix Windows 10 Booting Issues
- Open the Start menu and click on the Settings icon.
- Select Update & Security.
- Click on Recovery from the left-hand menu.
- Select the option for “Go back to the previous version of Windows 10”, then click on Get started.
- Follow the prompts to complete the process.
Performing Custom Install:
- Download the Windows 10 installation media from the Microsoft website.
- Insert the installation media into your computer and restart it.
- Press any key to boot from the installation media when prompted.
- Select your language preferences and click on Next.
- Click on Install now.
- Enter your product key if prompted.
- Accept the license terms and click on Next.
- Select the Custom install option.
- Select the drive where Windows 10 is currently installed and click on Next.
- Follow the prompts to complete the installation.
Conclusion and Bottom Line for Fixing Windows 10 Booting Issues After Update
In conclusion, fixing Windows 10 booting issues after an update requires a hands-on approach. Search for System Restore in the Start menu and utilize it to roll back to a previous version of Windows. If that doesn’t work, try boot repair options or use a Windows installation media to access advanced startup options. If the issue persists, it could be caused by a corrupt boot sector. In such cases, use a Windows installation media to access Command Prompt and execute commands like cleanup.xml or MBR repair. Ensure that your computer is up to date with the latest security patches and updates from Microsoft to avoid common bugs and errors. If all else fails, consider upgrading to Windows 11 or 22H2 for improved features and stability. Remember to always aim for a secure and reliable operating system.


