
Having trouble finding the 64-bit option in VirtualBox? Here’s the fix.
Recently, Fortect has become increasingly popular as a reliable and efficient way to address a wide range of PC issues. It's particularly favored for its user-friendly approach to diagnosing and fixing problems that can hinder a computer's performance, from system errors and malware to registry issues.
- Download and Install: Download Fortect from its official website by clicking here, and install it on your PC.
- Run a Scan and Review Results: Launch Fortect, conduct a system scan to identify issues, and review the scan results which detail the problems affecting your PC's performance.
- Repair and Optimize: Use Fortect's repair feature to fix the identified issues. For comprehensive repair options, consider subscribing to a premium plan. After repairing, the tool also aids in optimizing your PC for improved performance.
Troubleshooting VirtualBox No 64 Bit Issues
If you are experiencing issues with VirtualBox not showing the 64-bit option, there are a few troubleshooting steps you can try to fix the problem.
First, make sure that your computer meets the necessary requirements for running 64-bit virtual machines. Your CPU needs to support hardware virtualization and 64-bit computing. Check your computer’s specifications to confirm this.
Next, check if virtualization is enabled in your computer’s BIOS settings. Restart your computer and enter the BIOS by pressing the designated key (usually F2 or Del) during boot-up. Look for an option related to virtualization and enable it if necessary.
If you are using Windows 10, it’s important to disable Hyper-V, as it can interfere with VirtualBox’s ability to run 64-bit virtual machines. Open the Control Panel, go to Programs, and click on “Turn Windows features on or off.” Uncheck the box for Hyper-V and restart your computer.
Another potential issue could be related to Group Policy settings. Press the Windows key + R to open the Run dialog box, type “gpedit.msc” and hit Enter. Navigate to “Computer Configuration” > “Administrative Templates” > “System” > “Device Guard” > “Virtualization Based Security” and make sure the settings are disabled.
If none of these solutions work, try reinstalling VirtualBox or updating to the latest version. You can also try creating a new virtual machine to see if the 64-bit option appears.
Methods to Enable 64-bit Windows in VirtualBox
- Check System Requirements: Verify that your computer’s processor supports 64-bit virtualization and that virtualization is enabled in the BIOS settings.
- Update VirtualBox: Ensure that you have the latest version of VirtualBox installed on your computer.
- Enable Virtualization: Enable virtualization in your computer’s BIOS settings if it is disabled.
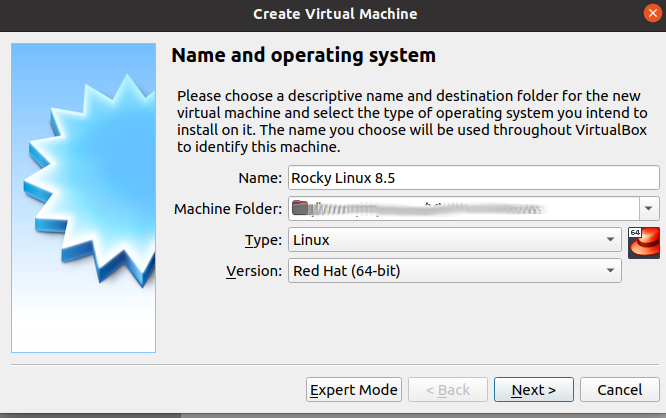
- Create a New Virtual Machine: Open VirtualBox and click on “New” to create a new virtual machine.
- Choose 64-bit Operating System: When prompted to select the type of operating system, choose a 64-bit version.
- Allocate Sufficient Memory: Allocate enough memory to the virtual machine to support a 64-bit operating system.
- Enable 64-bit Virtualization: In the settings of the virtual machine, navigate to the “System” tab and enable the “Enable 64-bit” option.
- Enable Intel VT-x/AMD-V: In the same “System” tab, enable the “Enable VT-x/AMD-V” option.
- Start the Virtual Machine: Start the virtual machine and proceed with installing the 64-bit operating system.
Steps to Resolve VirtualBox No 64 Bit Problem
1. Check Hardware Compatibility: Ensure that your computer’s CPU supports 64-bit virtualization. Check the specifications of your CPU model to confirm.
2. Enable Virtualization in BIOS: Restart your computer and access the BIOS settings. Look for an option related to virtualization and enable it. Save the changes and exit the BIOS.
3. Update VirtualBox: Make sure you are using the latest version of VirtualBox. Visit the official VirtualBox website and download the latest version if necessary.
4. Verify Windows 10 Hyper-V Feature: Open the Control Panel and navigate to “Programs” > “Turn Windows features on or off.” Ensure that the Hyper-V feature is disabled.
5. Disable Hyper-V using Command Prompt: Press the Windows key, type “cmd,” and right-click on “Command Prompt.” Select “Run as administrator.” In the command prompt, enter the command “bcdedit /set hypervisorlaunchtype off” and press Enter. Restart your computer.
6. Enable Virtualization in Group Policy: Press the Windows key + R, type “gpedit.msc,” and press Enter. Navigate to “Computer Configuration” > “Administrative Templates” > “System” > “Device Guard” > “Turn on Virtualization Based Security.” Set it to “Disabled” and click Apply.
7. Reinstall VirtualBox: If none of the above steps resolve the issue, try uninstalling VirtualBox completely and then reinstalling it. This can help resolve any configuration or compatibility issues.
Solutions for VirtualBox 64-bit Compatibility Issues
| Solution | Description |
|---|---|
| Enable Virtualization in BIOS | Check your computer’s BIOS settings and enable virtualization support if it is disabled. This option is usually found under the “Advanced” or “Security” settings in the BIOS menu. |
| Update VirtualBox | Make sure you are using the latest version of VirtualBox. Check the VirtualBox website for any available updates and install them. |
| Enable Hyper-V | If you are using Windows, ensure that Hyper-V is not enabled as it can cause conflicts with VirtualBox. Disable Hyper-V from the “Windows Features” settings in the Control Panel. |
| Check CPU Compatibility | Verify that your CPU supports hardware virtualization and is 64-bit capable. Some older CPUs may not have the necessary features for running 64-bit virtual machines. |
| Reinstall VirtualBox | If none of the above solutions work, try uninstalling VirtualBox completely and then reinstalling it. This can resolve any software conflicts or installation errors. |


