Are you experiencing a frozen MacBook Pro during a software update? Don’t panic, there are quick and easy solutions to get your device up and running again.
Recently, Fortect has become increasingly popular as a reliable and efficient way to address a wide range of PC issues. It's particularly favored for its user-friendly approach to diagnosing and fixing problems that can hinder a computer's performance, from system errors and malware to registry issues.
- Download and Install: Download Fortect from its official website by clicking here, and install it on your PC.
- Run a Scan and Review Results: Launch Fortect, conduct a system scan to identify issues, and review the scan results which detail the problems affecting your PC's performance.
- Repair and Optimize: Use Fortect's repair feature to fix the identified issues. For comprehensive repair options, consider subscribing to a premium plan. After repairing, the tool also aids in optimizing your PC for improved performance.
Troubleshooting a Frozen Macbook Pro Software Update
If your MacBook Pro is frozen while updating, there are a few steps you can take to fix it. First, try to force the update to shut down by holding down the power button for several seconds. If this doesn’t work, try starting your computer in Safeboot mode by holding down the shift key while it boots up. Once you’re in Safeboot mode, try running a Storage Issues check to see if there are any problems with your hard drive. If that doesn’t work, try restarting your computer and checking for updates again. If you’re still having issues, you may need to use the macOS Update Assistant or take your computer to an Apple Support center.
Checking for Compatibility and Internet Connection Issues
To fix a frozen MacBook Pro software update quickly, it’s important to first check for compatibility and internet connection issues. Make sure your Mac meets the system requirements for the update and that you have a stable internet connection. If you’re using macOS Ventura or later, the software update can be found in the Mac App Store. For earlier versions of macOS, use the macOS Update Assistant. If you’re still having trouble, try restarting your Mac and checking for updates again. If the update still won’t install, you may need to troubleshoot installation issues or storage issues. Contact Apple Support for further assistance. Remember to always backup your data before performing any updates or fixes to your system.
Freeing Up Storage Space on Your Mac
- Clear out the Downloads folder to free up space.
- Uninstall unused applications to remove unnecessary files.
- Move large files to an external hard drive or cloud storage.
- Delete duplicate files to avoid cluttering the system.
- Empty the trash bin to remove all the deleted items permanently.
- Clear out cached data and temporary files to free up space.
- Use a storage optimization tool to identify and remove unnecessary files.
- Remove unused language files and system files to free up space.
- Disable automatic backups to avoid taking up too much space.
- Move files from the desktop to appropriate folders to keep the desktop clean.
#!/bin/bash
# This script attempts to fix common software update issues on a MacBook Pro
# Check for root privileges
if [[ $EUID -ne 0 ]]; then
echo "This script must be run as root"
exit 1
fi
# Stop the software update service
sudo launchctl unload /System/Library/LaunchDaemons/com.apple.softwareupdate.plist
# Remove the software update cache
sudo rm -rf /Library/Updates/*
# Reset the software update server
sudo defaults delete /Library/Preferences/com.apple.SoftwareUpdate CatalogURL
# Flush the DNS cache
sudo dscacheutil -flushcache
# Start the software update service
sudo launchctl load /System/Library/LaunchDaemons/com.apple.softwareupdate.plist
echo "Software update issues should now be resolved"
This script stops the software update service, removes the software update cache, resets the software update server, and flushes the DNS cache. It then restarts the software update service, hopefully resolving any issues with the software update process. However, it is important to note that this script is provided as an example only and may not work for all cases of MacBook Pro software update issues.
Disabling FileVault and Checking Apple System Status Page
Disabling FileVault can help fix a frozen MacBook Pro software update. Go to System Preferences and click on Security & Privacy. Click the FileVault tab and enter your password. Click Turn Off FileVault.
Before trying any fixes, check the Apple System Status page to see if there are any reported issues. If there are, wait for Apple to resolve them.
If there are no reported issues, try restarting your MacBook Pro by holding down the power button until it shuts down. Wait a few seconds and press the power button again to turn it back on.
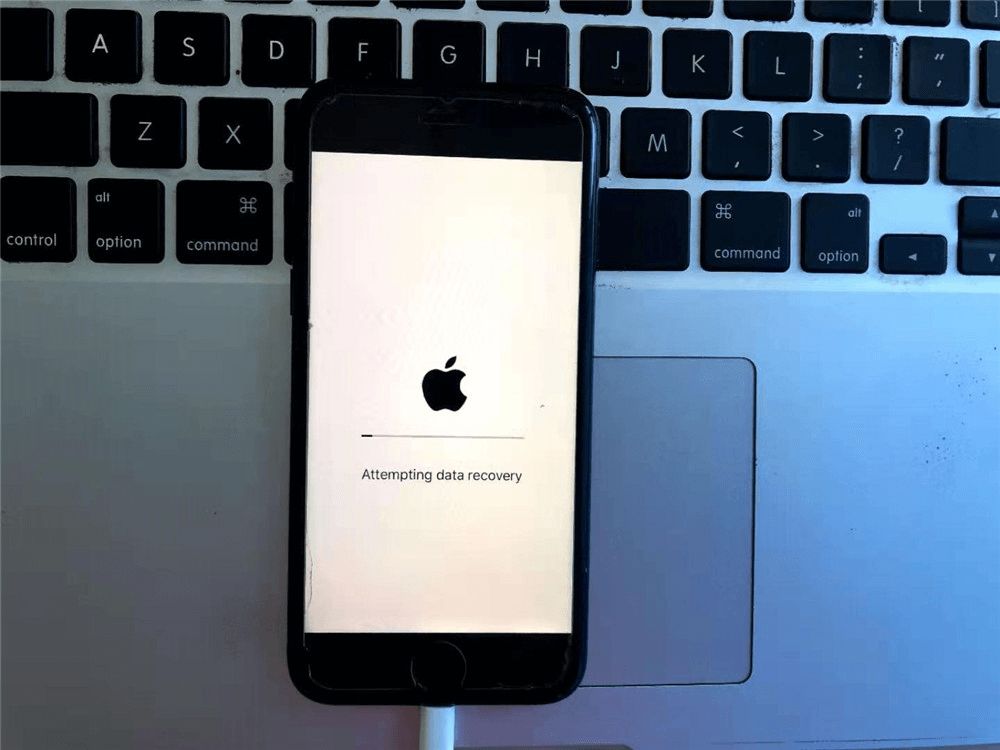
If the loading screen, startup screen, or boot screen is stuck on the Apple logo, try restarting in safe mode. Hold down the Shift key while starting up.
If you’re installing a system update, make sure you have enough storage and a stable internet connection. If the update still won’t install, try downloading it from the Mac App Store instead.
These steps should help you fix a frozen MacBook Pro software update quickly.
Booting into Safe Mode and Recovery Mode
If your MacBook Pro is frozen during a software update, you can try booting into Safe Mode or Recovery Mode to fix the issue. To enter Safe Mode, restart your MacBook and hold down the Shift key until the Apple logo appears. Safe Mode disables certain startup items and clears some caches, which can help resolve some software issues.
To enter Recovery Mode, restart your MacBook and hold down Command + R until the Apple logo appears. From there, you can access utilities like Disk Utility and reinstall macOS if necessary.
If you’re still experiencing issues after trying Safe Mode and Recovery Mode, there may be other reasons for the problem. Consider seeking further assistance from Apple Support or consulting online forums for additional troubleshooting steps.
Resetting NVRAM and SMC on Different Macbook Models
| Macbook Model | Resetting NVRAM | Resetting SMC |
|---|---|---|
| Macbook Pro (2016 and later) | 1. Shut down your Mac 2. Press and hold the Command + Option + P + R keys 3. Turn on your Mac and keep holding the keys until you hear the startup sound twice |
1. Shut down your Mac 2. Press and hold the Shift + Control + Option keys and the power button for 10 seconds 3. Release all the keys and turn on your Mac |
| Macbook Pro (2015 and earlier) | 1. Shut down your Mac 2. Press the power button and immediately press and hold the Command + Option + P + R keys 3. Keep holding the keys until you hear the startup sound twice |
1. Shut down your Mac 2. Disconnect the power adapter 3. Remove the battery (if removable) 4. Press and hold the power button for 5 seconds 5. Reconnect the battery and power adapter 6. Turn on your Mac |
| Macbook Air | 1. Shut down your Mac 2. Press and hold the Command + Option + P + R keys 3. Turn on your Mac and keep holding the keys until you hear the startup sound twice |
1. Shut down your Mac 2. Press and hold the Shift + Control + Option keys and the power button for 10 seconds 3. Release all the keys and turn on your Mac |
| Macbook | 1. Shut down your Mac 2. Press and hold the Command + Option + P + R keys 3. Turn on your Mac and keep holding the keys until you hear the startup sound twice |
1. Shut down your Mac 2. Disconnect the power adapter 3. Remove the battery (if removable) 4. Press and hold the power button for 5 seconds 5. Reconnect the battery and power adapter 6. Turn on your Mac |
FAQs: Losing Data, Alternative Update Methods, and Error Messages
- Losing Data: If you are worried about losing data during the update process, it’s essential to back up your data before starting the update process.
- Alternative Update Methods: If the software update is frozen, you can try restarting your MacBook Pro and updating the software again. Alternatively, you can download the macOS update from the Apple website and install it manually.
- Error Messages: If you receive an error message during the software update process, it’s essential to take note of the error message and try to troubleshoot the issue. You can search for the error message online or contact Apple support for assistance.
Installing the Macos Update Directly from Apple Website
To install the macOS update directly from the Apple website, follow these steps:
1. Go to the Apple website and navigate to the “macOS Monterey” or “Big Sur” page.
2. Click the “Download” button to begin downloading the update.
3. Once the download is complete, double-click the downloaded file to start the installation process.
4. Follow the on-screen instructions to complete the installation.
5. After installation, your MacBook Pro will reboot automatically.
If you are experiencing installation issues, try shutting down your MacBook Pro and rebooting it. If this doesn’t work, you can try the following steps:
1. Press and hold the power button until your MacBook Pro shuts down.
2. Press the power button again to turn on your MacBook Pro.
3. As soon as you see the loading screen, press and hold the Shift key until you see the startup screen.
4. Release the Shift key and let your MacBook Pro boot normally.
If you are still experiencing issues, it may be best to consult with Apple support or seek the advice of a professional.


