If you’re encountering the frustrating “Couldn’t Unmount Disk” error on your Mac external hard drive, this article will guide you through effective solutions to resolve the issue.
Recently, Fortect has become increasingly popular as a reliable and efficient way to address a wide range of PC issues. It's particularly favored for its user-friendly approach to diagnosing and fixing problems that can hinder a computer's performance, from system errors and malware to registry issues.
- Download and Install: Download Fortect from its official website by clicking here, and install it on your PC.
- Run a Scan and Review Results: Launch Fortect, conduct a system scan to identify issues, and review the scan results which detail the problems affecting your PC's performance.
- Repair and Optimize: Use Fortect's repair feature to fix the identified issues. For comprehensive repair options, consider subscribing to a premium plan. After repairing, the tool also aids in optimizing your PC for improved performance.
Understanding the “Couldn’t Unmount Disk” Error
![]()
If you’re encountering the “Couldn’t Unmount Disk” error on your Mac external hard drive, there are a few steps you can take to resolve the issue.
First, make sure you have backed up any important data on the disk, as the troubleshooting process may involve formatting the disk.
To begin, open Disk Utility. You can find this in the Applications folder under Utilities.
In Disk Utility, locate the problematic disk and select it from the sidebar.
Click on the “Unmount” button in the toolbar to unmount the disk.
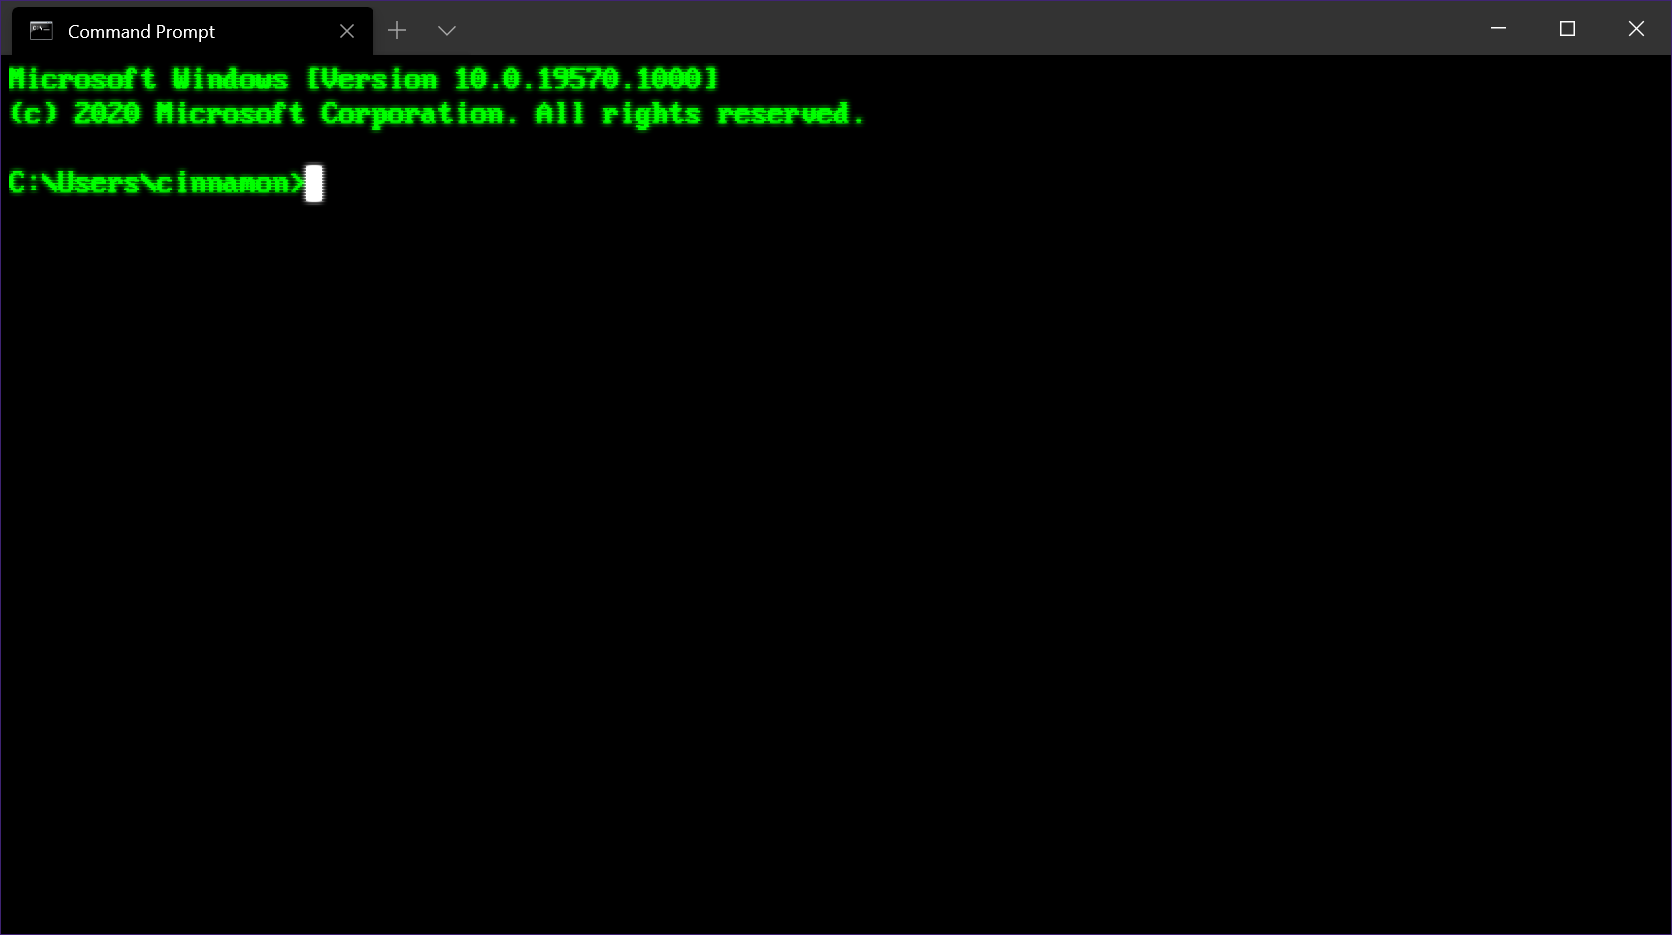
If the unmounting process fails and you receive the “Couldn’t Unmount Disk” error message, you can try using the Terminal application to force unmount the disk.
Open Terminal and type sudo diskutil unmountDisk force /dev/diskX, replacing “diskX” with the appropriate disk identifier for your external hard drive.
Press Enter to execute the command and force unmount the disk.
After the disk is successfully unmounted, you can try formatting it using Disk Utility.
Select the disk from the sidebar and click on the “Erase” button.
Choose the desired format for the disk and click “Erase” to initiate the formatting process.
Once the disk is formatted, you should be able to use it without encountering the “Couldn’t Unmount Disk” error.
Remember to restore any backed up data to the disk after formatting.
If these steps don’t resolve the issue, it is possible that there may be a hardware problem with the external hard drive. In such cases, it may be necessary to seek professional assistance or consider replacing the disk.
Fixing the “Couldn’t Unmount Disk” Error on Mac
If you’re encountering the “Couldn’t Unmount Disk” error on your Mac external hard drive, don’t worry, there are some steps you can take to resolve it.
First, make sure you have a backup of your important data. This is important because fixing the error could potentially lead to data loss.
1. Try using Disk Utility: Open Disk Utility from the Applications folder or by searching for it in Spotlight. Select the external hard drive from the sidebar and click on the “First Aid” tab. Click on “Run” to start the repair process.
2. Force unmount the disk: If Disk Utility is unable to unmount the disk, you can try force unmounting it using Terminal. Open Terminal from the Applications folder or by searching for it in Spotlight. Type in the command “sudo diskutil unmountDisk force /dev/diskX” (replace “X” with the appropriate disk number) and press Enter.
3. Use a third-party disk utility: If the previous methods don’t work, you can try using a third-party disk utility like iBoysoft Drive Manager or Stellar Data Recovery to repair the disk.
Resolving the Error when an External Disk Won’t Unmount
If you’re encountering the “Couldn’t Unmount Disk” error on your Mac external hard drive, don’t worry – we’ve got you covered. Follow these steps to resolve the issue:
1. First, open the “Disk Utility” application on your Mac. You can find it in the “Utilities” folder within the “Applications” folder.
2. In the Disk Utility window, locate your external hard drive in the left-hand sidebar. Select it and click on the “Unmount” button in the toolbar. If the unmounting process fails, proceed to the next step.
3. To force unmount the disk, open the Terminal application on your Mac. You can find it in the “Utilities” folder within the “Applications” folder.
4. In the Terminal window, type the following command: diskutil unmountDisk force /dev/[disk identifier]
Replace “[disk identifier]” with the identifier of your external hard drive. You can find this information in the Disk Utility window.
5. Press the “Return” key to execute the command. You may be prompted to enter your administrator password. If so, type it in and press “Return.”
6. Once the command is executed successfully, the external disk should be unmounted. You can now safely disconnect it from your Mac.
python

import subprocess
def unmount_disk(device_path):
try:
subprocess.run(['sudo', 'umount', device_path])
print(f"Disk unmounted successfully: {device_path}")
except subprocess.CalledProcessError as e:
print(f"Failed to unmount disk: {e}")
# Example usage
device_path = '/dev/sdb1' # Replace with the actual device path of your external hard drive
unmount_disk(device_path)
This code snippet uses the `subprocess.run()` function to execute the `umount` command with administrative privileges (`sudo`). It attempts to unmount the disk specified by `device_path`. If the unmount operation is successful, it prints a success message; otherwise, it displays an error message.
Unmounting a Disk using Terminal
To unmount a disk using Terminal on your Mac external hard drive, follow these steps:
1. Launch Terminal: Open the Terminal application on your Mac. You can find it in the Utilities folder, which is located in the Applications folder.
2. Identify the disk: Type diskutil list in the Terminal window and press Enter. This command will display a list of all the disks connected to your Mac.
3. Find the disk: Locate the disk you want to unmount from the list. Identify it by its name or identifier, such as “disk2” or “disk3s1”.
4. Unmount the disk: Type diskutil unmountDisk /dev/diskX in the Terminal window, replacing “X” with the number of the disk you want to unmount. For example, if the disk is “disk2”, the command should be diskutil unmountDisk /dev/disk2.
5. Confirm the unmount: Press Enter to execute the command. Terminal will unmount the disk, and you will see a message confirming the successful unmounting process.
6. Safely remove the disk: Once the disk is unmounted, you can safely disconnect it from your Mac.
Remember, unmounting a disk will prevent any read or write operations on it, so make sure you have saved and closed any important files before proceeding.
If you encounter any issues or receive an error message, refer to the FAQs or seek further assistance from Apple Support or a professional technician.
Using Stellar Partition Manager Software to Fix the Error
Using Stellar Partition Manager software is an effective solution for fixing the “Couldn’t Unmount Disk” error on your Mac external hard drive.
To begin, download and install the Stellar Partition Manager software from the official website of Stellar. Once installed, follow these steps:
1. Launch the Stellar Partition Manager software on your Mac.
2. Connect the external hard drive to your Mac.
3. Select the external hard drive from the list of available disks.
4. Click on the “Unmount” button to unmount the disk.
5. Once the disk is unmounted, click on the “Repair” button to fix any errors on the disk.
6. Wait for the software to repair the disk and resolve any issues.
7. After the repair process is complete, click on the “Mount” button to remount the disk.
Note: Make sure to backup any important data from the external hard drive before proceeding with the repair process to avoid any data loss.
By using Stellar Partition Manager software, you can easily fix the “Couldn’t Unmount Disk” error and regain access to your external hard drive on your Mac. It provides a user-friendly interface and powerful features for disk management and repair.
For more information or assistance, refer to the FAQ section on the Stellar website or contact their customer support.
Utilizing macOS Utilities to Fix the Error
To fix the “Couldn’t Unmount Disk” error on your Mac external hard drive, you can utilize macOS Utilities. Follow these steps:
1. Connect your external hard drive to your Mac.
2. Open Disk Utility by clicking on the Apple menu in the top left corner of your screen, selecting “System Preferences,” and then clicking on “Disk Utility.”
3. In Disk Utility, locate your external hard drive in the left sidebar and select it.
4. Click on the “Unmount” button to unmount the disk.
5. If the unmount process fails, you may need to force unmount the disk. Open Terminal from the Utilities folder in Applications, type diskutil unmountDisk force /dev/diskX (replace X with the appropriate disk number), and press Enter.
6. Once the disk is unmounted, go back to Disk Utility and select the external hard drive again.
7. Click on the “First Aid” button to run a disk repair on the drive.
8. Wait for the repair process to complete. If any errors are found, Disk Utility will attempt to fix them.
9. After the repair is finished, try unmounting the disk again by clicking on the “Unmount” button.
10. If the error persists, you may need to erase the disk. Remember to backup your data before proceeding.
11. In Disk Utility, select the external hard drive and click on the “Erase” button.
12. Follow the prompts to format the disk with the desired file system.
13. Once the formatting is complete, the disk should be unmounted and ready for use.
Troubleshooting Tips for the “Couldn’t Unmount Disk” Error
- Check for open files and applications:
- Open Activity Monitor by going to Applications > Utilities > Activity Monitor.
- Sort the list by %CPU to identify any processes that might be using the disk.
- Quit or force quit any applications or processes that are actively accessing the disk.
- Try unmounting the disk using Terminal:
- Open Terminal by going to Applications > Utilities > Terminal.
- Type diskutil list to list all the connected disks.
- Identify the disk you want to unmount by noting its identifier (e.g., disk2).
- Type diskutil unmountDisk /dev/disk*, replacing * with the disk’s identifier.
- If prompted, enter your administrator password and wait for the process to complete.
- Use First Aid in Disk Utility:
- Open Disk Utility by going to Applications > Utilities > Disk Utility.
- Select the external hard drive from the sidebar.
- Click on the First Aid tab at the top of the window.
- Click on Run to start the First Aid process.
- Wait for the process to complete and check if the unmount error is resolved.
- Force unmount the disk:
- Open Terminal by going to Applications > Utilities > Terminal.
- Type diskutil force unmountDisk /dev/disk*, replacing * with the disk’s identifier.
- If prompted, enter your administrator password and wait for the process to complete.
- Restart your Mac in Recovery Mode and try again:
- Restart your Mac and hold down the Command + R keys while it restarts.
- Wait for the macOS Utilities window to appear.
- Select Disk Utility and click Continue.
- Select the external hard drive from the sidebar.
- Click on the Unmount button at the top of the window.
- Try repairing the disk using the First Aid feature.
- Try using a third-party disk management tool:
- Search for reputable disk management tools online.
- Download and install a suitable tool for your Mac.
- Follow the instructions provided by the software to unmount the disk.
Frequently Asked Questions about the Error
| Question | Answer |
|---|---|
| What does the “Couldn’t Unmount Disk” error mean? | The “Couldn’t Unmount Disk” error on a Mac external hard drive typically indicates that the disk is currently in use or has some issues preventing it from being unmounted properly. |
| Why am I getting this error? | There are several reasons why you may encounter this error, such as active processes or applications still using the disk, corrupted disk permissions, file system errors, or hardware-related issues. |
| How can I fix the “Couldn’t Unmount Disk” error? | There are several methods to fix this error, including using Disk Utility to force unmount the disk, using Terminal commands to unmount the disk, or restarting your Mac in Recovery Mode and repairing the disk using Disk Utility. |
| Is it safe to force unmount the disk? | Force unmounting a disk should generally be safe, but it’s important to ensure that no important processes or applications are actively using the disk before proceeding. It’s recommended to save and close all relevant data and applications before attempting to force unmount. |
| Will I lose my data if I fix the “Couldn’t Unmount Disk” error? | Fixing the error itself should not cause data loss. However, it’s always a good practice to have a backup of your important data before performing any disk-related operations, as there is a slight risk of data loss during the repair process. |
| What should I do if the error persists after trying the suggested methods? | If the error persists even after attempting the suggested methods, it could indicate a more severe issue with the disk. In such cases, it is recommended to seek professional assistance or contact the disk manufacturer for further support. |


