In this article, I will discuss effective ways to fix the Acer automatic repair loop issue.
Recently, Fortect has become increasingly popular as a reliable and efficient way to address a wide range of PC issues. It's particularly favored for its user-friendly approach to diagnosing and fixing problems that can hinder a computer's performance, from system errors and malware to registry issues.
- Download and Install: Download Fortect from its official website by clicking here, and install it on your PC.
- Run a Scan and Review Results: Launch Fortect, conduct a system scan to identify issues, and review the scan results which detail the problems affecting your PC's performance.
- Repair and Optimize: Use Fortect's repair feature to fix the identified issues. For comprehensive repair options, consider subscribing to a premium plan. After repairing, the tool also aids in optimizing your PC for improved performance.
Perform a Hard Reboot
1. Press and hold the power button for at least 10 seconds to force the laptop to shut down.
2. Once the laptop is off, disconnect any peripherals such as USB drives or external hard drives.
3. Press the power button again to turn on the laptop and wait for it to boot up.
If the automatic repair loop persists after the hard reboot, you may need to consider other troubleshooting options such as system restore or checking for any hardware issues.
Boot into Safe Mode
- Restart your Acer laptop.
- As soon as it starts to boot up, press and hold the F8 key repeatedly.
- When the Advanced Boot Options menu appears, select Safe Mode using the arrow keys.
- Press Enter to boot into Safe Mode.
Restart Your Computer
1. Press and hold the power button on your Acer computer until it shuts down completely.
2. Once the computer is off, press the power button again to turn it back on.
3. Allow the computer to boot up normally and see if the automatic repair loop has been resolved.
If the issue persists after restarting your computer, you may need to try other troubleshooting methods such as system restore or checking for hardware issues. Always make sure to back up your important data before attempting any fixes.
Check Your RAM
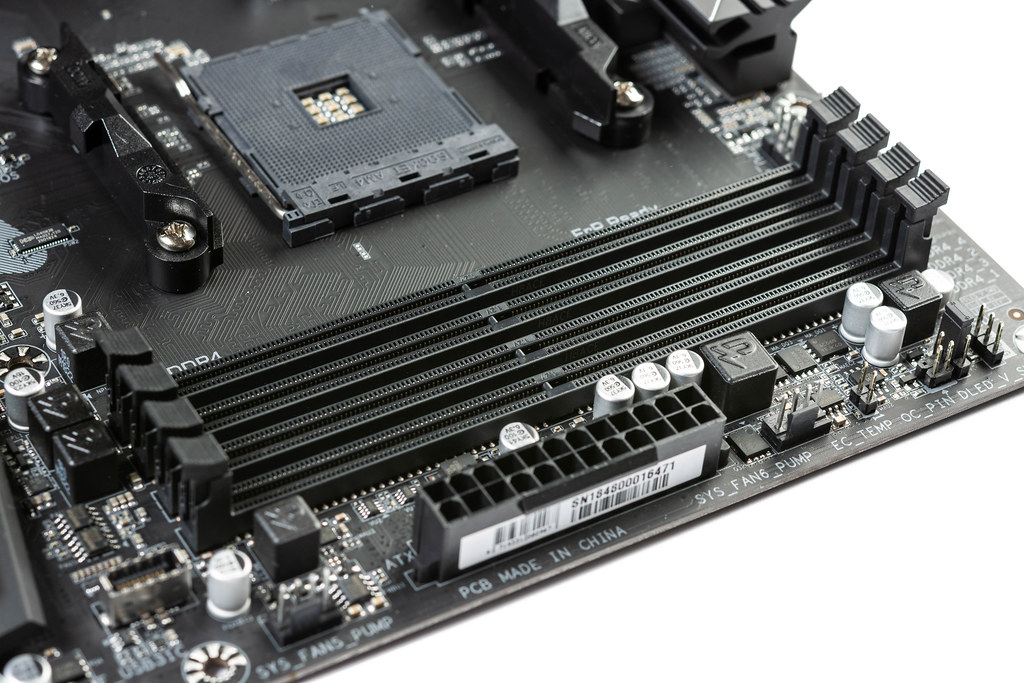
Check Your RAM: One common reason for an Acer laptop being stuck in an automatic repair loop is faulty RAM. To check if this is the issue, you can try reseating the RAM sticks. First, power off the laptop, remove the battery, and locate the RAM compartment.
Carefully remove the RAM sticks, clean the contacts, and reinsert them firmly. Power on the laptop and see if the issue persists. If the problem continues, you may need to replace the RAM sticks with new ones. This simple step can often resolve the automatic repair loop problem on Acer laptops.
Perform a Startup Repair
1. Boot your Acer laptop from a Windows installation USB or DVD.
2. Select “Repair your computer” once the Windows installation screen appears.
3. Choose “Troubleshoot” and then “Advanced options.”
4. Click on “Startup Repair” and follow the on-screen instructions to let Windows attempt to fix the issue.
If the Startup Repair doesn’t resolve the problem, you may need to consider other solutions such as resetting your PC or restoring it to a previous point.
Disable Automatic Repair at Boot
To disable Automatic Repair at boot on your Acer device, you can try the following steps. First, boot into the Windows Recovery Environment by restarting your computer and pressing F8 or Shift+F8 repeatedly. Then, select Troubleshoot > Advanced options > Command Prompt. In the Command Prompt window, type “bcdedit /set {default} recoveryenabled No” and press Enter. This will disable Automatic Repair at boot. Finally, restart your computer and check if the issue is resolved.
If you continue to experience the Automatic Repair loop, you may need to consider other solutions such as repairing your Windows installation or checking for hardware issues.
Reinstall Windows
To fix the Acer Automatic Repair Loop issue, one effective solution is to reinstall Windows. This can help resolve any software-related problems that may be causing the loop. First, create a Windows installation media using a USB flash drive or DVD. Then, boot your Acer computer from the installation media.
Follow the on-screen instructions to reinstall Windows on your system. Make sure to back up any important data before proceeding, as reinstalling Windows will erase all files on the computer. After the process is complete, your Acer should no longer be stuck in the Automatic Repair Loop.
Check the Hardware
| Hardware Component | Description |
|---|---|
| Hard Drive | Check if the hard drive is functioning properly and not corrupted. |
| RAM | Verify that the RAM modules are seated correctly and functioning without any issues. |
| Graphics Card | Ensure that the graphics card is properly connected and not causing any conflicts. |
| Processor | Check the CPU for any overheating issues or malfunctions that may be causing the automatic repair loop. |
| Power Supply | Inspect the power supply unit to make sure it is supplying enough power to the system. |
Frequently Asked Questions
How do I fix my Acer Automatic Repair loop?
To fix the Acer Automatic Repair loop, you can try resetting Windows by restarting your laptop and tapping on F9 to enter the recovery manager. Keep in mind that this process may result in data loss, but it can help resolve the restart loop issue.
Can automatic repair loop be fixed?
Automatic repair loops can be fixed by accessing the “Troubleshoot” menu, selecting “Advanced options,” and then using the “Command Prompt” to run the “chkdsk /r c:” command to check and repair drive errors.
How to hard reset acer laptop?
To hard reset an Acer laptop, you can press Alt + F10 during startup to access the recovery environment. From there, click on Troubleshoot, select Reset your PC, choose your preference for keeping personal files or removing everything, and follow the on-screen instructions to reset the laptop to factory settings.
How long does Windows Automatic Repair take?
Windows Automatic Repair can take anywhere from a few minutes to over an hour to complete, depending on the severity of the issue.


