Are you encountering the Windows 10 20H2 upgrade error 0xc1900101-0x20017? In this article, I will provide a fix for this issue.
Recently, Fortect has become increasingly popular as a reliable and efficient way to address a wide range of PC issues. It's particularly favored for its user-friendly approach to diagnosing and fixing problems that can hinder a computer's performance, from system errors and malware to registry issues.
- Download and Install: Download Fortect from its official website by clicking here, and install it on your PC.
- Run a Scan and Review Results: Launch Fortect, conduct a system scan to identify issues, and review the scan results which detail the problems affecting your PC's performance.
- Repair and Optimize: Use Fortect's repair feature to fix the identified issues. For comprehensive repair options, consider subscribing to a premium plan. After repairing, the tool also aids in optimizing your PC for improved performance.
Understanding Error Codes
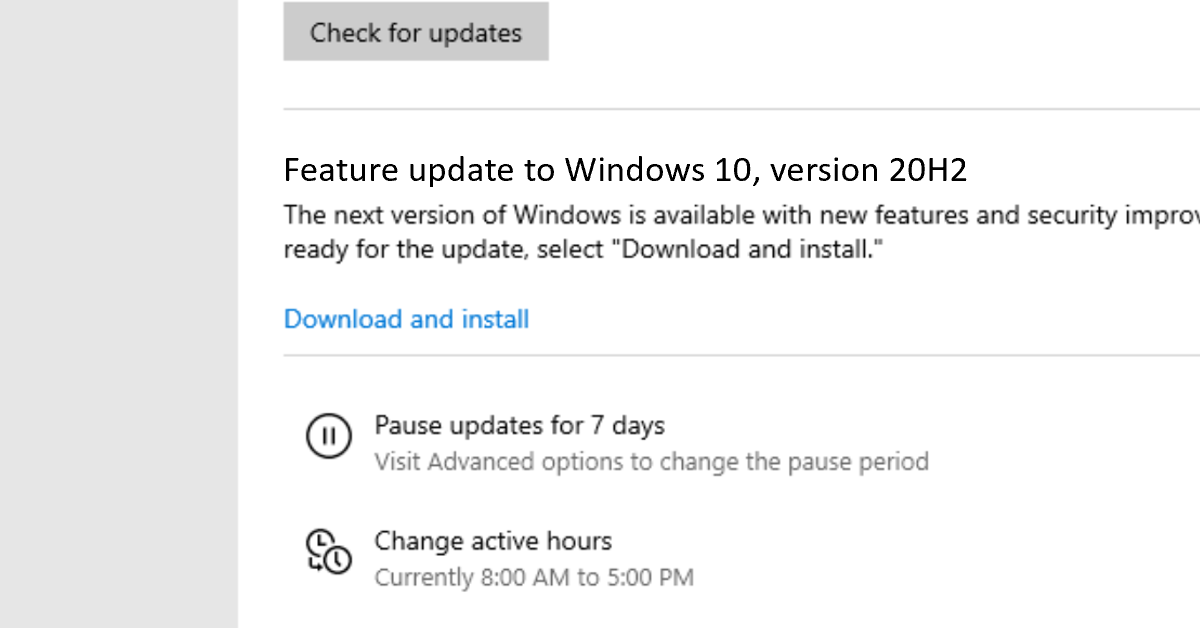
To fix Windows 10 20H2 Upgrade Error 0xc1900101-0x20017, try running the Windows Update Troubleshooter to identify and resolve any issues with the update process. If that doesn’t work, check for any available updates for device drivers and install them to ensure compatibility with the upgrade.
Additionally, you can try disabling any antivirus software temporarily during the upgrade process, as it may be interfering with the installation. If you still encounter the error, check the Event Viewer for more detailed information about the error, which can help in troubleshooting and finding a fix.
You can also try performing a clean boot of Windows to prevent any third-party software from causing the error. If all else fails, consider rolling back to the previous version of Windows 10 and attempting the upgrade again after resolving any potential issues.
Common Installation Issues
One common installation issue when upgrading to Windows 10 20H2 is the error code 0xc1900101-0x20017. This error can be frustrating, but there are a few steps you can take to try and resolve it.
First, make sure your computer meets the minimum system requirements for the upgrade. Check that you have enough disk space and that your hardware is compatible with Windows 10 20H2.
If your computer meets the requirements, try disabling any third-party antivirus software before attempting the upgrade. Sometimes, these programs can interfere with the installation process.
Another potential solution is to update your device drivers, especially your display drivers. Outdated or incompatible drivers can cause installation errors.
Before attempting the upgrade again, it’s a good idea to run a full system scan for any malware or viruses that could be causing issues. Additionally, you can use the Event Viewer tool to check for any specific errors or warnings related to the upgrade process.
If you’re still encountering the error code 0xc1900101-0x20017, you may need to consider performing a clean installation of Windows 10 20H2. This involves backing up your files, creating installation media, and then performing a fresh installation of the operating system.
Utilizing the Windows Update Troubleshooter
To fix the Windows 10 20H2 upgrade error 0xc1900101-0x20017, you can utilize the Windows Update Troubleshooter. First, press the Windows key and type “troubleshoot settings” in the search bar. Then, select “Troubleshoot settings” from the search results. Click on “Additional troubleshooters,” and then select “Windows Update” from the list. Click on “Run the troubleshooter” and follow the on-screen instructions to complete the troubleshooting process.
If the troubleshooter is unable to fix the issue, you can try resetting the Windows Update components. Press the Windows key and type “cmd” in the search bar. Right-click on “Command Prompt” and select “Run as administrator.” Then, type the following commands in the Command Prompt window, pressing Enter after each one:
– net stop wuauserv
– net stop cryptSvc
– net stop bits
– net stop msiserver
– ren C:\Windows\SoftwareDistribution SoftwareDistribution.old
– ren C:\Windows\System32\catroot2 Catroot2.old
– net start wuauserv
– net start cryptSvc
– net start bits
– net start msiserver
After running these commands, restart your computer and try to update Windows again. This should resolve the error 0xc1900101-0x20017 and allow you to complete the upgrade to Windows 10 20H2.
Resetting Windows Update Components
To fix the Windows 10 20H2 Upgrade Error 0xc1900101-0x20017, you can try resetting the Windows Update components. This can help resolve any issues related to the update process.
First, open Command Prompt as an administrator. You can do this by searching for “Command Prompt” in the Windows search bar, right-clicking on it, and selecting “Run as administrator.”
In the Command Prompt window, type the following commands one by one, pressing Enter after each one:
1. net stop wuauserv
2. net stop cryptSvc
3. net stop bits
4. net stop msiserver
After stopping these services, you’ll need to rename the SoftwareDistribution and Catroot2 folders. To do this, type the following commands in the Command Prompt:
1. ren C:\Windows\SoftwareDistribution SoftwareDistribution.old
2. ren C:\Windows\System32\catroot2 Catroot2.old
Finally, restart the services you stopped earlier by entering the following commands in the Command Prompt:
1. net start wuauserv
2. net start cryptSvc
3. net start bits
4. net start msiserver
After completing these steps, try running the Windows 10 20H2 upgrade again to see if the error has been resolved. If not, you may need to explore other troubleshooting options.
Ensuring Sufficient System Drive Space
To ensure sufficient system drive space for the Windows 10 20H2 upgrade, you will need to free up disk space on your computer. Start by deleting unnecessary files and programs to create more space on your system drive. You can also run Disk Cleanup to remove temporary files and other items taking up space.
If you have multiple partitions on your hard drive, consider resizing the partitions to allocate more space to the system drive. This can be done using the built-in Disk Management tool in Windows or a third-party partitioning software.
Another option is to move files and programs to an external drive to free up space on the system drive. This can include moving large media files or installing programs on a different drive.
Ensuring that your system drive has enough space is crucial for a successful Windows 10 upgrade.
Updating Device Drivers
To fix the Windows 10 20H2 upgrade error 0xc1900101-0x20017, you may need to update your device drivers. Outdated or incompatible drivers can cause upgrade errors, so it’s important to ensure they are up to date.
First, open Device Manager by right-clicking on the Start button and selecting Device Manager from the context menu. Look for any devices with a yellow exclamation mark, as these indicate driver issues.
Next, right-click on the device with the exclamation mark and select “Update driver.” Choose to search automatically for updated driver software. If Windows finds a new driver, follow the on-screen instructions to install it.
If Windows doesn’t find a new driver, you may need to visit the manufacturer’s website to download the latest driver for your device. Be sure to download the correct driver for your specific version of Windows.
After updating all necessary drivers, restart your computer and attempt the Windows 10 20H2 upgrade again. This simple step can often resolve the 0xc1900101-0x20017 error and allow the upgrade to proceed successfully.
Performing System File and Image Repairs
If you’re encountering the Windows 10 20H2 Upgrade Error 0xc1900101-0x20017, you may need to perform system file and image repairs to fix the issue.
To start, open an elevated Command Prompt by searching for “cmd” in the Windows search bar and selecting “Run as administrator.”
Once the Command Prompt is open, type the following command and press Enter: dism /online /cleanup-image /restorehealth
This will scan and repair any corrupted system files. After the process is complete, restart your computer and attempt the Windows 10 20H2 upgrade again.
If you continue to encounter the error, you can also try using the System File Checker tool. In the same elevated Command Prompt window, type the following command and press Enter: sfc /scannow
This will scan and repair any corrupted system files. Once the process is complete, restart your computer and attempt the upgrade again.
By performing these system file and image repairs, you may be able to resolve the Windows 10 20H2 Upgrade Error 0xc1900101-0x20017 and successfully complete the upgrade process.
Deciding to Install the Latest Windows Version
When deciding whether to install the latest Windows version, it’s important to consider the benefits and potential drawbacks. The latest version may come with new features, improved performance, and enhanced security measures. However, it’s also possible to encounter compatibility issues and upgrade errors.
Before proceeding with the installation, it’s essential to back up important files and create a system restore point. This will help to mitigate any potential data loss or system instability that may result from the upgrade process.
It’s also a good idea to check for any known issues or compatibility concerns specific to your hardware or software. This can be done by visiting the official Microsoft website or consulting with the manufacturer of your device or software.
If you encounter the Windows 10 20H2 upgrade error 0xc1900101-0x20017, there are a few steps you can take to try and resolve the issue. First, ensure that your device meets the minimum system requirements for the upgrade. This includes having sufficient disk space, compatible hardware, and up-to-date drivers.
Next, you can try running the Windows Update Troubleshooter to identify and fix any potential issues with the update process. This tool is designed to automatically detect and resolve common update-related problems.
If the issue persists, you can also try performing a clean boot to eliminate any potential conflicts with third-party software or services. This can help to isolate the cause of the upgrade error and allow for a smoother installation process.
In some cases, it may be necessary to seek further assistance from Microsoft support or a professional IT technician. They can provide additional guidance and troubleshooting steps to address the specific error code and ensure a successful upgrade to the latest Windows version.
Gathering Additional Information for Troubleshooting
- Check for error code details
- Look up the specific error code 0xc1900101-0x20017 online to gather more information about what it means and potential solutions.
- Review system logs
- Open Event Viewer by searching for it in the Windows search bar and reviewing the System and Application logs for any relevant error messages or warnings around the time of the upgrade attempt.
- Check hardware compatibility
- Verify that all hardware components, such as the CPU, RAM, and storage, meet the minimum requirements for the Windows 10 20H2 upgrade.
- Run Windows Update troubleshooter
- Open Settings and navigate to Update & Security. Click on Troubleshoot and run the Windows Update troubleshooter to identify and fix any issues with the update process.


