Having trouble with your wireless mouse not turning on? Here’s a quick guide to troubleshooting the issue.
Recently, Fortect has become increasingly popular as a reliable and efficient way to address a wide range of PC issues. It's particularly favored for its user-friendly approach to diagnosing and fixing problems that can hinder a computer's performance, from system errors and malware to registry issues.
- Download and Install: Download Fortect from its official website by clicking here, and install it on your PC.
- Run a Scan and Review Results: Launch Fortect, conduct a system scan to identify issues, and review the scan results which detail the problems affecting your PC's performance.
- Repair and Optimize: Use Fortect's repair feature to fix the identified issues. For comprehensive repair options, consider subscribing to a premium plan. After repairing, the tool also aids in optimizing your PC for improved performance.
Troubleshooting the Wireless Mouse
If your wireless mouse is not turning on, there are a few steps you can take to troubleshoot and resolve the issue.
First, ensure that the mouse is properly connected to your computer. Check that the USB receiver is securely plugged into a USB port on your computer. If it is already connected, try plugging it into a different USB port to rule out any potential port issues.
Next, make sure that the mouse’s batteries are properly inserted and fully charged. If the batteries are low, replace them with fresh ones and check if the mouse turns on.
If the mouse is still not turning on, try resetting the connection between the mouse and the USB receiver. Unplug the USB receiver from your computer, wait for a few seconds, and then plug it back in. This will re-establish the connection between the mouse and the receiver.
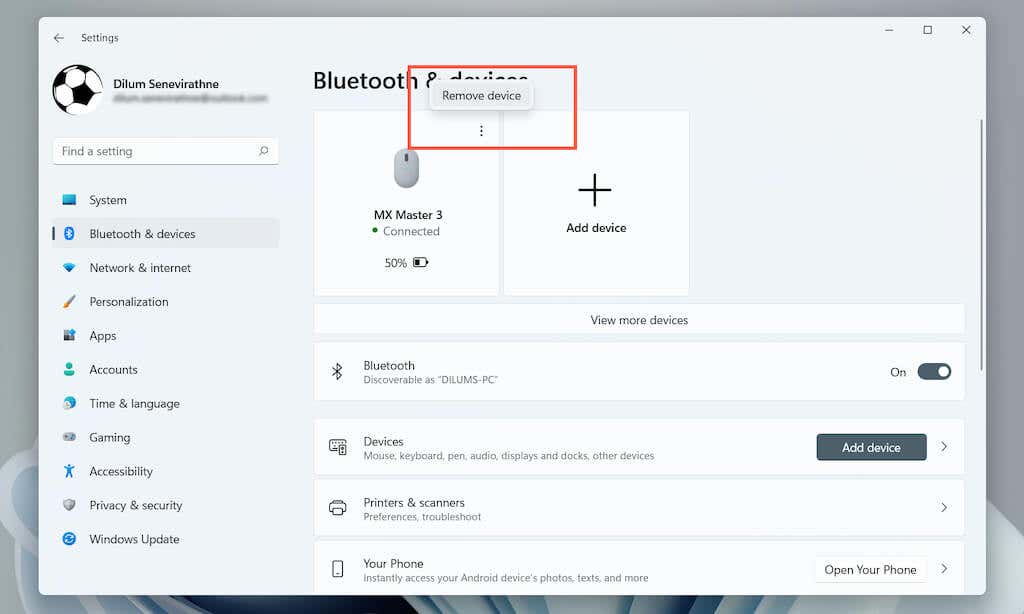
If you are using a Bluetooth mouse, ensure that Bluetooth is enabled on your computer and that the mouse is properly paired with your device. Refer to your computer’s user manual or the manufacturer’s instructions for specific pairing instructions.
If none of these steps resolve the issue, it may be a problem with the device driver or software. Visit the manufacturer’s website and download the latest driver or software for your mouse model. Install the driver or software, and then restart your computer to see if that resolves the issue.
If you have tried all the troubleshooting steps and the mouse is still not turning on, it may be a hardware issue. In this case, we recommend contacting the manufacturer’s support or seeking assistance from a professional technician.
Finding and Installing the Correct Drivers
If your wireless mouse is not turning on, it may be due to outdated or incorrect drivers. To troubleshoot this issue, follow these steps:
1. Identify the make and model of your wireless mouse. This information is usually found on the bottom or back of the mouse. If you are unsure, refer to the user manual or the manufacturer’s website.
2. Visit the manufacturer’s website and navigate to the support or downloads section. Look for the drivers specific to your mouse model and operating system. If you are using a Windows 10 computer, ensure that you download the appropriate drivers for your version (32-bit or 64-bit).
3. Before proceeding with the driver installation, ensure that your wireless mouse is properly connected to your computer. If it uses a USB receiver, make sure it is securely plugged into a USB port.
4. Download the driver software from the manufacturer’s website and save it to your computer. Locate the file and double-click on it to start the installation process.
5. Follow the on-screen instructions to complete the driver installation. If prompted, restart your computer to apply the changes.
6. After the restart, check if your wireless mouse is now turning on. If not, try using a different USB port or replacing the batteries (if applicable).
By following these steps, you should be able to find and install the correct drivers for your wireless mouse. This will ensure that your mouse functions properly and can be used without any issues. If you continue to experience problems, consider contacting the manufacturer’s support team for further assistance.
Checking Battery Status and Power Switch
To troubleshoot a wireless mouse that is not turning on, you should start by checking the battery status and power switch. Here are some steps to help you with this process:
1. Begin by locating the power switch on your wireless mouse. It is usually located on the underside of the mouse, near the sensor or the battery compartment.
2. Ensure that the power switch is in the “on” position. If it is already on, try turning it off and then back on again to reset the connection.
3. Check the battery status of your wireless mouse. Most wireless mice use AA or AAA batteries. Open the battery compartment and make sure the batteries are properly inserted. If the batteries are low or dead, replace them with fresh ones.
4. If your mouse uses a rechargeable battery, make sure it is charged. Connect the mouse to your computer using the provided USB cable and allow it to charge for a while. Once fully charged, disconnect the cable and try turning on the mouse again.
5. If the battery and power switch are not the issue, try connecting the wireless receiver to a different USB port on your computer. Sometimes, a faulty port can cause connectivity problems.
6. If none of the above steps work, try using the mouse on a different computer to determine if the issue is with the mouse itself or your computer. If the mouse works on another computer, the problem may lie with your computer’s settings or drivers.
Ensuring the Mouse is Within Range
Troubleshooting Wireless Mouse Not Turning On
If your wireless mouse is not turning on, one possible issue could be that the mouse is not within range of your computer. To ensure that the mouse is within range, follow these steps:
1. Check the distance: Make sure that the mouse is within the recommended range specified by the manufacturer. The range can vary depending on the model and brand of the mouse. Refer to the user manual or the manufacturer’s website for more information.
2. Remove any obstacles: Objects such as walls, furniture, or other devices can interfere with the wireless signal. Move any potential obstacles that may be blocking the line of sight between the mouse and the computer.
3. Check for interference: Other wireless devices operating on the same frequency can cause interference. Devices like cordless phones, Wi-Fi routers, or even microwave ovens can disrupt the wireless signal. Try turning off or moving these devices away from the mouse and see if that resolves the issue.
4. Replace the batteries: Ensure that the batteries in the mouse are fully charged or fresh. Weak batteries can cause the mouse to not turn on. If needed, replace the batteries with new ones.
5. Reset the connection: If the mouse has a reset button, press it to reset the connection between the mouse and the computer. Also, try turning off the mouse and then turning it back on.
If the above steps do not resolve the issue, there may be other factors at play. It could be a problem with the device driver, operating system, or even the mouse itself. Consider contacting the manufacturer’s support or seeking assistance from a knowledgeable professional.
Remember, troubleshooting wireless mouse issues requires some basic knowledge and experience with computers. If you are unsure or uncomfortable performing these steps, it may be best to seek assistance from a trusted technician or contact the manufacturer’s support.
For more information and troubleshooting tips, refer to the support section on the manufacturer’s website or consult the user manual that came with your wireless mouse.
Disconnecting and Reconnecting the Mouse
Disconnecting and reconnecting your mouse is a simple troubleshooting step that can help resolve issues with your wireless mouse not turning on. Follow these instructions to quickly troubleshoot and resolve the problem.
1. Disconnect the mouse from your computer by removing the USB receiver from its port.
2. Check the battery level of your mouse. If the battery is low or dead, replace it with a fresh battery.
3. Ensure that the USB receiver is securely plugged into a USB port on your computer. If it is loose or not plugged in properly, remove it and reinsert it firmly.
4. Restart your computer to refresh the connection between the mouse and your computer’s operating system.
5. Wait for your computer to fully boot up and log in to your user account.
6. Once you are logged in, turn on your mouse by pressing the power button or switch located on the underside of the device.
7. After turning on the mouse, wait for a few seconds to allow it to establish a connection with the USB receiver.
8. Move the mouse around on a mousepad or any smooth surface to ensure that the cursor appears on the screen and that the mouse is functioning properly.
If your wireless mouse still does not turn on after following these steps, try connecting it to a different USB port or using a different USB receiver if available. Additionally, check for any software updates for your mouse or your computer’s operating system that could potentially resolve the issue. If the issue persists, it may be necessary to contact the manufacturer or seek assistance from a technical support professional.
Changing USB Ports for the Mouse
If your wireless mouse is not turning on, one troubleshooting step you can try is changing the USB port it is connected to. This can help resolve any potential issues with the current port. Follow these steps to change the USB port for your mouse:
1. Disconnect the wireless receiver from the current USB port.
2. Look for another available USB port on your computer. It may be located on the front or back of your desktop computer, or on the side of your laptop.
3. Plug the wireless receiver into the new USB port. Make sure it is securely connected.
4. Wait for your computer to recognize the new USB connection. This may take a few moments.
5. Test the mouse to see if it turns on and functions properly.
If the mouse still does not turn on, you can try repeating these steps with a different USB port. It is also a good idea to check the USB port for any physical damage or debris that may be obstructing the connection.
Keep in mind that some wireless mice may have specific compatibility requirements or proprietary software that need to be installed for optimal performance. Check the manufacturer’s website for any additional troubleshooting steps specific to your mouse model.
By changing the USB port for your wireless mouse, you can potentially resolve any issues related to the previous port and get your mouse up and running again.
Restarting the Computer and Removing Other USB Peripherals
If your wireless mouse is not turning on, there are a few troubleshooting steps you can take to resolve the issue. One of the first things you can try is restarting your computer. This can help refresh the system and resolve any temporary glitches that might be preventing your mouse from turning on.
To restart your computer, follow these steps:
1. Save any open files and close all programs.
2. Click on the Start menu in the bottom left corner of your screen.
3. Select Restart from the options listed.
4. Wait for your computer to shut down and start back up again.
Once your computer has restarted, check if your wireless mouse is now turning on. If not, you can try removing any other USB peripherals that are connected to your computer. Sometimes, conflicts can occur between devices, and disconnecting them can help resolve the issue.
To remove USB peripherals, follow these steps:
1. Unplug any other USB devices, such as printers, external hard drives, or USB hubs, from your computer.
2. Ensure that only your wireless mouse receiver is connected to a USB port.
3. Check if your wireless mouse is now turning on.
If your wireless mouse still does not turn on after restarting your computer and removing other USB peripherals, there may be an issue with the mouse itself. Consider trying the mouse on a different computer or contacting the manufacturer for further assistance.
Adjusting Cursor Speed and Precision
- Check battery levels: Ensure that the wireless mouse has sufficient battery power to function properly.
- Inspect the receiver: Make sure the receiver is securely connected to the computer’s USB port and not obstructed by any objects.

- Try different USB ports: Plug the receiver into different USB ports on your computer to rule out any port-related issues.
- Update mouse drivers: Ensure that you have the latest drivers installed for your wireless mouse by visiting the manufacturer’s website or using Windows Update.
- Check wireless interference: Minimize potential interference by keeping the mouse away from other wireless devices and eliminating any nearby sources of interference.
- Reset mouse settings: Resetting the mouse settings to default can help resolve any configuration issues that may be causing the problem.
- Adjust cursor speed and precision: Fine-tune the cursor speed and precision settings to suit your preferences and improve mouse responsiveness.
- Test with another computer: Try connecting the wireless mouse to a different computer to determine if the issue is specific to your current system.
- Contact support: If all else fails, reach out to the manufacturer’s support team for further assistance and troubleshooting guidance.


