Do you struggle with extreme static noise on your microphone? Find out the reasons behind it and how to reduce it effectively.
Recently, Fortect has become increasingly popular as a reliable and efficient way to address a wide range of PC issues. It's particularly favored for its user-friendly approach to diagnosing and fixing problems that can hinder a computer's performance, from system errors and malware to registry issues.
- Download and Install: Download Fortect from its official website by clicking here, and install it on your PC.
- Run a Scan and Review Results: Launch Fortect, conduct a system scan to identify issues, and review the scan results which detail the problems affecting your PC's performance.
- Repair and Optimize: Use Fortect's repair feature to fix the identified issues. For comprehensive repair options, consider subscribing to a premium plan. After repairing, the tool also aids in optimizing your PC for improved performance.
Troubleshooting Audio Feedback Issues
– Check the microphone and cable connections for any loose or damaged components.
– Make sure the microphone is not placed too close to the amplifier or loudspeakers to avoid feedback.
– Use headphones to monitor the audio and adjust the microphone gain to an appropriate level.
– If using a USB microphone, try using a different USB port on your computer to rule out any connectivity issues.
– Consider using a ground loop isolator to reduce electromagnetic interference if you are experiencing buzzing or humming sounds.
– Soundproof the recording area or use a noise gate plugin to eliminate background noise and improve audio quality.
– Test the microphone on a different device to determine if the issue is with the microphone or the recording equipment.
– If the microphone has a pickup pattern selector, adjust it to a setting that best suits your recording environment.
– Consider using a different microphone if the issue persists, as the problem may be with the microphone itself.
– Consult with a professional audio technician if you are unable to resolve the issue on your own.
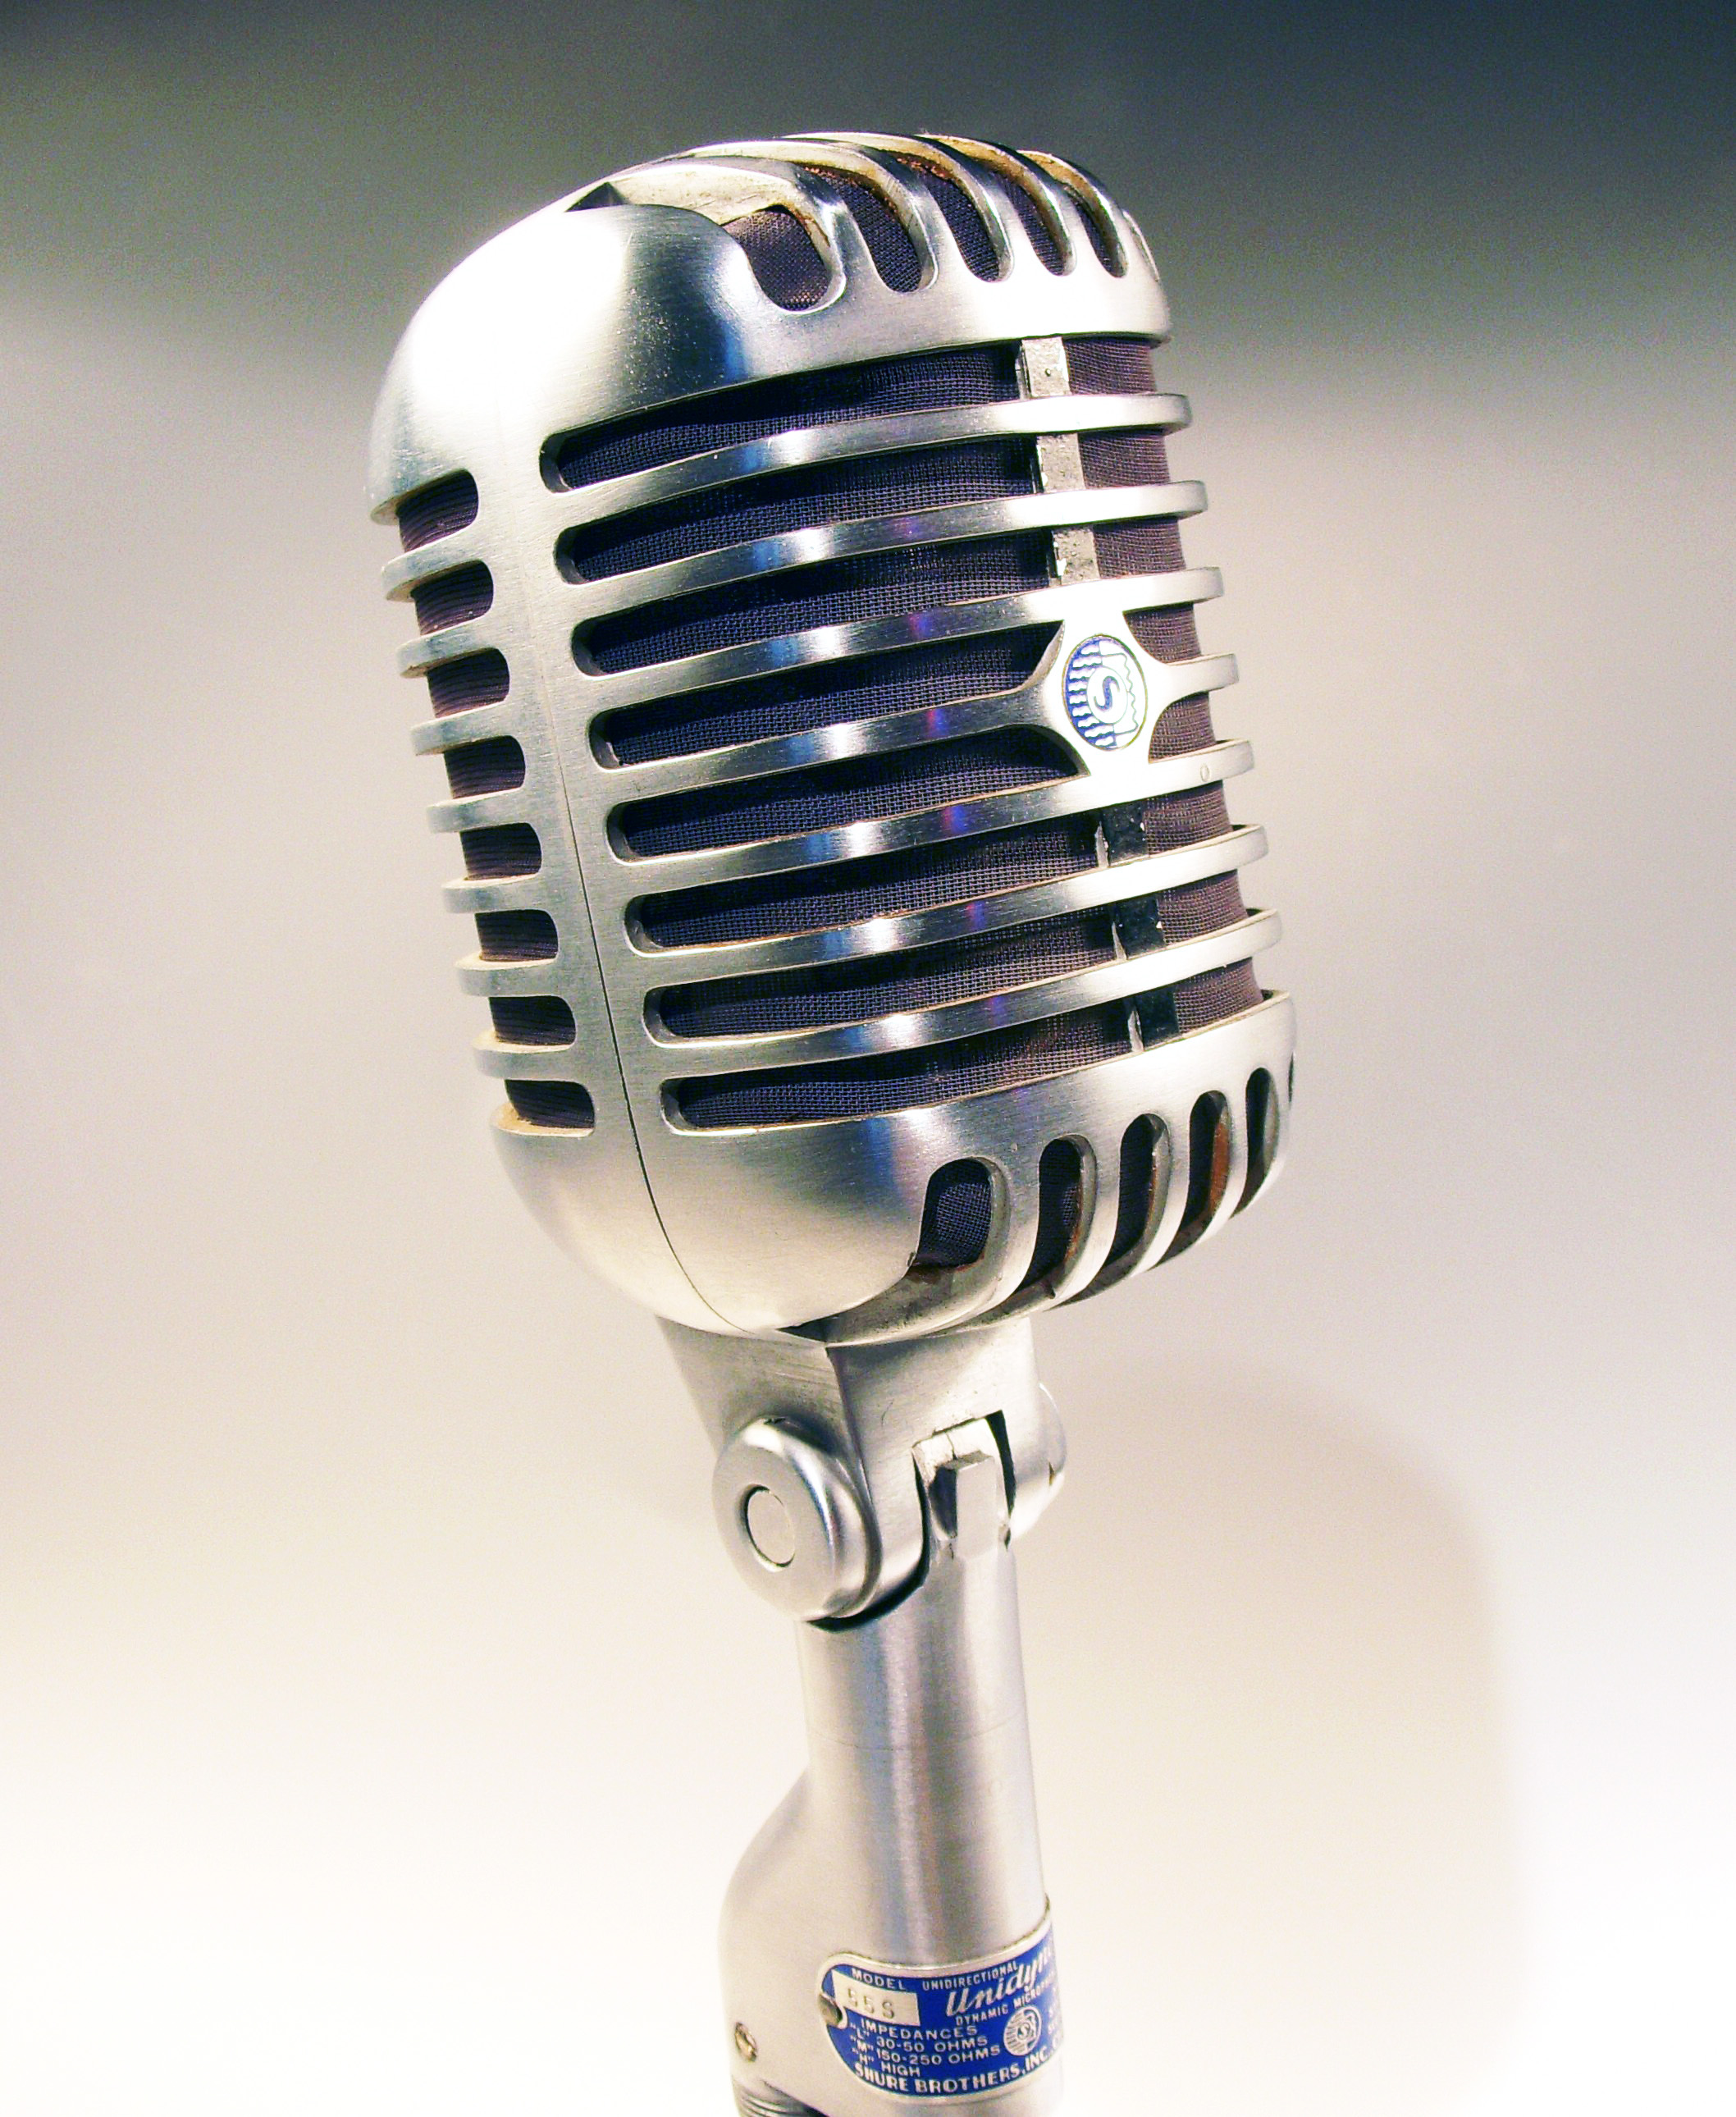
Assessing Microphone and Cable Quality
| Aspect | Assessment |
|---|---|
| Microphone Quality | Check for any physical damage to the microphone, test it on different devices to rule out any issues with the device it’s connected to. |
| Cable Quality | Inspect the cable for any visible damage or wear, test with a different cable to see if the static noise persists. |
| Interference | Check for any nearby electronic devices or power sources that could be causing interference with the microphone signal. |
| Grounding | Ensure that the microphone and audio interface are properly grounded to prevent static noise. |
Understanding RF and Wireless Interference
RF and Wireless Interference can cause extreme static noise in your microphone. This interference can be caused by a variety of factors including nearby electronic devices, power sources, or even other wireless signals. To reduce this interference, you can take a few steps to minimize the impact on your microphone’s performance.
First, try changing the location of your microphone or the positioning of your wireless equipment. Move your microphone away from other electronic devices and power sources to reduce interference. Additionally, consider using shielded cables to minimize the impact of electromagnetic interference on your microphone’s signal.
Another effective way to reduce interference is to use a different frequency for your wireless microphone system. Changing the frequency can help avoid interference from other wireless devices in the area. Be sure to check the user manual for your microphone system to see if it offers multiple frequency options.
Lastly, consider using a high-quality, well-shielded microphone cable. Investing in a good quality cable can help reduce the impact of electromagnetic interference on your microphone’s signal. Additionally, using balanced XLR cables can help minimize interference and improve the overall performance of your microphone.
Resolving Static in Post-Production
To resolve static in post-production, start by identifying the source of the static. Check the microphone and its connections for any issues such as loose cables or faulty connectors. Ensure that the microphone is properly connected to the audio interface or recording device to minimize static noise.
If the static persists, consider using a different microphone to see if the issue is with the specific device. Test the microphone with different audio equipment to determine if the static noise is consistent across different setups.
In post-production, use audio editing software to reduce static noise. Apply a noise gate or a noise reduction filter to the audio track to minimize static interference. Experiment with different settings to find the most effective solution for your specific recording.
Additionally, be mindful of the recording environment. Soundproof the recording space to minimize background noise that can contribute to static interference. Consider using a pop filter or windscreen to reduce any unwanted noise from breath or mouth movements during recording.
Regularly maintain and clean your microphone to prevent static noise caused by dust or debris. Use a soft brush or compressed air to gently clean the microphone diaphragm and its components.
By addressing these factors, you can effectively reduce static noise in your microphone recordings and improve the overall audio quality of your content.