Having trouble importing photos from your iPhone to your Windows 10 computer? Let’s explore the potential reasons behind this issue and find effective solutions.
Recently, Fortect has become increasingly popular as a reliable and efficient way to address a wide range of PC issues. It's particularly favored for its user-friendly approach to diagnosing and fixing problems that can hinder a computer's performance, from system errors and malware to registry issues.
- Download and Install: Download Fortect from its official website by clicking here, and install it on your PC.
- Run a Scan and Review Results: Launch Fortect, conduct a system scan to identify issues, and review the scan results which detail the problems affecting your PC's performance.
- Repair and Optimize: Use Fortect's repair feature to fix the identified issues. For comprehensive repair options, consider subscribing to a premium plan. After repairing, the tool also aids in optimizing your PC for improved performance.
Importing Photos from iPhone to Windows 10
To import photos from your iPhone to a Windows 10 computer, follow these steps:
1. Connect your iPhone to your computer using a USB cable. Make sure your iPhone is unlocked and the screen is lit up.
2. On your computer, open the Photos app. If you don’t have it, you can download it for free from the Microsoft Store.
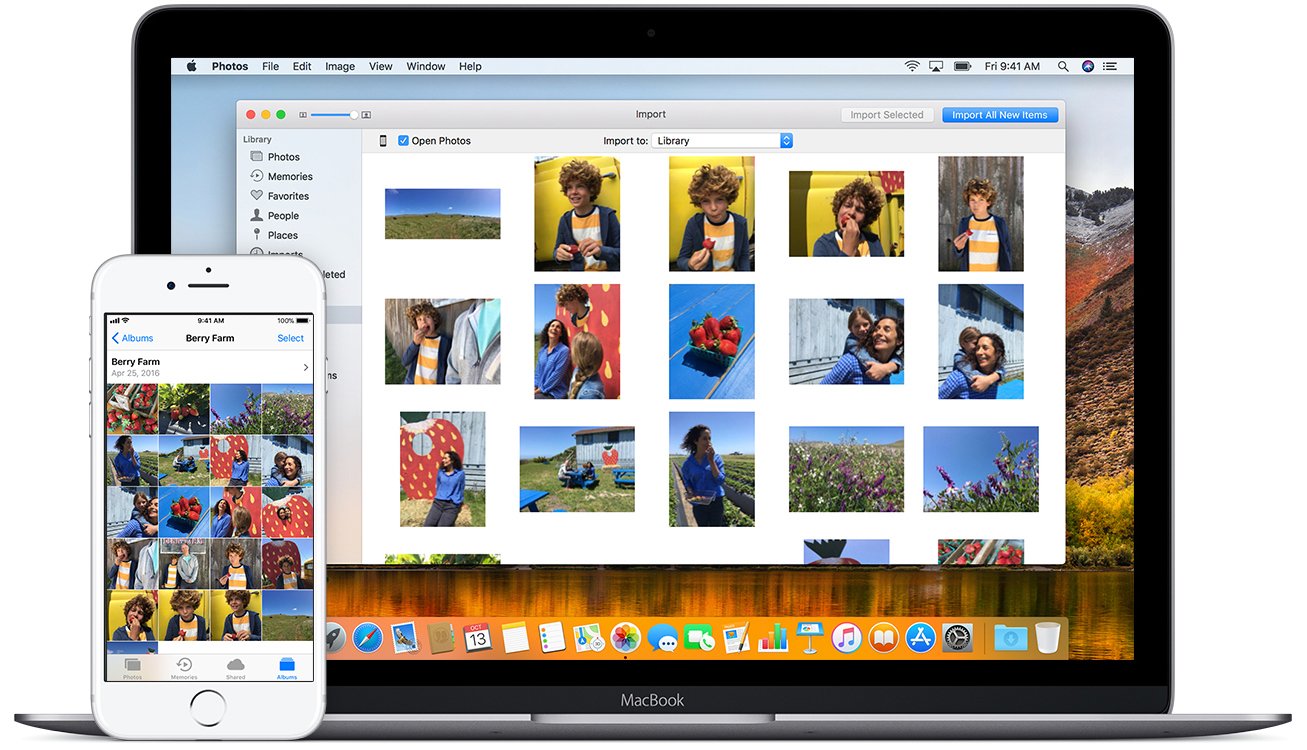
3. In the Photos app, click on the “Import” button located at the top right corner of the window.
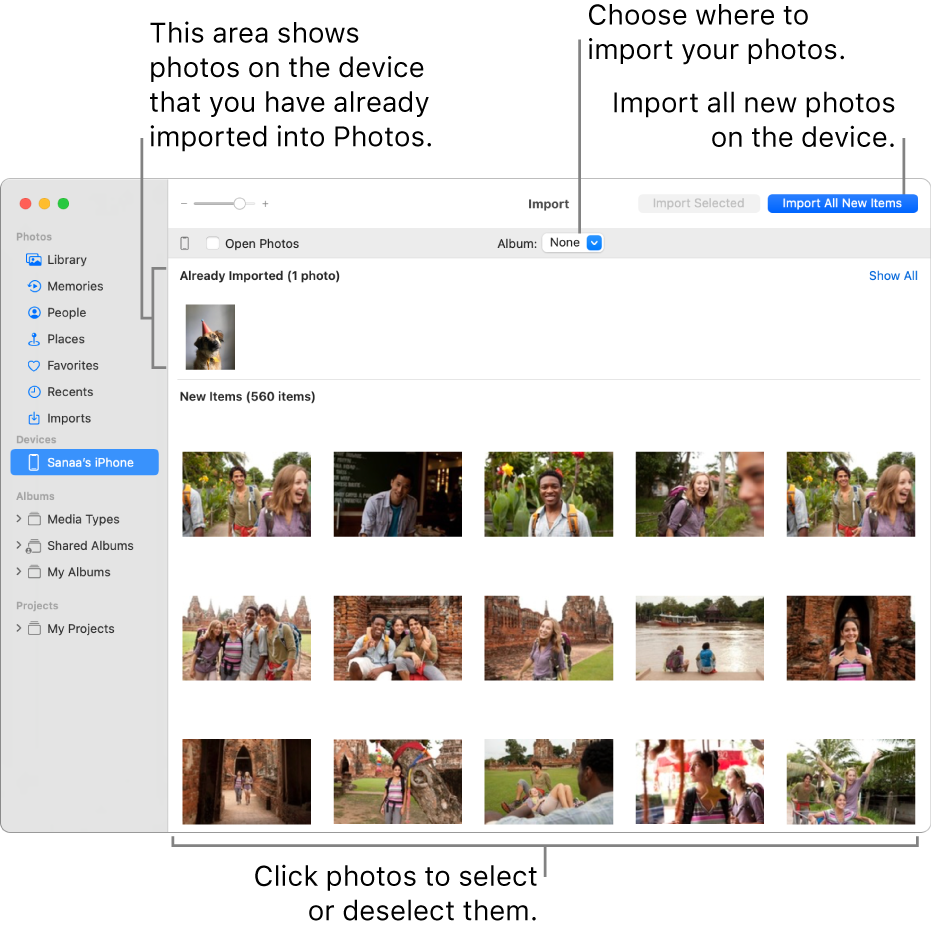
4. A pop-up window will appear, showing all the available photos and videos on your iPhone. If you only want to import certain photos or videos, click on the ones you want to import. To import all of them, click on the “Import all new items” button.
5. Choose where you want to save the imported photos and videos on your computer. You can create a new folder or select an existing one.
6. Click on the “Import” button to start the import process. The Photos app will begin transferring the selected photos and videos from your iPhone to your computer.
7. Once the import is complete, you can disconnect your iPhone from the computer.
Please note that if you have iCloud Photos enabled on your iPhone, the photos and videos may already be available in the Photos app on your Windows 10 computer. You can also access them through File Explorer by going to “This PC” and selecting your iPhone under “Devices and drives.”
If you encounter any issues during the import process, make sure your iPhone is not locked or asleep, and check that you have the latest version of iTunes installed on your computer. Additionally, ensure that you have enough storage space on your computer and that the USB cable you’re using is in good condition.
Troubleshooting Solutions for Importing iPhone Photos to Windows 10
-
Check USB Connection:
- Make sure the iPhone is properly connected to the computer using a USB cable.
- If using a third-party cable, try using the original Apple cable.

- Try connecting the iPhone to a different USB port on the computer.
- Restart both the iPhone and the computer to reset the connection.
-
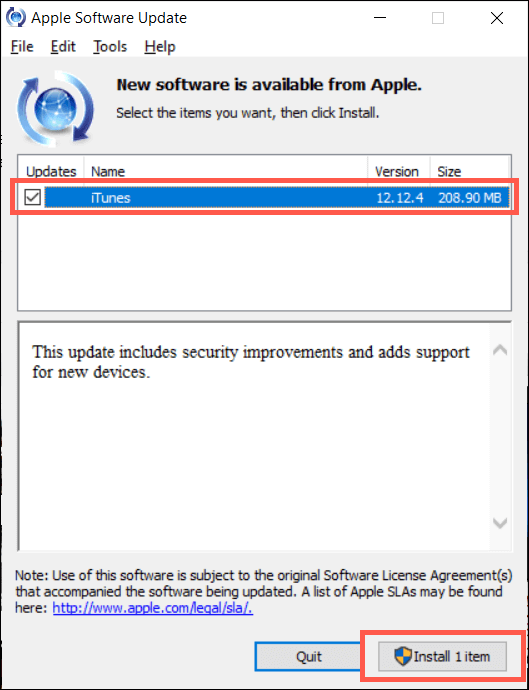
Update iTunes:
- Ensure that you have the latest version of iTunes installed on your computer.
- If an update is available, download and install it from the Apple website or through the Microsoft Store.
-
Trust the Computer:
- On the iPhone, when prompted with a Trust This Computer message, tap on Trust.
- If the prompt does not appear, unlock the iPhone and reconnect it to the computer.

-
Restart Apple Mobile Device Service:
- Press Win + R to open the Run dialog box.
- Type services.msc and press Enter to open the Services window.
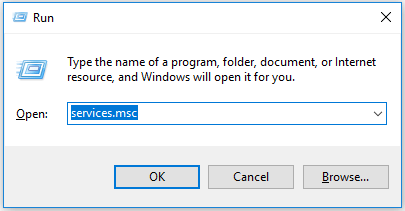
- Scroll down and locate Apple Mobile Device Service.
- Right-click on it and select Restart.
- After the service restarts, try importing the photos again.
-
Update iPhone Driver:
- Right-click on the Start button and select Device Manager.
- Expand the Portable Devices section.
- Right-click on Apple iPhone or Apple Mobile Device USB Driver and select Update driver.
- Choose the option to Search automatically for updated driver software.
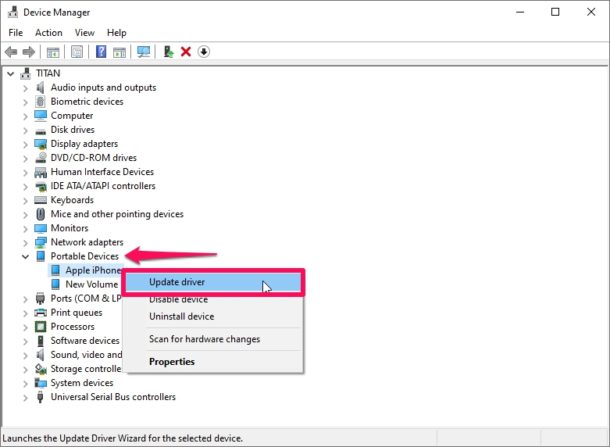
- Follow the on-screen instructions to complete the driver update.
-
Disable iCloud Photo Library:
- Open iTunes and connect the iPhone to the computer.
- Select the device icon in iTunes.
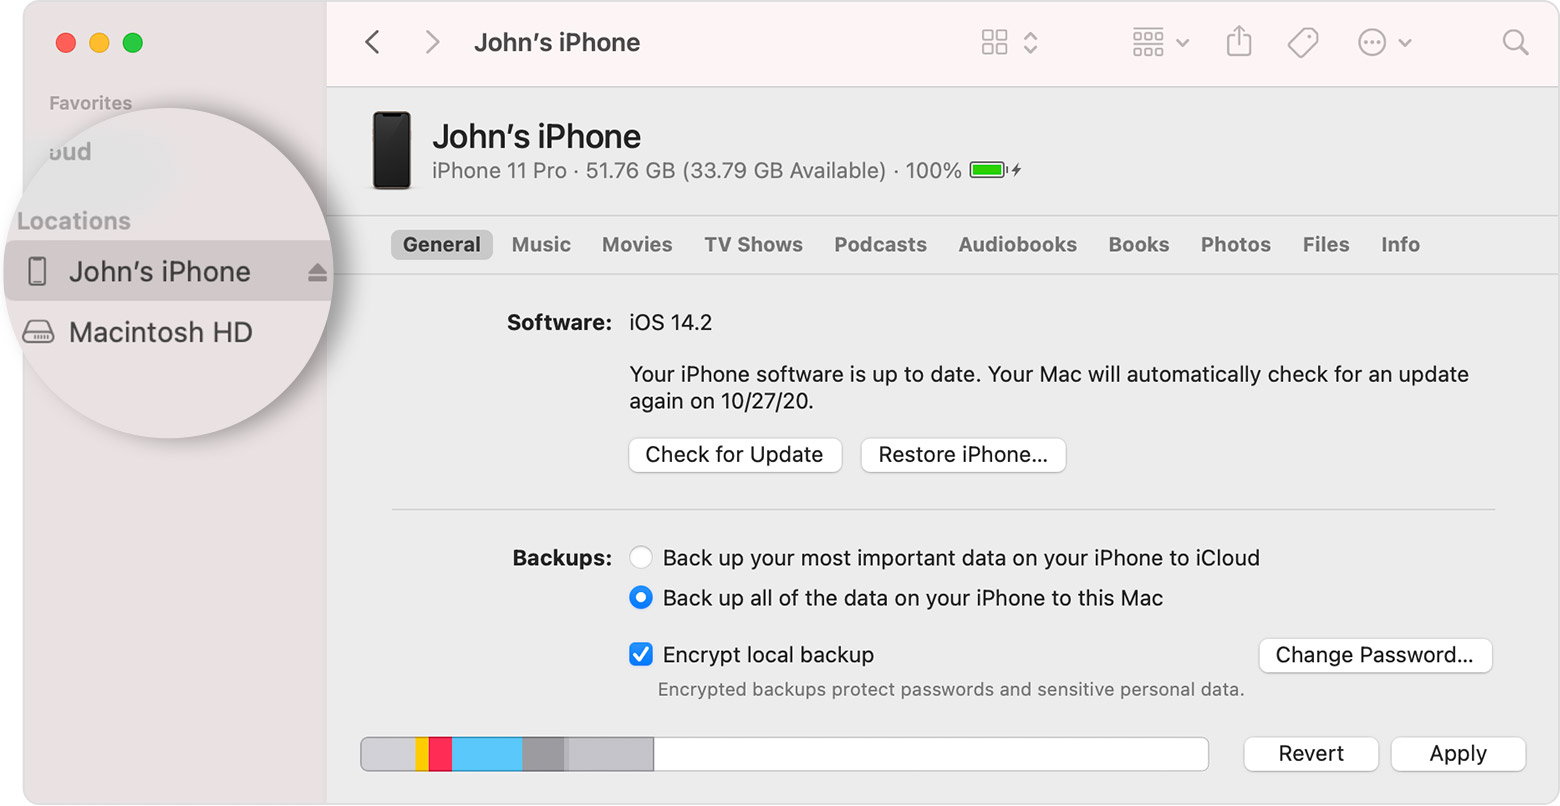
- In the Summary tab, uncheck the option for iCloud Photo Library.
- Click on Apply to save the changes.
-
Use Windows Photos App:
- Open the Windows Photos app on your computer.
- Connect the iPhone to the computer using a USB cable.

- In the Photos app, click on the Import button.
- Select the photos you want to import and click on Import again.
Alternative Methods to Transfer Photos from iPhone to Windows 10
If you’re having trouble importing photos from your iPhone to Windows 10, there are alternative methods you can try. Here are a few options to consider:
1. Use the Photos app: Connect your iPhone to your Windows 10 computer using a USB cable. Open the Photos app on your computer, and click on the “Import” button at the top right corner. Select the photos you want to transfer and click “Import Selected” or “Import All.” The photos will be saved to the Pictures folder on your computer.
2. Use File Explorer: Connect your iPhone to your Windows 10 computer using a USB cable. Open File Explorer and locate your iPhone under “This PC.” Double-click on your iPhone, then open the “Internal Storage” or “DCIM” folder. Select the photos you want to transfer, right-click, and choose “Copy.” Navigate to the folder where you want to save the photos on your computer, right-click, and choose “Paste.”
3. Use iCloud Photos: If you have iCloud Photos enabled on your iPhone, you can access your photos on any Windows 10 computer. Open a web browser and go to iCloud.com. Sign in with your Apple ID and password. Click on “Photos” and select the photos you want to download. Click on the download icon at the top right corner to save the photos to your computer.
python

import time

import pyautogui
# Wait for user to connect iPhone to the computer
input("Please connect your iPhone to the computer and press Enter to continue...")
# Open the Photos app on iPhone
pyautogui.hotkey('win', 'r')
pyautogui.typewrite("cmd /c start ms-photos://")
pyautogui.press('enter')
# Wait for the Photos app to open
time.sleep(5)
# Simulate clicking on 'Import' button
pyautogui.moveTo(100, 100) # Adjust the coordinates based on your screen resolution
pyautogui.click()
# Wait for the import process to complete
time.sleep(30) # Adjust the duration based on the size of the photo library
# Simulate clicking on 'Done' button
pyautogui.moveTo(200, 200) # Adjust the coordinates based on your screen resolution
pyautogui.click()
Please note that this is a basic example using the `pyautogui` library to automate clicks on the screen. It assumes that the Photos app on your iPhone is already open and positioned correctly for the clicks to work. Additionally, the coordinates used for mouse movements and clicks may need to be adjusted based on your screen resolution and the position of the Photos app window.
It’s important to remember that this code may not be reliable in all scenarios and may not cover all possible cases. Importing photos from an iPhone to Windows 10 is typically done using official software such as iTunes or the built-in Photos app, which provide a more seamless and reliable experience.
Tips for Successful Photo Import from iPhone to Windows 10
- Ensure your iPhone is unlocked – Before attempting to import photos, make sure your iPhone is unlocked and the home screen is visible.
- Use a compatible USB cable – Connect your iPhone to your Windows 10 PC using a USB cable that is compatible with both devices.
- Trust the computer – When prompted on your iPhone, tap “Trust” to establish a secure connection between your iPhone and Windows 10.
- Open the Photos app – Launch the Photos app on your Windows 10 PC by searching for it in the Start menu or clicking on the app icon in the taskbar.
- Navigate to the Import section – Within the Photos app, locate and click on the “Import” option usually found in the upper-right corner of the window.
- Select your iPhone – From the list of available devices, click on the name of your iPhone to initiate the import process.
- Choose the photos you want to import – Select the specific photos you wish to import by clicking on their respective checkboxes. Alternatively, you can choose to import all photos at once.
- Specify the import destination – Decide where you want to save the imported photos on your Windows 10 PC by selecting a destination folder.
- Adjust import settings – Customize the import settings according to your preferences, such as renaming files or creating folders based on the date.
- Start the import process – Click on the “Import” button to begin transferring the selected photos from your iPhone to your Windows 10 PC.
- Wait for the import to complete – Be patient while the Photos app imports the selected photos. The time required may vary depending on the number and size of the photos.
- Review your imported photos – Once the import is finished, you can go through the imported photos and organize them within the Photos app or move them to different folders.
- Eject your iPhone – Safely disconnect your iPhone from your Windows 10 PC by clicking on the “Eject” button next to your device’s name in the Photos app.