
In this tutorial, I will guide you on how to turn search indexing back on in Windows 11.
Recently, Fortect has become increasingly popular as a reliable and efficient way to address a wide range of PC issues. It's particularly favored for its user-friendly approach to diagnosing and fixing problems that can hinder a computer's performance, from system errors and malware to registry issues.
- Download and Install: Download Fortect from its official website by clicking here, and install it on your PC.
- Run a Scan and Review Results: Launch Fortect, conduct a system scan to identify issues, and review the scan results which detail the problems affecting your PC's performance.
- Repair and Optimize: Use Fortect's repair feature to fix the identified issues. For comprehensive repair options, consider subscribing to a premium plan. After repairing, the tool also aids in optimizing your PC for improved performance.
Enable or Disable Windows Search Service
To enable or disable the Windows Search Service in Windows 11, you can easily access the Services application. Press the Windows key + R to open the Run dialog box, then type services. msc and hit Enter. In the Services window, locate the Windows Search service. To disable it, right-click on the service and select Stop.
To enable it, right-click on the service and select Start. You can also set the service to start automatically by right-clicking on it, selecting Properties, and changing the Startup type to Automatic. This will ensure that the Windows Search service is always running when you boot up your computer.
Utilize Troubleshooting Tools for Indexing Issues
- Open Control Panel by searching for it in the Windows search bar and clicking on the result.
- Click on Troubleshooting and then select the “View all” option on the left pane.
- Scroll down and locate Search and Indexing in the list of troubleshooting tools.
- Click on Search and Indexing to run the troubleshooting tool.
- Follow the on-screen instructions to let the tool diagnose and fix any indexing issues on your system.
Modify or Rebuild Indexing Options
To modify or rebuild indexing options in Windows 11, first open the Settings menu by clicking on the Start menu and selecting Settings. Next, navigate to System and then Storage. Scroll down and select Advanced storage settings. Under Indexing Options, you can choose to Modify or Rebuild the index. Click on the option that best suits your needs and follow the on-screen instructions. Once you have completed the process, you can turn search indexing back on in Windows 11.
This will help improve search functionality and speed up the process of finding files on your computer.
Considerations for Disabling or Restoring Indexing
To disable or restore indexing in Windows 11, you can easily manage this feature through the Control Panel. Simply open the Control Panel and navigate to “Indexing Options.” From there, you can choose to disable or enable indexing for specific locations on your computer. Alternatively, you can also use the Task Manager to stop or start the Search Indexer service.
If you prefer a quicker method, you can also access the indexing options by right-clicking on the Start menu and selecting “Search.” Then, click on “Advanced Search settings” to adjust the indexing options.
F.A.Qs
How do I turn my search index back on?
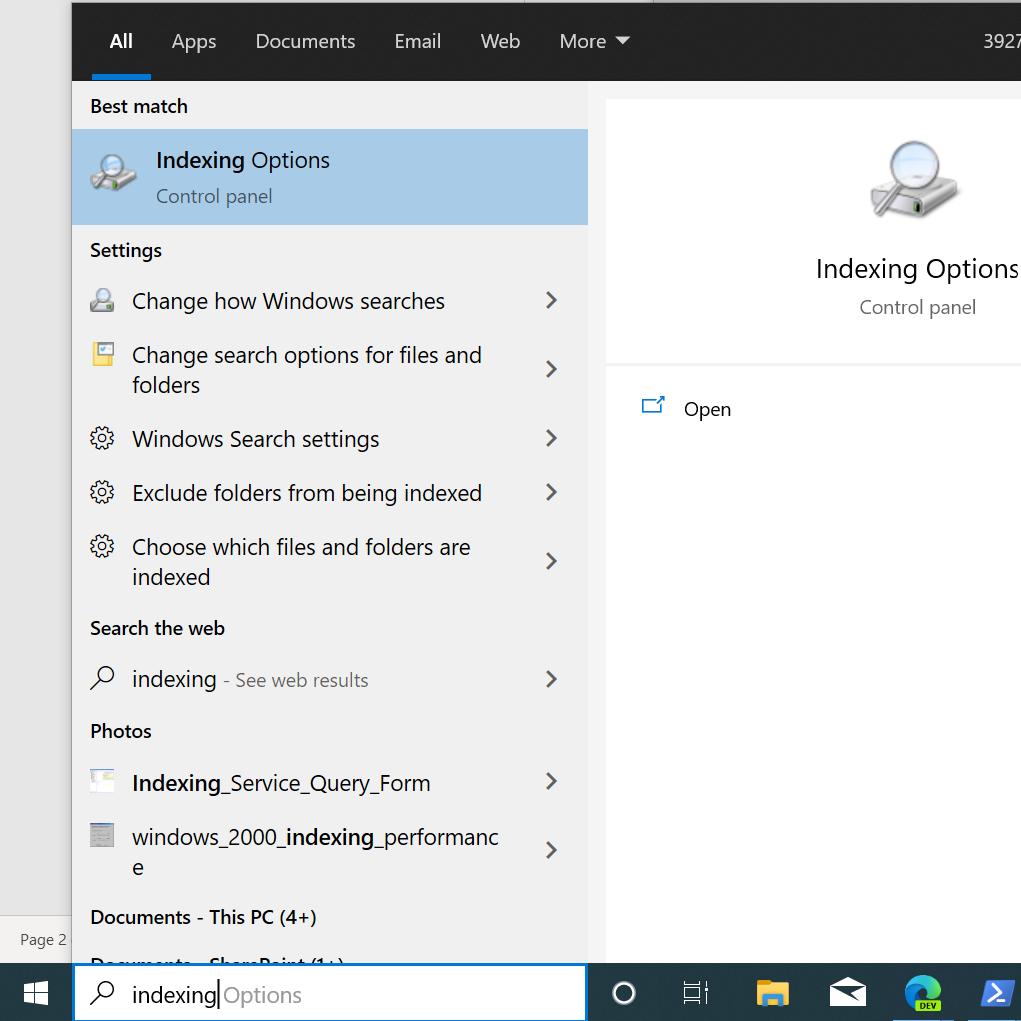
To turn on your search index, you can access the Control Panel, navigate to System and Security, click on Administrative Tools, and then select Indexing Options. Finally, click on the Indexing Options button.
How do you restore indexing?
To restore indexing, you can delete and rebuild it from the Indexing Options menu on your computer. Simply press the Windows Key + S, type in “indexing,” and click on Indexing Options. Then, click on Advanced, go to Troubleshooting, and select Rebuild.