Unlocking the Gates: Troubleshooting Windows’ Elusive Shared Drive Network Error
Recently, Fortect has become increasingly popular as a reliable and efficient way to address a wide range of PC issues. It's particularly favored for its user-friendly approach to diagnosing and fixing problems that can hinder a computer's performance, from system errors and malware to registry issues.
- Download and Install: Download Fortect from its official website by clicking here, and install it on your PC.
- Run a Scan and Review Results: Launch Fortect, conduct a system scan to identify issues, and review the scan results which detail the problems affecting your PC's performance.
- Repair and Optimize: Use Fortect's repair feature to fix the identified issues. For comprehensive repair options, consider subscribing to a premium plan. After repairing, the tool also aids in optimizing your PC for improved performance.
Troubleshooting Network Error: Solutions for Windows Cannot Access Shared Drive
If you are experiencing the “Windows Cannot Access Shared Drive” network error on your Windows 10 computer, there are a few troubleshooting steps you can try to resolve the issue.
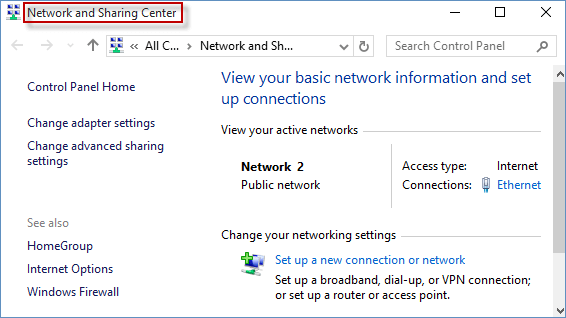
First, check your network sharing configurations. Open Control Panel and navigate to Network and Sharing Center. Click on Change advanced sharing settings and ensure that network discovery is turned on.
Next, try accessing the shared drive using the computer name. Open File Explorer and enter the following path in the address bar: \\ComputerName\SharedFolder. Replace “ComputerName” with the name of the computer hosting the shared drive and “SharedFolder” with the actual name of the shared folder.
If that doesn’t work, you can try using the Command Prompt to fix the issue. Press the Windows Key + R to open the Run dialog box, then type “cmd” and press Enter. In the Command Prompt, enter the following command: net use \\ComputerName\SharedFolder /user:Username Password. Replace “ComputerName” with the name of the computer hosting the shared drive, “SharedFolder” with the actual name of the shared folder, “Username” with your username, and “Password” with your password.
If none of these steps resolve the issue, you may need to check your network permissions and ensure that you have the necessary access. Additionally, make sure that your network drivers are up to date and that there are no issues with your LAN connection.
Resolving Access Permission Issues for Network Drive
If you are experiencing access permission issues when trying to access a network drive in Windows, there are a few steps you can take to resolve the problem.
First, make sure that the computer name of the device hosting the shared drive is correct. You can find this information in the Control Panel under System and Security > System.
Next, check your network sharing configurations. Open File Explorer and navigate to the folder you are trying to access. Right-click on the folder and select “Properties.” Go to the “Sharing” tab and click on “Advanced Sharing.” Make sure that the “Share this folder” option is checked and that the correct permissions are set for the users or programs that need access.
If the issue persists, you can try using the net use command in the Command Prompt. Open the Command Prompt with administrative privileges and type “net use [drive letter]: \\[DeviceName]\[SharedFolder] /user:[Username] [Password]“. Replace [drive letter], [DeviceName], [SharedFolder], [Username], and [Password] with the appropriate information for your network drive.
If none of these fixes work, it may be necessary to check your network permissions and settings. You can do this by opening the Control Panel and going to Network and Sharing Center > Change advanced sharing settings. Make sure that network discovery and file sharing are turned on.
In some cases, the issue may be related to the NetBIOS setting. To check this, open the Control Panel and go to Network and Sharing Center > Change adapter settings. Right-click on your LAN connection and select “Properties.” Click on “Internet Protocol Version 4 (TCP/IPv4)” and then click on “Properties.” Go to the “Advanced” tab and click on “WINS.” Make sure that “Enable NetBIOS over TCP/IP” is selected.
If you are still experiencing the Windows cannot access shared drive network error, it may be helpful to contact Microsoft Support for further assistance.
Fixing LAN Connection and Sharing Settings for Network Drive Access
To fix LAN connection and sharing settings for network drive access in Windows, follow these steps:
1. Open the Control Panel by pressing the Windows Key and typing “Control Panel” in the search bar. Select the Control Panel app from the search results.
2. In the Control Panel, click on “Network and Internet” and then “Network and Sharing Center.”
3. In the Network and Sharing Center, click on “Change advanced sharing settings” on the left-hand side.
4. Expand the “Private” network profile and make sure that “Network discovery” and “File and printer sharing” are both turned on. If they are not, click on the “Turn on network discovery” and “Turn on file and printer sharing” options.
5. Scroll down and expand the “All Networks” profile. Enable “Turn on sharing so anyone with network access can read and write files” if it is not already enabled.
6. Click on “Save changes” to apply the new settings.
7. If you still encounter the Windows cannot access the shared drive network error, try disabling the NetBIOS setting. Press the Windows Key and type “Network Connections” in the search bar. Select “View network connections” from the search results. Right-click on your Local Area Network connection and choose “Properties.” Uncheck the “Internet Protocol Version 6 (TCP/IPv6)” and check the “Internet Protocol Version 4 (TCP/IPv4)” option. Click on “OK” to save the changes.
These steps should help resolve the network drive access error and allow you to access shared drives on your network.
python

import os
def is_shared_drive_accessible(drive_path):
try:
# Attempt to list the contents of the shared drive
file_list = os.listdir(drive_path)
return True
except OSError:
return False
# Example usage
drive_path = r"\\server\shared_drive"
if is_shared_drive_accessible(drive_path):
print("Shared drive is accessible!")
else:
print("Unable to access the shared drive.")
Note: This code snippet assumes that you have the necessary permissions to access the shared drive and that the drive path is correctly specified. It uses the `os.listdir()` function, which attempts to list the contents of the specified directory. If an `OSError` is raised, it implies that the shared drive is not accessible.
Addressing Security and Registry Issues for Network Drive Access
To address security and registry issues for network drive access in Windows, follow these steps:
1. Open Control Panel and navigate to “Network and Internet” > “Network and Sharing Center.”
2. Click on “Change advanced sharing settings” in the left panel.
3. Expand the current network profile and ensure that “Turn on network discovery” and “Turn on file and printer sharing” are enabled.
4. Press the Windows key + R to open the “Run” dialog box. Type “regedit” and press Enter to open the Windows Registry Editor.
5. Navigate to the following registry key: HKEY_LOCAL_MACHINE\SYSTEM\CurrentControlSet\Services\LanmanWorkstation\Parameters.
6. Locate the “RequireSecuritySignature” value. If it is set to “1,” change it to “0” to disable security signatures.
7. Close the Registry Editor and restart your computer for the changes to take effect.
Optimizing Network Protocols and Services for Network Drive Access
- Ensure that the computer is properly connected to the network.
- Check if other devices connected to the same network are able to access the shared drive.

- If using a wireless connection, make sure the signal strength is strong and stable.
- Restart the router or modem to refresh the network connection.
Repair Method 2: Verify Network Sharing Settings
- Open Control Panel by pressing Win+X and selecting Control Panel.
- Click on Network and Sharing Center.
- Ensure that Network Discovery and File and Printer Sharing are both turned on.
- Click on Change advanced sharing settings.
- Make sure that Turn on network discovery and Turn on file and printer sharing are selected.
- Save the changes and close the Control Panel.
Repair Method 3: Disable Firewall or Antivirus Software
- Open the Windows Security app by pressing Win+I and selecting Update & Security.
- Click on Windows Security in the left panel.
- Click on Firewall & network protection.
- Click on the currently active network profile.
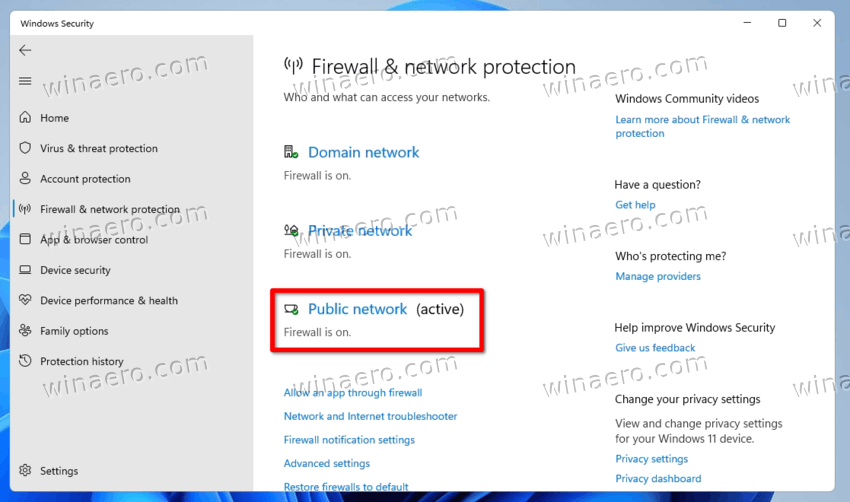
- Toggle the switch to turn off the Windows Defender Firewall.
- If using a third-party antivirus software, open the respective program and disable the firewall temporarily.
Repair Method 4: Reset TCP/IP Stack
- Open Command Prompt as an administrator by pressing Win+X and selecting Command Prompt (Admin).
- Type the command netsh int ip reset and press Enter.

- Wait for the command to complete and then restart the computer.
Repair Method 5: Clear DNS Cache
- Open Command Prompt as an administrator.
- Type the command ipconfig /flushdns and press Enter.
- Wait for the command to complete and then restart the computer.
Repair Method 6: Disable IPv6
- Open Control Panel and click on Network and Internet.
- Click on Network and Sharing Center.
- Click on the currently active network connection.
- Click on Properties.
- Scroll down and uncheck the box next to Internet Protocol Version 6 (TCP/IPv6).
- Click OK to save the changes.

- Restart the computer for the changes to take effect.


