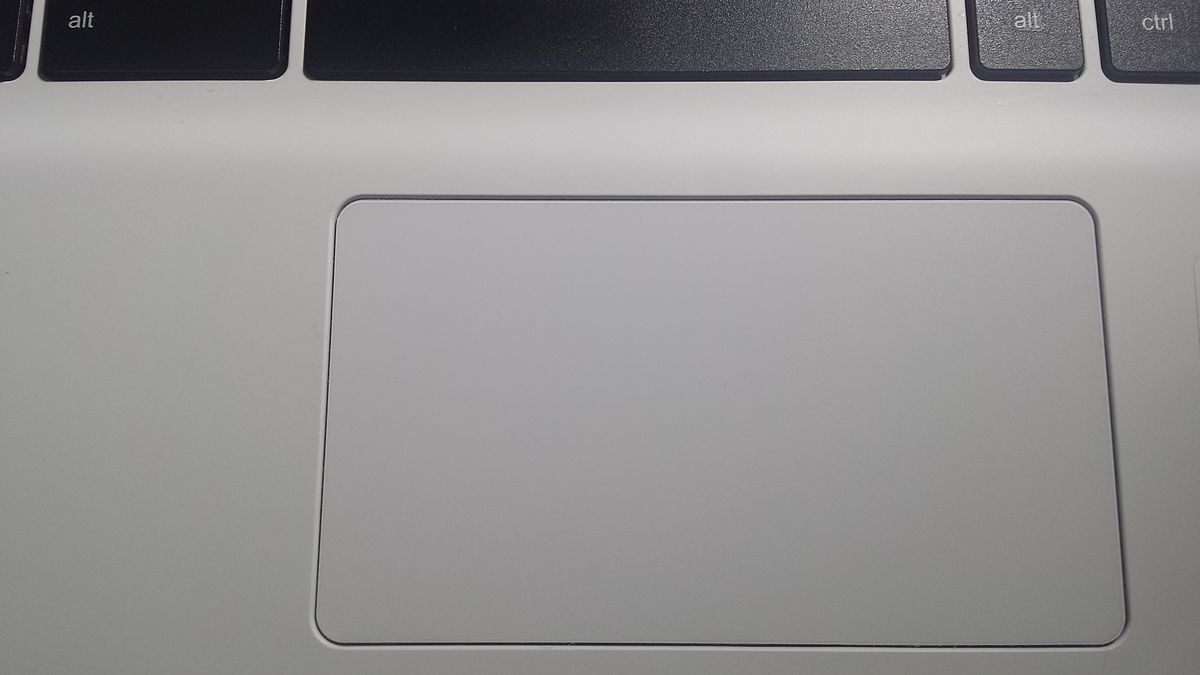
Having trouble with your Lenovo laptop touchpad not working on Windows 10? Here’s a guide to help you fix it.
Recently, Fortect has become increasingly popular as a reliable and efficient way to address a wide range of PC issues. It's particularly favored for its user-friendly approach to diagnosing and fixing problems that can hinder a computer's performance, from system errors and malware to registry issues.
- Download and Install: Download Fortect from its official website by clicking here, and install it on your PC.
- Run a Scan and Review Results: Launch Fortect, conduct a system scan to identify issues, and review the scan results which detail the problems affecting your PC's performance.
- Repair and Optimize: Use Fortect's repair feature to fix the identified issues. For comprehensive repair options, consider subscribing to a premium plan. After repairing, the tool also aids in optimizing your PC for improved performance.
Update or reinstall touchpad drivers
If your Lenovo laptop touchpad is not working on Windows 10, it may be due to outdated or corrupted touchpad drivers. Here’s how you can update or reinstall the touchpad drivers to fix the issue.
To update the touchpad drivers, follow these steps:
1. Press the Windows key on your keyboard and type “Device Manager” in the search bar. Open the Device Manager from the search results.
2. In the Device Manager window, expand the “Mice and other pointing devices” category.
3. Right-click on your touchpad device (it might be named “Lenovo pointing device” or similar) and select “Update driver” from the context menu.
4. Choose the option to automatically search for updated driver software. Windows will search for and install the latest touchpad drivers for your Lenovo laptop.
If updating the drivers doesn’t resolve the issue, you can try reinstalling the touchpad drivers by following these steps:
1. Open the Device Manager again as described above.
2. Right-click on your touchpad device and select “Uninstall device” from the context menu.
3. When prompted, confirm the uninstallation and restart your laptop.
4. After the restart, Windows will automatically reinstall the touchpad drivers.
If the touchpad still doesn’t work after updating or reinstalling the drivers, you can try troubleshooting the touchpad by following these steps:
1. Press the Windows key on your keyboard and type “Troubleshoot” in the search bar. Open the Troubleshoot settings from the search results.
2. Scroll down and click on “Hardware and Devices” under the “Find and fix other problems” section.
3. Click on the “Run the troubleshooter” button and follow the on-screen instructions.
4. Windows will attempt to detect and fix any issues with the touchpad.
If the above steps don’t resolve the issue, it’s possible that there may be a hardware problem with your touchpad. In such cases, it’s recommended to check your laptop’s warranty and contact Lenovo support for further assistance.
We hope these steps help you get your Lenovo laptop touchpad working again on Windows 10. If you have any further questions or need additional support, feel free to reach out to us.
Enable and update the Lenovo touchpad driver for Windows 10
If your Lenovo laptop touchpad is not working on Windows 10, you can fix it by enabling and updating the touchpad driver. Here’s a step-by-step guide to help you resolve the issue:
1. Press the Windows key + X on your keyboard, then select “Device Manager” from the menu that appears.
2. In the Device Manager window, locate and expand the “Mice and other pointing devices” category.
3. Right-click on your Lenovo touchpad device and select “Update driver.”
4. Choose the option to “Search automatically for updated driver software.”
5. Windows will now search for the latest driver for your touchpad. If a new driver is found, it will be automatically installed. Follow any on-screen instructions if prompted.
6. If Windows doesn’t find any updates or fails to install them, you can manually download the latest touchpad driver from the Lenovo website. Go to the Lenovo support page (support.lenovo.com) and search for your specific model.
7. Once you’ve downloaded the driver, double-click on the installer file and follow the on-screen instructions to install it. Make sure to restart your laptop after the installation is complete.
If your touchpad still doesn’t work after updating the driver, you can try these additional troubleshooting steps:
1. Press the Windows key + I to open the Settings app, then select “Devices” and click on “Touchpad.”
2. Ensure that the touchpad is enabled. If it’s disabled, toggle the switch to turn it on.
3. Adjust the touchpad sensitivity settings to suit your preference.
If none of the above solutions work, it’s possible that there may be a hardware issue with your touchpad. In this case, it’s recommended to contact Lenovo support or consult your warranty for further assistance.
Troubleshoot potential software issues
-
Update the touchpad driver:
- Open the Device Manager by pressing Windows key + X and selecting Device Manager from the menu.
- Expand the category Mice and other pointing devices.
- Right-click on the Lenovo Touchpad and select Update driver.
- Choose the option to Search automatically for updated driver software.
- Follow the on-screen instructions to complete the update process.
-
Roll back the touchpad driver:
- Open the Device Manager as explained in the previous step.
- Expand the category Mice and other pointing devices.
- Right-click on the Lenovo Touchpad and select Properties.
- In the Driver tab, click on Roll Back Driver.
- Follow the on-screen instructions to roll back to the previous driver version.
-
Disable and re-enable the touchpad:
- Press Windows key + X and select Settings from the menu.
- In the Settings window, click on Devices.
- Under the Devices tab, select Touchpad from the left-hand side menu.
- Toggle the Touchpad switch to Off and wait for a few seconds.
- Toggle the Touchpad switch to On again.
-
Run the Hardware and Devices troubleshooter:
- Press Windows key + I to open the Settings window.
- Click on Update & Security.
- In the left-hand side menu, select Troubleshoot.
- Click on Additional troubleshooters and then select Hardware and Devices.
- Click on Run the troubleshooter and follow the prompts to fix any detected issues.
-
Perform a system restore:
- Press Windows key + X and select System from the menu.
- In the System window, click on System protection in the left-hand side menu.
- Click on System Restore and follow the on-screen instructions to restore your system to a previous point in time.
python

import wmi
def enable_touchpad():
c = wmi.WMI()
devices = c.Win32_PnPEntity(ConfigManagerErrorCode=0)
for device in devices:
if 'Synaptics' in device.Name and 'Mouse' in device.Name:
device.Enable()
def disable_touchpad():
c = wmi.WMI()
devices = c.Win32_PnPEntity(ConfigManagerErrorCode=0)
for device in devices:
if 'Synaptics' in device.Name and 'Mouse' in device.Name:
device.Disable()
# Example usage
enable_touchpad() # To enable the touchpad
disable_touchpad() # To disable the touchpad
This code uses the `wmi` library to interact with the Windows Management Instrumentation. It searches for the touchpad device by checking if the device name contains ‘Synaptics’ and ‘Mouse’, and then enables or disables it accordingly.
Address hardware issues related to the touchpad
If your Lenovo laptop’s touchpad is not working properly or not working at all, there are several steps you can take to troubleshoot and fix the issue.
1. Check the touchpad settings: First, ensure that the touchpad is enabled and the settings are properly configured. To do this, go to the Start menu and type “touchpad settings.” Open the Touchpad settings and make sure the touchpad is enabled. Adjust other settings, such as sensitivity and scrolling, according to your preference.
2. Update or reinstall touchpad drivers: Outdated or corrupted touchpad drivers can cause issues. To update the drivers, go to the Start menu and search for “Device Manager.” Open Device Manager and expand the “Mice and other pointing devices” category. Right-click on your touchpad device (it might be named “Synaptics” or “Elan”) and select “Update driver.” If an update is available, follow the on-screen instructions to install it. If updating the driver doesn’t help, you can also try uninstalling the driver and then restarting your laptop. Windows will automatically reinstall the driver.
3. Perform a power reset: Sometimes, a simple power reset can resolve touchpad issues. Shut down your laptop, unplug the power adapter, and remove the battery (if possible). Hold down the power button for around 15 seconds. Then, reinsert the battery (if applicable), plug in the power adapter, and turn on your laptop.
4. Check for malware: Malware can interfere with your touchpad’s functionality. Run a full scan using your antivirus software to check for any infections. If any malware is detected, follow the recommended steps to remove it.
5. Try an external mouse: If your touchpad still doesn’t work, try connecting an external mouse to your laptop. If the external mouse works fine, it indicates a hardware issue with your touchpad. In this case, you may need to contact Lenovo support or a professional technician for further assistance.
Remember, these steps are specific to Lenovo laptops running Windows 10. If you have a different brand or operating system, the troubleshooting steps may vary.
Hopefully, these steps have helped you resolve the touchpad issues on your Lenovo laptop running Windows 10. If you continue to experience problems, it’s recommended to seek professional assistance to address any hardware-related issues.
Frequently asked questions and conclusion
- Press Windows Key + X and select Device Manager.
- Expand the Mice and other pointing devices category.
- Right-click on the touchpad driver and select Update driver.
- Choose the option to Search automatically for updated driver software.
- Wait for the driver to be updated and then restart your laptop.
Repair Step 2: Enable Touchpad
- Press Windows Key + I to open the Settings app.
- Go to the Devices section.
- Select Touchpad from the left menu.
- Toggle the Touchpad switch to On if it is currently off.
Repair Step 3: Roll Back Touchpad Driver
- Press Windows Key + X and select Device Manager.
- Expand the Mice and other pointing devices category.
- Right-click on the touchpad driver and select Properties.
- Go to the Driver tab and click on Roll Back Driver.
- Follow the on-screen instructions to roll back the driver and then restart your laptop.
Repair Step 4: Uninstall Touchpad Driver
- Press Windows Key + X and select Device Manager.
- Expand the Mice and other pointing devices category.
- Right-click on the touchpad driver and select Uninstall device.
- Check the box for Delete the driver software for this device and click Uninstall.
- Restart your laptop and Windows will automatically reinstall the touchpad driver.
Repair Step 5: Perform a System Restore
- Press Windows Key + R to open the Run dialog box.
- Type rstrui and press Enter to open the System Restore window.
- Follow the on-screen instructions to choose a restore point and restore your system to a previous state.
- After the restoration process is complete, check if the touchpad is working.


