Kernel Security Check Failure is a common and troublesome error that can occur on Windows operating systems. In this article, we will explore effective methods to fix this issue and ensure the stability and security of your computer.
Recently, Fortect has become increasingly popular as a reliable and efficient way to address a wide range of PC issues. It's particularly favored for its user-friendly approach to diagnosing and fixing problems that can hinder a computer's performance, from system errors and malware to registry issues.
- Download and Install: Download Fortect from its official website by clicking here, and install it on your PC.
- Run a Scan and Review Results: Launch Fortect, conduct a system scan to identify issues, and review the scan results which detail the problems affecting your PC's performance.
- Repair and Optimize: Use Fortect's repair feature to fix the identified issues. For comprehensive repair options, consider subscribing to a premium plan. After repairing, the tool also aids in optimizing your PC for improved performance.
Understanding the “Kernel Security Check Failure” Error
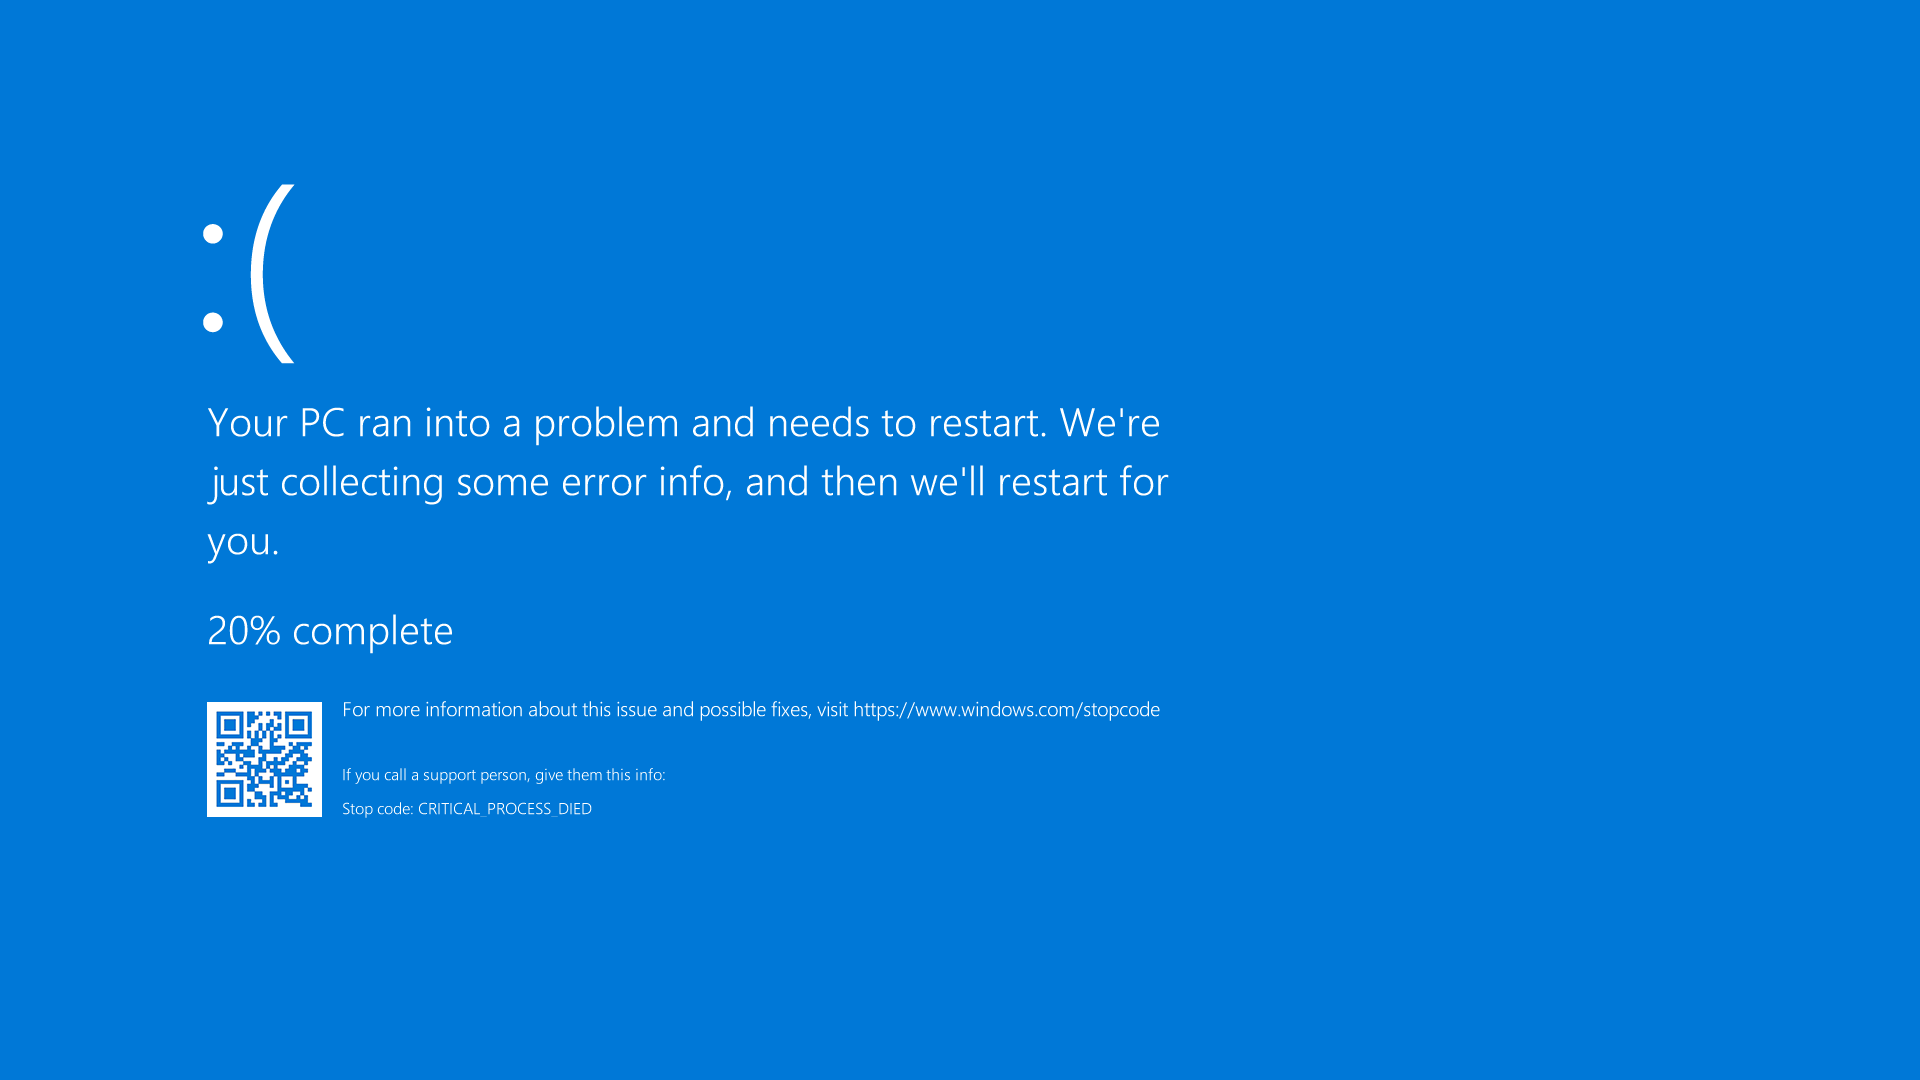
The “Kernel Security Check Failure” error can cause your computer to crash and potentially lead to data loss. This error is often caused by software bugs, corrupt files, or incompatible device drivers. To fix this error, follow these steps:
1. Update your operating system: Make sure you have the latest updates for Windows 10 installed. These updates often include patches that fix known issues, including the “Kernel Security Check Failure” error.
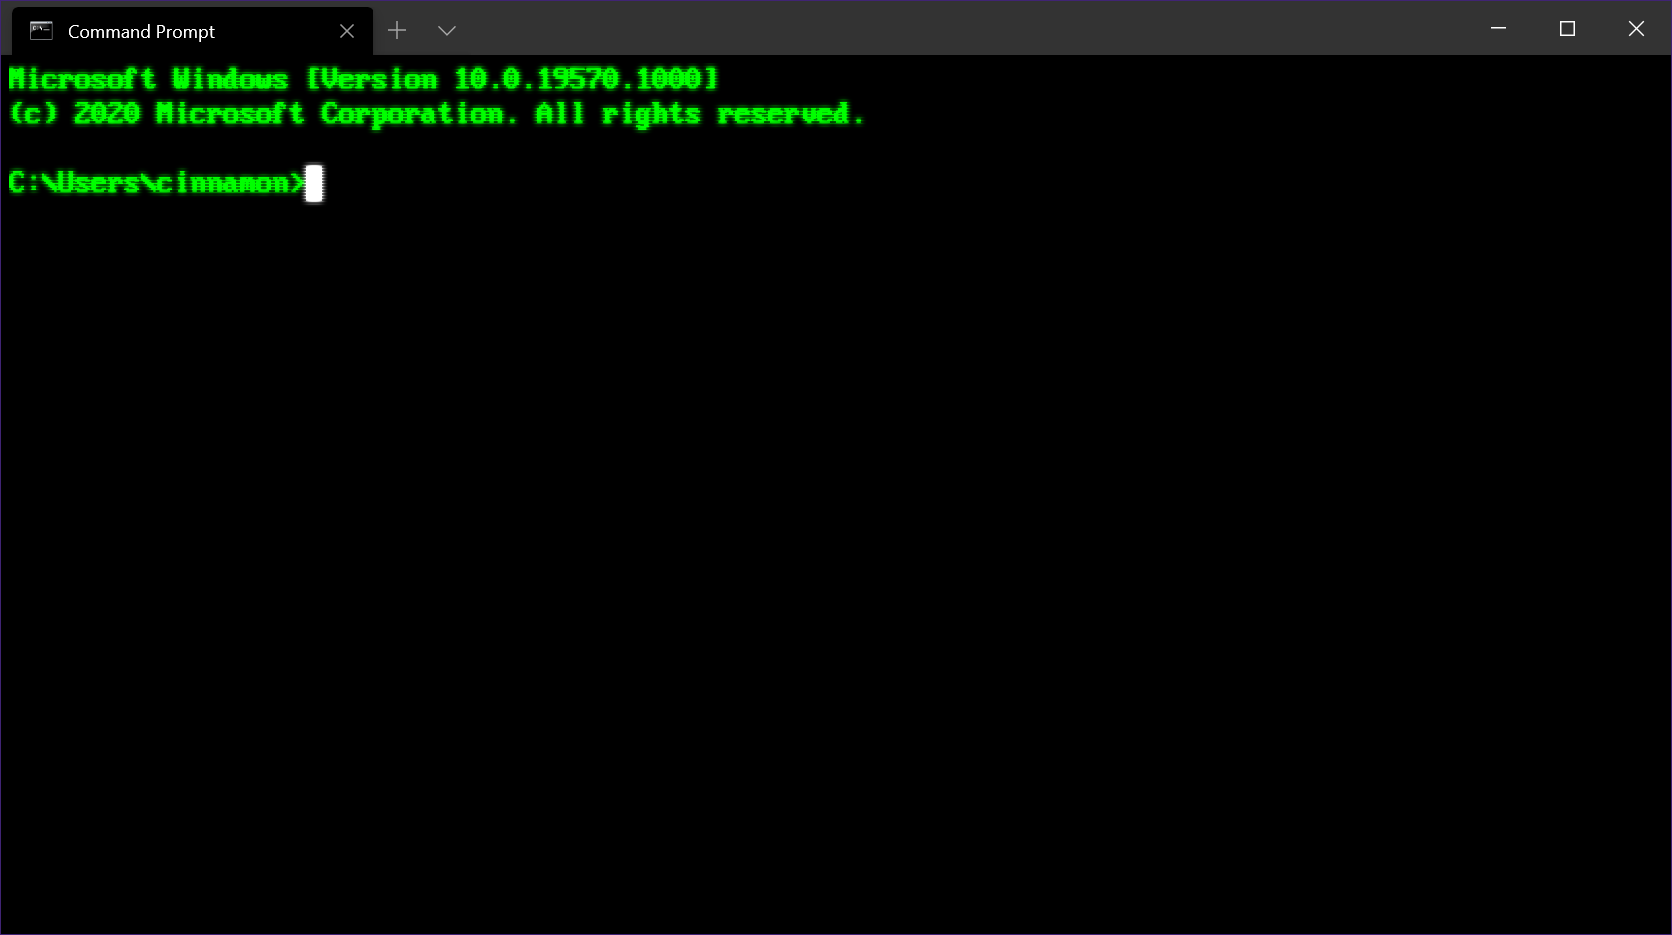
2. Run a system file check: Use the System File Checker tool to scan your computer for corrupt files and repair them if necessary. Open the Command Prompt as an administrator and type “sfc /scannow” followed by the Enter key.
3. Check for malware: Run a full scan with your antivirus software to check for any malware infections. Malware can cause various errors, including the “Kernel Security Check Failure” error.
4. Update device drivers: Outdated or incompatible device drivers can also cause this error. Visit the manufacturer’s website for your hardware and download the latest drivers for your specific model.
5. Check your hardware: Hardware issues can also trigger the “Kernel Security Check Failure” error. Check your computer’s memory, hard drive, and other components for any issues. If necessary, consider running diagnostic tools or contacting a professional for assistance.
Causes of the “Kernel Security Check Failure” Error
- Check for Corrupted System Files
- Open Command Prompt with administrative privileges
- Type sfc /scannow and press Enter
- Wait for the scan to complete
- If any corrupt files are found, restart your computer
- Update Device Drivers
- Press Windows Key + X and select Device Manager
- Expand the categories and locate the device drivers
- Right-click on each driver and select Update Driver
- Choose Search automatically for updated driver software
- Follow the on-screen instructions to complete the update
- Disable Overclocking
- Restart your computer and enter the BIOS/UEFI settings
- Locate the Overclocking option
- Disable any overclocking settings
- Save the changes and exit the BIOS/UEFI settings
- Run Memory Diagnostic Tool
- Press Windows Key + R to open the Run dialog box
- Type mdsched.exe and press Enter
- Select Restart now and check for problems (recommended)
- Wait for the memory diagnostic tool to run and detect any issues
- If any issues are found, follow the on-screen instructions to resolve them
- Disable Antivirus Software
- Open your antivirus software
- Locate the settings or options menu
- Disable the real-time protection or temporarily turn off the antivirus software
- Restart your computer and check if the error persists
Fixing the “Kernel Security Check Failure” Error on Windows 10

If you are encountering the “Kernel Security Check Failure” error on your Windows 10 computer, there are a few steps you can take to fix the issue.
First, it’s important to note that this error is often caused by issues with your computer’s drivers or hardware. To start troubleshooting, reboot your computer and see if the error persists.
If the error continues to occur, you can try updating your drivers to ensure they are compatible with Windows 10. You can do this by visiting the manufacturer’s website and downloading the latest driver updates for your hardware.
Another potential solution is to use the System File Checker tool. This tool scans your system files for any corruption or errors and attempts to fix them. To use the System File Checker, open a command prompt as an administrator and type “sfc /scannow” and press Enter.
If none of the above solutions work, you can try performing a clean boot to identify any software conflicts. To do this, open the System Configuration utility by typing “msconfig” in the search bar and pressing Enter. Then, go to the Services tab and check the box that says “Hide all Microsoft services.” Next, click “Disable all” and then click “OK.” Finally, restart your computer and see if the error persists.
If you are still experiencing the “Kernel Security Check Failure” error after trying these solutions, it may be necessary to seek further assistance or consult a professional technician.
python

import subprocess
def kernel_security_check():
# Execute a shell command to check kernel security
output = subprocess.check_output('your_kernel_security_check_command_here', shell=True)
# Process the output and perform necessary actions
if "Security check passed" in output.decode():
print("Kernel security check passed!")
else:
print("Kernel security check failed!")
# Perform additional actions like logging, notifying admins, etc.
# Call the function to perform the kernel security check
kernel_security_check()
In the code above, the `kernel_security_check` function uses the `subprocess` module in Python to execute a shell command that performs the actual kernel security check. You would need to replace `’your_kernel_security_check_command_here’` with the appropriate command or tool that performs the kernel security check on your specific system.
Updating Windows 10 to the Latest Release
To update Windows 10 to the latest release, follow these steps:
1. Open the Start menu and click on “Settings.”
2. In the Settings window, select “Update & Security.”
3. Click on “Windows Update” in the left-hand menu.
4. Click on the “Check for updates” button.
5. If updates are available, click on “Download and install” to start the update process.
6. Your computer may need to restart during the update process. Save any open files and click on “Restart now” when prompted.
7. After your computer restarts, the updates will continue to install.
8. Once the updates are installed, your computer will restart again.
9. After the final restart, your computer will be running the latest version of Windows 10.
It’s important to keep your operating system up to date to ensure you have the latest security patches and bug fixes. Updating Windows regularly can help prevent issues such as the Kernel Security Check Failure. If you encounter any problems during the update process, try troubleshooting steps such as rebooting your computer, checking for data corruption, or updating device drivers.
Updating Device Drivers
| Device | Driver | Latest Version | Update Steps |
|---|---|---|---|
| Graphics Card | NVIDIA GeForce RTX 2080 | Driver version 461.92 |
|
| Network Adapter | Realtek PCIe GbE Family Controller | Driver version 10.39.212.2021 |
|
| Sound Card | Realtek High Definition Audio | Driver version 6.0.9102.1 |
|

Checking for Disk Errors
To fix the Kernel Security Check Failure issue, it is important to check for any disk errors on your computer. Disk errors can lead to data corruption and cause various system problems.
To check for disk errors, follow these steps:
1. Press the Windows key and type “Command Prompt” in the search bar.
2. Right-click on “Command Prompt” and select “Run as administrator.”
3. In the Command Prompt window, type “chkdsk /f” followed by the drive letter of the disk you want to check (e.g., “C:”).
4. Press Enter to start the disk check process.
During the disk check, Windows will scan for any errors and attempt to fix them. This may take some time, so be patient. If any errors are found and fixed, you will be notified.
After the disk check is complete, reboot your computer and check if the Kernel Security Check Failure issue has been resolved.
It is also recommended to regularly backup your important files to prevent data loss in case of any issues.
Checking for Memory Issues
If you are experiencing the “Kernel Security Check Failure” error, it may be due to memory issues. To check for memory problems, follow these steps:
1. Press the Windows key + R to open the Run dialog box.
2. Type “mdsched.exe” and press Enter.
3. Choose whether to restart the computer and check for problems immediately, or schedule the check for the next time you start your computer.
4. Let the Memory Diagnostic Tool run its course. It will automatically restart your computer and check for memory issues.
5. Once the tool has completed its scan, it will display the results.
If the Memory Diagnostic Tool detects any issues, you may need to replace or upgrade your computer’s memory. If you continue to experience the “Kernel Security Check Failure” error after addressing any memory issues, it may be necessary to further investigate other potential causes.
Running System File Checker and ‘chkdsk’ Commands
To fix the Kernel Security Check Failure error, you can try running two commands: System File Checker (SFC) and chkdsk.
System File Checker scans your system files for any corruption and replaces them with a cached copy if necessary. To run SFC, follow these steps:
1. Press the Windows key + X and select “Command Prompt (Admin)”.
2. In the command prompt, type “sfc /scannow” and press Enter.
3. Wait for the scan to complete. If any issues are found, they will be automatically repaired.
Next, you can run chkdsk to check for any errors on your hard drive. To run chkdsk, follow these steps:
1. Press the Windows key + X and select “Command Prompt (Admin)”.
2. In the command prompt, type “chkdsk C: /f” and press Enter. (Replace “C:” with the letter of the drive you want to check.)
3. If prompted to schedule a disk check on the next restart, type “Y” and press Enter.
4. Restart your computer and let chkdsk scan and fix any errors on your hard drive.
These commands can help resolve issues related to corrupted system files or hard drive errors, which can cause the Kernel Security Check Failure error.
Using the Blue Screen Troubleshooter

The Blue Screen Troubleshooter is a powerful tool designed to help you fix the Kernel Security Check Failure error. To use it, follow these simple steps:
1. Press the Windows key + X and select “Settings” from the menu.
2. In the Settings window, click on “Update & Security.”
3. From the left-hand menu, select “Troubleshoot.”
4. Scroll down and click on “Blue Screen” under the “Find and fix other problems” section.
5. Click on the “Run the troubleshooter” button.
6. The troubleshooter will now scan your system for any issues causing the Kernel Security Check Failure error. It will then attempt to fix them automatically.
7. Once the troubleshooter has completed its scan, check if the error is resolved.
If the troubleshooter was successful in fixing the error, you should no longer experience the Kernel Security Check Failure. However, if the issue persists, you may need to try other troubleshooting methods or seek further assistance.
Remember, it’s always a good idea to backup your important files and create a restore point before making any changes to your system. This ensures that you can easily revert any changes if something goes wrong.
For more information and advanced troubleshooting options, visit the Microsoft support website or consult the Windows documentation.
Temporarily Disabling Antivirus Software
If you are experiencing a Kernel Security Check Failure error on your Microsoft Windows computer, temporarily disabling your antivirus software may help resolve the issue. Here’s how you can do it:
1. Locate the antivirus software icon in your system tray, typically found in the bottom-right corner of your screen.
2. Right-click on the icon to open the context menu.
3. Look for an option like “Disable” or “Turn off” and click on it. This will temporarily disable the antivirus software.
Note: Disabling your antivirus software leaves your computer more vulnerable to malware and other security threats. Therefore, it is important to re-enable your antivirus software as soon as you have resolved the Kernel Security Check Failure error.
Once you have disabled the antivirus software, you can continue troubleshooting the error using other methods or solutions.
Frequently Asked Questions
![]()
- What is Kernel Security Check Failure?: Find out what this error message means and why it occurs.
- Causes of Kernel Security Check Failure: Discover the common reasons behind this issue.
- How to Fix Kernel Security Check Failure: Learn step-by-step methods to resolve this error and prevent future occurrences.
- Updating Drivers: Understand the importance of keeping drivers up to date and how it can help resolve the Kernel Security Check Failure.
- Performing System File Checker (SFC) Scan: Learn how to use the SFC tool to scan and repair corrupted system files.
- Checking for Memory Problems: Find out how to test your computer’s memory for any potential issues.
- Disabling Overclocking: Discover why disabling overclocking can be beneficial in fixing the Kernel Security Check Failure.
- Updating Windows: Understand the importance of installing the latest Windows updates to address known issues.
- Running a Full Antivirus Scan: Learn how to perform a comprehensive antivirus scan to detect and remove any malware causing the error.
- Seeking Professional Help: If the issue persists, consider reaching out to Microsoft Support or a qualified technician for further assistance.
Common Causes for the BSOD
There are several common causes for the BSOD (Blue Screen of Death) error known as “Kernel Security Check Failure.” These causes include software bugs, incompatible device drivers, issues with the Windows Registry, problems with the file system or hard disk drive, and issues with the computer’s memory or cache.
One common cause is outdated or incompatible device drivers. To fix this issue, you should update your drivers to the latest version. You can do this by visiting the manufacturer’s website and downloading the appropriate drivers for your hardware.
Another common cause is problems with the Windows Registry. The Registry is a database that stores important settings and information for your operating system. If the Registry becomes corrupt or contains errors, it can cause the BSOD. To fix this, you can use the built-in Windows Registry Editor tool to scan for and repair any issues.
Issues with the file system or hard disk drive can also cause the BSOD. To fix this, you can use the built-in Windows Check Disk tool to scan and repair any errors on your hard disk drive.
Finally, problems with computer memory or cache can also cause the BSOD. To fix this, you can try reseating or replacing your computer’s memory modules. Additionally, you can try clearing your computer’s cache by restarting it or using the command-line interface.
By addressing these common causes, you can fix the “Kernel Security Check Failure” error and prevent future occurrences of the BSOD.
Investigating Corrupted System Files
If you are experiencing the dreaded “Kernel Security Check Failure” error, it may be due to corrupted system files. These files are essential for the proper functioning of your Microsoft Windows operating system.
To investigate and fix this issue, we recommend following these steps:
1. Run Windows Update: Ensure that your system is up to date with the latest patches and updates. These updates often include fixes for known issues and vulnerabilities.
2. Check your device drivers: Outdated or faulty device drivers can cause system file corruption. Update your drivers by visiting the manufacturer’s website or using a trusted driver update tool.
3. Scan for malware: Malicious software can corrupt system files. Use a reliable antivirus program to scan your computer for any infections. If found, follow the program’s instructions to remove the malware.
4. Run a system file check: Windows has a built-in tool called System File Checker that can scan for and repair corrupted system files. Open Command Prompt as an administrator and type “sfc /scannow“. Wait for the scan to complete and follow any instructions provided.
5. Check your hard drive for errors: A failing or corrupted hard drive can also cause system file corruption. Run the built-in Disk Check utility by opening Command Prompt as an administrator and typing “chkdsk C: /f“. Replace “C:” with the appropriate drive letter if needed.
6. Perform a clean boot: Booting your computer with only essential services and drivers can help identify if a third-party program or service is causing the issue. Instructions on how to perform a clean boot can be found on the Microsoft website.
7. Reinstall Windows: If all else fails, reinstalling Windows may be necessary. This will replace all system files and fix any underlying issues. Before doing so, back up your important files and create a bootable USB or DVD with a Windows installation image.
Remember to always double-check any error messages or error codes you encounter during the troubleshooting process. These can provide valuable information to help identify the root cause of the problem.
Investigating Faulty Hardware
First, ensure that all your hardware components are properly connected and seated. Check your computer’s internal components such as the solid-state drive, device drivers, and memory modules. Make sure they are securely connected and free from any physical damage.
If the issue persists, you can try running a diagnostic test on your computer’s hardware. Microsoft offers a built-in tool called the Windows Memory Diagnostic that can help identify any memory-related issues. To access this tool, follow these steps:
1. Press the Windows key + R to open the Run dialog box.
2. Type mdsched.exe and press Enter.
3. Select either “Restart now and check for problems” or “Check for problems the next time I start my computer” option.
4. Your computer will restart and the memory diagnostic test will begin.
If the diagnostic test doesn’t reveal any hardware issues, you can also try updating your drivers. Outdated or incompatible drivers can sometimes cause Kernel Security Check Failures. To update your drivers, follow these steps:
1. Press the Windows key + X and select Device Manager from the menu.
2. Expand the categories and right-click on the device you want to update.
3. Select Update driver and follow the on-screen instructions.
Checking for Outdated Drivers

Keeping your drivers up to date is crucial for the smooth operation of your computer. Outdated drivers can lead to various issues, including the dreaded Kernel Security Check Failure. To check for outdated drivers and fix this problem, follow the steps below:
1. Open the Device Manager: Press the Windows key + X and select “Device Manager” from the menu.
2. Identify outdated drivers: In the Device Manager window, look for any devices with a yellow exclamation mark next to them. This indicates that the driver is outdated or not working properly.
3. Update the driver: Right-click on the device with the outdated driver and select “Update driver.”
4. Choose the update method: You can either let Windows search for the latest driver online or manually install the driver from a downloaded file. Select the option that suits you best.
5. Follow the on-screen instructions: Depending on the update method chosen, follow the prompts to complete the driver update process.
6. Repeat for all outdated drivers: Check all devices listed in the Device Manager and update any other outdated drivers you find.
7. Restart your computer: After updating all the drivers, restart your computer to apply the changes.